Worx WR206E User manual

Owner’s manual
WR206E
WR208E
WR213E
WR216E
Original instruction

Table of contents EN
2
Welcome
Contact information
Safety instruction
Important safety instructions
Get familiar with Landroid Vision
What’s in the box
Getting to know Landroid Vision
Getting started
How Landroid Vision works
Preparation and planning
Start the Landroid Vision
Machine Setting
Connecting Landroid Vision to the internet
Using the App
Maintenance
Keep it sharp
Keep it clean
Keep it charged
Keep it stored over the Winter
Keep it updated
Remove the charging tower
Quick reference
Operation messages
Error messages
Trouble shooting
Technical data
Noise data and accessories
Declaration of conformity
p. 03
p. 04
p. 09
p. 10
p. 11
p. 14
p. 22
p. 24
p. 27
p. 28
p. 29
p. 30
p. 31
p. 31
p. 31
p. 32
p. 33
p. 34
p. 36
p. 39
p. 40
p. 41
TABLE OF CONTENTS

Welcome EN
3
Thank you for purchasing a Worx Landroid Robot Mower.
Totally autonomous, fully configurable, agile and efficient, Landroid manicures your grass and gives you the best lawn ever. This
manual will help you get set up.
Support
www.worx-europe.com/support
Landroid Owner’s Site
https://account.worxlandroid.com/login
Customer Services Helpline
0345 202 9679
We’re here to help:

Safety instruction EN
4
PRODUCT SAFETY
GENERAL & ADDITIONAL SAFETY INSTRUSCTIONS
WARNING: Read all safety warnings and all instructions. Failure to follow the warnings and instructions may
result in electric shock, fire and/or serious injury.
Carefully read the instructions for the safe operation of the machine.
Save all warnings and instructions for future reference.
- This appliance is not intended for use by persons (including children) with reduced physical, sensory or mental capabilities, or
lack of experience and knowledge, unless they have been given supervision or instruction concerning use of the appliance by a
person responsible for their safety.
- Children should be supervised to ensure that they do not play with the appliance.
WARNING: For the purposes of recharging the battery, only use the detachable supply unit provided with this appliance.
WARNING: To reduce the risk of injury to persons and damage to the machine, do not remove battery pack before switching
off the machine.
IMPORTANT
READ CAREFULLY BEFORE USE
KEEP FOR FUTURE REFERENCE
Safe operation practices
Training
a) Read the instructions carefully. Make sure you understand the instructions and be familiar with the controls and the proper
use of the appliance.
b) Never allow people unfamiliar with these instructions or children to use the appliance. Local regulations can restrict the age
of the operator.
c) The operator or user is responsible for accidents or hazards occurring to other people or their property.
Preparation
a) Ensure the correct installation of the automatic perimeter delineation system as instructed. This machine works without
boundary wire or virtual boundary. It can automatically identify the working area and non-working area through the camera.
Once the machine is turned on, the camera will automatically turn on and work at the same time. The machine recognizes
that the lawn is the working area through the camera, and the non-working area that is not the lawn. When the machine
walks to the boundary between lawn and non-lawn, it will automatically turn to return to the working area.
Add a magnetic strip to separate it from the neighbor’s lawn. The machine returns when it encounters a magnetic strip while
mowing. Return along the magnetic strip when returning.
b) Periodically inspect the area where the appliance is to be used and remove all stones, sticks, wires, bones, and other
foreign objects. Periodically inspect and clean the boundaries between grass and non-grass. Clearing boundaries helps the
lawnmower to identify the working area.
c) Periodically visually inspect to see that the blades, blade bolts and cutter assembly are not worn or damaged. Replace worn
or damaged blades and bolts in sets to preserve balance.
d) On multi-spindle appliances, take care as rotating one blade can cause other blades to rotate.
e) WARNING! The lawnmower shall not be operated without the guard in place.
Operation
1. General
a) Never operate the appliance with defective guards, or without safety devices, for example deflectors, in place.
b) Do not put hands or feet near or under rotating parts. Keep clear of the discharge opening at all times.
c) Never pick up or carry an appliance while the motor is running.
d) Operate the disabling device from the appliance.
- Before clearing a blockage;
- Before checking, cleaning or working on the appliance;
- After striking a foreign object to inspect the machine for damage;
- If the machine starts to vibrate abnormally, and to check for damage before restarting.
e) It is not permitted to modify the original design of robotic lawnmower. All modifications are made at your own risk.
f) Start robotic lawnmower according to the instructions. When the power key is switched on, make sure you keep your hands
and feet away from the rotating blades. Never put your hands and feet under the mower.
g) Never lift up robotic lawnmower or carry it when the power key is switched on.
h) Do not let persons who do not know how robotic lawnmower works and behaves use the mower.
i) Do not put anything on top of robotic lawnmower or its charging base.

Safety instruction EN
5
j) Do not allow robotic lawnmower to be used with a defective blade disc or body. Neither should it be used with defective
blades, screws, nuts or cables.
k) Always switch off robotic lawnmower when you do not intend to use the mower. Robotic lawnmower can only start when
the power key is switched on and the correct PIN code has been entered.
l) Keep your hands and feet away from the rotating blades. Never place your hands or feet close to or under the body when
robotic lawnmower is in operation.
m) To avoid using the machine and its peripherals in bad weather conditions especially when there is a risk of lightning.
n) Do not touch moving hazardous parts before these have come to a complete stop.
o) For machines used in public areas, that warning signs shall be placed around the working area of the machine. They shall
show the substance of the following text:
Warning! Automatic lawnmower! Keep away from the machine! Supervise children!
2. Additionally when the appliance is operating automatically
a) Do not leave the machine to operate unattended if you know that there are pets, children or people in the vicinity.
Maintenance and storage
WARNING! When the mower is turned upside down the power key must always be switched off.
The power key should be switched off during all work on the mower’s underframe, such as cleaning or
replacing the blades.
a) Keep all nuts, bolts and screws tight to be sure the appliance is in safe working condition.
b) Inspect the robotic lawnmower each week and replace worn or damaged parts for safety.
c) Check especially that the blades and blade disc are not damaged. Replace all blades and screws at the same time if
necessary so that the rotating parts are balanced.
d) Ensure that only replacement cutting means of the right type are used.
e) Ensure that batteries are charged using the correct charger recommended by the manufacturer. Incorrect use may result in
electric shock, overheating or leakage of corrosive liquid from the battery.
f) In the event of leakage of electrolyte flush with water/neutralizing agent, seek medical help if it comes into contact with the
eyes etc.
g) Servicing of the appliance should be according to manufacturers’ instructions.
h) In order to obtain the best performance, please pay attention to the following ambient temperature range, do not charge,
use, or store in the case of exceeding the following temperature range:
a) Charging temperature range: 4°C~45°C
b) Discharge temperature range: -20°C~55°C
c) Storage temperature range: -20°C~75°C
i) Leaking battery fluid can cause skin and eye irritation or chemical burns.
a) Avoid contact with skin and eyes.
b) If liquid gets in eyes: Do not rub. Flush open eyes with water for at least 15 minutes, and seek medical advice.
c) In case of accidental contact, wash the contact area immediately and thoroughly with mild soap and water.
d) Use an inert absorbent such as sand on spilled liquid.
Recommendation
To connect the machine and/or its peripherals only to a supply circuit protected by a residual current device (RCD) with a
tripping current of not more than 30 mA.
Residual risks
To avoid injuries, wear protective gloves when replacing the blades.
Transport
The original packaging should be used when transporting robotic lawnmower over long distances.
To safely move form or within the working area:
a) Press the STOP button to stop the mower.
You select the four digit PIN code when you start the mower for the first time.
b) Always switch off robotic lawnmower if you intend to carry the mower.
c) Carry the mower by the handle at the front under the mower. Carry the mower with the blade disc away from the body.
RF exposure requirements
To satisfy RF exposure requirements, a separation distance of 200mm or more should be maintained between this device and
persons during device operation.
To ensure compliance, operations at closer than this distance is not recommended. The antenna used for this transmitter must

Safety instruction EN
6
not be co-located in conjunction with any other antenna or transmitter.
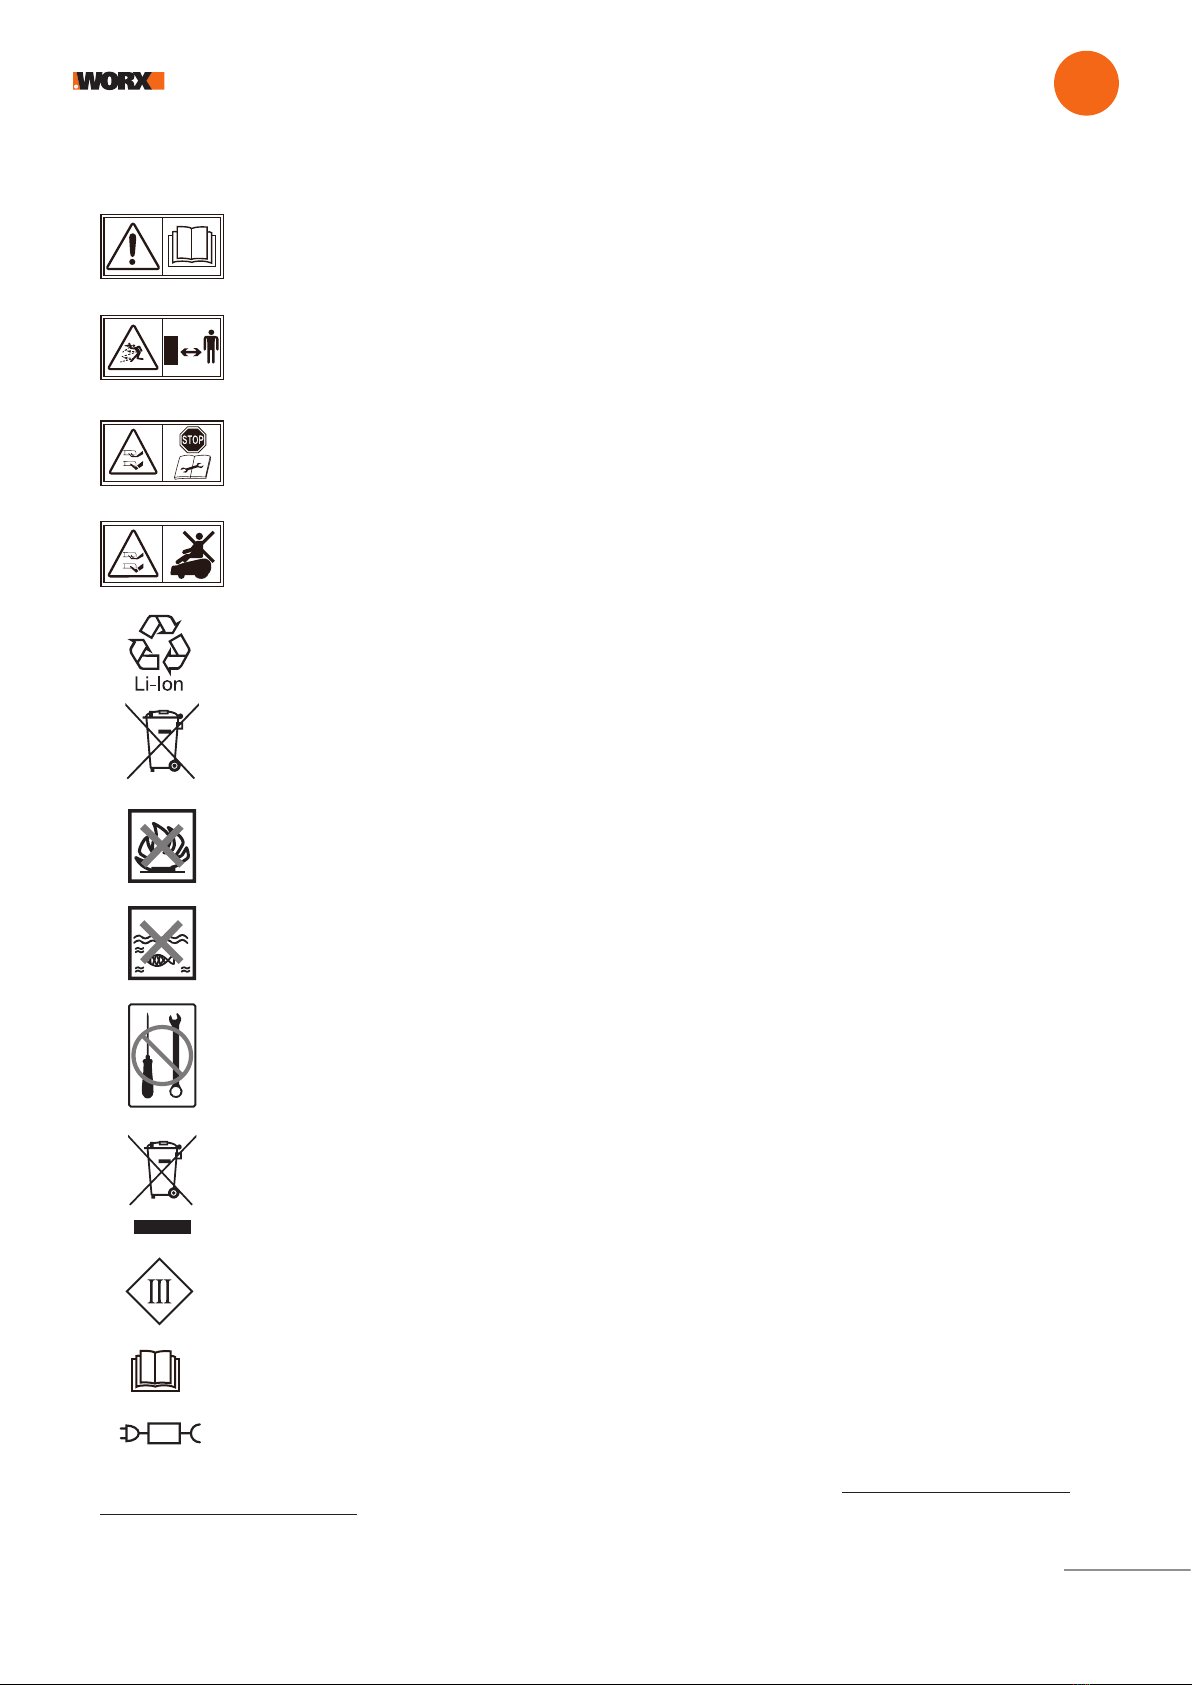
This is a class III appliances and it must only be supplied at safety extra low voltage corresponding to the marking on the
appliance.
WARNING: For the purposes of recharging the battery, only use the detachable supply unit provided with this appliance.
SAFETY WARNINGS FOR BATTERY PACK
a) Do not dismantle, open or shred cells or battery pack.
b) Do not short-circuit a battery pack. Do not store battery packs haphazardly in a box or drawer where
they may short-circuit each other or be short-circuited by conductive materials. When battery pack is not in
use, keep it away from other metal objects, like paper clips, coins, keys, nails, screws or other small metal objects, that can
make a connection from one terminal to another. Shorting the battery terminals together may cause burns or a fire.
c) Do not expose battery pack to heat or fire. Avoid storage in direct sunlight.
d) Do not subject battery pack to mechanical shock.
e) In the event of battery leaking, do not allow the liquid to come into contact with the skin or eyes. If
contact has been made, wash the affected area with copious amounts of water and seek medical
advice.
f) Keep battery pack clean and dry.
g) Wipe the battery pack terminals with a clean dry cloth if they become dirty.
h) Battery pack needs to be charged before use. Always refer to this instruction and use the correct
charging procedure.
i) Do not maintain battery pack on charge when not in use.
j) After extended periods of storage, it may be necessary to charge and discharge the battery pack
several times to obtain maximum performance.
k) Recharge only with the charger specified by Worx. Do not use any charger other than that specifically
provided for use with the equipment.
l) Do not use any battery pack which is not designed for use with the equipment.
m) Keep battery pack out of the reach of children.
n) Retain the original product literature for future reference.
o) Remove the battery from the equipment when not in use.
p) Dispose of properly.
q) Do not mix cells of different manufacture, capacity, size or type within a device.
r) Keep the battery away from microwaves and high pressure.
s) Warning! Do not use non-rechargeable batteries.
USER MANUAL REQUIREMENTS FOR WIRELESS PRODUCT
a) Operation of this device is subject to the following two conditions:
(1) This device may not cause harmful interference, and
(2) this device must accept any interference received, including interference that may cause undesired operation.
b) Caution: Changes or modifications to this unit not expressly approved by the party responsible for compliance could void the
user’s authority to operate the equipment.
c) NOTE: This equipment generates, uses and can radiate radio frequency energy and, if not installed and used in accordance
with the instructions, may cause harmful interference to radio communications. However, there is no guarantee that
interference will not occur in a particular installation. If this equipment does cause harmful interference to radio or television
reception, which can be determined by turning the equipment off and on, the user is encouraged to try to correct the
interference by one or more of the following measures:
- Reorient or relocate the receiving antenna.
- Increase the separation between the equipment and receiver.
- Connect the equipment into an outlet on a circuit different from that to which the receiver is connected.
- Consult the dealer or an experienced radio/TV technician for help.
BAND APPLICATION CAUTION (FOR WI FI 5G DEVICE)
Legal Information This device may be operated in all member states of the EU. Observe national and local regulations where the
device is used.
This device is restricted to indoor use only when operating in 5150 to 5350 MHz frequency range in following countries:
AT BE BG HR CY CZ DK

EE FI FR DE EL HU IE
IT LV LT LU MT NL PL
PT RO SK SI ES SE UK
Safety instruction EN
7

Safety instruction EN
8
INFORMATION ON LANDROID VISION
WARNING – robotic lawn mower can be dangerous if incorrectly used. Read through the Operator’s
manual carefully and understand the content before using your robotic lawn mower.
WARNING - Keep a safe distance from the machine when operating.
WARNING – Operate the disabling device before working on or lifting the machine.
WARNING - Do not ride on the machine.
Li-Ion battery. This product has been marked with a symbol relating to ‘separate collection’ for all
battery packs and battery pack. It will then be recycled or dismantled in order to reduce the impact on
the environment. Battery packs can be hazardous for the environment and for human health since they
contain hazardous substances.
Do not burn
Batteries may enter water cycle if disposed improperly, which can be hazardous for ecosystem. Do not
dispose of waste batteries as unsorted municipal waste.
Prohibit disassembling the machine without authorization
Waste electrical products must not be disposed of with household waste. Please recycle where facilities
exist. Check with your local authorities or retailer for recycling advice.
Class III appliance
Read operator's manual
Detachable supply unit
Your Landroid Vision can be used with other Worx functional accessories. Visit https://eu.worx.com/en/
landroid/vision-technology/ to learn more about these available accessory options.

Get familiar with Landroid Vision EN
9
Worx Landroid Vision
Charging tower
Charging base plate
Spare blades kits
Hex key
Screws
Magnetic strip pegs
Power supply
20V battery
Magnetic strip in green*
Manuals
RFID
A
B
C
D
E
F
G
H
I
J
K
L
WHAT’S IN THE BOX
AD
E
B
F
C
G
H
L
J
I
K
* Only for Landroid Vision

A
B
Get familiar with Landroid Vision EN
GETTING TO KNOW
LANDROID VISION
The picture is for reference only
Find My Landroid
Rain sensor
Charge contact
Cutting height adjustment
Interface
Battery slot
Battery cover button
Safety stop
Camera
High Pitched Alarm Slot
USB port
10

Getting started EN
11
HOW LANDROID VISION WORKS
In the following section, we would like to help you better understand how Landroid Vision works.
Landroid Vision is equipped with an AI (Artificial intelligence) camera sensor, enabling it to automatically work on its own.
Landroid Vision can identify areas that are lawn covered or not, it knows when it needs to return to its charging base, can sense
when is raining, can stop itself if it senses a problem and turn around when it sees something blocking its path. To prevent an
accident, Landroid Vision will also automatically stop its blade disc from rotating if it is lifted off the ground or any other safety
issues occur.
Border management
No boundary wire or antenna installation, no maintenance or signal concern. With Landroid Vision deep learning technology it
knows where the boundary is, automatically mowing the lawn areas via grass and no-grass identification. To ensure its safety
navigation around your lawn area, there are some scenarios that need to be paid special attention to. Please refer to the
“preparation and planning” section.
Cut to edge
The special offset blade gets as close as possible to the border of your lawn, leaving you little or no trimming to do. Landroid
Vision is programmed to mow the edge twice a week on Monday and Friday. If you want to change this pre-set, you can modify
it via your smartphone or by using the control panel in “Work time-Customize Work time” section.
All day cut
With the optional FiatLux, Landroid Vision can work all day even at night and remain friendly to nocturnal animals like
hedgehogs. Otherwise the Landroid Vision can only work during the day.
Obstacle avoidance
Landroid Vision is able to detect objects ahead in real time using its AI camera technology, and an ever growing and extensive
database of images. Non-grass things, such as tree stump, water pipe and balls will be avoided.

12
Getting started EN
Easy cleanning
Landroid Vision is IPX 5 waterproofed and can be washed by using a regular garden hose.
Self-leveling cutting deck
Landroid Vision’s ‘Ground Tracer’ automatically adjusts the blade’s height to mirror small undulations on the lawn surface.
Charge itself
When your Landroid Vision needs to recharge its battery, it will stop mowing and follow the border in anti-clockwise direction
back to its charging base. Once charging is completed, Landroid Vision will automatically resume mowing or stay in the
charging base according to its mowing schedule.
Rain sensor & Rain delay
Landroid Vision is 100% weather proof and happy to be outside. But mowing wet grass does not give you the best result.
Landroid Vision is equipped with a rain sensor which detects rain and tells Landroid Vision to stop mowing and go back to
its charging base. Landroid Vision then re-starts mowing when the grass is no longer wet. The default Rain Delay time is 180
minutes. You can change the Rain Delay time setting via the Landroid Vision App.
No more grass clippings to collect
Landroid Vision’s daily mowing produces very short clippings that don’t need to be raked, or collected. These clippings are a
perfect organic nutrient for your lawn. Frequent mowing boosts the density of grass blades and effectively prevents the propa-
gation of weeds.

Getting started EN
13
Cutting Height
Before starting your Landroid Vision at the first time, make sure your grass is not longer than 9 cm. If it isn’t, use a regular
mower to cut it before operating Landroid Vision. If you want to drastically shorten the height of your grass, it is recommended
that you do so progressively, by adjusting the cutting height in steps.
Security & PIN Protection
To prevent unauthorised people from being able to use it, Landroid Vision is protected by a PIN code that you can easily set up.
Besides, Landroid Vision also supports auto lock function to prevent children or bystanders getting access to the settings.
In more extreme weather
In case of a lightning storm, protect Landroid Vision by unplugging the charging base and making sure Landroid Vision is not al-
lowed to charge. In the Winter and especially in case of very cold weather and snow, we recommend you to store your Landroid
Vision inside. In some countries we offer a Winter servicing of your Landroid Vision so it’s ready for the Spring growing season.
Contact your dealer or check online for more details.

Getting started EN
14
PREPARATION AND PLANNING
Preparing your Worx Landroid Vision to work is easier if you carefully follow these instructions. In addition to this manual, you
can watch the comprehensive video tutorials on our YouTube channel*.
* This information is provided for your convenience but cannot subsitute the instruction manual and the safety instructions that need to be read
and understood.
Patrol your
lawn to plan
installation
Install the RFID
Power up
Landroid Vision
Test and get
ready to mow
Connect
charging base
to AC
Install the
charging base

Getting started EN
15
1.2 Plan for the RFID used for multi-zone
If you have separated lawns, the equipped RFIDs can help Landroid Vision navigate the passage or pathway and cut the
separated lawn areas. The Landroid Vision follows the lawn edge and senses all the RFID cards to explore the zones in the first
travel. The mower will follow its working schedule, sense the RFID card and come across to another zone to complete its work
afterwards.
Each Landroid Vision will be equipped with 2 RFIDs. You need to install the RFID in each zone. If you have two separated lawns,
you can refer to Figure 5 to install the RFID. If you have three separated lawns, you can refer to Figure 6 and Figure 7 to install
the RFID.
To make sure the RFID work well, please help check:
• there are no obstacles or large area of bare grass and the edge is straight within 1.5 m around the RFIDs.
• there is a clear boundary besides the RFID.
• the ground under RFID is flat.
• no wires and strong magnet devices within 30 cm around the RFID to avoid signal interference.
• make sure the path between each zone is shorter than 6 m and that the height of any steps on the pathway are less than 3
cm.
NOTE: If the RFID’s supplied are not enough for you, you can purchase more from our retail partners and online.
1. PATROL YOUR LAWN TO PLAN INSTALLATION
1.1 Plan for the charging base (See Fig. 1 - Fig. 4)
The charging base composed of charging base plate and charging tower, is where your Landroid Vision goes to have its battery
recharged. It’s also the parking lot where it rests in between one mowing session and the next.
Locate a proper position for it, bearing in mind:
• The station needs to sit on flat land to ensure effective docking.
• It needs 2 m straight driving path in front for Landroid Vision following the edge and entering the charging base.
• There isn’t a large area of bare ground or sparse grass within the 2 m driving path to enter the charging base.
• The QR code on the charging tower is clear.
• It needs to be powered and be no more than 10 m away from an AC mains outlet.
• If possible, choose a shaded position as batteries and chargers don’t like over-heating.
• Avoid places close to irrigation sprinklers.
• Make sure Landroid Vision enter right towards to the charging base and depart in anti-clockwise direction.
0°
0°
AB
A
B
CA B C
1
0°
0°
AB
A
B
CA B C
3
0°
0°
AB
A
B
CA B C
2
Wed.11/29 09:00PM
Wed.11/29 09:00PM General setting
Set date&time
Rain start delay
APP Link
Define zones
1
2
1
2
4

Getting started EN
16
1.3 Patrol your lawn
A. Cutting height
It is recommended that the cutting height is lower than 9 cm at the first Landroid Vision do the cut.
B. Piles of things (See Fig. 8 - Fig. 9)
We suggest you to clean up the things such as leaves and wildflowers on the lawn, otherwise Landroid Vision will see them as
obstacles and avoid cutting this area.
0°
0°
AB
A
B
CA B C
5
0°
0°
AB
A
B
C
A B C
6
0°
0°
AB
A
B
C
A B C
7
0°
0°
AB
A
B
CA B C
8
0°
0°
AB
A
B
CA B C
9

Getting started EN
17
C. Steps covered by grass on the boundary (See Fig. 10 - Fig. 11)
If the steps on the lawn boundary are covered with grass and there is also grass underneath the steps, and the height of the
steps is more than 3 cm. It is recommended to install magnetic strips around the edges of the steps or leave a path without
grass that is wider than 5 cm.
D. Protected area (See Fig. 12 - Fig. 13)
If there are flowerbeds, vegetation or other valuable plants in your garden or on the boundary that are connected with or cove-
red by grass, Landroid Vision may cut these when mowing. It is recommended to surround these areas with the magnetic strip,
or set up a path without grass that is wider than 5 cm.
>30%(17
o
) >30%(17
o
)
32cm
32cm
32cm
32cm
32cm
32cm
0.8m
>3cm
32cm
32cm
32cm
>3cm
32cm
32cm
32cm
>15cm
>15cm
10
>30%(17
o
) >30%(17
o
)
32cm
32cm
32cm
32cm
32cm
32cm
0.8m
>3cm
32cm
32cm
32cm
>3cm
32cm
32cm
32cm
>15cm
>15cm
11
E. Slope at edge higher than 30% (170) (See Fig. 14 - Fig. 15)
If your lawn edge has a steep slope higher than 30% (17°), Landroid Vision will struggle to navigate the slope. In order to protect
your Landroid Vision, it is recommended to surround the slope area with the magnetic strip or set up a path without grass that is
wider than 5 cm.
>30%(17
o
) >30%(17
o
)
32cm
32cm
32cm
32cm
32cm
32cm
0.8m
>3cm
32cm
32cm
32cm
>3cm
32cm
32cm
32cm
>15cm
>15cm
12
>30%(17
o
) >30%(17
o
)
32cm
32cm
32cm
32cm
32cm
32cm
0.8m
>3cm
32cm
32cm
32cm
>3cm
32cm
32cm
32cm
>15cm
>15cm
13
>30%(17
o
)
>30%(17
o
)
32cm
32cm
32cm
32cm
32cm
32cm
0.8m
>3cm
32cm
32cm
32cm
>3cm
32cm
32cm
32cm
>15cm
>15cm
14
>30%(17
o
)
>30%(17
o
)
32cm
32cm
32cm
32cm
32cm
32cm
0.8m
>3cm
32cm
32cm
32cm
>3cm
32cm
32cm
32cm
>15cm
>15cm
15

Getting started EN
18
G. Adjacent grass (See Fig. 18 - Fig. 19)
If your lawn is connected to your neighbor’s lawn, we recommend that you install magnetic strips or create a 5 cm wide path
without grass as a boundary.
NOTE: Make sure the magnetic strip is installed 32 cm away from the protected area and border.
F. Tall grass (See Fig. 16 - Fig. 17)
If there is tall grass along the boundary, and the height of the grass is greater than 15 cm. If there are water puddles or holes
underneath the tall grass, it is recommended to cut the grass to below 15 cm or install magnetic strips around the tall grass.
>30%(17
o
) >30%(17
o
)
32cm
32cm
32cm
32cm
32cm
32cm
0.8m
>3cm
32cm
32cm
32cm
>3cm
32cm
32cm
32cm
>15cm
>15cm
16
>30%(17
o
) >30%(17
o
)
32cm
32cm
32cm
32cm
32cm
32cm
0.8m
>3cm
32cm
32cm
32cm
>3cm
32cm
32cm
32cm
>15cm
>15cm
17
H. Narrow passage (See Fig. 20)
Make sure the narrow passage for Landroid Vision to pass is wider than 1 m.
5-15cm 5-15cm
>2m
>2m
>
1.5m
50-60cm50-60cm
>1.5m
>1.5m
<6m
1 1
2
2
3
32cm
32cm
32cm
>1m
5-15cm
>2m
18
5-15cm 5-15cm
>2m
>2m
>
1.5m
50-60cm50-60cm
>1.5m
>1.5m
<6m
1 1
2
2
3
32cm
32cm
32cm
>1m
5-15cm
>2m
19
5-15cm 5-15cm
>2m
>2m
>
1.5m
50-60cm50-60cm
>1.5m
>1.5m
<6m
1 1
2
2
3
32cm
32cm
32cm
>1m
5-15cm
>2m
20

Getting started EN
19
NOW ROLL YOUR SLEEVES UP. WHEN IT’S DONE IT’S DONE!
Now that you have planned the installation in every detail, you are ready to take action. Before starting, you may want to use
your old mower for the last time to clean up your lawn and make the installation easier.
2. INSTALL THE CHARGING BASE
2.1 Position the charging base
Option A: Position the charging base at the corner of your lawn (See Fig. 21)
To enter the charging base, Landroid Vision needs at least 2 m straight path in front and 5-15 cm away from the boundary of
the lawn.
Option B: Position the charging base on one side of your lawn (See Fig. 22)
To enter the charging base, Landroid Vision needs at least 2 m straight path in front and 5-15 cm away from the boundary of
the lawn. It needs at least 1.5 m behind the charging base to make sure the grass can be cut.
5-15cm
5-15cm
>2m
>2m
>
1.5m
50-60cm50-60cm
>1.5m
>1.5m
<6m
1 1
2
2
3
32cm
32cm
32cm
>1m
5-15cm
>2m
22
Option C: Position the charging base in the corner outside the lawn (See Fig. 23)
Locate charging base on the extension line and 5-15 cm away from the edge. To enter the charging base, the charging station
should be placed near the edge of the lawn.
5-15cm 5-15cm
>2m
>2m
>
1.5m
50-60cm50-60cm
>1.5m
>1.5m
<6m
1 1
2
2
3
32cm
32cm
32cm
>1m
5-15cm
>2m
21
5-15cm
5-15cm
>2m
>2m
>
1.5m
50-60cm50-60cm
>1.5m
>1.5m
<6m
1 1
2
2
3
32cm
32cm
32cm
>1m
5-15cm
>2m
23

Getting started EN
20
2.2 Charging base checklist:
within reach of AC mains
in shade (if possible)
no obstacles, and no area of sparse grass within the 2 m straight path to the charging base
flat or level location
no irrigation sprinklers nearby
2.3 Fix the charging base in the selected location
• Compose the charging base plate, flatten and tighten the conjunction. (See Fig. 24)
• Insert charging tower into charging base plate. Then fix the charging base to the ground by means of the supplied screws,
using the supplied hex key. (See Fig. 24)
• If you position the base on hard surface, fix it with plug and screw fixings.
NOTE: It is recommended to assemble the charging base on a flat and hard surface.
3. INSTALL THE RFID (See Fig. 25)
• The distance from the centre of the RFID to the front and rear lawn boundaries needs to be greater than 1.5 m.
• Make sure the center of the RFID is 50-60 cm away from the lawn edge, fix the RFID with 2 screws.
• Put another RFID symmetrically in the opposite zone and fix it.
5-15cm 5-15cm
>2m
>2m
>
1.5m
50-60cm50-60cm
>1.5m
>1.5m
<6m
1 1
2
2
3
32cm
32cm
32cm
>1m
5-15cm
>2m
24
5-15cm 5-15cm
>2m
>2m
>
1.5m
50-60cm50-60cm
>1.5m
>1.5m
<6m
1 1
2
2
3
32cm
32cm
32cm
>1m
5-15cm
>2m
25
This manual suits for next models
3
Table of contents
Other Worx Lawn Mower manuals

Worx
Worx WG775 User manual

Worx
Worx Landroid M User manual

Worx
Worx Landroid M User manual

Worx
Worx Nitro WG751 3 Series User manual

Worx
Worx WG771 User manual

Worx
Worx WR165E User manual

Worx
Worx S Basic LANDROID User manual

Worx
Worx Landroid WR142E User manual

Worx
Worx WG776E User manual

Worx
Worx Landroid Operation instructions

Worx
Worx WG779E User manual

Worx
Worx Landroid WR130E User manual

Worx
Worx WG787 User manual

Worx
Worx WG779E Installation manual

Worx
Worx WG780E User manual

Worx
Worx WG730E Installation manual

Worx
Worx Landroid WR141E User manual

Worx
Worx WP733E Operation instructions

Worx
Worx LANDROID L WG795E User manual

Worx
Worx Landroid M User manual