XM Satellite Radio SR9600A User manual

1
ENGLISH
XM Satellite Radio Ready
The XM name and related logos are registered
trademarks of XM Satellite Radio Inc.
XM RADIO OVERVIEW
SR9600 is the XM Ready® receiver. You can receive XM Satellite Radio® by connecting to the XM
Connect-and-PlayTM (sold separately) and subscribing the XM service.
Introducing XM Satellite Radio
There’s a world of audio listening pleasure beyond AM and FM. XM Satellite Radio. Select from over 150
channels of music, news, sports, comedy, talk, and entertainment. Coast-to-coast coverage. Digital
quality sound. With all music channels 100% commercial free.
Questions?: Visit www.xmradio.com.
How to Subscribe
Listeners can subscribe by visiting XM on the Web at www.xmradio.com or by calling XM’s Listener Care
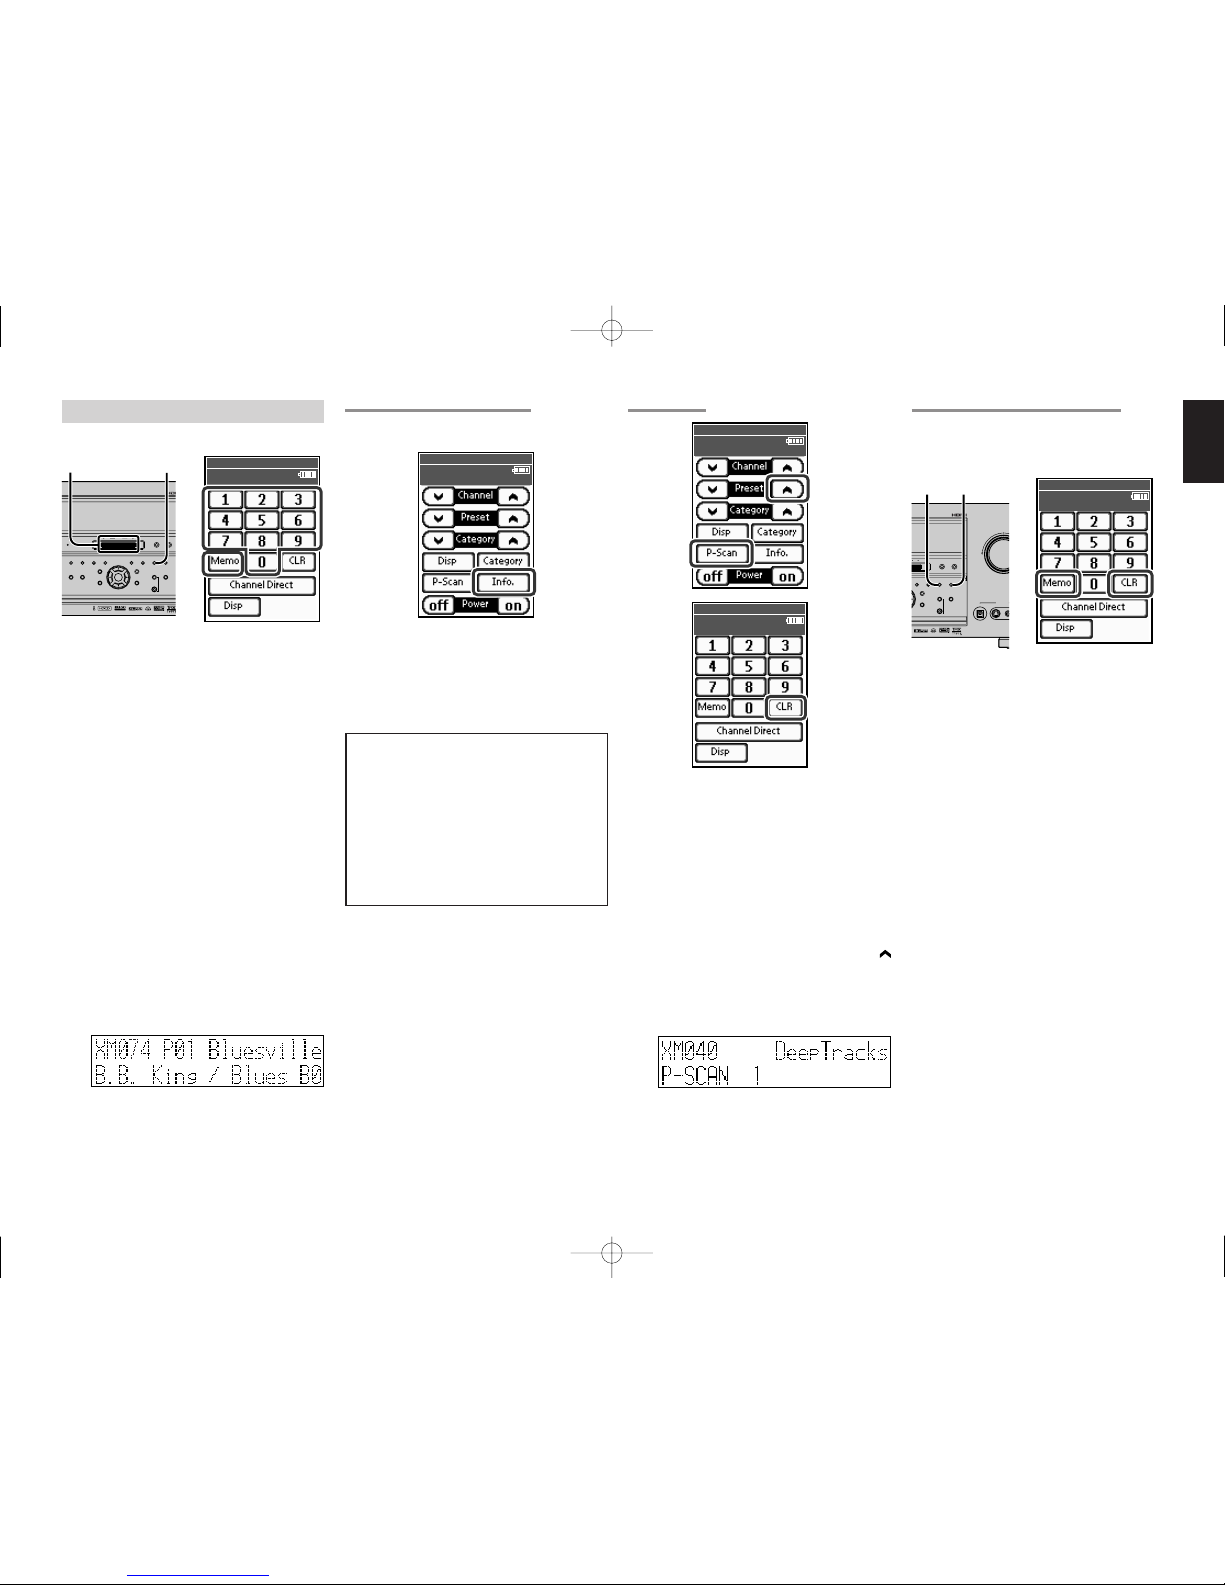
at (800) 967-2346. Customers should have their Radio ID and credit card ready. The Radio ID can be
found by selecting channel 0 on the radio.
(See the “CHECKING THE XM SIGNAL STRENGTH AND RADIO ID”)
A Warning Against Reverse Engineering
It is prohibited to copy, decompile, disassemble, reverse engineer, or manipulate any technology
incorporated in receivers compatible with the XM Satellite Radio system.
Furthermore, the AMBE® voice compression software included in this product is protected by intellectual
property rights including patent rights, copyrights, and trade secrets of Digital Voice Systems, Inc. The
user of this or any other software contained in an XM Radio is explicitly prohibited from attempting to copy,
decompile, reverse engineer, or disassemble the object code, or in any other way convert the object code
into human-readable form. The software is licensed solely for use within this product.
Hardware and required basic monthly subscription sold separately. Premium Channel available at
additional monthly cost. Installation costs and other fees and taxes, including a one-time activation
fee may apply. Subscription fee is consumer only.
All fees and programming subject to change. Subscriptions subject to Customer Agreement available
at xmradio.com.
Only available in the 48 contiguous United States. ©2005 XM Satellite Radio Inc. All rights reserved.
All other trademarks are the property of their respective owners.
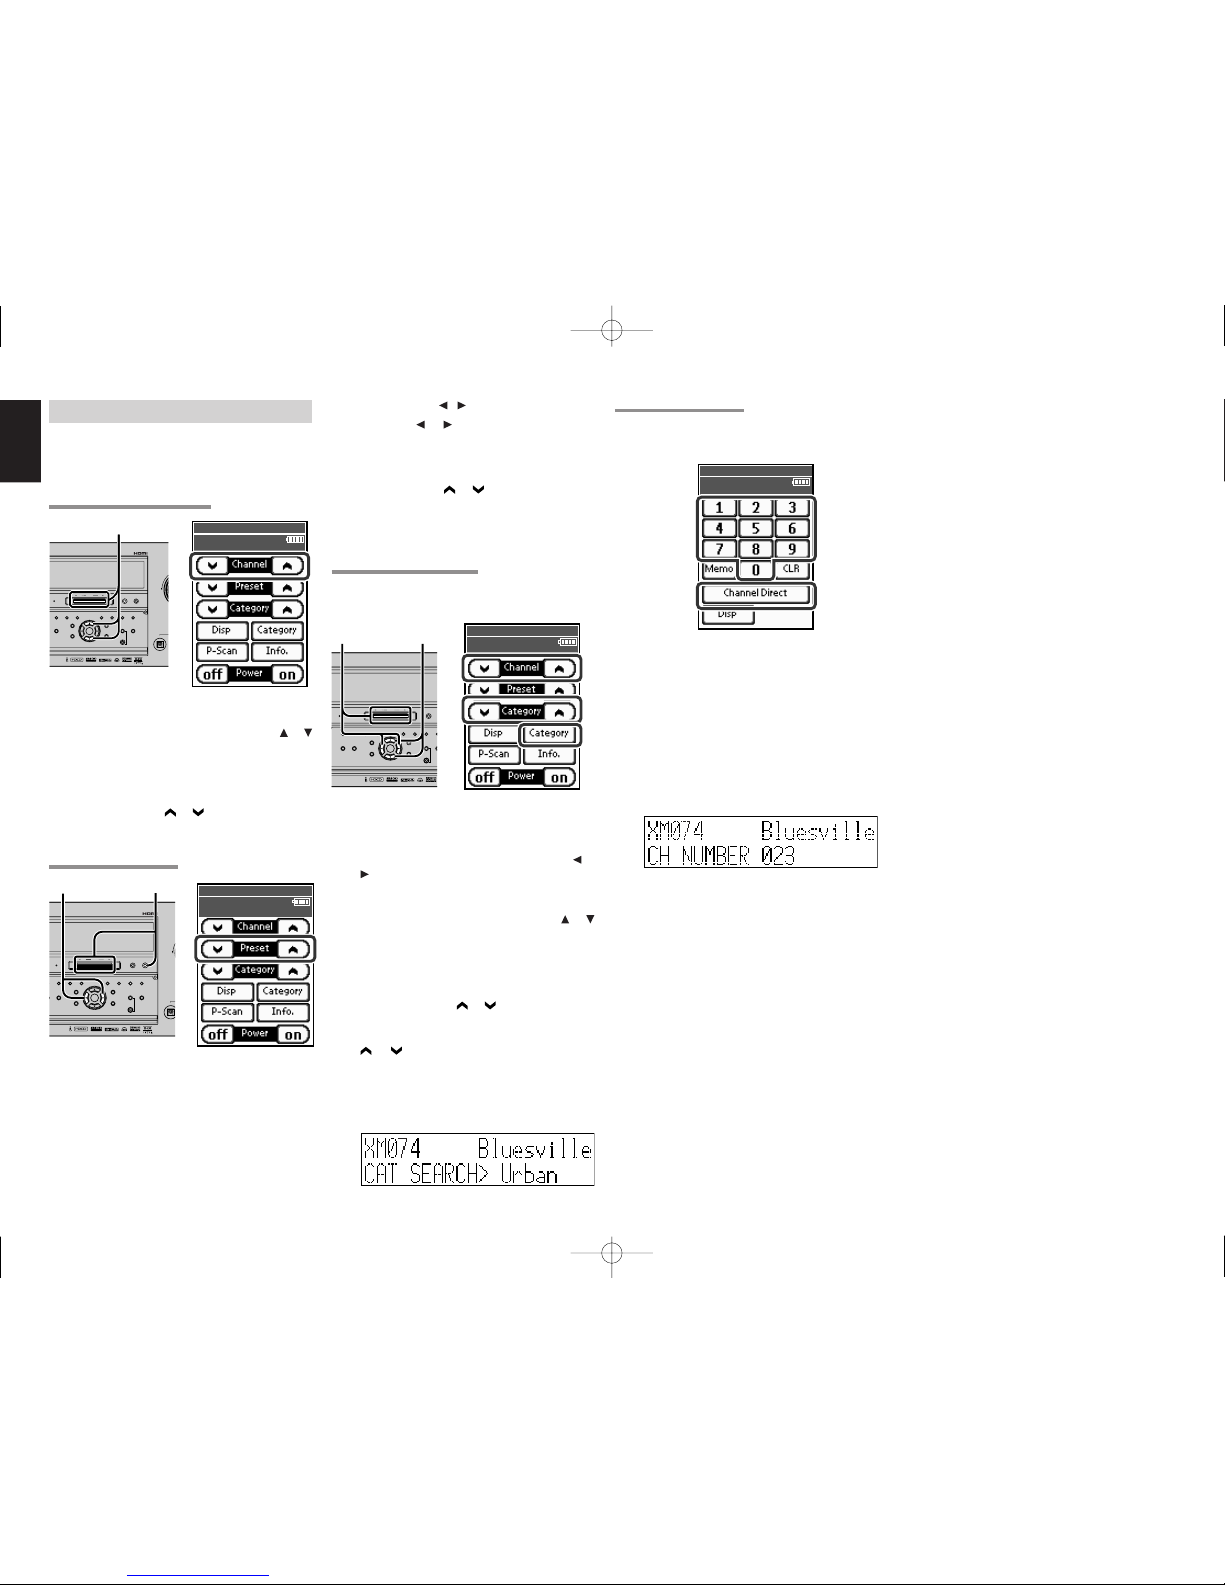
CONNECTING THE XM CONNECT-AND-PLAY ANTENNA
• Plug the XM Connect-and-Play antenna into XM terminal on the rear panel.
• Position the XM Connect-and-Play antenna near a south-facing window to receive the best signal.
When making connections, also refer to the operating instructions of the XM Connect-and-Play
antenna.
Note
• Keep the power supply cord unplugged until the XM Connect-and-Play antenna connection have been
completed.
USB AUDIO
OUTPUT
INPUT-1
(DVD)
INPUT-2(DSS)
INPUT-1
(DVD)INPUT-3(VCR-1)
2
CD
INPUT-2
(DSS)
2
11
2
3
44
3
RS232C DC OUT
EMITTER OUT
MULTI RC
RC-5
MONITOROUT
1OUTINOUTIN
DSSTVDVD LD
TAPE
VCR-1
OUTPUT-2
OUTPUT-1
IN
MAIN IN7.1CH IN
MULTI OUT
SURR.
RIGHT
SURR.
LEFT
CENTER
FRONTB
RIGHT
FRONTB
LEFT
FRONTA
RIGHT
FRONTA
LEFT
SL SBL SL SR SBL SBR
SW
AB
SBRSR
COAX
OPT
8
7
6
2
5
4
3
1
DIGITAL
IN
DIGITAL
OUT
OUT
AC IN
C
B
/
P
B
C
R
/
P
R
Y
C
B
/
P
B
C
R
/
P
R
Y
C
B
/
P
B
C
R
/
P
R
Y
C
B
/
P
B
C
R
/
P
R
Y
C
B
/
P
B
C
R
/
P
R
Y
R
L
MODEL NO. SR9600
TUNER-1
FM(75
Ω
)GNDAM
(AUDIO)
S400
S400
INPUT-4(VCR-2
/
DVD-R)
VCR-2
/
DVD-R
IN
CD-R
/
MD
OUT
R
L
(AUX2)
C
AUDIO
PRE OUT
LR C
AUDIO
SW
VIDEO
S-VIDEO
R
L
MULTI OUT
VIDEO
AB
COMPONENT
VIDEO
HDMI
Ver 1.1
FLASHER RECEIVER
ININ
IR
OUT
IN
SURR.BACK
/MULTISPK.
/SPK.C
RIGHT
SURR.BACK
/MULTISPK.
/SPK.C
LEFT
ON
OFF
SPEAKER C
UNSWITCHED1A 120W MAX
SWITCHED1A 120W MAX
AC 120V 60H
Z
AC OUTLETS
SPEAKER SYSTEMS
FRONT A OR B, CENTER, SURR,
SURR BACK : MINIMUM 6 OHMS
FRONT A AND B : MINIMUM 8 OHMS
XMXMXMXM
XMXMXMXM
Model SR9600A (XM Satellite Radio) User Guide
ENGLISH
CONTENTS
XM RADIO OVERVIEW ....................................................................................................................................................... 1
CONNECTING THE XM CONNECT AND PLAY ANTENNA ............................................................................................... 1
LISTENING TO XM SATELLITE RADIO ............................................................................................................................ 3
SEARCH MODE .................................................................................................................................................................. 4
PRESET MEMORY ............................................................................................................................................................. 5
TROUBLESHOOTING ......................................................................................................................................................... 6
Thank you for purchasing a SR9600A XM Satellite Radio.
SR9600A is designed to add XM Satellite Radio functions to SR9600.
This user guide is exclusive for XM Satellite Radio functions.
For instructions other than XM Satellite Radio functions, please refer to the enclosed “Model SR9600 User
Guide”.
SR9600UDFU01ENGXM 06.1.16, 4:43 PMPage 1 AdobePageMaker6.5J/PPC

2
ENGLISH
SR9600A is designed to add XM Satellite Radio functions to SR9600.
There are different terms from the enclosed “Model SR9600 User Guide”.
For “Model SR9600 User Guide”, Please replace the terms as listed in the table below.
SR9600 SR9600A
TUNER1 TUNER
TUNER2 XM
RC3200B RC3200C
The table below shows the differences of displays on the remote control units between
RC3200B(SR9600) and RC3200C(SR9600A).
SR9600 RC3200B (SR9600) RC3200C (SR9600A)
User Guide Page
11
Home
(PAGE 1/4)
11
Home
(PAGE 2/4)
12
Source Select
(PAGE 1/8)
1/4 Home
wed Jun 01 4:40
pm
13
Multi room A / B :
Source
(PAGE 2/6)
14
Multi room A / B :
Tuner 2
(PAGE 5/6)
14
Multi room A / B :
Tuner 2 Key
(PAGE 6/6)
15
Tuner 2 : Main
(PAGE 1/2)
15
Tuner 2 : Key
(PAGE 2/2)
2/4 Home
wed Jun 01 4:40
pm
4:40
pm
2/6 Multi room A
MULTI-A : Source
wed Jun 01 4:40
pm
2/6 Multi room
MULTI- : Source
wed Jun 01 4:40
pm
1/8 A/V Amp
Source Select
wed Jun 01 4:40pm
5/6 Multi room A
MULTI-A : Tuner 2
wed Jun 01 4:40pm
5/6 Multi room
MULTI- : Tuner 2
wed Jun 01 4:40
pm
6/6 Multi room A
MULTI-A : Tuner 2 key
wed Jun 01 4:40
pm
6/6 Multi room
Multi- : Tuner 2 key
wed Jun 01 4:40
pm
1/2 Tuner 2
Tuner 2 : Main
wed Jun 01 4:40
pm
2/2 Tuner 2
Tuner 2 : Key
wed Jun 01 4:40
pm
1/4 Home
wed Jun 01 4:40
pm
2/4 Home
wed Jun 01 4:40
pm
1/8 A/V Amp
Source Select
wed Jun 01 4:40
pm
4:40
pm
2/6 Multi room A
MULTI-A : Source
wed Jun 01 4:40
pm
2/6 Multi room
MULTI- : Source
wed Jun 01 4:40pm
5/6 Multi room A
MULTI-A : XM
wed Jun 01 4:40pm
5/6 Multi room
MULTI- : XM
wed Jun 01 4:40pm
6/6 Multi room A
Multi-A : XM key
wed Jun 01 4:40pm
6/6 Multi room
Multi- : XM key
wed Jun 01 4:40
pm
1/2 XM
XM : Main
wed Jun 01 4:40
pm
2/2 XM
XM : Key
wed Jun 01 4:40
pm
SR9600UDFU01ENGXM 06.1.16, 4:44 PMPage 2 AdobePageMaker6.5J/PPC

3
ENGLISH
SIGNAL : STRONG SIGNAL : MARGINAL
Signal strength is good Signal strength is marginal
SIGNAL : WEAK SIGNAL : NON
Signal strength is poor Loss of the signal
2.
Adjust the antenna location until Signal
strength is good.
3.
Turn the GYRO TUNING dial or tap the channel
or button on the remote control unit to
select channel 0 (XM000).
•The Radio ID is displayed.
Note:
•If “CHECK ANTENNA”appears in the front
panel display, the XM Connect-and-Play antenna
may not be connected to the XM terminal on the
rear panel of this unit properly.
LISTENING TO XM SATELLITE RADIO
SELECTING AN INPUT SOURCE
Before you can listen to XM Satellite Radio, you
must first select the input source on the SR9600.
MULTI
SPEAKER
F/PBANDTHXTHXPUREDIRECTPUREDIRECT UP
DOWN
TUNING
AUX1 INPUT
RAUDIO
DIGITAL S-VIDEO LVIDEO
POWERON/STANDBYPOWERON/STANDBY
VOLUME
UPDOWN
INPUTSELECTORINPUTSELECTOR
PHONESPHONES
STANDBYSTANDBY
AVSURROUND RECEIVER SR9600AVSURROUND RECEIVER SR9600
SURROUNDSURROUND
MIC
ENTER
MENU
PUREDIRECTPUREDIRECT THXTHX
7.17.1CHINPUT
MODEMODE AUTOAUTO MULTIMULTI
A/B
T-MODE MEMORY CLEAR
DISPLAY
EXIT
SPEAKERS
MRAC
AUTOTUNE
1.
1.
Select “XM”by turning the INPUT SELECTOR
knob on the front panel.
Or, tap the “XM”on the remote control unit.
CHECKING THE XM SIGNAL STRENGTH AND
RADIO ID
1.
Tap the Disp. twice on the remote control
unit. Signal status is displayed.
•The display changes as shown below
according to the receiving condition.
SWITCHING XM INFORMATION IN THE FRONT
PANEL DISPLAY
You can display XM information (such as artist
name, song title, category or signal status) for the
channel currently selected in the front panel
display.
1.
Tap the Disp. button on the remote control
unit repeatedly to toggle between the
following channel information display modes.
Artist name/Song title
Channel category
Signal Status
Surround mode (OSD ON)
When the channel Artist name/Song title is
displayed:
When the channel category is displayed:
When the signal status is displayed:
Radio ID
DIGITAL
1/8 A/V Amp
Source Select
wed Jun 01 4:40
pm
1.
1/2 XM
XM : Main
wed Jun 01 4:40pm
1.
1/2 XM
XM : Main
wed Jun 01 4:40
pm
1.
When the Surround mode is displayed:
The video monitor output will show OSD information.
Note:
•
The front panel display can indicate up to 20
alphanumeric characters at once. If the information
contains more than 20 characters, the information
scrolls from right to left.
•If the information contains a character that cannot
be recognized by that unit, the character will be
displayed with “”(space).
XM I NFORMAT I ON
X
C
N
T
C
S
M
H
A
I
A
I
A
M
T
T
G
N
E
L
N
E
AL
:
:
:
:
:
:
0
D
P
M
R
S
4
e
i
o
o
T
0
e
n
n
c
R
p
k
ey
k
O
T
N
r
F
G
a
l
c
o
k
i
s
d
SR9600UDFU01ENGXM 06.1.16, 4:44 PMPage 3 AdobePageMaker6.5J/PPC

4
ENGLISH
SEARCH MODE
You can search for the channel you want to listen
to using one of three search modes. You can also
enter the number directly to select the desired
channel.
ALL CHANNEL SEARCH MODE
MULTIMULTI
SPEAKERSPEAKER
F/PF/PBANDBANDTHXTHXPUREDIRECT UPUP
DOWNDOWN
TUNINGTUNING
AUX1 INPUT
RAUDIO
DIGITALDIGITAL S-VIDEO LVIDEO
POWERON/STANDBY
VOLUME
UPDOWNDOWN
INPUTSELECTOR
PHONES
STANDBY
AVSURROUND RECEIVER SR9600
DSURROUND
MICMIC
ENTERENTER
MENUMENU
CTPURE DIRECT THXTHX
7.1CHINPUT7.1CHINPUT
MODE AUTOAUTO MULTIMULTI
A/BA/B
T-MODET-MODE MEMORYMEMORY CLEARCLEAR
DISPLAYDISPLAY
EXITEXIT
SPEAKERSSPEAKERS
MRACMRAC
AUTOTUNEAUTO TUNE
1.
(Using the SR9600)
1.
Press the GYRO TUNING dial or press or
cursor button on the front panel to select the
desired station.
(Using the remote control unit)
1.
Tap the channel or .
PRESET SEARCH MODE
MULTIMULTI
SPEAKERSPEAKER
F/PF/PBANDBANDTHXTHXTPURE DIRECT UPUP
DOWNDOWN
TUNINGTUNING
AUX1 INPUT
RAUDIO
DIGITALDIGITAL S-VIDEO LVIDEO
POWERON/STANDBY
VOLUME
UPDOWNDOWN
INPUTSELECTOR
PHONES
STANDBY
AVSURROUND RECEIVER SR9600
UNDSURROUND
MICMIC
ENTERENTER
MENUMENU
RECTPURE DIRECT THXTHX
7.1CHINPUT7.1CHINPUT
EMODE AUTOAUTO MULTIMULTI
A/BA/B
T-MODET-MODE MEMORYMEMORY CLEARCLEAR
DISPLAYDISPLAY
EXITEXIT
SPEAKERSSPEAKERS
MRACMRAC
AUTOTUNEAUTOTUNE
1-a.
1-b.
(Using the SR9600 GYRO TUNING DIAL)
1-a.
Press the F/P button to show the preset
station on the display. Select the desired
preset station by rotating the GYRO TUNING
dial on the front panel.
1/2 XM
XM : Main
wed Jun 01 4:40
pm
1.
(Using the SR9600 , cursor button)
1-b.
Press the or cursor button on the front
panel to select the desired preset station.
(Using the remote control unit)
1.
Tap the Preset or to select the desired
preset station, or input the desired preset
channel with the numeric keypad on the
remote control unit.
CATEGORY SEARCH MODE
You can select the desired channel from the
category allocated to each channel.
Category being aired can be only selected.
MULTIMULTI
SPEAKERSPEAKER
F/PBANDBANDTHXTHXPUREDIRECTPUREDIRECT UPUP
DOWNDOWN
TUNINGTUNING
AUX1 INPUT
RAUDIO
DIGITAL S-VIDEO LVIDEO
POWERON/STANDBY
VOLUME
UPDOWN
INPUTSELECTOR
PHONES
STANDBY
AVSURROUND RECEIVER SR9600
SURROUNDSURROUND
MICMIC
ENTERENTER
MENUMENU
PUREDIRECTPURE DIRECT THXTHX
7.1CHINPUT7.1CHINPUT
MODEMODE AUTOAUTO MULTIMULTI
AA/B
T-MODET-MODE MEMORYMEMORY CLCLEAR
DISPLAYDISPLAY
EXITEXIT
SPEASPEAKERS
MRACMRAC
AUTOTUNEAUTOTUNE
2. 3.
1.
Tap the Category on the remote control unit.
(Using the SR9600)
2.
Turn the GYRO TUNING dial or press the or
button on the front panel to select the
desired Category.
3.
After selecting the category, press the or
cursor button to select the desired station of
the category.
(Using the remote control unit)
2.
Tap the Category or .
3.
After selecting the category, tap the Channel
or to select the desired station of the
category.
4.
You can return to the normal mode by tapping
the Category during Category Search Mode.
CHANNEL DIRECT CALL
You can select the desired channel by directly
tapping the numeric keypads on the remote control
unit.
1.
Tap the Channel Direct.
"CH NUMBER - - -" will appear on the
display.
2.
Input the three digit number for your desired
Channel with the numeric keypad on the
remote control unit.
3.
The desired channel will automatically be
tuned.
Note:
•If there is no input on the keypad for 5 sec., the
input is cancelled to return to the original display.
1/2 XM
XM : Main
wed Jun 01 4:40pm
1.
1/2 XM
XM : Main
wed Jun 01 4:40pm
3.
2.
1.
2/2 XM
XM : Key
wed Jun 01 4:40pm
1.
2.
Note:
•“LOADING”is displayed while receiving the
channel or information.
•“UPDATING”is displayed while updating
encryption code.
•When the selected channel is not available, “XM-
- - ”is displayed.
•“OFF AIR”is displayed while air is suspended
(e.g. midnight).
SR9600UDFU01ENGXM 06.1.16, 4:44 PMPage 4 AdobePageMaker6.5J/PPC

5
ENGLISH
PRESET MEMORY
You can store the desired channel in the Preset
Memory.
(Using the SR9600)
1.
Tune into the desired channel.
2.
Press the MEMORY button on the front panel.
“PRESET – –“(preset number) starts blinking
on the display.
3.
Select the preset number by rotating the
GYRO TUNING dial, while it is still blinking
(approx. 5 second)
4.
Press the MEMORY button again to enter.
The display stops blinking.
The Channel is now stored in the specified
preset memory location.
(Using the remote control unit)
1.
Tune into the desired channel.
2.
Tap the Memo on the remote control unit.
“PRESET – –”(preset number) starts blinking
on the display.
3.
Enter the desired preset number by tapping
the numeric keypads.
Note
•When entering a single digit number (2 for
example), either input “02”or just input “2”
and wait for a few seconds.
2/2 XM
XM : Key
wed Jun 01 4:40pm
2.
3.
MULTIMULTI
SPEAKERSPEAKER
F/PF/PBANDBANDTHXTHXPUREDIRECTPURE DIRECT UPUP
DOWNDOWN
TUNINGTUNING
AUX1 INPUT
RAUDIO
DIGITAL S-VIDEO LVIDEO
POWERON/STANDBY
VOLUME
UPDOWN
INPUTSELECTOR
PHONES
STANDBY
AVSURROUND RECEIVER SR9600
SURROUNDSURROUND
MICMIC
ENTERENTER
MENUMENU
PUREDIRECTPUREDIRECT THXTHX
7.1CHINPUT7.1CHINPUT
MODEMODE AUTOAUTO MULTIMULTI
A/BA/B
T-MODET-MODE MEMORYMEMORY CLEARCLEAR
DISPLAYDISPLAY
EXITEXIT
SPEAKERSSPEAKERS
MRACMRAC
AUTOTUNEAUTOTUNE
3. 2. 4.
CHECKING THE PRESET CHANNEL
The preset channel can be checked on the on
screen display.
(Using the remote control unit)
1.
Tap the Info. to view a list of tuner preset
channel on the on screen display.
2.
If there are 10 or more preset channel, tap the
Info. again.
Note
•The preset channel indication disappears in about
5 sec.
PRESET SCAN
(Using the remote control unit)
1.
Tap the P-Scan on the remote control unit.
”PRESET SCAN”appears on the display and
then the preset station with the lowest preset
number is recalled first.
2.
Preset stations are recalled in sequence (No. 1→
No. 2→etc.) for about 5-10 seconds each. The
time changes by the received condition. No
stored preset number will be skipped.
3.
You can fast forward through the Preset
stations by tapping the Preset continuously.
When the desired preset station is received,
cancel the preset scan operation by tapping
the CLR or P-Scan.
CLEARING STORED PRESET STATIONS
You can remove preset stations from the memory
using the following procedure.
1.
Recall the preset number to be cleared with
the method described in “RECALLING A
PRESET CHANNEL”.
2.
Press the MEMORY button on the front panel
or tap the Memo on the remote control unit.
3.
The stored preset number blinks in the display
for 5 seconds. While blinking, press the
CLEAR button on the front panel or tap the
CLR on the remote control unit.
4.
“xx CLEAR”appears on the display to
indicate that the specified preset number has
been cleared.
Note
•To clear all stored preset channels, press and hold
the CLEAR and the F/P buttons for two seconds.
•There are 50 preset channels prepared at the
factory default. The 50 channels are all set to
“CHANNEL 001”. Each channel can be stored in
the preset memory. You can search for only the
preset channels.
1/2 XM
XM : Main
wed Jun 01 4:40
pm
1.
2.
1/2 XM
XM : Main
wed Jun 01 4:40
pm
1.
3.
3.
2/2 XM
XM : Key
wed Jun 01 4:40
pm
2. 3.
MULTI
SPEAKER
F/PF/PBANDBANDTHXPUREDIRECT UPUP
DOWN
TUNING
AUX1 INPUTAUX1 INPUT
RAUDIO
DIGITALDIGITAL S-VIDEOS-VIDEO LVIDEVIDEO
POWERON/STANDBY
VOLUMEVOLUME
UPDOWNDOWN
INPUTSELECTOR
PHONES
STANDBY
AVSURROUND RECEIVER SR9600
SURROUND
MICMIC
ENTER
MENU
PUREDIRECT THX
7.1CHINPUT
MODE AUTO MULTI
A/BA/B
T-MODET-MODE MEMORYMEMORY CLEARCLEAR
DISPLAYDISPLAY
EXITEXIT
SPEAKERSSPEAKERS
MRACMRAC
AUTOTUNEAUTOTUNE
3.2.
1 XM001 Prev i ew
NO .
2 XM001 Prev i ew
NO .
3 XM001 Prev i ew
NO .
4 XM001 Prev i ew
NO .
5 XM001 Prev i ew
NO .
6 XM001 Prev i ew
NO .
7 XM001 Prev i ew
NO .
8 XM001 Prev i ew
NO .
9 XM001 Prev i ew
NO .
TUNER PRESET L I ST
2/2 XM
XM : Key
wed Jun 01 4:40
pm
3.
SR9600UDFU01ENGXM 06.1.16, 4:44 PMPage 5 AdobePageMaker6.5J/PPC

6
ENGLISH
CAUSE
XM terminal and the XM Connect-and-
Play antenna is not properly connected.
The signal cannot be received.
The XM Tuner is not activated.
SYMPTOM
“CHECK ANTENNA”is
displayed.
“NO SIGNAL”is displayed.
Receiving only XM channels 0
and 1.
REMEDY
Check that the connection are correct.
Reposition your XM Connect-and-Play antenna.
Contact XM Radio.
TROUBLESHOOTING
If a problem should arise, first check the following.
1. Are the connections correct?
2. Have you operated the receiver according to the operating instructions?
3. Are the speakers and other components operating properly?
If this unit is not operating properly, check the items listed in the table below. Should the problem persist,
there may be a malfunction. Disconnect the power immediately and contact your store of purchase.
SR9600UDFU01ENGXM 06.1.16, 4:44 PMPage 6 AdobePageMaker6.5J/PPC
This manual suits for next models
2
Table of contents
Other XM Satellite Radio Radio manuals

XM Satellite Radio
XM Satellite Radio XM2go X2G-100B User manual

XM Satellite Radio
XM Satellite Radio Audiovox XMCK5P XPRESS-EZ User manual

XM Satellite Radio
XM Satellite Radio Portable Satellite Radio User manual

XM Satellite Radio
XM Satellite Radio Sportscaster XM101HKA User manual

XM Satellite Radio
XM Satellite Radio Onyx XDNX1V1KC User manual

XM Satellite Radio
XM Satellite Radio XpressEZ User manual

XM Satellite Radio
XM Satellite Radio XMCK-5P User manual

XM Satellite Radio
XM Satellite Radio Xpress RCi User manual