3
8. Insert the 3/8” poly tubing into the nut and tighten the screw to the ball valve (item P in Diagram 1).
9. Insert the other end of the tube to the position marked Tank on the QuadRO
10. Turn on the ball valve (blue handle should be parallel to the tube)
11.0 CONNECTING UP THE APPLIANCE
1. Screw the ¾” connector with 3/8” tube reducer on to both water inlets of the appliance
2. Measure the distance between the appliance and the QuadRO system and cut a 3/8” poly tubing for the required length.
3. Connect the tubing to the Quad RO at the position marked APP (location F in diagram 1).
4. Do not connect it to the steamer oven/coffee machine/appliance at this stage.
12.0 CONNECTING UP FEEDING WATER
1. Measure the distance between the water feed valve and the R.O. system
2. Cut a 3/8” poly tubing with the length measured
3. Insert the tube to the connector B as shown in diagram 1.
4. Insert the other end of the tube to the 3/8 tube union tee adapter (item C in diagram 1)
5. Insert one end of the union tee connector to the inlet of the Triple Action System (item M) as shown in diagram 1
6. Insert a tube to the outlet of the Triple Action System (item M).
7. From the outlet of the Triple Action system (item M), insert the other end of the tube to the RAW water inlet of the
appliance.
8. From the 3/8” union tee connector, insert the tube into the 3/8” OD ball valve of the QuadRO system (item D) as
shown in diagram 1
13.0 START UP PROCEDURE
1. With the tube that is connected at the position marked APP (location F in diagram 1), move the end of the tube to the drain
cup.
2. Turn on water supply slowly.
3. Check for leaks. (If anything is leaking shut off water, repair, then start with step 1 again).
4. Within a few minutes (up to 10 minutes) the water will start to flow from the tube connected at the position marked APP.
5. Let the water run for 15 minutes. This flushes out the preservative in the membrane.
6. Turn off the water supply.
7. See Section 14 if you wish to adjust the TDS/water hardness of the water.
8. Insert the end of the tube that is connected at the position APP into the soft water inlet of the appliance.
9. Turn on the water supply - the tank will take about 1-2 hours to fill up (depending on the size of the tank and water pressure).
14.0 ADJUSTING THE TDS (TOTAL DISSOLVED SOLID) IN THE WATER
Note: A TDS tester and water hardness test kit is required for testing the water hardness. The TDS tester is used as a guide only.
The water hardness test kit will be required to test the final hardness of the water. The default set up for the system is to reject up
to 96% of the impurities in the water.
Some appliances require a certain level of water hardness in the water in order to function properly. It is important that the installer
is aware of the water requirement specification of the oven before starting the installation. Any incorrect settings may result in
serious damage to the appliance. Please contact the water appliance manufacturer for details of the water hardness.
Xsential will not be responsible for any wrong installation and set up of the QuadRO system.
1. After installing the QuadRO system. Make sure that the QuadRO system is not connected to the appliance.
2. Turn on the water supply.
3. Let the water run for 15 minutes as in section 12 step 5.
4. Measure the TDS (total dissolve solid) of the RO water with the TDS meter.
5. Increase/decrease the raw water supply to achieve the required setting by adjusting the TDS adjuster.
6. Once the required TDS level has been achieved with the TDS meter test the water hardness of the water using the water
hardness kit.
7. Once the water hardness level is satisfactory, tighten the lower nut of the TDS adjuster. This will prevent accidental
adjustment of the TDS by people brushing up against the QuadRO system.
8. Turn off water supply and connect the QuadRO system to the appliance.
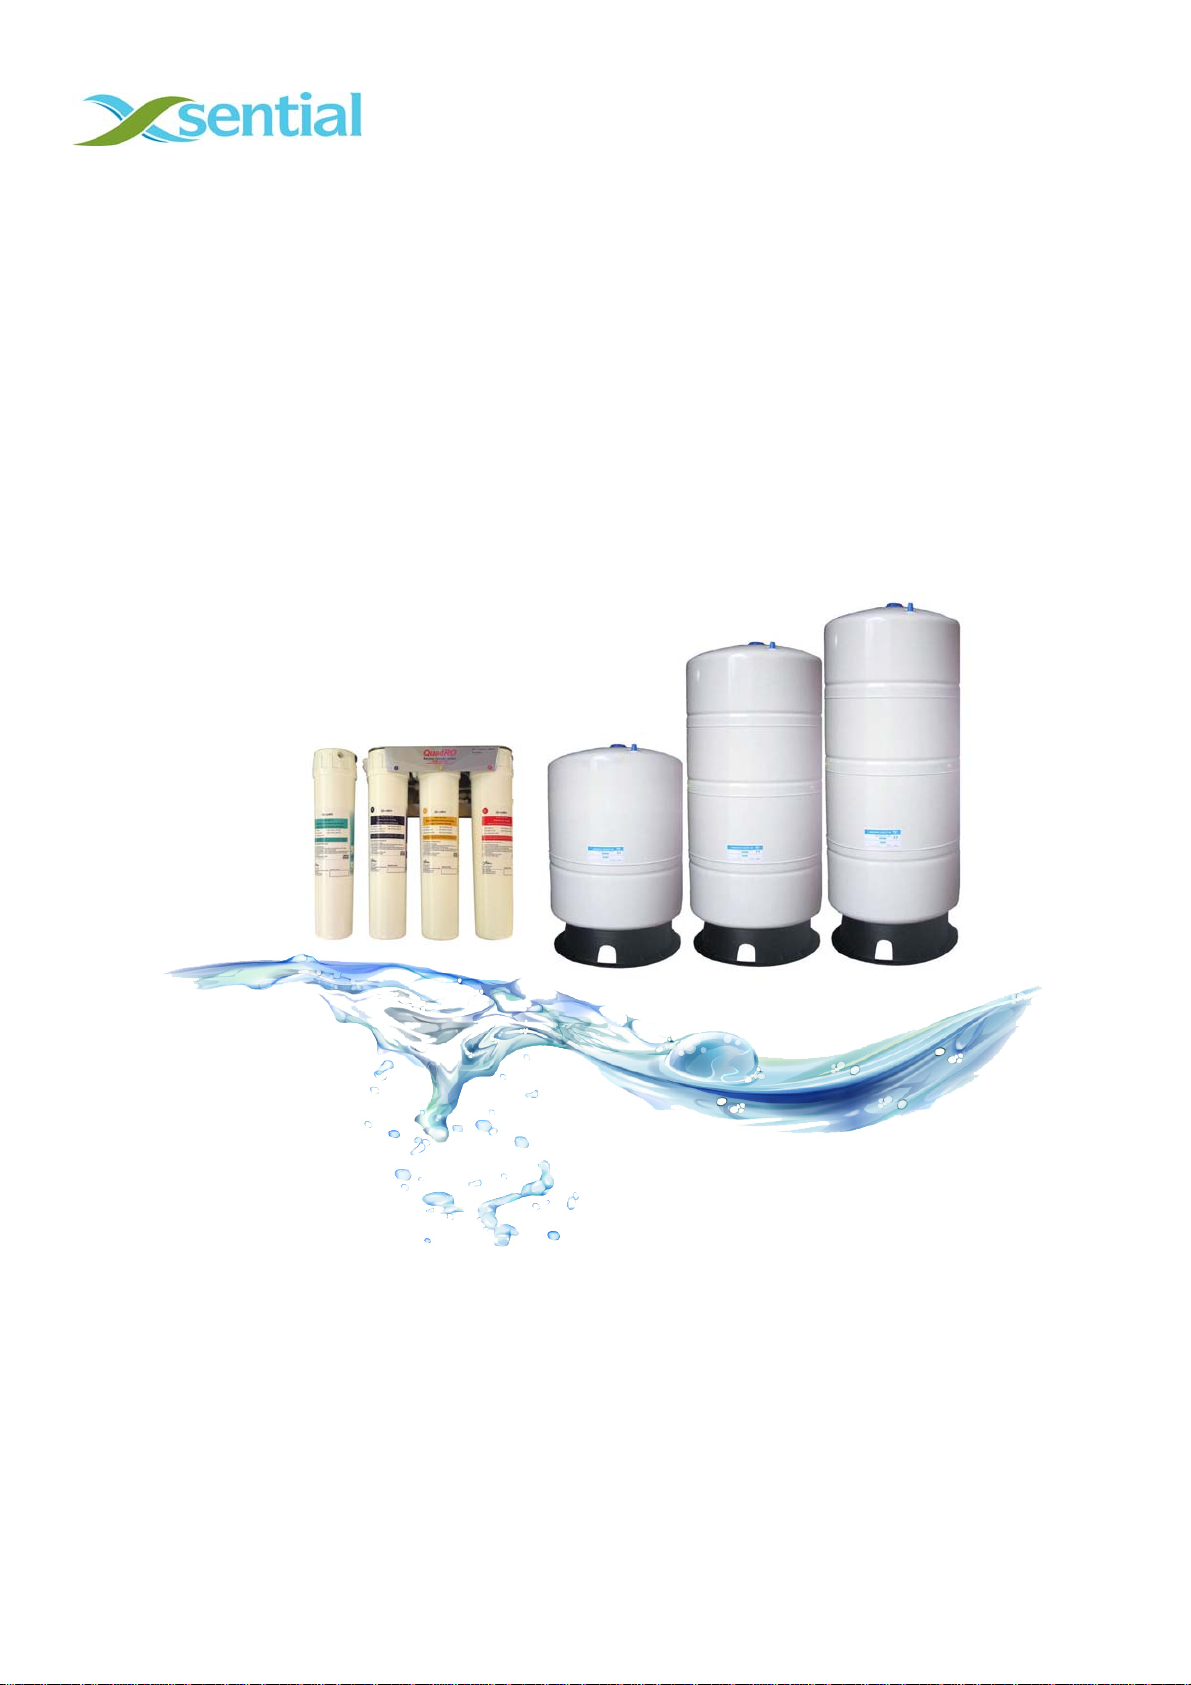
15.0 SYSTEM MAINTENANCE AND FILTER CHANGE PROCEDURE
CAUTION FOR YOUR SAFETY: Change the sediment and carbon filters regularly every 4-6 months and have the R.O.
membrane checked annually. Refer to the following table for the recommended filter change interval.
1. Shut off the ball valve (item D in diagram 1) that is connected to the water supply.
2. Grab the cartridge that is to be changed with both hands and turn the cartridge anti-clockwise until it stops.
3. Pull the cartridge down to remove the cartridge.
4. Repeat steps 2-3 on the remaining cartridges.
5. All cartridges are labelled with a number on the top right hand corner. Use the correct numbered cartridge for the
replacement.
6. Insert and turn clockwise until the cartridge stops.
7. Once all cartridges have been replaced turn on the ball valve (item D in diagram 1).