6. Before handing the card you should take
precautions to avoid static damage. Remove the R9
card from the box ready for installation.
7. Now turn the card on its back and remove the 16
screws highlighted above.
8. Turn the card back over and carefully remove the
heat sink and fan. Now the card and heat sink are
separated detach the fan power cable from the fan
header.
9. Clean the thermal paste from the GPU core and
remove any residue left from the thermal pads.
10. Remove the tape from both sides of the thermal pads. Place the blue pads on the eight positions
shown above and finally apply thermal paste to the GPU core.
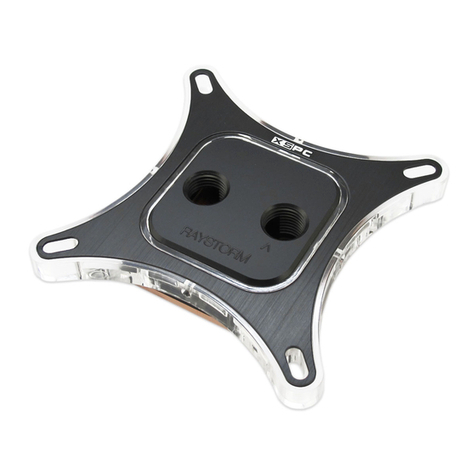
11. Place the waterblock on the card to line up the
screw holes and then flip it over - making sure the
thermal pads stay in place. Now carefully attach the
block to the card using the supplied screws and
washers. You should start with the four holes behind
the GPU and gradually tighten each screw.
12. Do not over tighten the screws as this may bend
the card and cause permanent damage. The card is
now ready for use. When you first boot it is advisable
to use software to check the core temperature. If the
temperature is high you will need to remount the block.
www.xs-pc.com/support


