6. Before handing the card you should take
precautions to avoid static damage. Remove the
4870X2 card from the box and unscrew the two
screws to the right of the fan.
7. Turn the card on its back and remove the 16
screws highlighted above and the 2 screws near the
DVI ports.
6. 7.
8. Turn the card back over and carefully remove the
heatsink and fan, leaving the ATI backplate on the
card. Now the card and heatsink are separated
detach the fan power cable from the fan header.
9. Clean the thermal paste from the GPU cores
ready for installation. Remove any residue left from
the thermal pads.
8. 9.
10. Remove the tape from both sides of the thermal
pads and place them on the 6 locations marked in
the photo above. Next apply thermal paste to the
memory chips, chipset and the GPU cores.
11. With the copper side of the waterblock facing up
place the card over the block and line up the screw
holes. Make sure the thermal pads stay in place
10 11
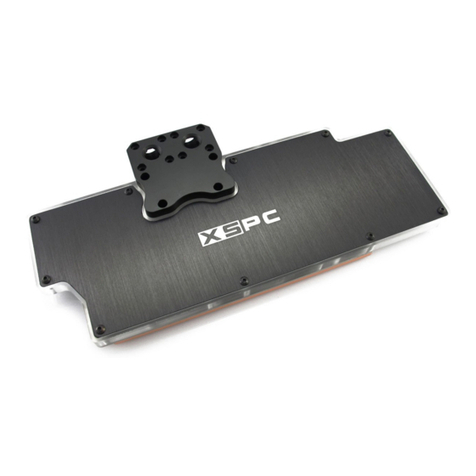
12. Finally use the 12 screws and 8 washers to
attach the waterblock to the card. It is best to start
with the 8 short screws and washers (green) around
the GPU cores followed by the 4 long screws (pink)
on the outer holes. Do not over tighten the screws
as this may bend the card and cause damage.
13. The card is now ready for use. When you first
boot it is advisable to use ATItool or other software
to check the core temperature. If the temperature is
high you will need to remount the block.
12 13
www.xspc.biz


