Yakima Earliest Explorers GrassHopper User manual

Part #1033025 RevA
GrassHopper
#8251
Cricket
#8250
™
child carrier
OWNER’S MANUAL
Read and understand
these directions prior to use!
JUVENILE
PRODUCTS
MANUFACTURERS
ASSOCIATION
11033025–1/14

2
1033025A – 2/14
Child Carrier Pack by
™
Congratulations and Thanks
…for choosing a Yakima Earliest Explorers™ product
to safely transport your child.
This product will enable you to enjoy the quality standards and
dedication to good times that Yakima has offered outdoor
enthusiasts for over two decades. We take our commitment to
safety seriously and ask that you take the time to read this
important owner’s manual.
No one is better equipped to properly care for your child than you
are. The safety guidelines found within this booklet, combined
with your own good judgement as a parent, should put you well
on your way to a safe and rewarding recreational experience.
We wouldn’t want it any other way.

3
1033025A – 3/14
IMPORTANT WARNING!
BEFORE USING THIS YAKIMA PRODUCT, READ THIS MANUAL IN ITS ENTIRETY SINCE IT CONTAINS
INSTRUCTIONS PERTAINING TO OPERATION, ASSEMBLY AND SAFETY. FAILURE TO ADHERE TO THE
INFORMATION, IN THE OWNERS’ MANUAL, COULD RESULT IN AN ACCIDENT CAUSING SERIOUS BODILY INJURY
OR DEATH. YOU ARE RESPONSIBLE FOR THE PROPER USE OF THIS YAKIMA PRODUCT. THIS WOULD INCLUDE
PROPER ASSEMBLY AS WELL AS THE PROPER USE OF THE SAFETY RESTRAINT SYSTEM TO SECURE YOUR CHILD.
PRIOR TO EACH USE, INSPECTIONS SHOULD BE PERFORMED TO CHECK FOR ANY NEEDED ADJUSTMENTS, WEAR
OR DAMAGE. DISCONTINUE USE IMMEDIATELY IF THE UNIT SHOULD BECOME DAMAGED OR MALFUNCTIONS.
IF YOU DO NOT UNDERSTAND ALL THE INSTRUCTIONS PERTAINING TO THE ASSEMBLY OF THIS YAKIMA
PRODUCT, YOU SHOULD CONSULT AN AUTHORIZED YAKIMA DEALER FOR ASSISTANCE.
First…
BEFORE USING YOUR
CHILD CARRIER:
Read and understand this entire
manual before using this product.
WARNING
Failure to read and follow the instructions
contained in these pages may result in
accident and serious injury or death.
WARNING
This Yakima child carrier is not a seat, a
highchair or a swing, and is not designed to
function as an automotive safety seat. Using the
carrier for purposes inconsistent with its design
may result in serious injury or death to the child.

4
1033025A – 4/14
YOUR RESPONSIBILITY
Safety and comfort are essential to your child’s well being;
use common sense and pay close attention to your passenger’s needs as well as your own.
H
2
O
GOT WATER?
It is important to keep yourself and your passenger properly hydrated
at all times so bring plenty of water and make it easily accessible.
There is a convenient water bottle caddy on some models.
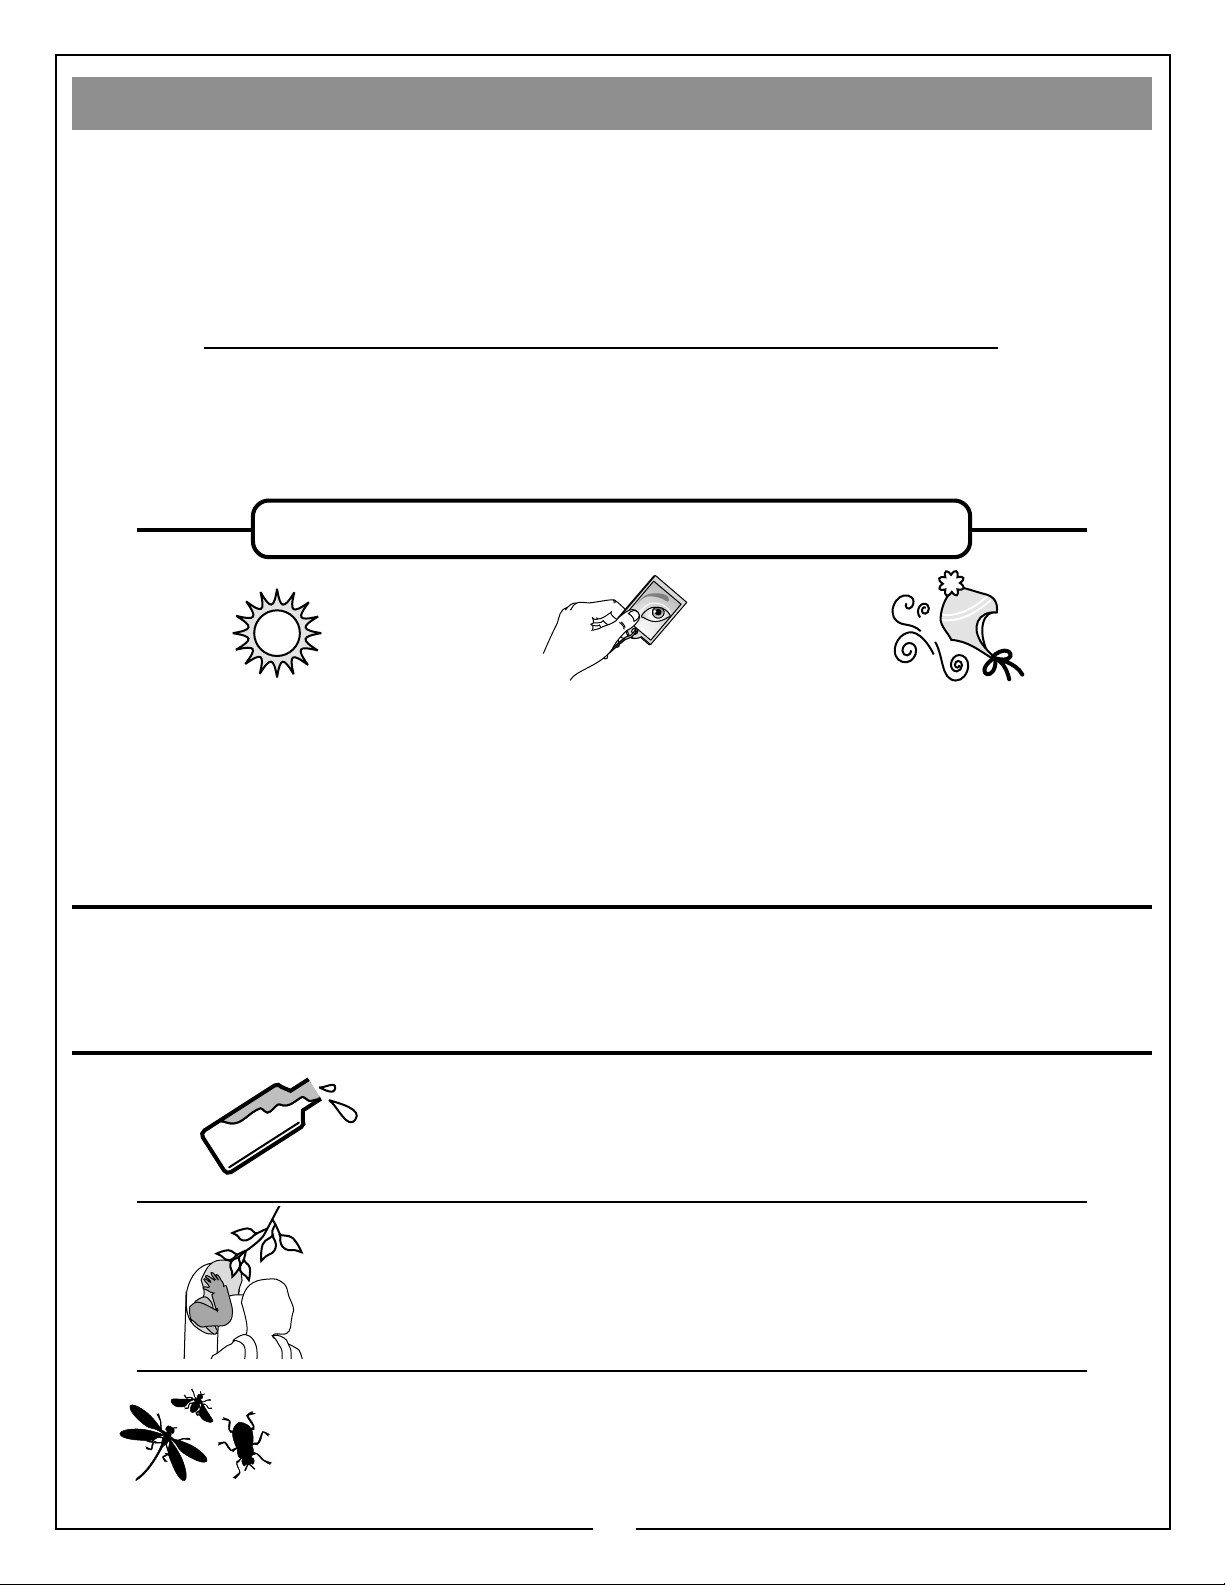
AVOID TOO MUCH SUN
Protect your child from
overexposure to the sun’s harmful
rays. Use the shade canopy, proper
clothing, wide brimmed hats,
sunblock and common sense as it
pertains to ultraviolet exposure.
DRESS YOUR CHILD
Use the layer system and
bring some extra clothing, a
hat, and a blanket just in
case. Never leave your child
exposed to the elements.
MONITOR YOUR CHILD
Make sure the child is safe and
comfortable. If your pack has the
optional peek-a-boo mirror, use it
to check your child as you walk.
BUGS ARE EVERYWHERE
Take the proper precautions to protect against insect bites and check often for possible
bites. You should know that ticks and other insects are of particular concern when
venturing out of doors and frequent body checks should be performed to prevent infection.
WATCH FOR HAZARDS
Watch out for all overhead obstacles, remembering the child’s increased
height in the carrier! Use caution when walking through doorways, under low
hanging branches, outcroppings and any other obstacles you may encounter.
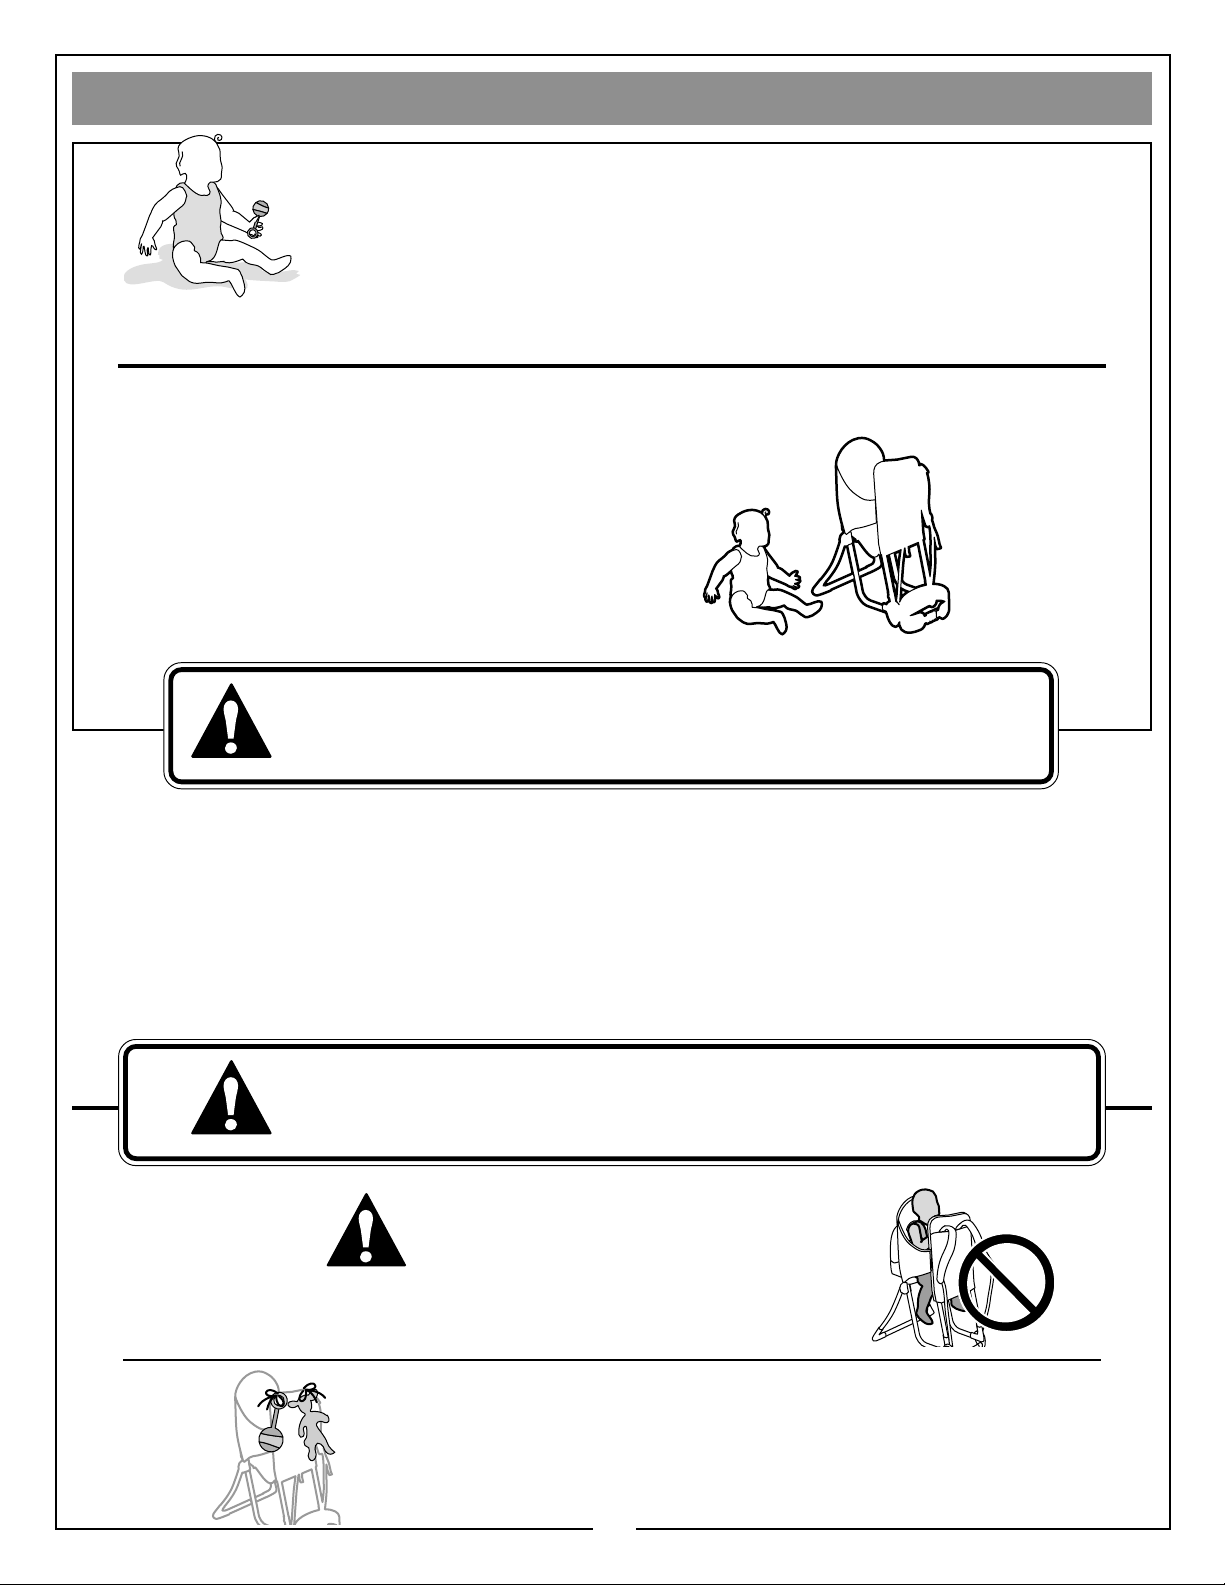
LOOK FOR SOLID GROUND
Choose your terrain carefully and avoid areas that may compromise footing
or stability. When loading or unloading, keep carrier on solid level ground.
(Do not load or unload with the aid of a bed, sofa, table, or bench.)
PACKING WITH A CHILD
Know your physical abilities and limitations. Make sure that you are in the
proper physical condition for walking while carrying a child in a backpack.
Never use the child carrier when under the influence of drugs or alcohol.
BE PREPARED FOR EVERYTHING
USE CAUTION…
In cold weather, hiking and walking generally can make you feel warmer as you
move around. Remember that your child is resting in the pack, and will need
warmer clothing than you. Check often to make sure your child is cozy and warm.

5
1033025A – 5/14
SAFETY RESTRICTIONS
WARNING:
Do not leave child unattended while seated in the carrier.
Do not leave child unbuckled, even for a moment.
DO NOT OVERLOAD YOUR CARRIER
Entire load is limited to 60 lbs. (27 kg)
Walking with a child in a carrier can affect your
coordination and balance.
WARNING
Exceeding this limit is unsafe and may result in accident
or serious injury to you or your child.
Papa?
Mama
?
USE CAUTION WHEN ATTACHING TOYS TO CARRIER
Do not use long cords that could cause strangulation.
Do not attach small toys that could pose a choking hazard.
TO QUALIFY AS A PASSENGER:
MINIMUM age 6 mos. and MAXIMUM weight 45 lbs.
Your child must be able to sit upright (usually at 6 months of age),
and be strong enough to hold up their head.
If you are unsure, check with your pediatrician about your child’s ability to
support their neck and sit alone while riding in a back pack child carrier.
45 lbs (20 kg)
+=MAXIMUM
60 lbs
(27 kg)
•Before departure, make sure that you are
able to safely manage the loaded carrier.
•Use caution when lifting the weight of
the carrier (with child) onto your back.
WARNING
Running or jumping with a child in a pack may result in
accident and cause serious injury or death to the child.
CARRYING A PACK WITH A CHILD
This carrier was specifically designed to safely carry
a child on an adult’s back while walking and hiking.
•Do not allow an adolescent or child to use this carrier.
•Do not engage in other recreational sports or activities
while carrying a pack with a child.

6
1033025A – 6/14
optional day pack
security “wings”
attachment points
(for optional canopy)
harness anchors
side straps
harness adjuster
(harness tension)
child seat
optional frame sack
support
frame
frame-lock
button
On-the-fly
™
height adjuster
Easily adjusts pack height
while carrying child
(optimal fit for users of varying height)
child harness
height adjuster
(harness height)
grab handles
sternum
strap
frame tension straps
Tighten periodically.
optional load lifters
toy loop
optional
peek-a-boo
mirror
optional
bottle cadd
y
hip belt
Child Carrier Pack by
™
Some features are optional but
are included in this figure.
Child Harness System
secondary
seat adjustment strap
Adjusts seat height.
primary
seat adjustment strap
Expands and compresses cockpi
t
for optimal fit.
harness adjusters
Opposing sides
adjusts shoulder
harness.

7
1033025A – 7/14
OPEN THE PACK.
2
PREPARE YOUR PACK:
EXTEND THE SUPPORT FRAME.
3
•Set the pack in an upright
position on solid flat ground.
•Pull the support frame out as
far as it will go.
•Open the pack frame
until you hear an
audible click.
•The silver frame-lock
buttons must pop into
their holes.
1READ AND UNDERSTAND THE
PREVIOUS PAGES.
WARNING
Do not load or unload the pack with the aid of
a table, sofa, bed or chair. The pack may fall
and cause serious injury or death to the child.

8
1033025A – 8/14
PUT THE PACK ON WITHOUT THE CHILD.
4
BEFORE YOU WEAR THE PACK…
Adjust the belt position
to fit your height.
On-the-fly™
Height Adjusters
Easily adjust the height of the pack while
carrying your child. One adult can transfer
the child (in the pack) onto another person,
and easily adjust the pack to their height.
Move the belt
up for heights
of 5’2”or more.
Move the belt
down for
heights of
6’2”or less.
3.
CLOSE covers.
1.
OPEN covers.
DO NOT USE
THE COVERS
AS HANDLES
TO ROTATE
THE
ADJUSTERS.
2.
ROTATE adjusters.
•Buckle hip belt.
•Buckle the
sternum strap.
•Fine tune
“On-the-fly”hub.
•Tighten all straps
by pulling strap
ends away from
buckle.
•To release the buckle,
press the sides together.
5
Center the pack
on your back.

9
1033025A – 9/14
6
FINE-TUNE THE BELT POSITION.
3.
CLOSE
covers to lock
position.
1.
OPEN both
adjuster
covers.
The back of your
head should clear the
pack frame.
NEVER USE THE
COVERS AS
HANDLES TO ROTATE
THE ADJUSTERS.
2.
ROTATE
adjusters
TOGETHER.
GET READY TO CARRY YOUR CHILD
7
•Loosen harness
completely (at the
seat, both sides).
SET THE PACK ON FLAT, LEVEL GROUND.
GENTLY LIFT YOUR CHILD
INTO THE PACK.
•Anchor both shoulder
harnesses to
the harness anchors.
•Loosen both side straps
completely (on the
security wings).
WARNING
Do not load or
unload the pack
with the aid of
a table, sofa,
bed or chair.
The pack may
fall and cause
serious injury
or death to the
child.
8
Child’s legs
must straddle
the seat.

10
1033025A – 10/14
Adjust for height.
Adjust for tension
equally on both sides.
11
SECURE THE SIDES
OF THE PACK.
WARNING:
Do not leave child
unattended while
seated in the
carrier. Do not
leave child
unbuckled, even
for a moment.
You may need to take the child out
to adjust the seat or straps.
•Pull the side straps to tighten wings.
•PERFORM A FINAL INSPECTION:
Child should be unable to stand out
of the seat, and straps should be
snug against the body.
9
ADJUST THE SEAT HEIGHT UNTIL THE CHILD
CAN SEE ABOVE THE PACK.
PRIMARY ADJUSTER
Adjust seat height by
sliding buckle or pulling
strap (located under seat).
SECONDARY ADJUSTER
With child out of the pack, access
this buckle by turning the pack over.
Buckle is attached to the inside of
pack front. Slide strap to compress or
expand cockpit space.
10
ADJUST CHILD HARNESS TO
CONFORM TO THE CHILD.

11
1033025A – 11/14
✓ The pack should be adjusted to your body.
✓ The child should be secured into the seat.
✓ Always lift the pack by the grab handles only.
HOW TO CARRY A CHILD IN THE PACK:
12 GET READY:
Loosen the shoulder straps,
and open the belt on the pack.
13 ALWAYS LIFT THE PACK BY THE HANDLES AND SHOULDER STRAPS.
•Support the pack as you slide it along your legs.
•Move into the pack—DO NOT SWING THE PACK ONTO YOUR BACK!
1
Lift pack with
overhand
reach.
2
Move second hand
into strap while
sliding pack up.
3
Support bottom of
frame while moving
into pack.
4
Slip other arm into
strap. Buckle and
tighten.
WARNING:
To avoid injury to child and adult, you must be able to smoothly
install and remove the carrier with a child in the seat.
NOTE: If this is a new experience for you or your child, you may
want to make your first time less challenging. Enlist the help of
another person in lifting and positioning your pack until you are
comfortable doing it by yourself.

12
1033025A – 12/14
14
WITH THE CHILD IN THE PACK:
•Slide the load lifter buckles to raise or lower the load.
•Load lifter buckles should end up around the top of
your shoulders.
•The pack should not touch the back of your head.
•Look into a mirror if you need to see better.
GRASSHOPPER MODELS ONLY:
GrassHopper includes Load Lifter straps.
Before Traveling with the pack:
✓ Check your pack’s fit and make any adjustments.
✓ Make sure the child is secured snugly in the seat
and all straps and buckles are buckled and tight.
✓ Ensure that the child is comfortable.
✓ Close the pack stand before walking.
Choose your path carefully, scoping
out the terrain to avoid areas that
may compromise footing or stability.
15

13
1033025A – 13/14
Folding your pack for storage:
✓ Find solid flat ground.
✓ Open pack stand.
✓ Open On-the-fly™hub COVERS.
✓ Grab the pack handle and move
out of the shoulder strap while
supporting the pack.
✓ Lower the pack to the ground.
DO NOT SWING THE CARRIER
OFF YOUR BACK.
Unloading the pack:
✓ Press both silver frame lock
buttons (one on each side).
✓ Push frame together.
Do not load or unload with
the aid of a bed, sofa, table,
or bench.
✓ Loosen the harness straps
completely.
✓ Place your foot on the pack
stand, and lift the child.
Lifting your child out of the pack:
16
17

MAINTENANCE:
Perform these periodic inspections.
IF YOU NEED FURTHER
TECHNICAL ASSISTANCE:
Please contact your dealer or
call us at (888) 925-4621 or
(707) 826-8000, Monday
through Friday, 7:00am to
5:00pm Pacific time.
HARDWARE CAN LOOSEN OVER
TIME. CHECK AND TIGHTEN IF
NECESSARY, BEFORE EACH USE.
SAVE THESE INSTRUCTIONS!
If You Lend this Product — Send this Book Along Too!
If you ever rent, loan, sell or swap your Yakima
product, you must supply the designated user
with this entire manual. Without exception, the
important information contained in this
manual must be read and understood by
anyone planning to use a Yakima product.
141033025– 14/14
18
•Store carrier indoors, out of direct sunlight.
•Plastic and metal should be cleaned
with a moist cloth and wiped dry.
•Fabric should be cleaned with cool water
and mild detergent. Dry completely.
•Do not use bleach or solvents to clean
this product. Do not machine wash.
✓
Check your child carrier
regularly for any worn parts,
loose screws or torn materials,
replacing as needed.
✓
Never attempt to repair the unit
yourself; consult an authorized
Yakima dealer.
WARNING:
Do not use child carrier if any of the straps, buckles, seams,
frame or hinges are broken or worn.
Never use the child carrier if the frame is damaged or deformed.
LIMITED WARRANTY
Yakima Products (“Yakima”) will repair or replace merchandise which proves defective
in materials and/or workmanship. The limited warranty is effective for three years
from the date of purchase. The limited warranty is applicable only if the Fit List (if
applicable) and instructions are followed and the products are used properly. If a
customer believes that a Yakima product is defective, the customer must return it to
an authorized Yakima dealer with proof of purchase. Yakima will then issue
authorization to the dealer for the return of these products. If an article is found to be
defective upon inspection by Yakima, Yakima will repair or replace the defective article
at its discretion without charge. The customer will pay freight to Yakima, and Yakima
will pay any applicable return freight. Unauthorized returns will not be accepted.
Normal wear and tear of Yakima products or damage resulting from misuse, accidents,
or alterations are not covered by this Limited Warranty. The purchaser acknowledges
that Yakima has no control over the attachment of its products to vehicles or the
attachment of items to the Yakima products. Accordingly, Yakima cannot assume
responsibility for any damage to any property arising out of the improper use of its
products. In addition, this Limited Warranty applies only to Yakima products and not
to other products used in conjunction with Yakima products. This Limited Warranty is
in lieu of all other warranties, expressed or implied, and does not cover consequential
damages of any kind that may arise from the use or misuse of any Yakima product.
This manual suits for next models
3
Table of contents
Popular Baby Accessories manuals by other brands

Emmaljunga
Emmaljunga nxt90 instruction manual

Drive Medical
Drive Medical Nimbo operating instructions

candide expert
candide expert Cloudy ASSEMBLING ADVICES AND INSTRUCTIONS

DAN DRYER
DAN DRYER 3236 Mounting instructions

Kinderkraft
Kinderkraft FLO user manual

MONTESSORI ROOM
MONTESSORI ROOM Waldorf Rocker Assembly instructions