manuals.online logo
Brands
  1. Home
  2. •
  3. Brands
  4. •
  5. Yamaha
  6. •
  7. Musical Instrument
  8. •
  9. Yamaha Electone STAGEA ELB-01 User manual

Yamaha Electone STAGEA ELB-01 User manual

ELB-01 Assembly Instructions 1
ELB-01 Assembly Instructions
Carefully read these instructions BEFORE assembling the Electone.
Open the package, take out the two styrofoam pads from the both sides of the package, and carefully
place the main unit on top of the pads as shown.
Take care not to pinch AC power cord plug between the pads and Main unit.
Take out all parts from the package.
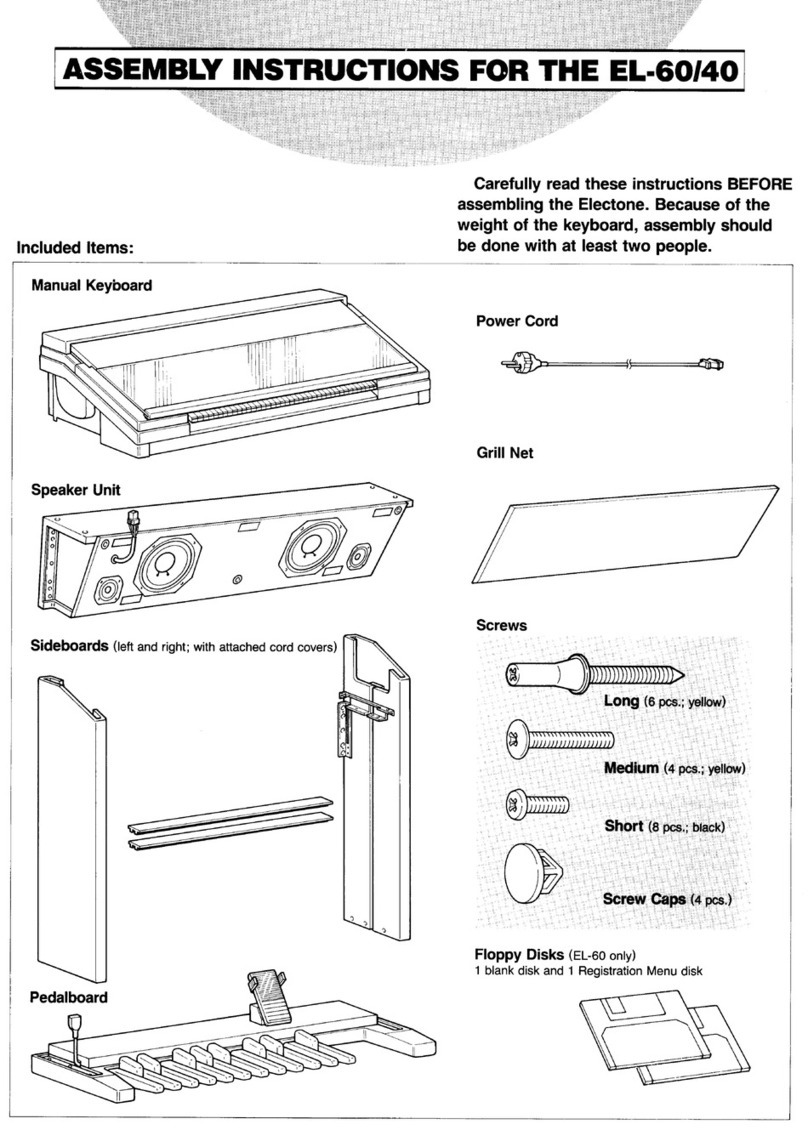
Please confirm that all parts shown in the illustration are provided.
When you take out the Speaker Unit, always hold the bottom of the Speaker Unit, not holding the Grill Net.
Be careful not to confuse any of the parts, and be sure to install all parts in the correct direction by following the
procedures given below.
Be sure to assemble the Electone with two or more people.
Don’t use any screws other than the ones specified and included in this package. Use of incorrect screws can cause
damage and malfunction.
Be sure to tighten all screws upon completing assembly.
Make sure to perform all assembly operations on a flat surface.
To disassemble, reverse the procedures.
You need a Phillips (+) screwdriver to assemble the Electone.
1
2
Long screws (ø6 X 25 mm): 4 pcs.
Short screws (ø5 X 12 mm): 8 pcs.
Screw caps: 4 pcs.
Bench Board
Bench
Legs: 4 pcs.
Pedalboard cord clamps: 2 pcs.
Main Unit
Music Rest
Pedalboard Unit
Sideboard
(Left)
Sideboard
(Right)
Speaker
Unit
Grill Net
Attached to the Speaker Unit
Styrofoam pads
Take out the styrofoam pads, and
place the Main Unit on top of the pads.
Dust Cover
EN
ELB-01 Assembly Instructions
2
Mount the Sideboards onto the Pedalboard
unit.
Be sure not to confuse the Right and Left
Sideboards.
3-1 Raise the Pedalboard as shown in the illustration
below.
3-2 Position each screw hole on both the Pedalboard
and Sideboards as shown in the illustration and
mount the Sideboards onto the Pedalboard using
the 4 short screws (2 screws on each Sideboard).
3-3 Stand the Pedalboard after securing the screws.
Mount the Speaker Unit onto the Sideboards.
4-1 Remove the Grill Net from the Speaker Unit.
4-2 With the help of another person, hold the Speaker
unit horizontally, and slide it from the rear into
place along the brackets.
Take care not to drop the Speaker unit or to pinch your
finger(s) between the Speaker unit and Sideboard.
4-3 While holding the Sideboard(s) to the Speaker
unit, fasten the four short screws from the rear, to
secure the Speaker unit to the Sideboards. Cover
the four screw holes on the rear side with the
corresponding screw caps.
Mount the Main Unit.
5-1 As shown in the illustration, hold the Main unit
horizontally (with two people), and place it on the
front side of the Speaker unit so that the arm at the
bottom of the Main unit comes in front of the
Sideboards, then slide it to the rear side.
Take care not to drop the Main unit or to pinch your
finger(s) between the Speaker unit and Main unit.
3
Push the Sideboard
toward the Pedalboard
Short/black screws
4
Screw caps
Screw caps
Short screws
Push the Sideboard
toward the Speaker unit Push the Sideboard
toward the Speaker unit
Short
screws
5
1. Place down so that
the arm comes in
front of the Sideboard
Arm
2. Slide to the rear side
ELB-01 Assembly Instructions 3
5-2 Use the four long screws to fasten the Main unit to
the Sideboards as shown in the illustration.
Fit the Grill Net onto the Speaker.
First, align the net with the bottom line, then
secure it to the speaker assembly.
Connect the Pedalboard cord and Speaker
cord to the Main Unit.
Make sure that the latches on each plug of the
cords face toward you, and connect them to each
socket securely.
Fix the Pedalboard cord to the Sideboard
using the Pedalboard cord clamps.
8-1 Affix the two Pedalboard cord clamps to the rear
side of the Speaker unit and the lower inside of the
Left Sideboard as shown in the illustration.
8-2 Insert the Pedalboard cord in the clamps.
Long screw
Long screw
6
Fasten the Grill Net by
inserting the knobs
into the holes.
7
Speaker cord Pedalboard cord
8
Shut the clamp
after inserting
the cord.
ELB-01 Assembly Instructions
4
Place the music rest on the Electone.
Turn on the Electone’s power switch and
confirm that the Electone can be played, and
that the assembly is successful.
BENCH ASSEMBLY
Turn the bench board over and put the legs in place,
one by one, at the corners of the bench board, then
tighten each nut using the included wrench. Be sure
to put the washer between each leg and nut as
shown.
9
10
Leg
Bench
board
Nut
Washer
After completing the assembly, please check
the following items.
• Are there any parts left over?
→Review all assembly procedures.
• Is the Electone clear of doors and other movable
fixtures?
→Move the Electone to an appropriate location.
• Does the Electone make a rattling noise when
you shake it?
→Tighten all screws.
• Can the Electone be turned on?
→Confirm that the AC power cord plug is securely
connected to an appropriate power outlet.
• Does the Electone produce sounds?
→Confirm that the Speaker cord plug and the Pedalboard
cord plug are securely connected to each socket on the Main
unit.
If the Electone creaks or is otherwise unsteady when
you play on the keyboard, refer to the assembly
instructions and tighten all screws again.
U.R.G., Pro Audio & Digital Musical Instrument Division, Yamaha Corporation
© 2005 Yamaha Corporation
WF43900 510MWAP3.3-01A0
Printed in China

Other manuals for Electone STAGEA ELB-01

2

Other Yamaha Musical Instrument manuals

Yamaha RBX270L User manual

Yamaha

Yamaha RBX270L User manual

Yamaha DEAGAN DG1590B User manual

Yamaha

Yamaha DEAGAN DG1590B User manual

Yamaha Electone FX-20 User manual

Yamaha

Yamaha Electone FX-20 User manual

Yamaha YPR-7 User manual

Yamaha

Yamaha YPR-7 User manual

Yamaha Clavinova CLP-970 User manual

Yamaha

Yamaha Clavinova CLP-970 User manual

Yamaha Silent Piano SG Series User manual
Yamaha

Yamaha Silent Piano SG Series User manual

Yamaha PortaTone User manual

Yamaha

Yamaha PortaTone User manual

Yamaha Trombones User manual

Yamaha

Yamaha Trombones User manual

Yamaha YCH7018 User manual

Yamaha

Yamaha YCH7018 User manual

Yamaha PSR-F50 User manual

Yamaha

Yamaha PSR-F50 User manual

Yamaha YDS-150 User manual

Yamaha

Yamaha YDS-150 User manual

Yamaha 142 User manual

Yamaha

Yamaha 142 User manual

Yamaha Silent Piano SG Series Manual

Yamaha

Yamaha Silent Piano SG Series Manual

Yamaha YRF-21 User manual

Yamaha

Yamaha YRF-21 User manual

Yamaha ARIUS YDP-S34 User guide

Yamaha

Yamaha ARIUS YDP-S34 User guide

Yamaha DGX-650 User manual

Yamaha

Yamaha DGX-650 User manual

Yamaha disklavier Mark IV Series User manual

Yamaha

Yamaha disklavier Mark IV Series User manual

Yamaha Clavinova CLP-920 User manual

Yamaha

Yamaha Clavinova CLP-920 User manual

Yamaha SGV800 User manual

Yamaha

Yamaha SGV800 User manual

Yamaha DGX-650 User manual

Yamaha

Yamaha DGX-650 User manual

Yamaha Saxophone User manual

Yamaha

Yamaha Saxophone User manual

Yamaha Clavinova CLP-121S Mounting instructions

Yamaha

Yamaha Clavinova CLP-121S Mounting instructions

Yamaha PSS-F30 User manual

Yamaha

Yamaha PSS-F30 User manual

Yamaha P-115B User manual

Yamaha

Yamaha P-115B User manual

Popular Musical Instrument manuals by other brands

Roland DiscLab CDX-1 manual

Roland

Roland DiscLab CDX-1 manual

Wenger Class Piano Workstation Assembly instructions

Wenger

Wenger Class Piano Workstation Assembly instructions

Stage Right Sonata 609350 Quick user guide

Stage Right Sonata

Stage Right Sonata 609350 Quick user guide

Roland EP-50 Service notes

Roland

Roland EP-50 Service notes

Roland KR-105 owner's manual

Roland

Roland KR-105 owner's manual

Roland HP 2800 owner's manual

Roland

Roland HP 2800 owner's manual

ATV aFrame reference guide

ATV

ATV aFrame reference guide

Roland Music Atelier AT-30R owner's manual

Roland

Roland Music Atelier AT-30R owner's manual

Viscount Vivace operating manual

Viscount

Viscount Vivace operating manual

Gibson DIGITAL PIANO instructions

Gibson

Gibson DIGITAL PIANO instructions

Viscount Jubilate 230 owner's manual

Viscount

Viscount Jubilate 230 owner's manual

Williams Allegro III owner's manual

Williams

Williams Allegro III owner's manual

Deering Goodtime Maintenance manual

Deering

Deering Goodtime Maintenance manual

Roller RP49 manual

Roller

Roller RP49 manual

Kawai XR300 owner's guide

Kawai

Kawai XR300 owner's guide

Kawai Digital Piano P160 owner's manual

Kawai

Kawai Digital Piano P160 owner's manual

Roland ep-707 owner's manual

Roland

Roland ep-707 owner's manual

Zivix Jamstik Studio user manual

Zivix

Zivix Jamstik Studio user manual

manuals.online logo
manuals.online logoBrands
  • About & Mission
  • Contact us
  • Privacy Policy
  • Terms and Conditions

Copyright 2025 Manuals.Online. All Rights Reserved.