YAMPE 2205 User manual

1
600W USER’S MANUAL

2
Distinguished Users:
We are very glad that you choose our company's products and feel sure that you will find the
convenience that our products bring to you and the joy of promoting the policy of “low carbon and
environmental protection”.
Please do not forget to read the “User Installation Manual” before installing of the products.
Part1. Safety Warning and Attentions :
For correct installation and use of this equipment, please read carefully the safety warning and
attention and strictly follow the instructions.
Basic requirements:
●Do not disassemble the equipment by you. Please contact the specified maintenance department
when the equipment is out of order.
●Without authority, no company or individual are allowed to change the equipment structure,
safety and performance design.
●please obey local laws and regulations when using this product
Assembling requirements:
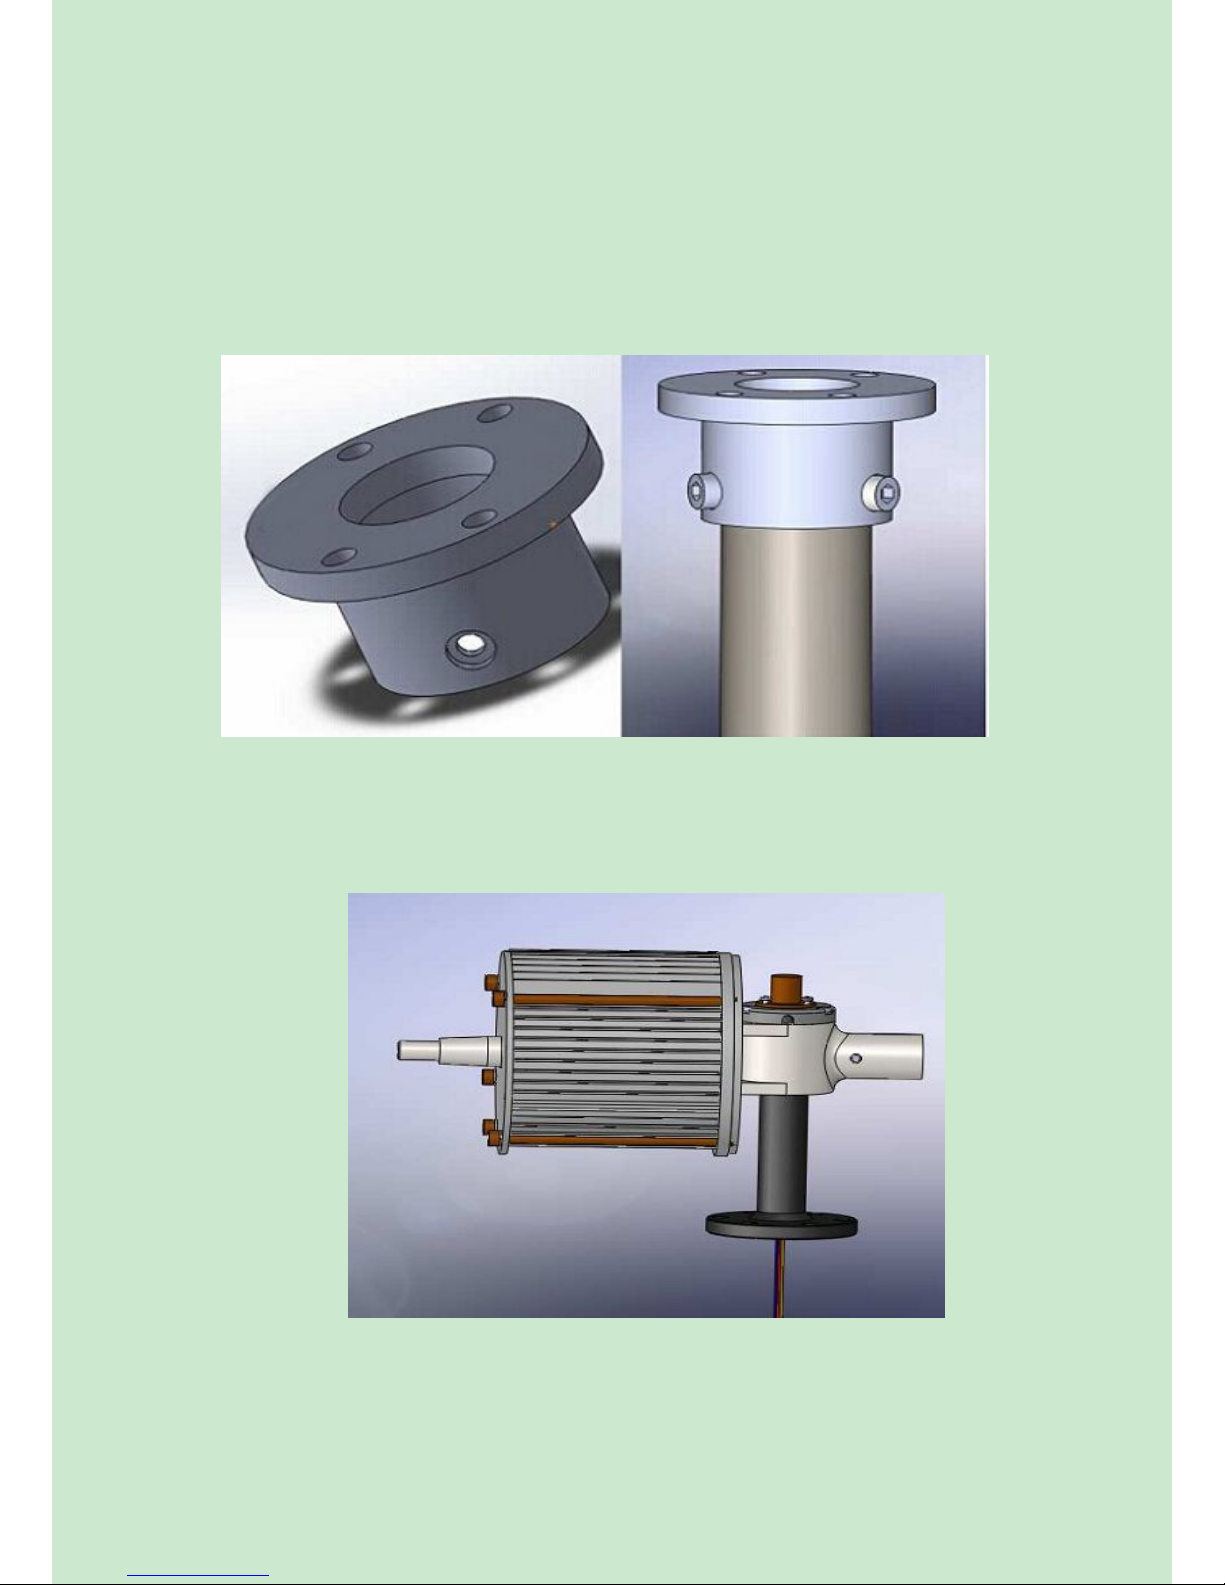
1. Before the assembly of the wind generator or in the process of maintenance, please be sure to
read the users manual first.
2. Please don’t install the wind turbines in rainy days or when the wind scale is at Level 3 or
above.
3. After opening the package, it is advised to short circuit the three leads of the wind turbines (the
exposed copper parts should be screwed together).
4. Before the installation of the wind turbine, lightning grounding must be prepared. You can
arrange the facilities according to national standards, or you may arrange them according to the
local environment and soil condition. Table 1 is for reference.

3
5. When assembling the Wind turbine, all the parts should be fastened with fasteners
6. Before hoisting the wind turbines, the end (which should be connected with controller) of the
tower lead should be cut away the insulating layer for 20mm or so. Then screw the three exposed
leads (shot circuit) together.
7. Before the connection between the wind turbine flange and the tower flange, please connect the
three leads of the wind turbine to the three leads of the tower accordingly. When using the hinge
method, every pair of wires should be no less than 40mm in length and be wrapped with Acetate
cloth tape for three layers, then sheathed with spun glass paint tube. With this method, connect the
three pairs of wires (attention: the joint of the wires can’t bear the weight of the tower leads
directly, so wires 100mm downward from the joint should be wrapped with adhesive tape and then
stuffed into the steel pipe. After that, wind turbine flange and tower flange can be connected.
8. During the installation, it is prohibited to revolve the rotor blades roughly (the ends of wind
turbine leads or the tower leads are short-circuited at this moment). Only after all the installation
and the examination is finished and the security of the erection crew is guaranteed, it is allowed to
dismantle short circuited leads and then connect with controller and battery before running.
Attention:
Battery should be connected with controller before wind turbine connected with controller
If above stated instruction are not followed when assembling and installing the wind
turbines, we are sorry that any problem or failure resulted are not to be covered by
warranty.

4
Part2. Product Description
1. Low start up speed; high wind energy utilization; beautiful appearance; low vibration
2. Human friendly design, easy installation, maintenance and repair.
3. Precise injection molding blades together with the optimized design of aerodynamic contour
and structure, the blades have such advantages: high utilization of wind energy which contributes
to the annual energy output.
4.the generators, adopting patented permanent magnet rotor alternator,
with a special kind of stator
design, efficiently decrease resistance torque. Meanwhile, it makes the wind turbines match the
generators quite well and increase its reliability.
600W
Rated power(W)600W
Rated voltage(V)24V/48V
Wheel diameter(m)1.5
Start up wind speed(m/s)3
Rated wind speed(m/s)10
Survival wind speed(m/s)45
TOP NG(kg)27.2KG
Body material Casting aluminum
Blades material Reinforced glass fiber
generator Three phase ac permanent magnet generator
Blades number 3
protection Electronic magnet/mechanic furling
lubrication Lubrication grease
Working temperature -40℃-50℃
Tower type Guyed tower
RPM 600

5
Part 3 Product Structure and Features
The wind turbine system consist of wind wheel, generator set(generator and swivel),tail,
guyed tower, controller, inverter, battery bank.
●Wind wheel: 3 blades wheel, Laminar flow type, high lift-drag ratio, good performance.
Reinforced glass fiber blades, strong toughness and perfect dynamic nature.
●Generator and swivel are designed in a complete body, a close compact structure which enhances
toughness, reduce weight of the generator set, and thus make it rotate more easily and safely.
●Tail, die casting, spine with generator, tail furls to protect wind turbine in strong wind.
●Controller converts ac current produced by wind turbine to be dc current to charge battery
●Battery, to store the power from wind turbine
●inverter:to covert dc power from battery to power for family load
4.1 Wind turbine Structure
Part 4. The Wind Turbine Installation Steps
4.2 Wind turbine installation
1. Connection between flange set and tower
Put flange set into the top of 60mm diameter’s tower, and ensure that the upper

6
end of the pole arrive to the flange set. According to the screw hole on flange set, drill
3 holes of 12 mm diameter on the pole with drilling machine. Fasten with three pieces
of socket screws (M10x50mm) and tighten with nuts. (Flange set is closely marched
with tower, which requires punching after installation by customers, so the tower we
provide has no punching)
2. Connection between flange and tower
Connect cable respectively with three lines at the bottom of the head, then
pierce cable from the center of tower and short-circuit three cables of wind generator;

7
Fasten flange and tower with 4 pieces of inner hex bolts
3、Installation of tail
Firstly, insert 2、3、4、5、6 into1 (tail rudder) according to the following pictures

8
Fix moveable joint and rotary set, then tighten.
Install the back nose cone, and tighten with fixing screw.
4、Install blade flange onto generator axes.

9
5、Fix blades on positioning plate and 6、Fix flange onto generator axes with
Fix each blade with 3 pieces of bolts nuts (M12mm), and fix the nuts
(M12x25mm) with wrench, then clockwise rotating
Blades till blades flange and
Generator axes are screw down.
7、Fix nose cone at the front of wind generator with screw(M6x60mm).

10
8、Educe cable connected to the controller on the terminal
9、Size chart of flange
Part 5. Maintenance and Attentions
1. wind turbine is generally worked in windy areas, please check it 3 months after installation,
fasten bolts, nuts, check whether the tower shaking, lasso loose, if anything amiss, please solve it
immediately
2. Please check wind turbine right before or after storm, if anything amiss, it is advised to lay down
slowly wind turbine to do inspection or repair. If inspection needs to be done on the tower, make
sure wind turbine have been short circuited and protection measures taken before and election
climb up.
3. The free maintenance batteries should be kept externally clear.
4. Do not disassemble the equipment by yourself. Please contact sales department when the
equipment is out of order.

11
Part6. Packing list
Serial item qty packing
1 600w generator 1
Carton Box
2 hub 1
3 Blades 3
4 dome 1
5 Tail board 1
6 Tail rod 1
7 Bolt and Nuts Several
Table of contents
Popular Wind Turbine manuals by other brands

Primus Wind Power
Primus Wind Power AIR quick start guide

Primus Wind Power
Primus Wind Power EZ Tower owner's manual

Leading Edge
Leading Edge LE-300 Installation & operation guide

Natural Power
Natural Power ZephIR Operation & maintenance manual

enertik
enertik GE-600-24 user manual

Hivawt
Hivawt DS-700 user manual