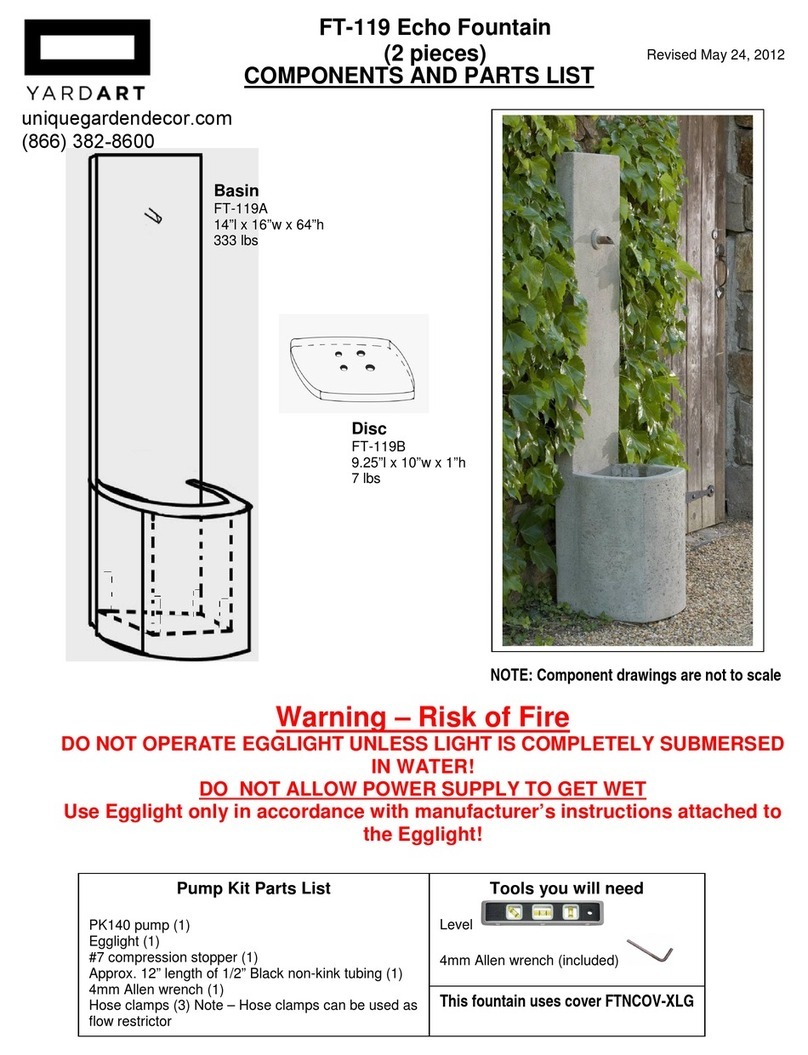
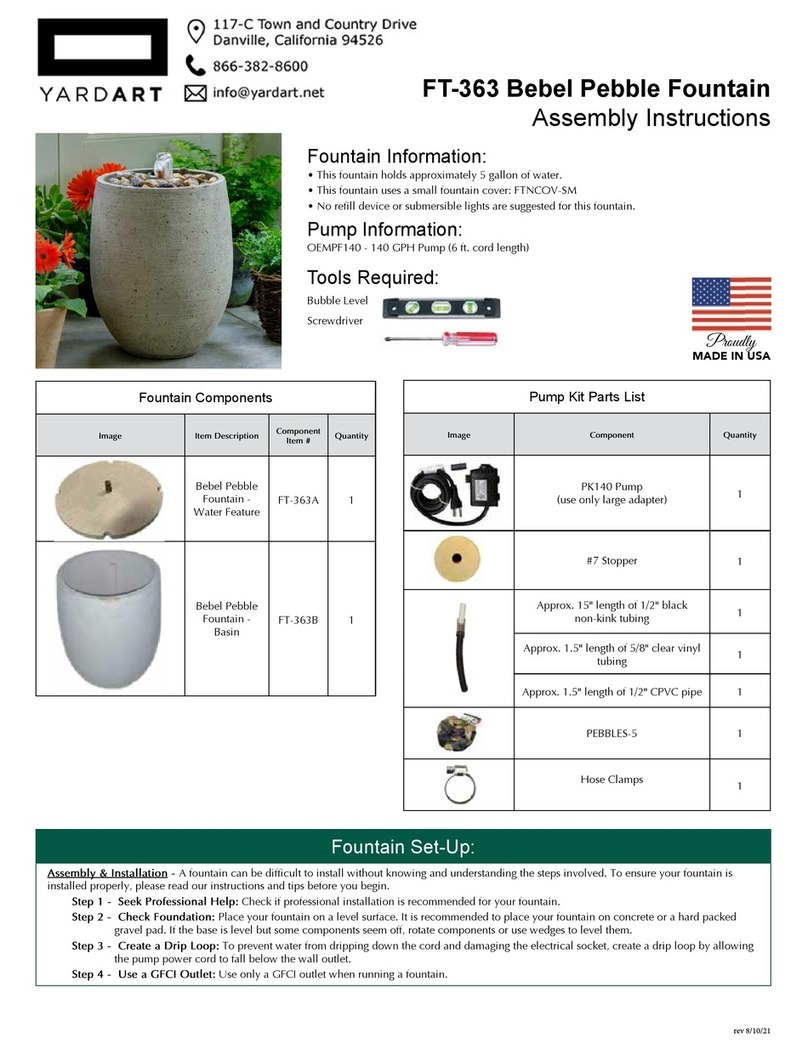
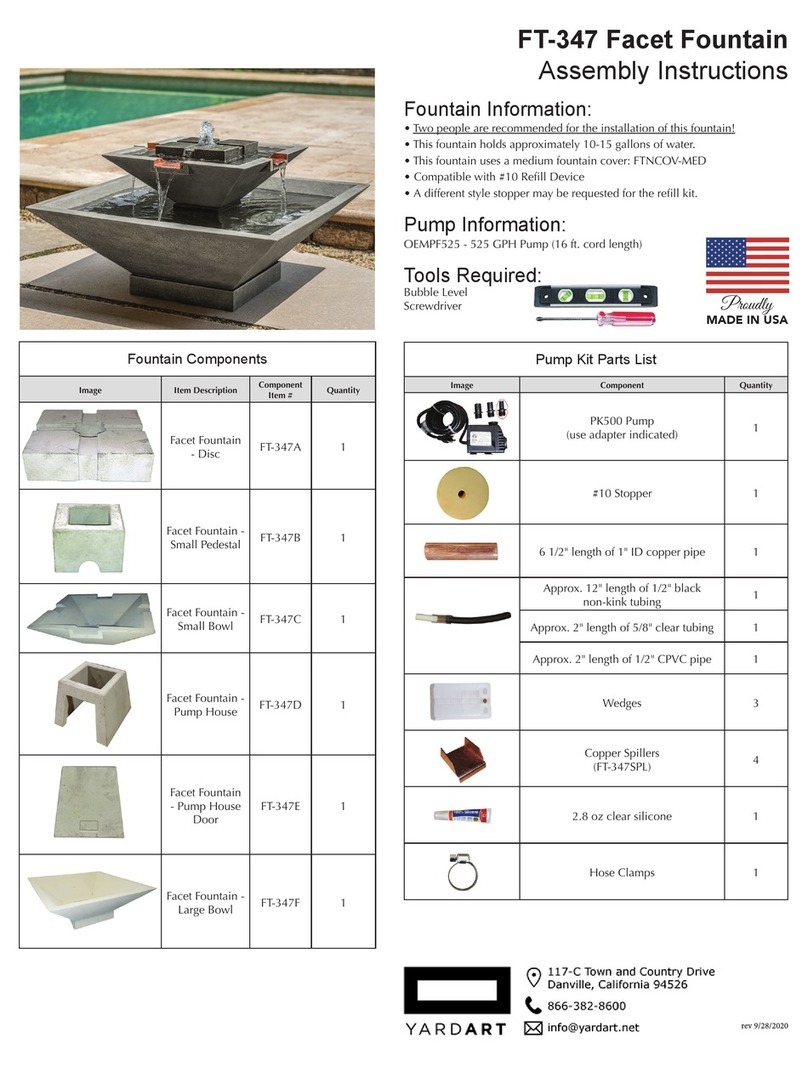
YARDART FT-125 X3 User manual
Other YARDART Outdoor Fountain manuals
YARDART
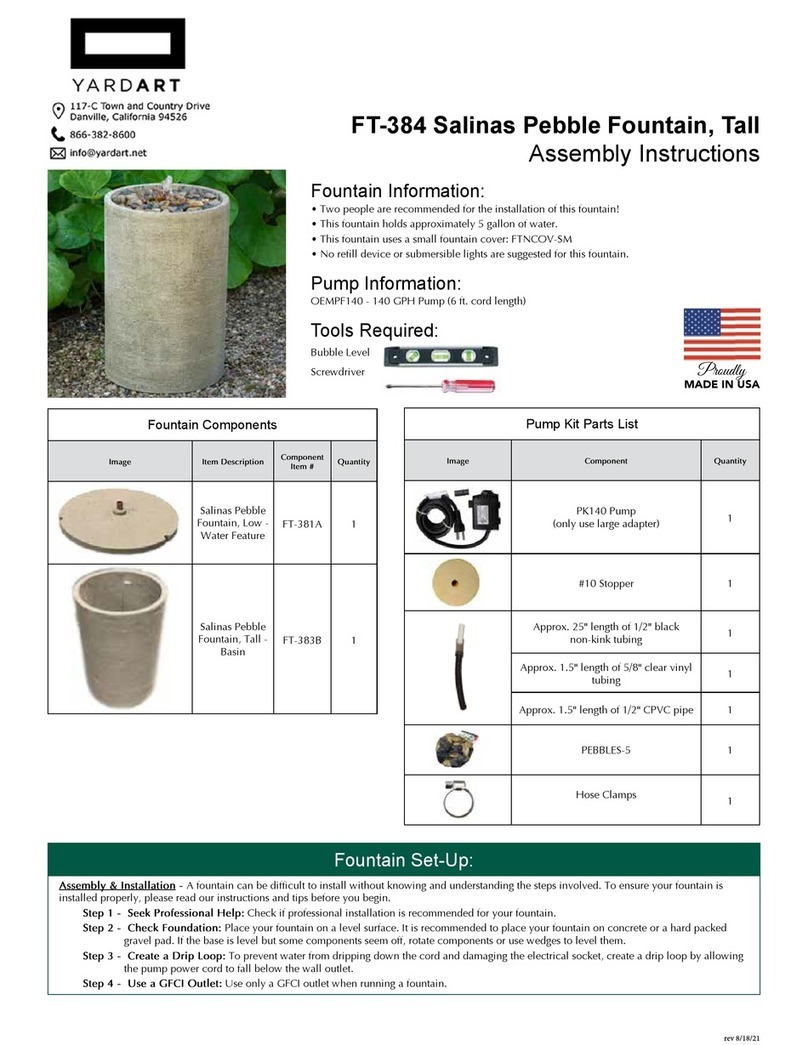
YARDART Salinas Pebble FT-384 User manual
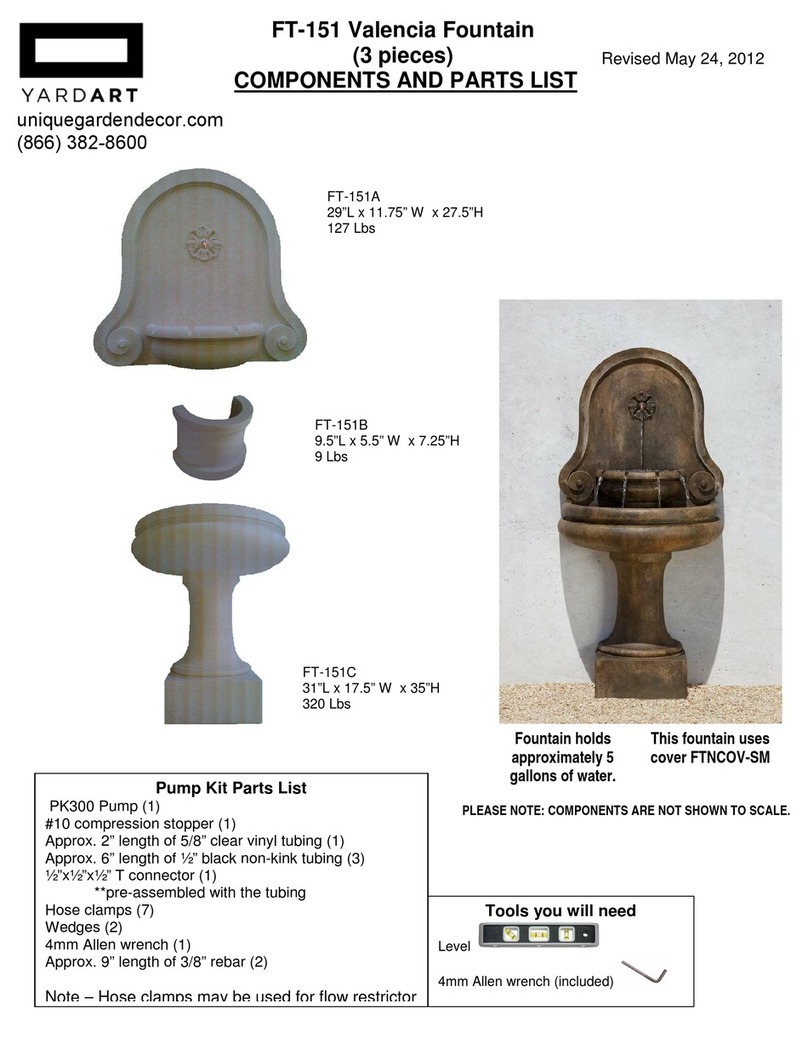
YARDART
YARDART FT-151 User manual
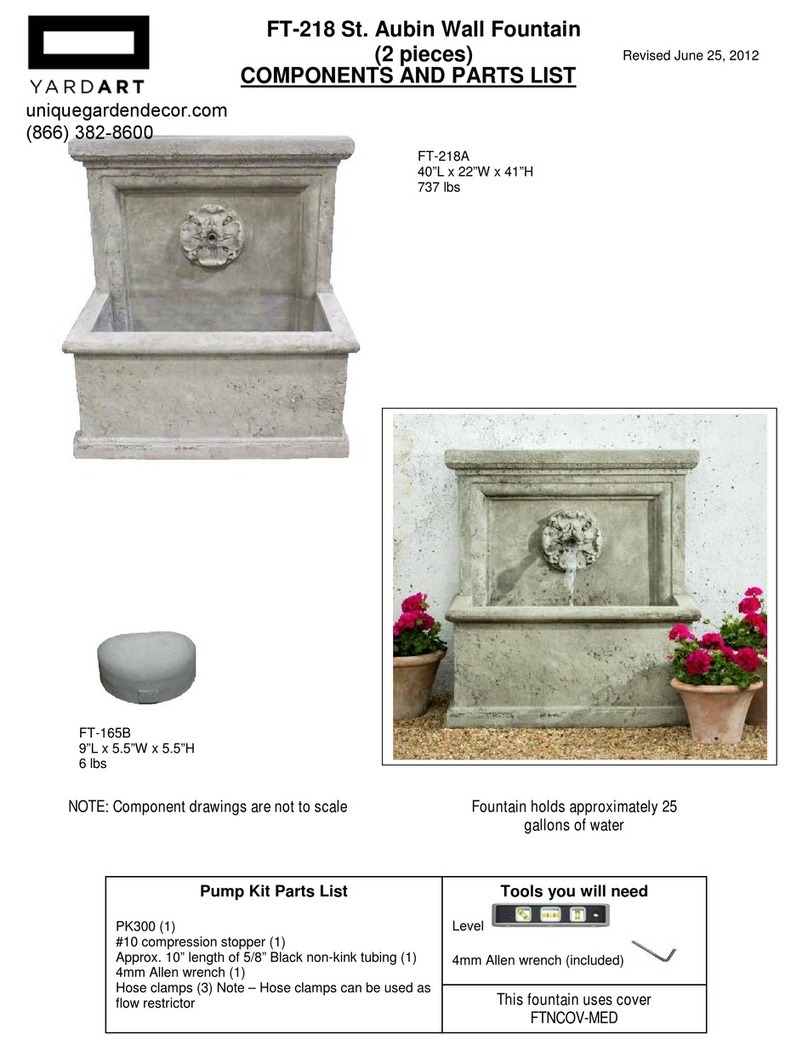
YARDART
YARDART St. Aubin FT-218 User manual
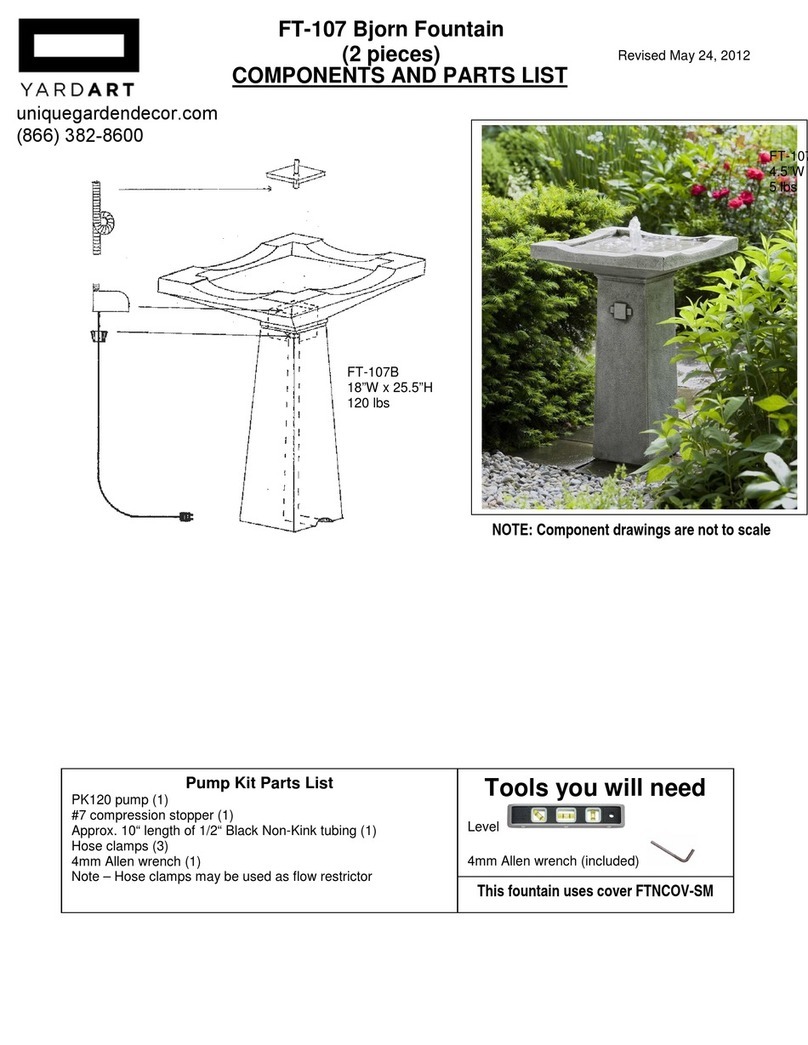
YARDART
YARDART Bjorn FT-107B User manual
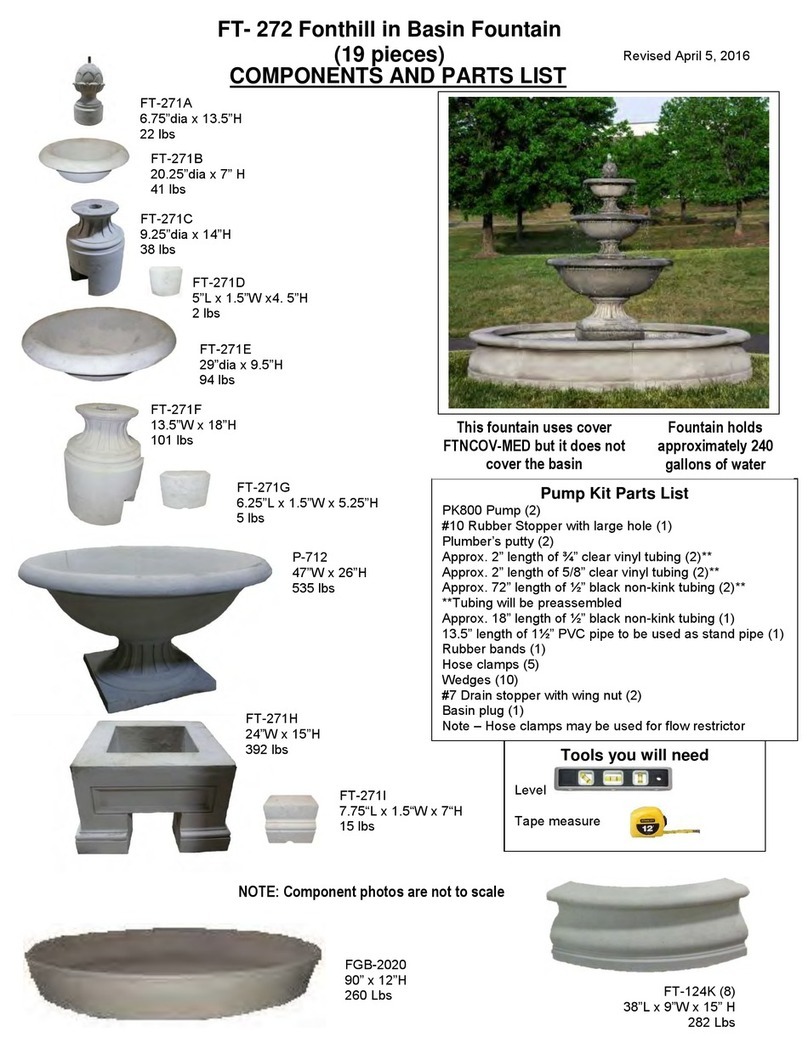
YARDART
YARDART Fonthill FT-272 User manual
YARDART
YARDART Samba FT-390 User manual
YARDART
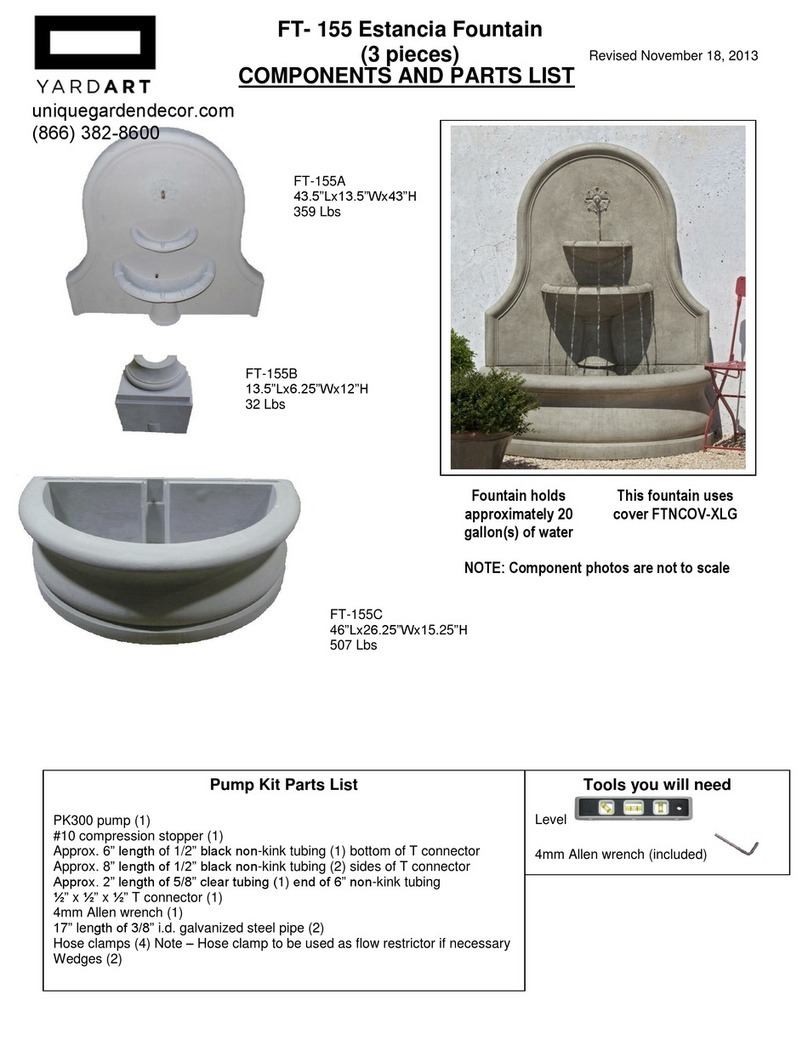
YARDART Palazzo FT-29 User manual
YARDART
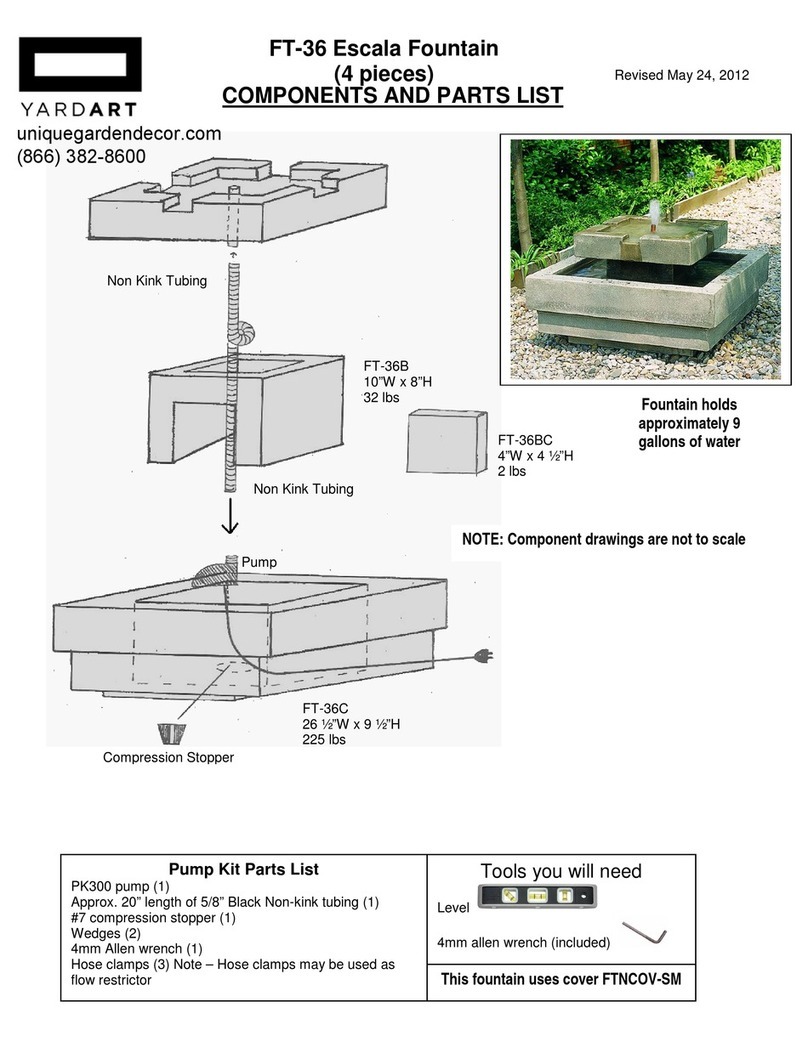
YARDART FT-155 User manual
YARDART
YARDART FT-36 User manual
YARDART
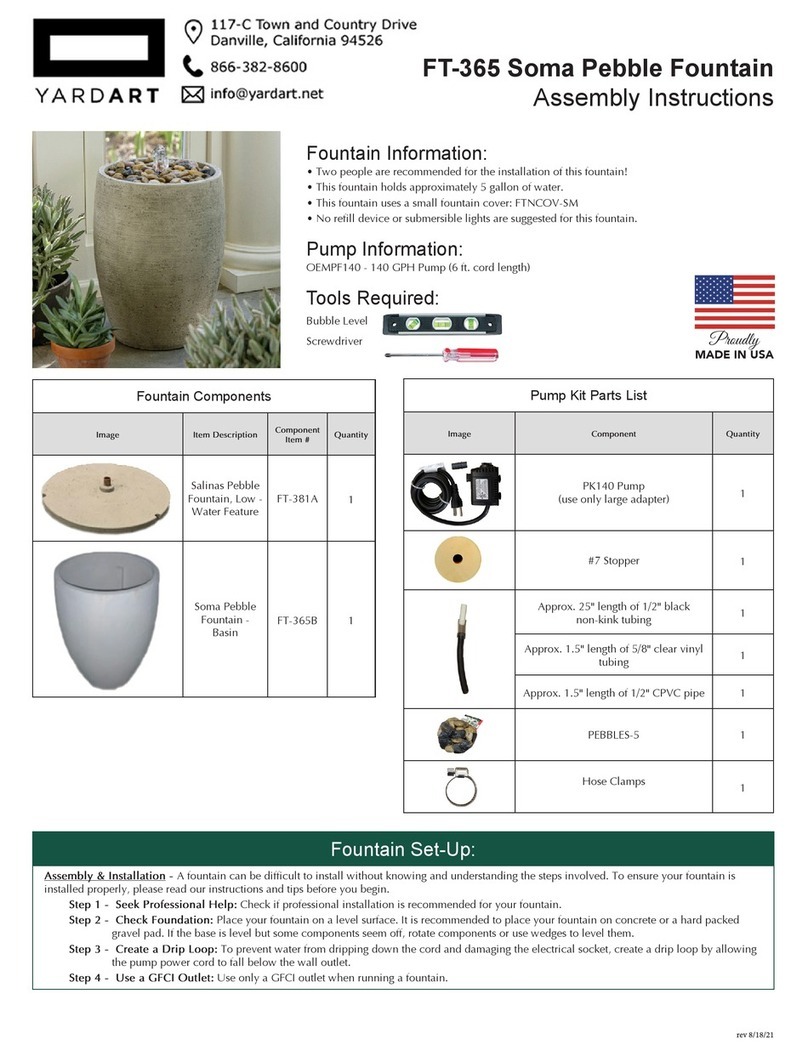
YARDART Soma Pebble FT-365 User manual
YARDART
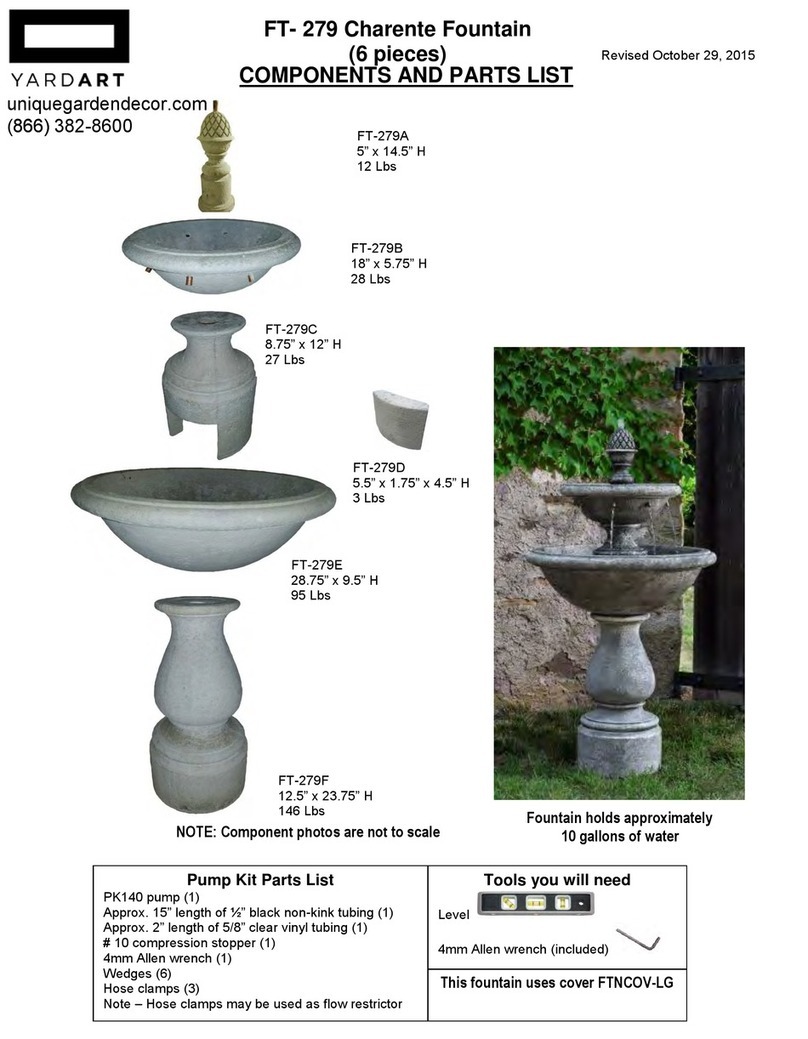
YARDART Charente FT-279 User manual
YARDART
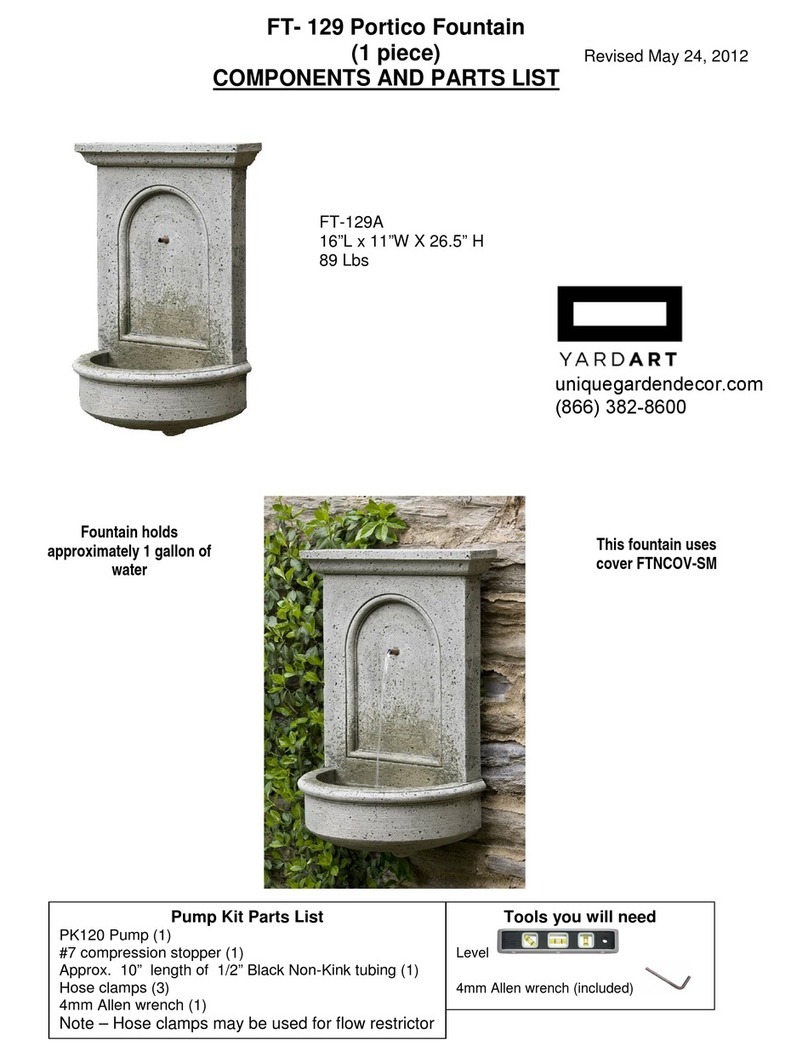
YARDART FT-129A User manual
YARDART
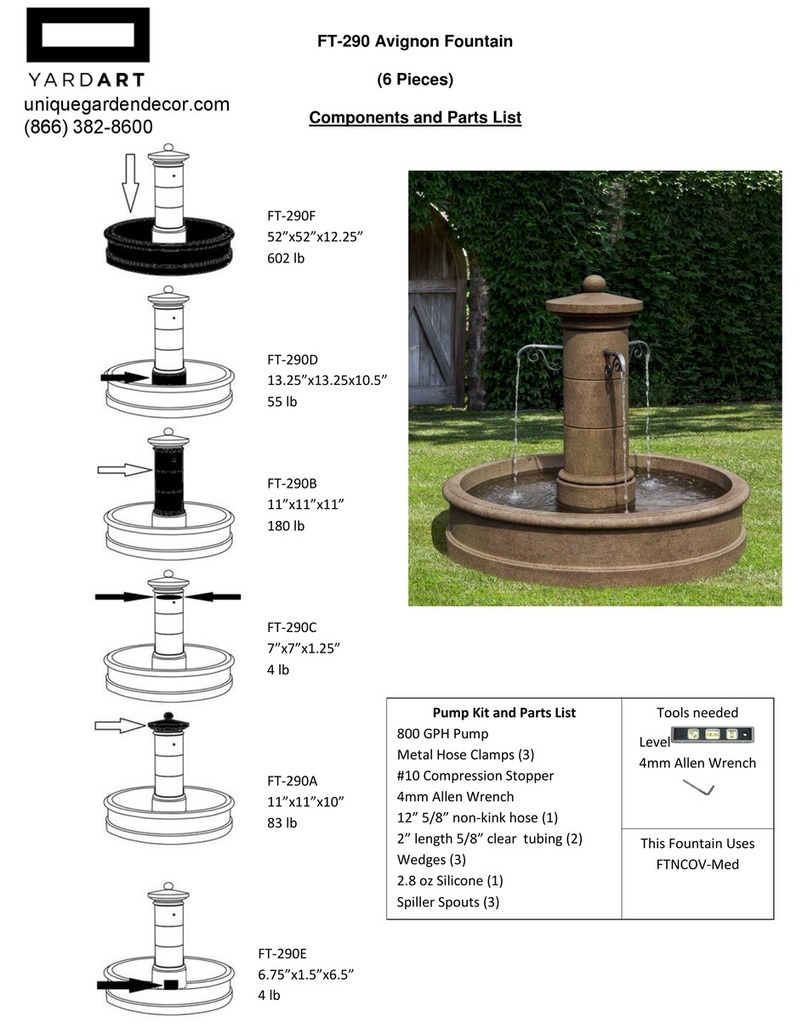
YARDART Avignon Fountain FT-290 User manual
YARDART
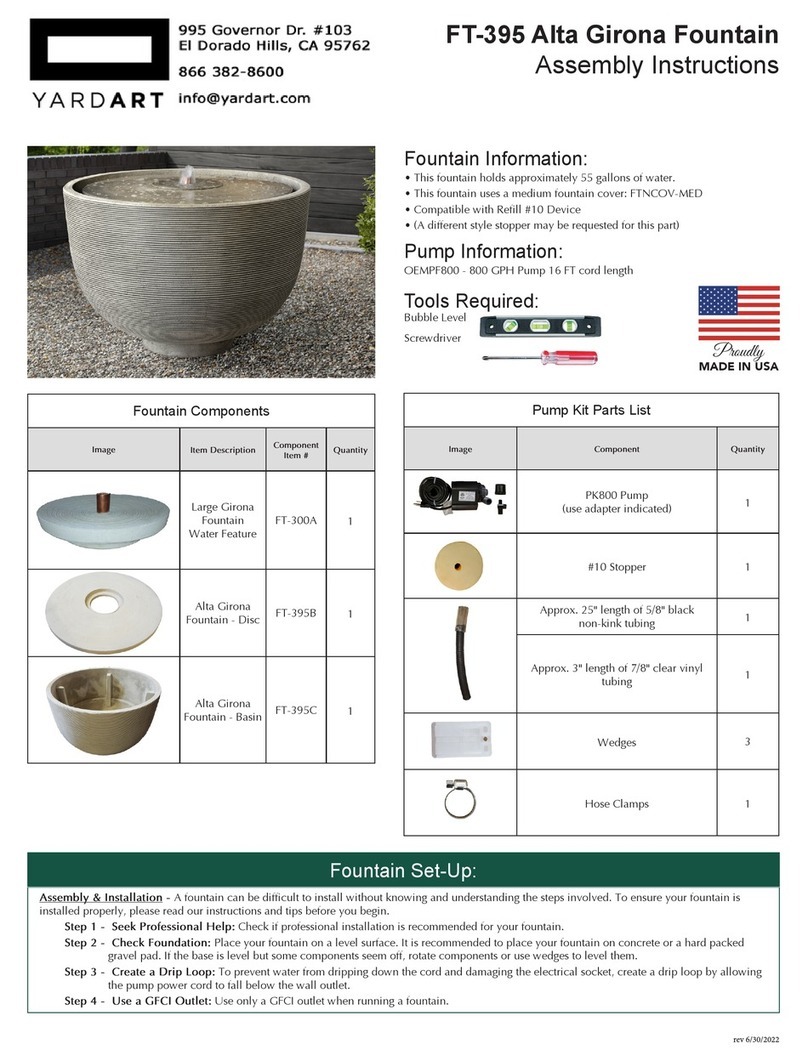
YARDART Alta Girona FT-395 User manual
YARDART
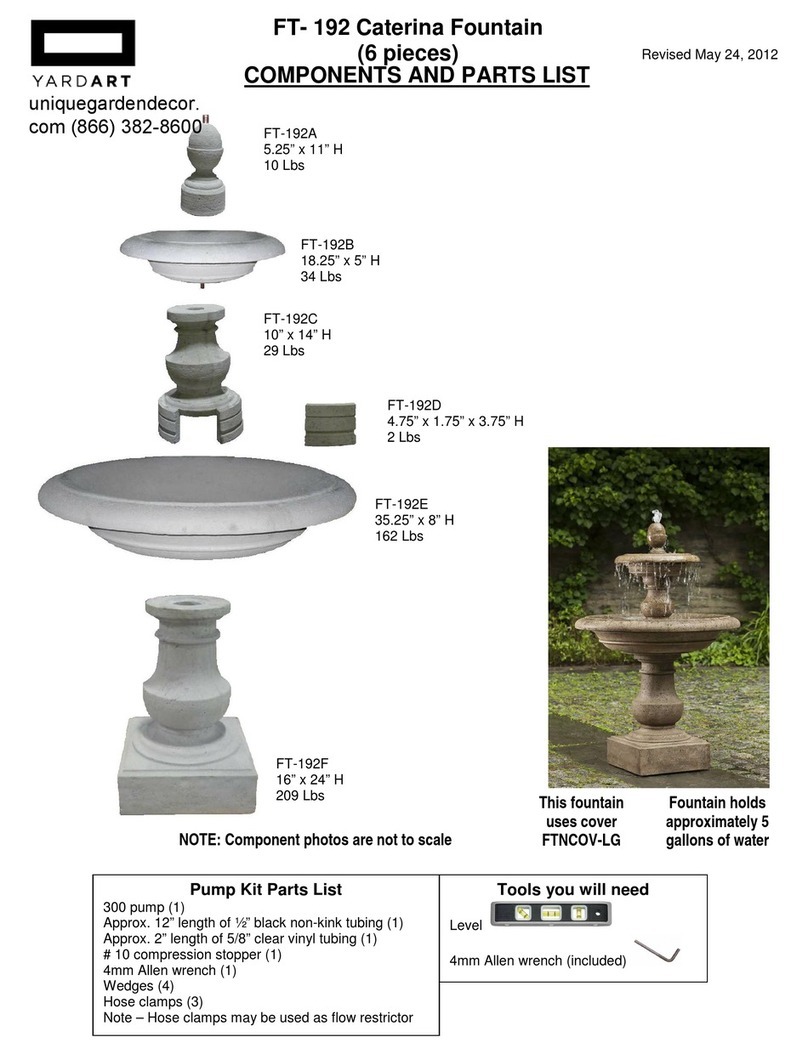
YARDART Caterina User manual

YARDART
YARDART FT-219 User manual
YARDART
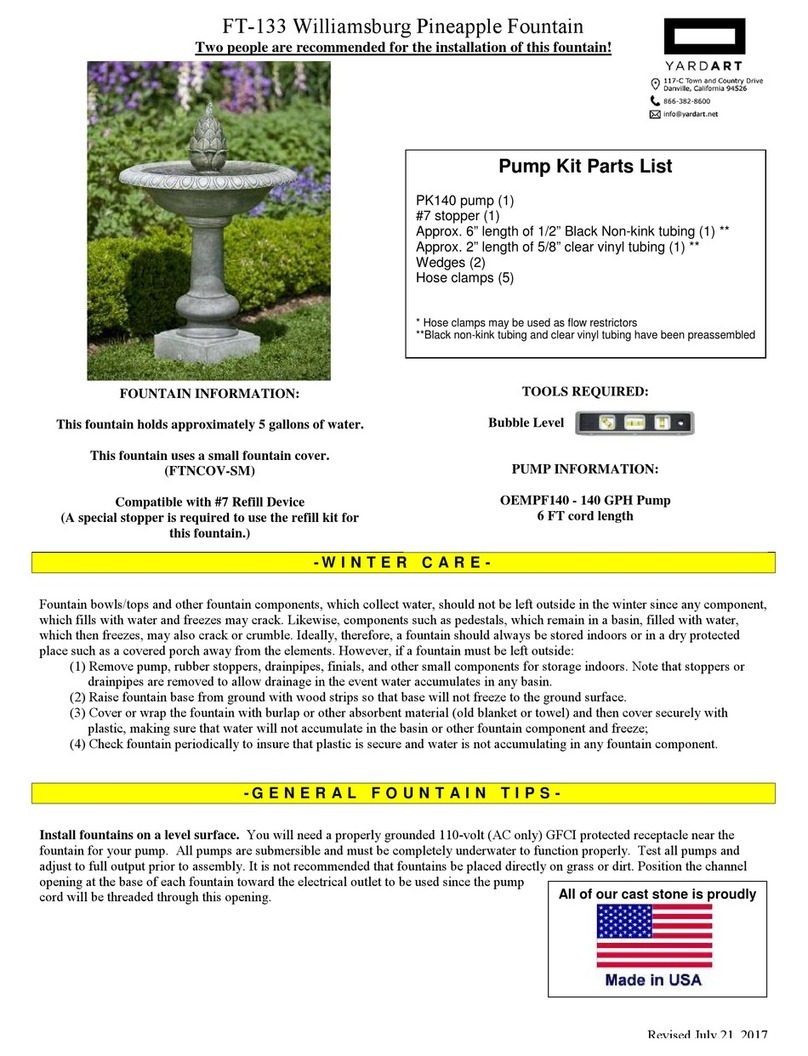
YARDART Williamsburg FT-133 User manual

YARDART
YARDART Williamsburg FT-133 User manual
YARDART
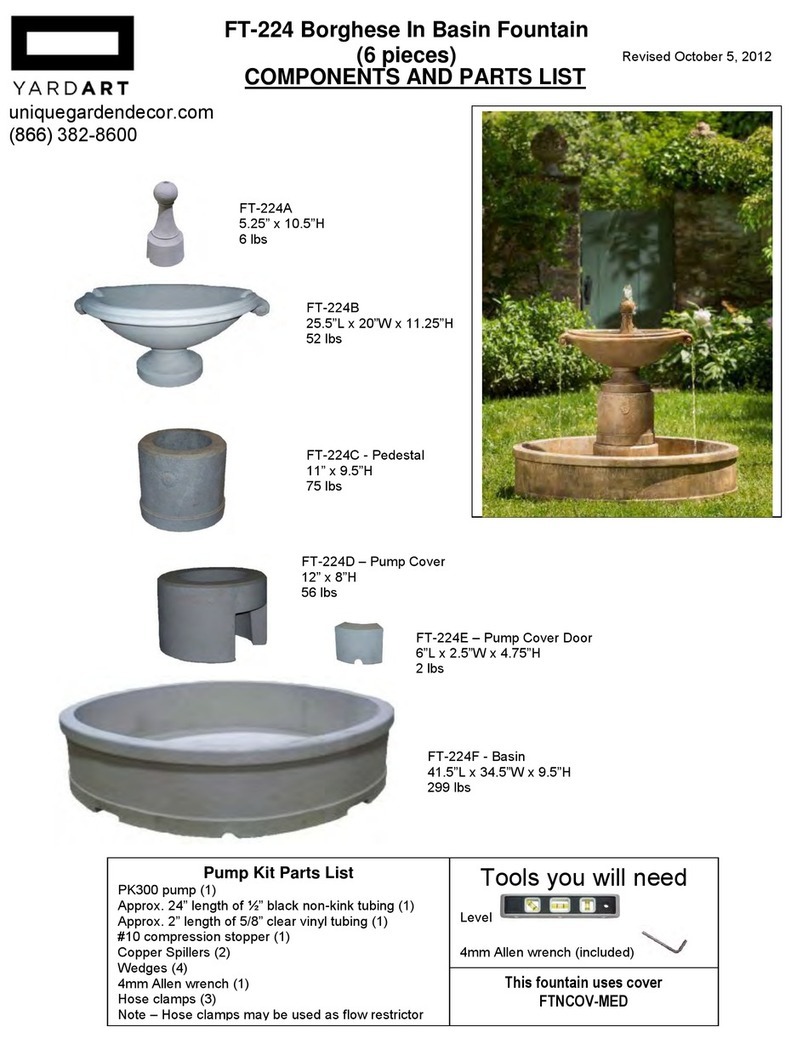
YARDART Borghese in Basin Fountain User manual
YARDART
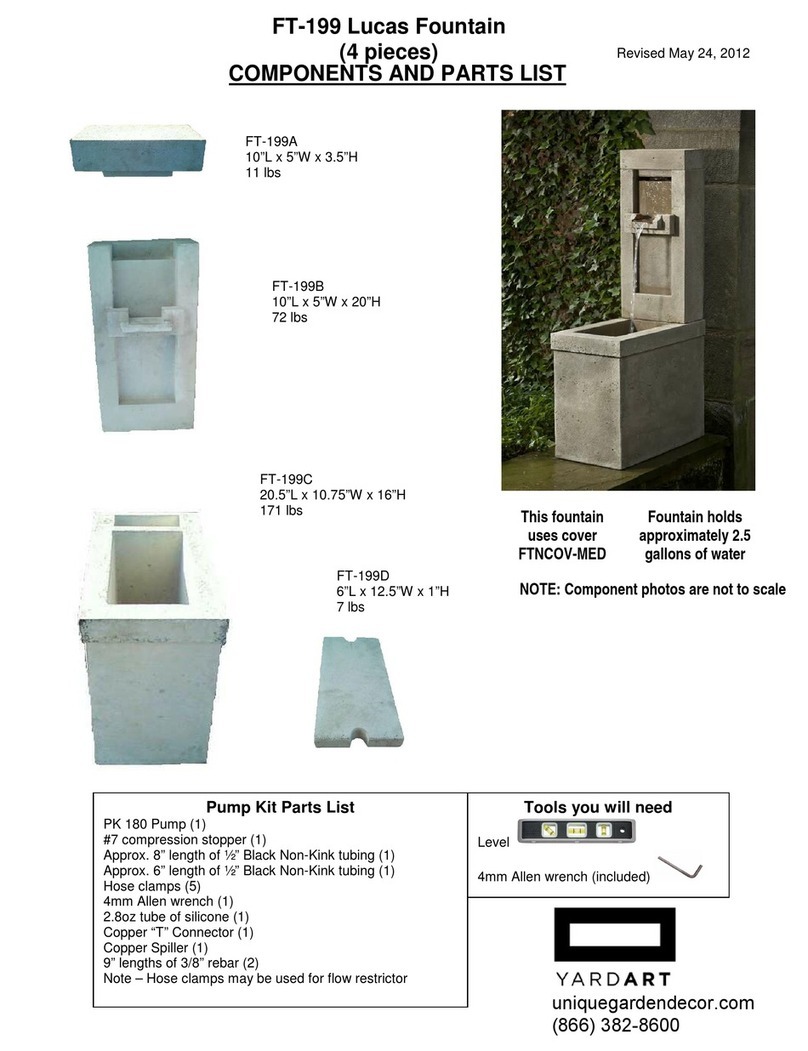
YARDART Lucas FT-199 User manual
Popular Outdoor Fountain manuals by other brands

Sunnydaze Decor
Sunnydaze Decor XSS-578 Assembly instructions

Campania International
Campania International Bibendum FT-400 Assembly instructions

Elkay
Elkay FLEXI-GUARD EFHA8 1M Series Installation, care & use manual

S.R.Smith
S.R.Smith Color Light Stream 2CLSLBK instructions

Hozelock Cyprio
Hozelock Cyprio Cascade 1500 Installation and operating instructions

Campania International
Campania International Juliet Fountain quick start guide
Bond
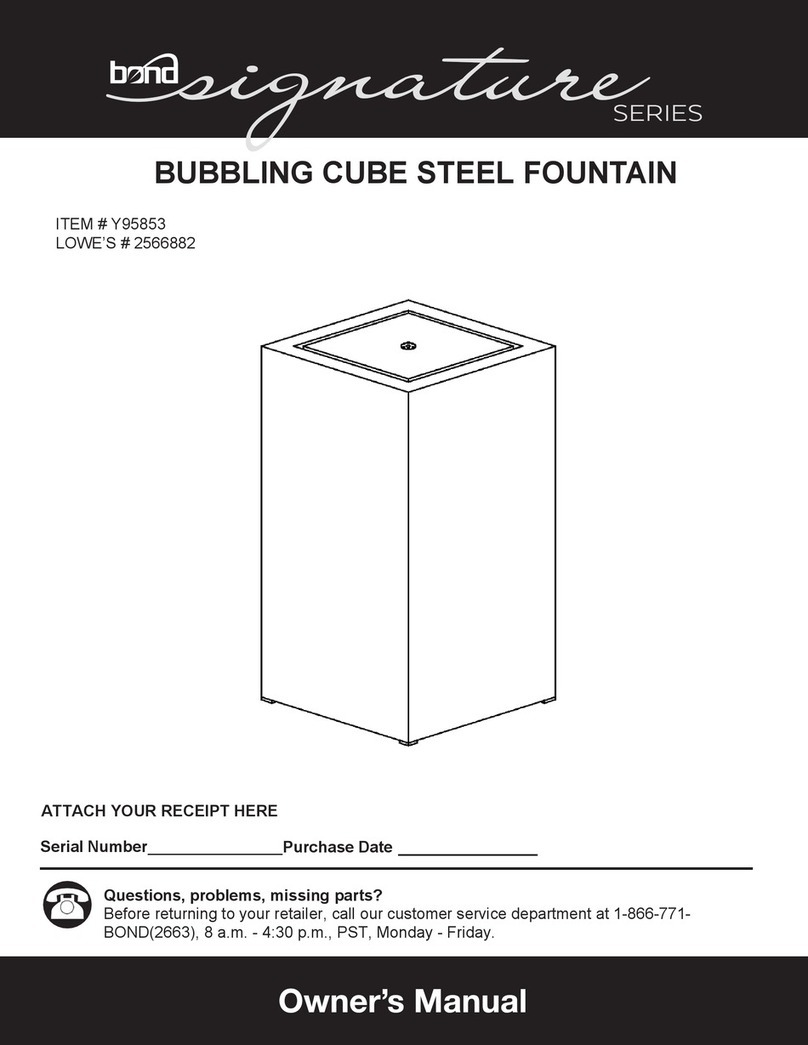
Bond Signature Series owner's manual

Kenroy Home
Kenroy Home 51112COPBL Care and instructions manual

EasyPro
EasyPro Tranquil Décor HBB39 installation instructions
Angelo Decor
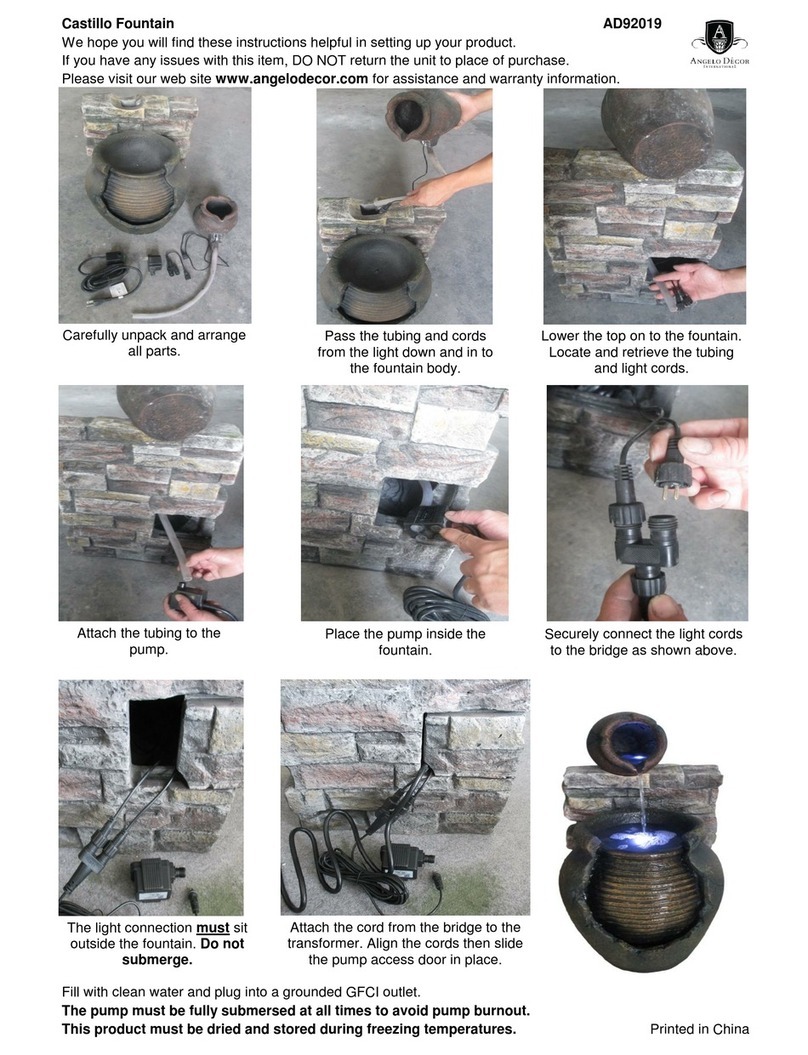
Angelo Decor Castillo instructions

Campania International
Campania International Girona FT-102A Assembly instructions

Campania International
Campania International FT-271 quick start guide
