Yardistry YM11579 User manual

1 support@yardistrystructures.com
YARDISTRY BAR
Installation and Operating Instructions – YM11578 & YM11579
Yardistry – North America
Toll Free Customer Support: 1.888.509.4382
info@yardistrystructures.com
www.yardistrystructures.com
Yardistry / Selwood Products – Europe
Customer Support: +44 1284 852569
parts@selwoodproducts.com
www.selwoodproducts.com
Revised 02/11/2013
1 support@yardistrystructures.com
78-1/2”

2 support@yardistrystructures.com
Important Safety Notice!
Yardistrycomponentsareintendedforprivacy,decorativeandornamentaluseonly.
Product is NOT INTENDED for the following:
•Asafetybarriertopreventunsupervisedaccesstopools,hottubs,spasorponds.
•Asloadbearingsupportforabuilding,structure,heavyobjectsorswings.
•Usedinstructuresthattrapwind,rainorsnowthatwouldcreateextraloadonthe
product.
Permanent structures may require a building permit. Asthepurchaserandorinstaller
ofthisproductyouareadvisedtoconsultlocalplanning,zoningandbuildinginspection
departmentsforguidanceonapplicablebuildingcodesand/orzoningrequirements.
Wood is NOT ame retardant and will burn.Grills,repitsandchimineasareare
hazardifplacedtooclosetoaYardistrystructure.Consultuser’smanualofthegrill,re
pitorchimneaforsafedistancesfromcombustiblematerials.
Wear gloves to avoid injuryfrompossiblesharpedgesofindividualelementsbefore
assembly.
During installation, follow all safety warnings provided with your tools and use
OHSA approved safety glasses.Somestructuresmayrequiretwoormorepeopleto
installsafely.
Check for underground utilities before digging or driving stakes into the ground!
General Information:WoodcomponentsaremanufacturedwithCedar(C.Lanceolata)
whichisprotectedwithfactoryappliedwater-basedstain.Knots,smallchecks(cracks)
andweatheringarenaturallyoccurringanddonotaffectthestrengthoftheproduct.
Annualapplicationofawater-basedwaterrepellentsealantorstainwillhelpreduce
weatheringandchecks.
www.yardistrystructures.com
Questions?
Calltollfreeorwriteusat:
1(888)509-4382
PatentsPending
General Information

3 support@yardistrystructures.com
Limited Warranty
Yardistry warrants that this product is free from defect in materials and workmanship
for a period of one year from the original date of purchase. In addition, all lumber is
warranted for 5 years against rot and decay. This warranty applies to the original owner
and registrant and is non-transferable.
Regular maintenance is required to assure the integrity of your product and is a requirement of
the warranty. This warranty does not cover any inspection cost.
This Limited Warranty does not cover:
• Labor for replacement of any defective item(s);
• Incidental or consequential damages;
• Cosmetic defects which do not affect performance or integrity;
• Vandalism; improper use or installation; acts of nature;
• Actsofnatureincludingbutnotlimitedtowind,storms,hail,oods,excessivewater
exposure;
• Minor twisting, warping, checking, or any other natural occurring properties of wood that
do not affect performance or integrity.
Yardistryproductshavebeendesignedforsafetyandquality.Anymodicationsmadetothe
original product could damage the structural integrity of the product leading to failure and
possibleinjury.Yardistrycannotassumeanyresponsibilityformodiedproducts.Furthermore,
modicationvoidsanyandallwarranties.
This product is warranted for RESIDENTIAL USE ONLY. Yardistry disclaims all other
representations and warranties of any kind, express or implied.
This Warranty gives you specic legal rights. You may have other rights as well which vary from state to state or province to
province. This warranty excludes all consequential damages, however, some states do not allow the limitation or exclusion of
consequential damages, and therefore this limitation may not apply to you.

4 support@yardistrystructures.com
Instructions for Proper Maintenance
YourYardistrystructureisdesignedandconstructedofqualitymaterials.Aswithall
outdoorproductsitwillweatherandwear.Tomaximizetheenjoyment,safetyandlife
ofyourstructureitisimportantthatyou,theowner,properlymaintainit.
Symbols:
Throughouttheseinstructionssymbolsareprovidedinthetop,right-handcornerofthepage.
If you dispose of your Yardistry structure: Pleasedisassembleanddisposeofyour
unitsothatitdoesnotcreateanyunreasonablehazardsatthetimeitisdiscarded.Be
suretofollowyourlocalwasteordinances.
HARDWARE:
• Checkmetalpartsforrust.Iffound,sandandrepaintusinganon-leadpaint
complyingwith16CFR1303.
• Inspectandtightenallhardwareaftercompletionofassembly;afterrstmonthof
use;andthenannually.Donotover-tightenastocausecrushingandsplinteringof
wood.
• Checkforsharpedgesorprotrudingscrewthreads,addwashersifrequired.
WOODPARTS:
• Unprotectedtheywillappearweatheredovertime.Periodicapplicationofan
exteriorwaterrepellentorstain(water-based)willhelpimproveappearanceand
life.
• Checkallwoodmembersfordeterioration,structuraldamageandsplintering.
Sanddownsplintersandreplacedeterioratedwoodmembers.Aswithallwood,
somecheckingandsmallcracksingrainisnormal
• TapeMeasure
• CarpentersLevel
• StandardorCordlessDrill
• #1,#2PhillipsorRobertson
BitsorScrewdriver
• 7/16”WrenchorSocket
Assembly Guides
• 8’StepLadder
• SafetyGlasses
• AdultHelper
• Gloves
• HardHat
Tools Required:
• UseHelp,wherethisisshown,2or3people
arerequiredtosafelycompletethisstep.
Toavoidinjuryordamagetotheassembly
makesuretogetsomehelp.
• Useameasuringtapetoassureproper
location
• Pre-drillapilotholebeforefastening
screworlagtopreventsplittingofwood.

5 support@yardistrystructures.com
6pc. - #8 x 2-1/4" Wood Screw - (Y06416-521)
9pc. - #8 x 2" Wood Screw - (Y06416-520)
2pc. - #12 x 3" Wood Screw - (Y06416-630)
Part Identification (Reduced Part Size) Part Identification (Reduced Part Size)
1-3/8" x 2-1/2"
1-1/2" x 5"
Nominal Size
1" x 4"
1" x 5"
2" x 5-1/2"
2" x 3"
2" x 2"
1-1/2" x 4"
Actual Size
5/8" x 3-3/8"
5/8" x 4-1/2"
1" x 3-1/2"
1-1/2" x 1-1/2"
Part Identification (Reduced Part Size)
Part Identification (Actual Size)
2 x 2 x 81-1/2"
1pc. -108 - Bottom Inside 38.1 x 38.1 x 2070.1mm - (Y50113-108)
1 x 4 x 79-3/4"
1pc. -109 - Front 15.9 x 85.7 x 2025.7mm - (Y50113-109)
2 x 5-1/2 x 16-3/32"
2pc. -110 - Gusset 38.1 x 127 x 409.1mm - (Y50113-110)
2 x 5-1/2 x 16-3/32"
1pc. -111 - Gusset Middle 38.1 x 127 x 409.1mm - (Y50113-111)
2 x 2 x 14"
3pc. -112 - Joist Gusset 38.1 x 38.1 x 355.6mm - (Y50113-112)
2 x 3 x 14"
2pc. -113 - Joist 34.9 x 63.5 x 355.6mm - (Y50113-113)
1 x 4 x 11"
2pc. -114 - Side 15.9 x 85.7 x 279.4mm - (Y50113-114)
1 x 4 x 10-1/2"
2pc. -115 - Side Short 15.9 x 85.7 x 266.7mm - (Y50113-115)
1 x 5 x 78-1/2"
3pc. -116 - Top 15.9 x 114.3 x 1993.9mm - (Y50113-116)
1-1/2 x 4 x 81-1/2"
1pc. -117 - Top Inside 25.4 x 88.9 x 2070.1mm - (Y50113-117)
43pc. - #8 x 1-1/2" Wood Screw - (Y06416-512)
20pc. - #8 x 2-1/2" Wood Screw - (Y06416-530)

6 support@yardistrystructures.com
PRODUCTNUMBER:YM11578/YM11579
CARTONI.D.STAMP:_____________(Box1)
CARTONI.D.STAMP:_____________(Box2)
CARTONI.D.STAMP:_____________(Box3)
STOP STOPSTOP STOP
1-888-509-4382
C. Readtheassemblymanualcompletely,payingspecialattentiontoANSIwarnings;
notes;andsafety/maintenanceinformationonpages1-4.
•Followtheinstructionsinorder.
•Thisstructureisdesignedtobeassembledandinstalledideallybytwopeople,
DONOTattempttoinstallalone.
•Considertheslopeofelevationwhereyouplantoinstallthestructure.Also,checkfor
gas,telephone,otherutilitiesorsprinklerlinelocationspriortoexcavatinganyholes.
D.
Beforeyoudiscardyourcartonsllouttheformbelow.
•ThecartonI.D.stampislocatedontheendofeachcarton.
•Pleaseretainthisinformationforfuturereference.Youwillneedthisinformationifyou
contacttheConsumerRelationsDepartment.
•Eachstepindicateswhichboltsand/orscrewsyouwillneedforassembly,aswellas
anyatwashers,lockwashers,t-nutsorlocknuts.
A.Thisisthetimeforyoutoinventoryallyourhardware,woodandaccessories,
referencingthepartsidenticationsheets.Thiswillassistyouwithyourassembly.
Step 1: Inventory Parts - Read This Before Starting Assembly
B.Ifthereareanymissingordamagedpiecesoryouneedassistancewith
assemblypleasecontacttheconsumerrelationsdepartmentdirectly.Callus
beforegoingbacktothestore.

7 support@yardistrystructures.com
Step 2: Assemble panels side-by-side
HardwareWood Parts
A:Assemblepanelsside-by-side.
B:Insertmaleintofemale.Slidedownuntilushwithadjacentpanel.
C:Securewith#8x2-1/4”Woodscrews.Usefactorydrilledholes.
#8x2-1/4”WoodScrew
Fig. 2.1
Fig. 2.2
Fig. 2.3
4 x Panels 6 x #8 x 2-1/4” Wood Screw

8 support@yardistrystructures.com
Step 3: Attach Top Inside and Bottom to Panel Assembly
HardwareWood Parts
View from back
TopInside
#8x2-1/2”WoodScrew
4Places
1-1/2”BothEnds
BottomushtoPanel
1-1/2”BothEnds
#8x2”WoodScrew
4Places
2-1/8”
View from back
BottomInside
A: PlaceTopInsideontopofassembledpanelsandattachwith4#8x2”WoodScrews.Thereshouldbeanover-
hangof1-1/2”onbothends.MeasurementfromtopofTopInsidetothetopofpaneltopshouldbe2-1/8”
PanelTop
B: PlaceBottomInsideushtothebottomofassembledpanelsandattachwith4#8x2-1/2”WoodScrews.
Thereshouldbeanoverhangof1-1/2”onbothends.
Fig. 3.1
Fig. 3.2
Fig. 3.3
1 x Top Inside (25.4 x 88.9 x 2070.1mm)
1 x Bottom Inside (38.1 x 38.1 x 2070.1mm)
4 x #8 x 2-1/2” Wood Screw
4 x #8 x 2” Wood Screw

9 support@yardistrystructures.com
Hardware
Step 4: Attach Panel Assembly to Room
78-1/2”
#12x3”WoodScrew
2Places
#8x2-1/2”WoodScrew
4Places
endsush
topost
3-5/8”
(075)
Engineered
PanelPost
A: Measure3-5/8”upfromground(Fig.4.2)andattachPanelAssemblytoRoomusing2#12x3”Woodscrews
intoBottominside,makingsurethattheendsareushtopost.Thensecureusing42-1/2”WoodScrewsintoTop
InsideasshowninFig.4.2.
Note: The distance between the posts is 78-1/2” as shown in Fig. 4.1
Fig. 4.1
Fig. 4.2
2 x #12 x 3” Wood Screw
4 x #8 x 2-1/2” Wood Screw

10 support@yardistrystructures.com
Step 5: Attach Joists to Panel Assembly
Joist
2places
#8x2”WoodScrew
5places
Noteorientation
ofnotch
JoistGusset
3places
Hardware
Wood Parts
OutsideView
A: Attach3JoistGussettoTopInsideusing3#8x2”WoodScrews.Noteorientationofholes.Nextattach2Joist
toTopInsideusing2#8x2”WoodScrews.PleasenotetheorientationofthenotchasshowninFig.5.2.
Fig. 5.1
Fig. 5.2
3 x Joist Gusset (38.1 x 38.1 x 355.6mm)
2 x Joist (34.9 x 63.5 x 355.6mm)
5 x #8 x 2” Wood Screw
Noteorientation
ofholes

11 support@yardistrystructures.com
Step 6: Attach 1st Top board to Assembly
Hardware
Wood Parts
#8x1-1/2”WoodScrew
10places
Topushonall
3sides
A: Attach1Topboardusing10#8x1-1/2”WoodScrews,besurethatitisushtoTopInsideandbothPosts.
Fig. 6.1
Fig. 6.2
1 x Top (15.9 x 114.3 x 1993.9mm) 10 x #8 x 1-1/2” Wood Screw

12 support@yardistrystructures.com
Step 7: Attach Side (or Side Short) to Assembly
#8x1-1/2”WoodScrew
2perside
EndsFlush
5/8”
UseSide for rooms with 3”
Post anduse Side Short for
rooms with 3-1/2” Post
FlushtoTop
FlushtoPost
A: Attach2SideboardstoeachJoistGussetusing4#8x1-1/2”WoodScrews.BesurethatthetopsofSidesare
5/8”abovetheJoistGusset,aswellasbothendsareushandthatSideisushtoPostasshowninFig.7.1and
7.2
Note: The Joist should sit 5/8” from the top of Side or Side Short as shown in Fig. 7.2
Fig. 7.1
Fig. 7.2
HardwareWood Parts
2 x Side or Side Short ( 15.9 x 85.7 x 279.4mm) or (15.9 x 85.7 x 266.7mm) 4 x #8 x 1-1/2” Wood Screw
Noteholeorientation

13 support@yardistrystructures.com
Step 8: Attach Front to Assembly
HardwareWood Parts
#8x1-1/2”WoodScrew
7places
Front
5/8”
FrontushtoSide
(orSideShort)
A: PlaceFrontushtobothSide(orSideShort)andattachusing7#8x1-1/2”WoodScrews.1screwintoeach
JoistGusset,and2willbeusedtoattachtoeachJoist.
Note: The Joist should sit 5/8” down from the top of Front as shown in Fig. 8.3
Joist
JoistGusset
Joist
JoistGusset
JoistGusset
Fig. 8.1
Fig. 8.2
Fig. 8.3
1 x Front (15.9 x 85.7 x 2025.7mm) 7 x #8 x 1-1/2” Wood Screw
Front

14 support@yardistrystructures.com
Attach Gussets to Assembly
Step 9: Attach Gussets to Assembly
HardwareWood Parts
#8x1-1/2”WoodScrew
2places
Gusset Gusset
#8x2-1/2”WoodScrew
12places
GussetMiddle
A: Attach2Gussetusing1#8x1-1/2”WoodScrewspersidethrougheitherSideorSideShort.Thenattach
GussetMiddleasshowninFig.9.2using4#8x2-1/2”WoodScrews.RepeatthisforbothGussetusing4#8x
2-1/2”WoodScrewsperGusset.
Fig. 9.1
Fig. 9.2
2 x Gusset (38.1 x 127 x 409.1 mm)
1 x Gusset Middle (38.1 x 127 x 409.1 mm)
2 x #8 x 1-1/2” Wood Screw
12 x #8 x 2-1/2” Wood Screw

15 support@yardistrystructures.com
Attach 2 Top boards
to Assembly
20 Places
#8 x 1-1/2" Wood Screw
Top
flush to Front
evenly space
Step 10: Attach 2 Top boards to Assembly
HardwareWood Parts
Fig. 10.1
A: Evenlyspace2TopBoardstoassemblyasshowninFig.10.2.SecurethemtotheJoists(JoistGusset&Joist)
using20#8x1-1/2”WoodScrews.10perboard.BesurethatthesecondTopboardisushtoFront.
Fig. 10.2
2 x Top (15.9 x 114.3 x 1993.9mm) 20 x #8 x 1-1/2” Wood Screw

16 support@yardistrystructures.com

17 support@yardistrystructures.com
NOTES

18 support@yardistrystructures.com
NOTES

19 support@yardistrystructures.com
NOTES

20 support@yardistrystructures.com
YARDISTRY
Consumer Registration Card
First Name Initial Last Name
Street Apt. No.
City State/Province ZIP/Postal Code
Country Telephone Number
E-Mail Address
Model Name Model Number (Box Labels)
Date Purchase Purchased From
How would you rate this product for quality?
Excellent Very Good Average Below Average Poor
How would you rate this product for ease of assembly?
Excellent Very Good Average Below Average Poor
How would you rate our instructions?
Excellent Very Good Average Below Average Poor
How would you rate the quality of packaging?
Excellent Very Good Average Below Average Poor
Would you recommend the purchase of our products to friends and family?
Yes No
Comments:
MM / DD / YY
REVISION: 10/18/11
MAIL TO:
Yardistry c/o Solowave DesignTM
375 Sligo Road W.
Mount Forest, Ontario, Canada
N0G 2L0
Attention: Customer Service
CUT ALONG LINE
Yardistry would like to say Thank You for your time and feed-
This manual suits for next models
1
Table of contents
Other Yardistry Lawn And Garden Equipment manuals
Yardistry
Yardistry YM11554 User manual

Yardistry
Yardistry YM11909 User manual

Yardistry
Yardistry YM11700 User manual

Yardistry
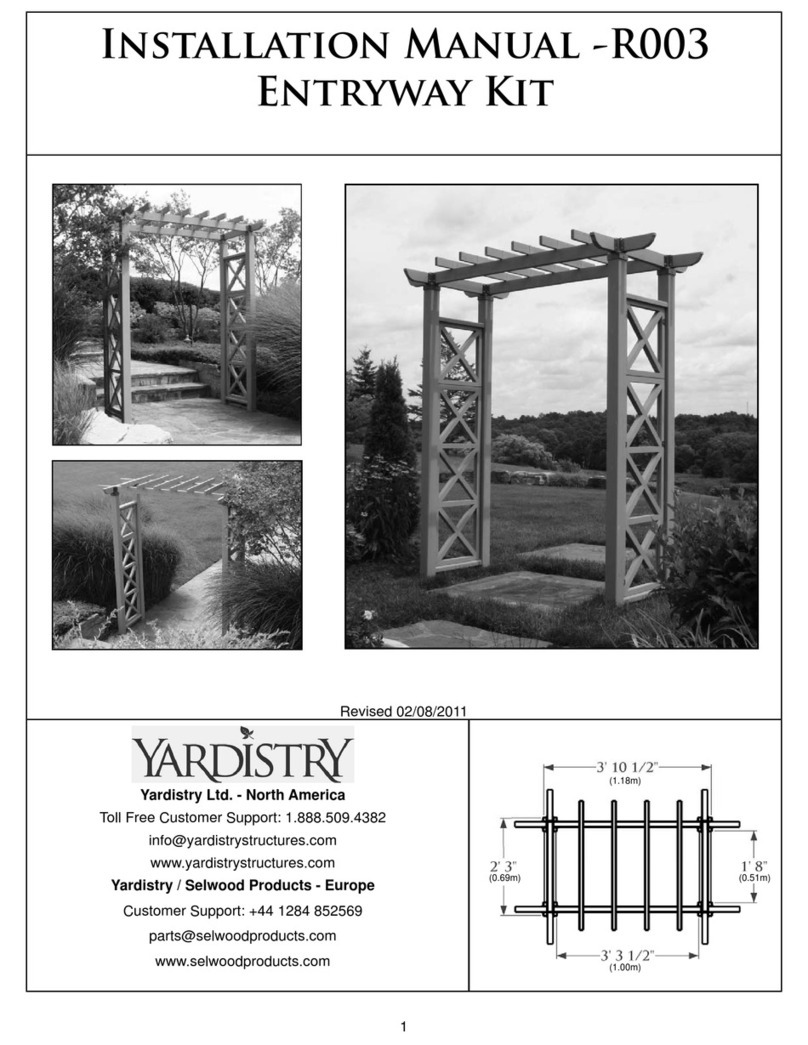
Yardistry R003 User manual

Yardistry
Yardistry YM11635X User manual
Yardistry
Yardistry MADISON YM11783X User manual
Yardistry
Yardistry G005 User manual

Yardistry
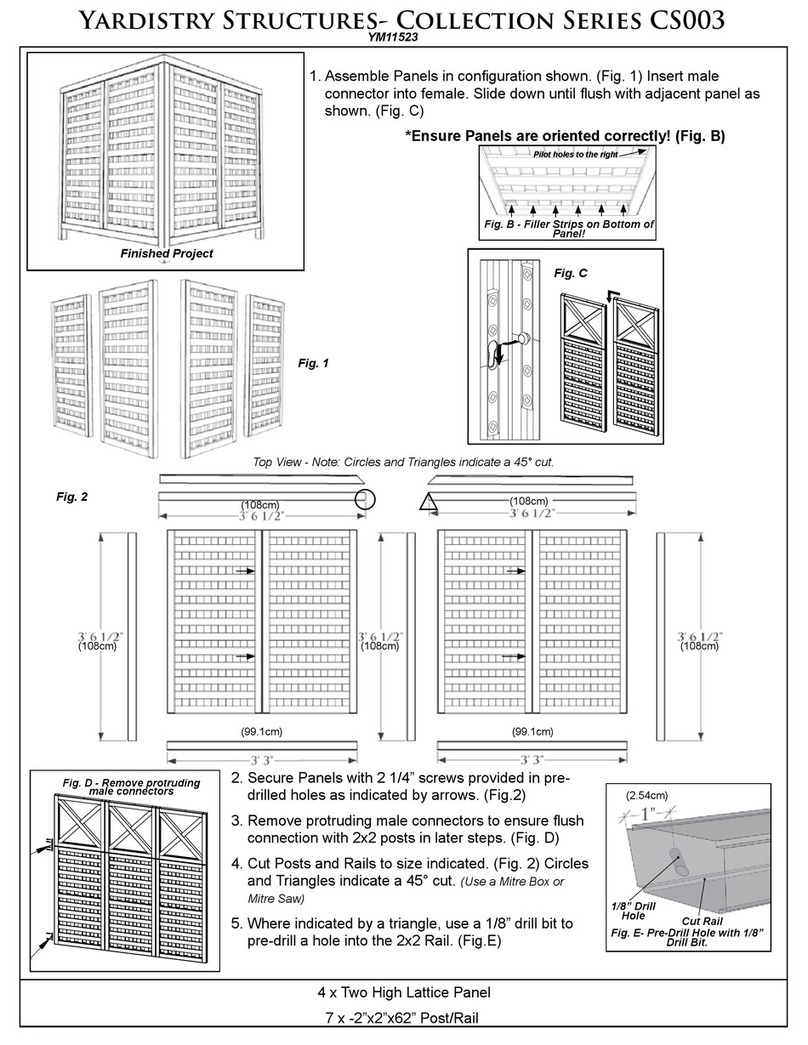
Yardistry CS003 Series User manual
Yardistry
Yardistry 12 WOOD PRIVACY WALL User manual