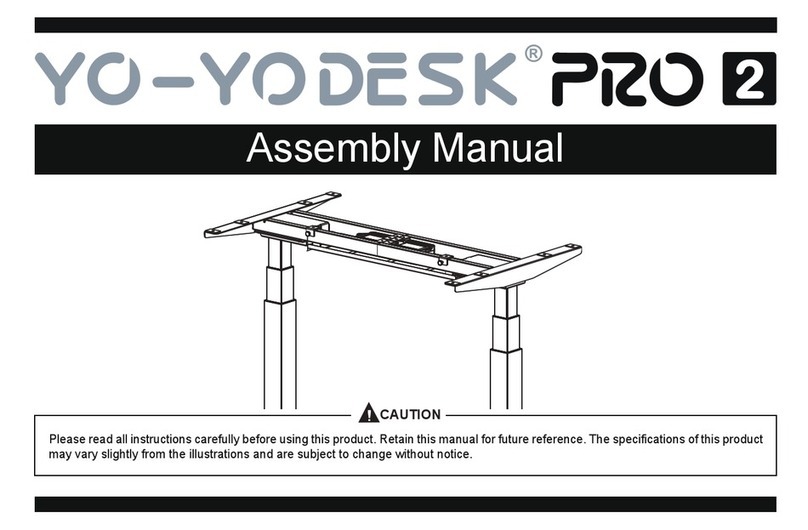
Yo-Yo Desk PRO 2 User manual

USER ASSEMBLY GUIDE
Keep Moving
and
2

2
WHAT’S IN THE BOX
ALSO REQUIRED
TO ATTACH THE TABLE TOP, CONTROL BOX AND CONTROL PANEL
A
X2 X12 X1
X1
X1
X8
X4
X4
X10
X8
X22 GUIDE SLEEVES
PLUGS
M6x40
M5x20
CONTROL BOX
ALLEN KEY 5MM
CONTROL PANELS
CROSSHEAD SCREWDRIVER
(ESSENTIAL)
DRILL OR BRADAWL
(RECOMMENDED)
OR
M10x25
M6x15
X2
X2
X2
X2
X2
G K
O
P
B H
C
I
D
J
E
L
M
F N

3
ASSEMBLY OUTLINE
A
G
E
N
M
B
H
I
L
C
F
D

4
STEP 1:
Attach the legs ( Cx2)
to the feet ( Fx2)
with 4x F.
STEP 2:
Attach the crossbars ( A+ B)
to the legs ( Cx2)
with 4x Guide Sleeves (M)
and 4x M6x15s( G).
STEP 3:
Attach the end strut ( E)
to the legs ( Cx2)
with 2x Guide Sleeves (M),
2x M6x15s( G) and then push in the
plugs ( N) to cover the screws.
Finally, push the 2x plugs ( I) into the
holes at the end of the struts ( E).
L
F
C
K
M
E
I
C
N
G
A
M
B
C
G
K

5
STEP 4:
Attach the joining bars ( Dx2) by sliding
them into the crossbars ( A+ B) and
attach them using 4x Bwith K.
STEP 5:
Slide the other end of the joining bars( Dx2)
into the crossbars ( A+ B) of the other legs,
and attach them using 4x Bwith K.
FRAME
Your PRO frame is now ready for
the installation of your table top and
control box.
H H
K K
D
D
BA
AB

6
STEP 6:
Attach your table top to the frame by
lining it up with the edge. (It can be
easier to turn the frame upside down, you
will need a soft, non abrasive surface to
protect your table top.)
Using 6 of the M5x20 screws J, screw
the PRO frame to your table top.
STEP 7:
Once your table top is secured, still looking
at the underside, place the Control Box O
centrally between the two joining bars. Once
centered, screw the control box to the table
top using 2x J.
STEP 8:
On the underside of your table top, position
your Control Panel Pon the front edge, around
10cm from either side.
Using 2x J, screw the Control Panel to your
table top, making sure it is secure.
JJJ
O
P

7
STEP 9:
On the underside of your desk, connect
the Information Cable to the
Control Box and then to the Control Panel.
Secure all excess cables using the cable
clips. Screw the required number to your
table top to keep it tidy and safe.
STEP 10:
Connect the Message Cables to
the Control Box and then to the Motor
Cables .
STEP 11:
Connect the Power Cable to the
Control Box and then to a mains plug
socket.

8
MEMORY SETTINGS CONTROL PANEL
DISPLAY SCREEN DOWNUP
1 2 3 S

9
1. INITIALISATION PROCEDURE
STEP 1:
Press and hold and simultaneously for
more than 6 seconds.
The legs will start to move down at half the
speed of normal operation.
STEP 2:
Keep holding down and . The legs will start to move down to the lowest
position and rebound 2-5mm, then stop.
STEP 3:
Release and at the same time. The initialisation is complete.
The initialisation procedure must be completed before the first running of the table or after
any parts have been replaced.
2. MOVE UP AND DOWN
STEP 1:
Press and hold The legs will move up.
STEP 2:
Release The legs will stop moving.
STEP 3:
Press and hold The legs will move down.
STEP 4:
Release The legs will stop moving.

10
3. SET MEMORY POSITIONS
STEP 1:
Press and hold or and then release. Move the legs to your desired standing height.
STEP 2:
Press the Sbutton, then press button 1within
6 seconds. The height of position 1 is saved.
STEP 3:
To save other heights, repeat steps 1 and 2
but press button 2and 3to finish. The heights of positions 2 and 3 are saved.
1. Memory position will be erased after initialisation.
2. Memory position can be overwritten.
4. MOVE TO MEMORISED POSITIONS
STEP 1:
Press and hold button 1, 2or 3.The legs return to the corresponding position.
5. ONE-CLICK OPERATION TO MEMORY POSITION 1, 2 OR 3
STEP 1:
Press and hold button 1, 2or 3.The legs return to the memory position.

11
6. MEMORY KEY ONE-CLICK LIFTING FUNCTION
STEP 1:
Hold the Skey for over 5 seconds. Subtitles flashing on the screen “- - -”
STEP 2:
Release the S key then, hold key 1in
3 seconds.
“H - 0” or “H - 1” shows on the screen,
indicating the lock or unlock of the one-click
lifting function.
STEP 3:
Press and hold or to change
existing function.
“H - 0” indicates the function is off; “H - 1”
indicates the function is on.
STEP 4:
Hold the Skey for over 2 seconds. The one-click lifting function is on/off.
1. The one-click lifting function is turned off by default after initialisation.
7. EXCHANGE OF IMPERIAL SYSTEM AND METRIC SYSTEM
STEP 1:
Hold the S key then, hold key for
3 seconds.
Display height switch between centimeters and
inches.
STEP 2:
Release the S key The switch is done.
1. as the column rises or falls, in the imperial display format, the minimum change in height
is 0.5 inches; while in metric the minimum change is 1cm.

12
8. CORRECT DISPLAY HEIGHT TO OFFICE TABLE HEIGHT
STEP 1:
Set the table at any height, the bottom
position is recommended.
Measure the table’s actual height and write
down the number in inches or centimeters.
STEP 2:
Hold the S key hold key for over 3 seconds. The first digit will be flashing on the screen.
STEP 3:
Release the keys, then click or to adjust
the first digit.
Increase or decrease the first digit on the
screen to match your measured number.
STEP 4:
Click the Skey. The second digit will be flashing on the screen.
STEP 5:
Click or to adjust the second digit. Increase or decrease the second digit on the
screen to match your measured number.
STEP 6:
Click the Skey. The third digit will be flashing on the screen.
STEP 7:
Click or to adjust the third digit. Increase or decrease the third digit on the
screen to match your measured number.
STEP 8:
Click the Skey. The setting is complete.
1. Check whether the handset display format matches with the measured data, either in
centimeters or inches. In imperial display format the minimum height adjustable unit is
0.5 inch, and in metric display format, the minimum height adjustable unit is 1 cm.

13
9. SET UP STROKE LIMIT OF RISING AND LOWERING
9.1 Lock up the rising stroke
STEP 1:
Press and or and then release the key. Run the column to your desired height.
STEP 2:
Hold the Skey, then hold key 3for
at least 3 second.
The caption “- L -” will display on the screen,
indicating that the current height is locked as
the highest running height.
STEP 3:
Release the keys The setting is complete.
1. The column cannot run higher than the locking height.
2. Setting the highest stroke limit will erase the positions higher than the locking height and,
even if the stroke unlocking operation is performed, the memory positions higher than the
locking height cannot be recovered. You must reset the memory position according to the
memory position setting instructions.
3. The locking height will not be unlocked after initialisation.

14
9. SET UP STROKE LIMIT OF RISING AND LOWERING
9.2 Lock up the lowering stroke
STEP 1:
Press and or and then release the key. Run the column to your desired height.
STEP 2:
Hold the Skey, then hold key 1for at least 3
second.
The caption “- L -” will display on the screen,
indicating that the current height is locked as
the lowest running height.
STEP 3:
Release the keys The setting is complete.
1. The column cannot run lower than the locking height.
2. Setting the lowest stroke limit will erase the positions lower than the locking height and,
even if the stroke unlocking operation is performed, the memory positions lower than the
locking height cannot be recovered. You must reset the memory position according to the
memory position setting instructions.
3. The locking height will not be unlocked after initialisation.
10. UNLOCK STROKE LIMIT
STEP 1:
Hold the S key then, hold key 2for a few
seconds.
The caption “- c -” will display on the screen,
indicating that the stroke limits are both
unlocked.
STEP 2:
Release the keys Unlock complete.

15
11. ERROR CODES
E01 Column
malfunction
Linkage between columns and control
box disconnected.
1. Check to see if the link cable between the columns
and the control box is disconnected.
2. Check to see if there is any part damaged in the
columns. Replace the column if yes.
E03 Overload The table top load exceeds the control
box rated loading limit. 1. The column is overloaded, reduce the load.
E04 Abnormal data Control box abnormal data.
1. Operating the system in a harsh environment, which
results in abnormal control box data and requires
initialisation.
2. The initialisation process is interrupted, resulting in
abnormal control box data, which requires reinstallation.
E05 Key stuck Handset value is detected for more
than 30 seconds under pressing.
1. Reposition the key on the handset if it gets stuck.
2. Replace the handset.
E06 Communication
outage Handset receives no data in 5 seconds.
1. Check the link cable to see if the communication
between handset and control box is disconnected.
2. Check the control box to see if it functions.
E07 Handset height
setting too low. Handset setting is below 0. 1. The height value of the handset is below 0, which
needs to be adjusted to a higher value.
E08 Motor short
circuit
Broken cable causes motor
short circuit.
1. Check if there is cable damage in the motor and
change if necessary.
2. Power on again. Check whether the motor is
working normally and if the error code is still showing.
E09 HALL sensor
abnormal Hall counting abnormal. 1. Re-initialise the system.
E10 Abnormal driving Malfunction occurs inside the control
box.
1. Cut off the power supply and cool the control box for
1 minute before powering back on. If the error code is
still showing, the control box should be replaced.

16
12. ADJUSTING THE SENSITIVITY OF THE GYRO ANTI-COLLISION
STEP 1:
Press and hold the Skey for over 5 seconds. Subtitles flashing on the screen “- - -”
STEP 2:
Release the S key then, press key 3
within 3 seconds.
“G - N” is displayed on the screen, indicating the
current gyro anti collision sensitivity level
(N indicates the sensitivity level).
STEP 3:
Click or to adjust the
anti-collision sensitivity.
Increase or decrease the anti-collision sensitivity.
There are five different levels of sensitivity: “G
- 0”, “G - 1”, “G - 2”, “G - 3”, “G - 4”, where G4
indicates the highest sensitivity.
STEP 4:
Hold the Skey for over 2 seconds. Sensitivity adjustment is complete.

17
BASIC UP/DOWN CONTROL PANEL
DOWNUP

18
1. INITIALISATION PROCEDURE
STEP 1:
Press and hold and simultaneously for
more than 3 seconds.
The legs will start to move down at half the
speed of normal operation.
STEP 2:
Keep holding down and . The legs will start to move down to the lowest
position and rebound 2-5mm, then stop.
STEP 3:
Release and at the same time. The initialisation is complete.
The initialisation procedure must be completed before the first running of the table or after
any parts have been replaced.
2. MOVE UP AND DOWN
STEP 1:
Press and hold The legs will move up.
STEP 2:
Release The legs will stop moving.
STEP 3:
Press and hold The legs will move down.
STEP 4:
Release The legs will stop moving

19
1. FAULT PROTOCOL
STEP 1:
Fault Phenomenon Handling
After connecting the power, press up or down,
the legs do not respond.
1. Re-initialise the table
2. Check if the connection is correct or not
3. Please contact your supplier
After connecting the power, press and hold and
together, the legs do not respond.
1. Check if the connection is correct or not
2. Please contact your supplier
The legs are rising slowly. 1. Check if the input power is correct or not
2. Please contact your supplier
The legs don’t move according to your operation. 1. Please contact your supplier
One leg moves while the other does not move. 1. Check if the connection is correct or not
2. Please contact your supplier
Legs only move down and don’t move up. 1. Re-initialise the table
2. Please contact your supplier
Table slides down by itself.
1. Check if the load on the table exceeds
75kg or not.
2. Please contact your supplier
The table goes into initialisation frequently.
1. Check if the load on the table exceeds
75kg or not.
2. Check the noise of the motor.
3. Please contact your supplier.

CONTACT YO-YO DESK
Keep Moving
This manual suits for next models
1
Table of contents
Other Yo-Yo Desk Indoor Furnishing manuals
Yo-Yo Desk
Yo-Yo Desk 32 Series User manual

Yo-Yo Desk
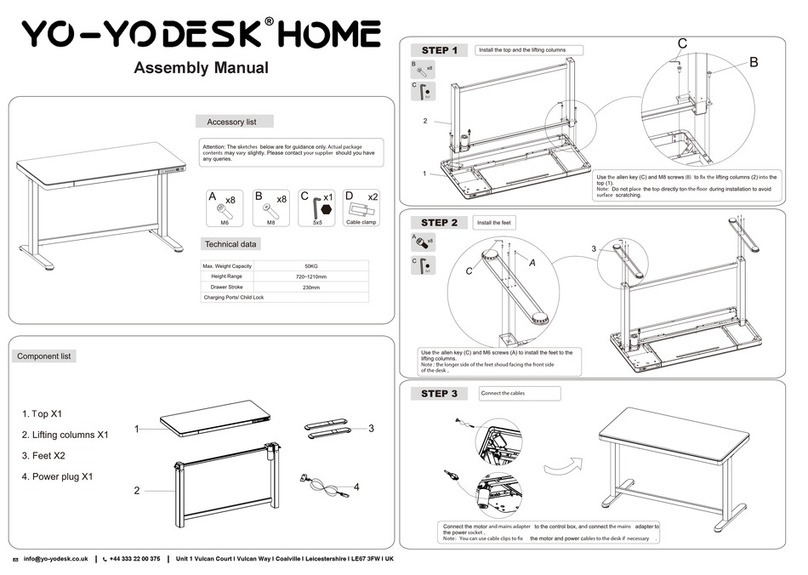
Yo-Yo Desk HOME User manual

Yo-Yo Desk
Yo-Yo Desk CUBE S User manual
Yo-Yo Desk
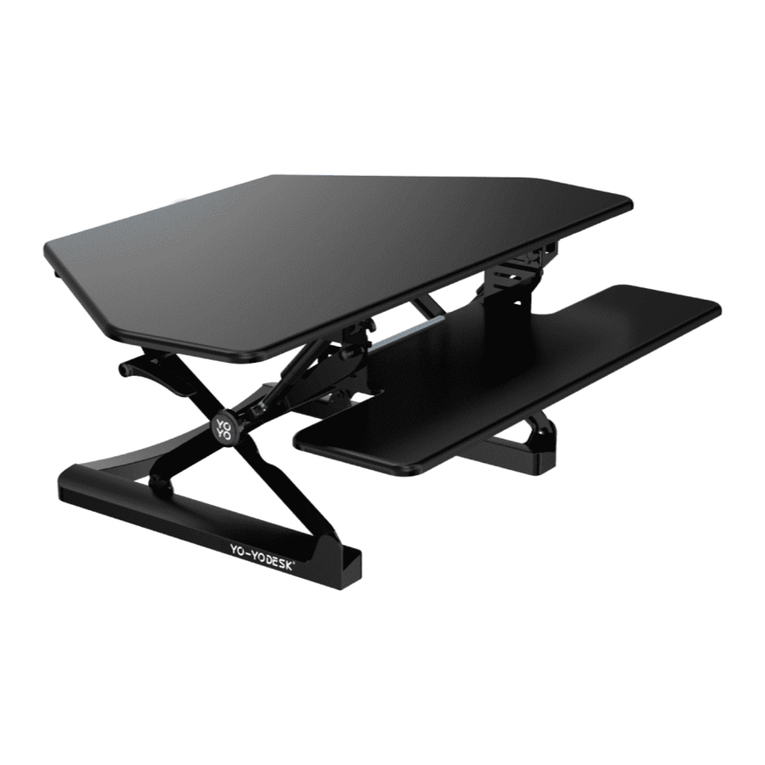
Yo-Yo Desk MINI User manual

Yo-Yo Desk
Yo-Yo Desk BIKE User manual

Yo-Yo Desk
Yo-Yo Desk PRO 1 User manual

Yo-Yo Desk
Yo-Yo Desk CUBE User manual

Yo-Yo Desk
Yo-Yo Desk PRO 2 User manual
Popular Indoor Furnishing manuals by other brands

Regency
Regency LWMS3015 Assembly instructions

Furniture of America
Furniture of America CM7751C Assembly instructions

Safavieh Furniture
Safavieh Furniture Estella CNS5731 manual

PLACES OF STYLE
PLACES OF STYLE Ovalfuss Assembly instruction

Trasman
Trasman 1138 Bo1 Assembly manual

Costway
Costway JV10856 manual