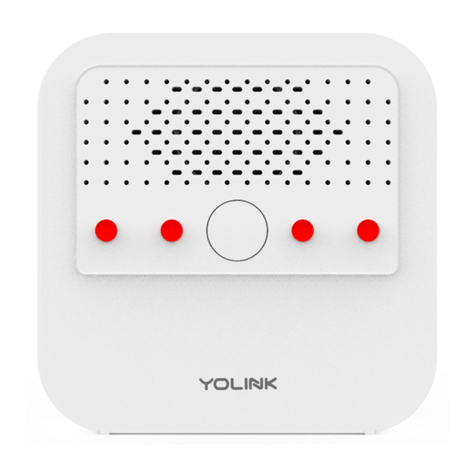
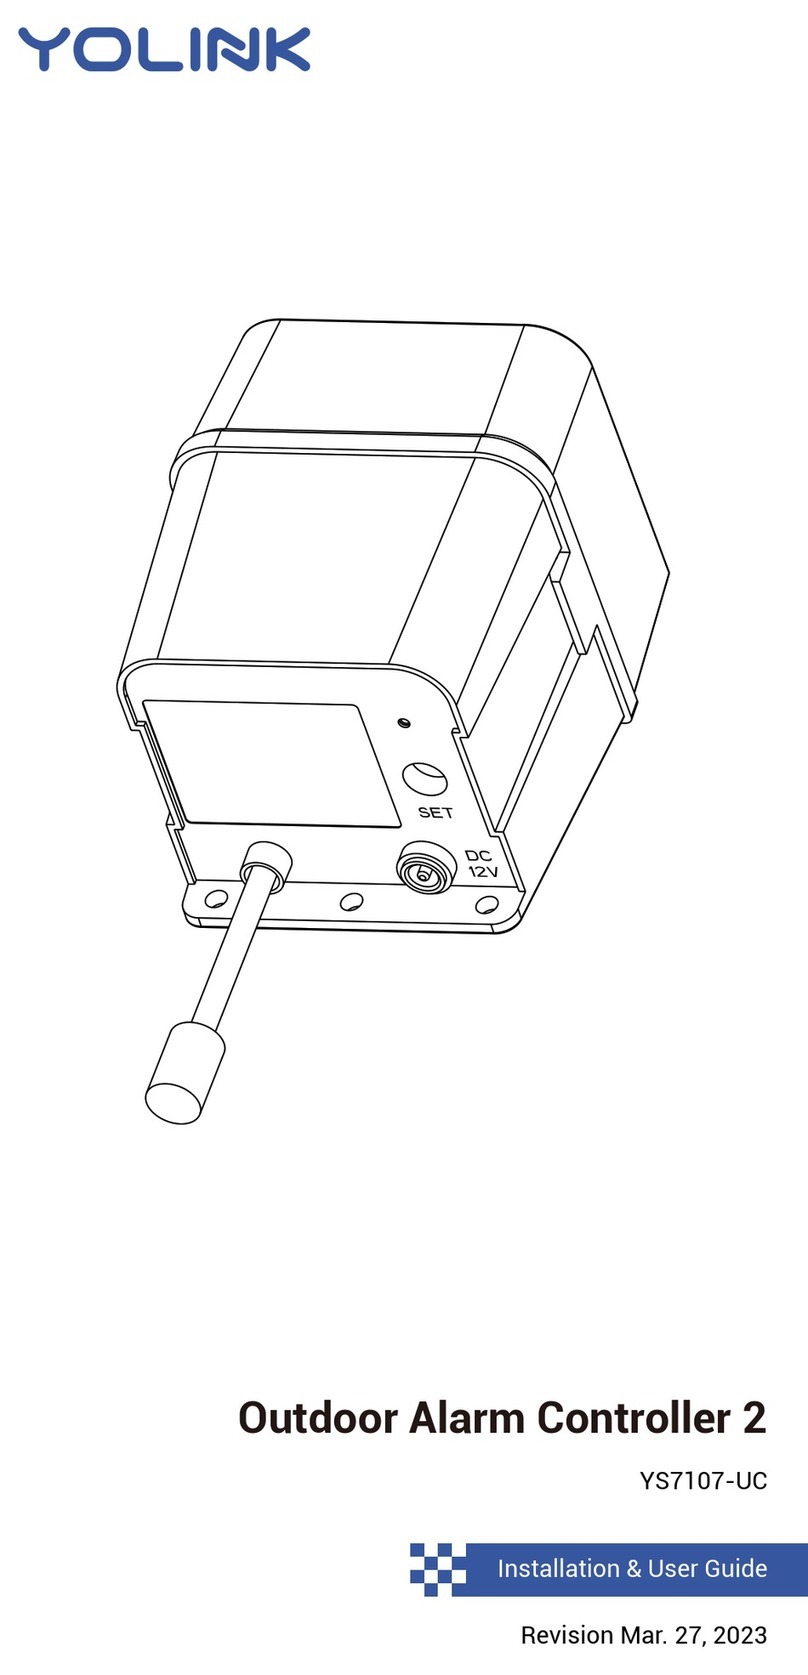
Yolink YS7106-UC User manual

Power Fail Alarm
YS7106-UC, YS7106-EC
Installaon & User Guide
Rev 1.0

Hel l o! E r ic w i th Yo Lin k , here. I want to thank you for your purchase
and for placing your trust in YoLink for your smart home needs
Before I worked here, I was a customer! I found the products and
customer service to be top-notch. Today, I am responsible for
many of the things that enhance your experience with YoLink
products and services, including the manuals and videos. We are
constantly improving , so that we can honestly say:
We str i v e to p rov i de t he b est s m ar t ho m e p rod u ct s , at t he b est
pri c in g , w ith th e in d ustr y ’s b est c u st o mer sup p ort .
I want your own experience to be as posive as mine! If you have
any quesons or problems seng up your system, please give us
a chance to assist you.
You can use our online chat service by scanning the QR code below
or email us 24/7 at service@yosmart.com.
You can also reach us on our website at
www.yosmart.com /support-and-service
or by scanning the QR code, on the right.
Support & Service Online Chat

Contents
A.
B .
C .
D.
E .
F .
G.
H.
I .
J .
In the Box ······· ····· · ·· · ··1······················ ····· ···················································· · ·
·Introducon ······························································································ 2
Set Up ····································································································· · 4· ·
Using the YoLink App ···················································································7
YoLink Control-D2D ···························································································15
Maintenance ······················································································· ····21·
Specificaons ····················································································· ·····24·
Troubleshoong ················································································· ·····26·
Warning ······························································································ ····27·
Customer Service & Warranty ······························································· ·········· ··29·
Revised: 01/17/2022
Copyright 2021 YoSmart Inc. All rights reserved©

1
A. In the Box
A. Power Fail Alarm
B. AC/DC Adapter
C. USB Cable
D. Quick Start Guide
E. AA Baery (2)
SET
A.
B. D.
C. E.

2
B. Introducon
The YoLink Power Fail Alarm is a smart sensor that monitors the status of power to the device. If
power is ever removed or lost, the device will acvate a very loud (100 to 110 dB) sounder, and flash
four mul-color LEDs. In addion to a local alarm acvaon, the Power Fail Alarm can acvate other
YoLink audible/visible alarms (for example, a Siren Alarm as a remote alarm device) and even
acvate the SpeakerHub (for a spoken message aer an aenon-geng tone). Also, standard for most
other YoLink devices, the Power Fail Alarm, when power is lost, or when it is restored, can send the user
a text message, email and app push noficaon on their phone.
The Power Fail Alarm is powered by USB, which is provided from the included plug-in power
adapter. The Power Fail Alarm must have baeries installed, in order for it to funcon during
a power outage. Install new, name brand alkaline baeries, or install new, name brand lithium
baeries, which are highly-recommended, if the device will experience temperatures on the
extreme end of the environmental range (shown on page 24).
Power Fail Alarm
Made in China
Voltage: 5V/1A DC (USB) / 3V DC (2 - AA Battery)
FCC ID: 2ATM7 7103
YS7106-UC
Model:
SN: 710 3123456
Baery
Compartment
Houses two AA
non-rechargeable baeries
(included)
Mounting Slot
Hang the device on the
wall with a screw or nail
OFF
L
M
H
Power/Sound Level Switch
Adjust alarm sound level:
High (H); Medium (M); Low (L)
OFF: Power off the device
Micro USB Port

The LED lights and tones indicate the current status of the device:
3
SET
SET Buon
Fast Red Every 30 Seconds Blinking
Baeries are low; please replace the baeries (see page 23)
Blinking Red
Warning
Alarm LED
Status LED
Blinking Red Once, then Green Once
Device turned on
Blinking Green
Connecng to Cloud
Slow Blinking Green
Updang
Blinking Red And Green Alternately
Restoring to Factory Defaults
Fast Blinking Green
Establishing Connecon with YoLink System (YoLink Control-D2D)
Fast Blinking Red
Removing Connecon to YoLink System (YoLink Control-D2D)
Blinking Red Once
Device is connected to the cloud and is funconing normally
Alarm Tones
HI-LO Tone Once
Device power-up
HI-LO for 5 Seconds
Sound level sengs adjusted
HI-LO (For Alarm Duraon
per Sengs - Default is
30 Seconds)
Warning

C. Set Up
C-1. Set Up - First-Time YoLink Users (Exisng users proceed to C-2. Add Device, next page)
The YoLink Hub is required to
set up your Power Fail Alarm.
Please set up your YoLink Hub
first ( refe r to YoLink Hub
manual)
3
Power
Adapter
YoLink Hub
Log in to the YoLink app
2
Create a new account if
required
Downloa d the YoLin k app
through Apple App Store or
Google Play Store (Search in
the store or use the QR code
on the right)
1
Apple iPhone or tablet that is iOS 9.0
or higher, or an Android phone or
tablet that is Android 4.4 or higher
YS1603-UC
User Guide
2. Ethernet patch cable (included) to
your network (router, switch, etc.),
recommended. Otherwise connect
your Hub to your home 2.4 GHz Wi-Fi
network (only when necessary).
Refer to the Hub set up manual for
more informaon:
1. Make sure your Hub is connected
to the internet (green LED indicator is
blinking, blue LED indicator is always
on)
4

C-2. Add Device
Ta p “ ” b u on , t h e n s ca n Q R C o d e
o n t h e d e v i c e . Fo l l o w t h e ste ps t o a d d
t h e d ev i c e
1
1. You will need to press the SET buon once again if the device failed to connect to the cloud
2. Pressing the SET buon at any other me aer this inial process will result in the Alarm LED
blinking red, only. This indicates the device is connected to the cloud and is funconing normally
3. If the red LED does NOT blink as noted this may indicate a problem with the device Please see the
troubleshoong secon and the contact secon for technical support
5
SN: 7103 123456
Set the Power/Sound Level Switch
to High (H) or Medium (M) or Low
(L) level, the LED indicator will
blin k seve ra l mes (red, then
green).
3
Power/Sound
Level Switch
OFF
L
M
H
Power the device
using the provided
power adapter
2
Power
Adapter
SET

C-3. Device Placement
Wall-Mounng (Near An Outlet)
These tools may be
required (Choose
nail or screw &
anchor method) Wall anchorPhillips
screwdriver
about 1/5" inch about 1/5" inch
Nail
Self-tapping
screw
OR
Hammer Drill
Countertop or
shelf-mounng
(just place on the
surface)
SET
OR
Install wall anchor
in the wall
1
about 1/8'' inch
Install screw in anchor
(or nail in wall) with
about 1/8" gap le
2Hang device on screw (or nail)
using the mounng hole
3
1. Ensure your device is placed on a stable
surface or mounted securely on a wall or
other surface
2. Please refer to device environmental
operang range informaon on page 24.
Use this device outside the recommended
ranges at your own risk
6

D. Using the YoLink App
D-1. Device page
7
Device Alarm History
Historical log of power fail, logged with power fail
events, date & me
Connecon Status
of Power Fail Alarm and Hub
Details
- Tap to go to Details page(refer to page 8)
Real-me Status of Power Fail Alarm:
Normal or power fail
AC Power Status
Will indicate power normal (green) or power
failure (dark icon, slash through plug)l
power fail

8
D-2. Details page
d. Add/Remove from favorites
a. Device Type
I. Device Alarm History
Historical log of power fail, logged with power fail events, date & me
b. Rename the Device
f. Device Alarm Sound Level: High, Medium, Low
- Set through device
m. Device EUI (unique)
o. Device SN (unique)
n. Firmware Version
- ” indicates a new update is available“#### ready now (refer to page 21)
l .Device Model
k. Connecon Status - of Power Fail Alarm and Hub
j. Set Alarm Strategy trigger
- Set Power Failure or Restored Detect trigger SpeakHub ,ect.
g. Set the Duraon once an alarm occurs
- Default is set to 30 seconds
h.time interval
c. Choose a Room for device
p. Connecon Signal Status
of Power Fail Alarm and Hub: Strong; Good; Weak
q. Current Baery Level
- Show red if replacement is required,

9
D-3. Device Alerts
D-3-1. What events can acvate the Power Fail Alarm's sounder and lights?
The SET buon has been pressed once (this enables the sounder and lights)
When power has been removed from the device
For alert interval reminders. Alert interval reminders are periodic reminders,
that the device is sll abnormal (5 minutes, by default)
D-3-2.How can I silence the Power Fail Alarm?
Press the SET buon. This silences the sounder and turns off the LEDs
Restore power to the device
Move the level switch to the OFF posion or remove the baeries

D-6. Voice Assistants
Go to Sengs > Voice Assistants for the applicable voice assistant integraon guide
Tap “ ” in the upper le corner to go to My Profile
14
C o n n e c t Yo L i n k w i t h t h i r d - p a r t y v o i c e a s s i s t a n t s t o m o n i t o r t h e st a t u s o f yo u r d e v i c e s
t h r o u g h v o i c e c o m m a n d s
1. The Power Fail Alarm integrates with Alexa and IFTTT.com
2. Monitor Power Fail /Restore /OFF status of the Power
Fail Alarm from the Alexa app
3. Power Fail/Restore /OFF status can be can be queried by voice
command as well as the Alexa app (For example, “Alexa, what is the
status of Power Fail Alarm? ” -- “Power Fail is detected at
the Corridor Power Fail Alarm”
4. The Power Fail Alarm may be used as a trigger or input for
Alexa rounes and for custom applets (IFTTT.com)
5. For addional informaon specific to the plaorm, refer to the
associated app. Visit our website at
www.yosmart.com/support-and-service for addional informaon,
or contact us via email or phone (see page 29 for Customer Support
email address and phone number)informaon

a. Tap the “+” icon to add
an automaon
b. Add an automaon
b-1 Edit name
b-2 Edit trigger
b-3 Edit behavior (You must have at least one acon
device, or you cannot set a behavior)
b-4 Edit when (Set a me range for the automaon
(always or during specific days or mes)
b-5 Tap to save the sengs
1. Tap “ ” buon to enable or disable the
automaon
2. Swipe le to view the history logs and to edit or
to delete the automaon
c. Click to edit the automaon
Swipe Le
b-1
b-2
b-3
b-5
a.
12
D-4. Automaon (Set Up Rules For “If This Then Do That”)
Go to the “Smart” screen, tap “Automaon”
b-4
c.

D-5. Alarm Strategy
Go to Sengs > Alarm Strategy for noficaons preferences sengs
Tap “ ” in the upper le corner to go to My Profile
a. Alarm Strategy Sengs
a-1 The alarm strategy
should be enabled
(Noficaon will be sent)
a-2 Noficaon will not be
sent during the Do Not
Disturb me
a-3 Select Send Email
a-4 Select Trigger Acon
a-1
a-2
a-3
13
Power Fail Alarm can be set as a trigger only, with two trigger opons: Power Failure Detected,
Power Restored Detected
a-4

E. About Control-D2D
YoLink Control-D2D is our unique device-to-device control technology. Using YoLink Control-D2D
YoLink devices can be controlled without the Hub or an internet connecon. (Use of YoLink
Control-D2D is oponal; you can use the Automaon feature in the app OR use YoLink Control-D2D
but YoLink Control-D2D offers the benefit of operaon without the Hub or internet connecon.)
One device controls another, directly. A device that sends out commands is called the controller. A
device that receives the commands is called the responder. Examples of a controller are a Water
Leak Sensor, while examples of a responder are a YoLink Siren Alarm or a YoLink Plug Mini
E-1. Pairing
To c o n fi g u re y o u r Pow e r Fa i l
A l a r m a s a c o n t r o l l e r, P r e s s
an d hold the SE T buon for 5-10
seconds unl t h e LED quickly
bl inks green, then, release th e
bu on
1
15
SET b. SET Buon
(5-10 seconds)
The Power Fail Alarm can only work as the controller of YoLink Control-D2D

To c o nfi gu r e a O u td o o r S i re n A la r m
as th e re sp on d e r P r e s s a n d h o l d ,
th e S ET bu o n fo r 5- 1 0 s e c on ds
un l t h e LED qu i ck ly bli n ks gree n ,
th en , re le a s e t he b u o n
2
Upon pairing , the LED will stop
blinking (this may happen aer
only blinking two or three mes)
3
E-1-1. Operaon
b. SET Buon
(5-10 seconds)
W h e n t h e P o w e r F a i l A l a r m d e t e c t s a
p o we r f a i l u re , t h e O u t d o o r A l a r m C o n t r o l l e r
wil l now i m med i ate ly a c vat e t he s iren h o r n
or alarm device. The siren horn or alarm device
w i l l r e m a i n a c v a t e d u n l s i l e n c e d v i a t h e
app or using the SET buon on the controller;the
restoraon of Power to the Power Fail Alarm Sensor to
n o r m a l d o e s n o t s i l e n c e t h e s i r e n h o r n o r
alarm device
SET
More ad vanc e d seq u e nces , c o n t rol l i ng m u l ple
outp u ts ( e . g. a c va te s ire n ho r n or ala r m devi c e
when t he p o w e r fa i ls ) a re avai l a ble v i a th e YoLin k
app

20
F-2. Unpairing
A t t h e P o w e r F a i l A l a r m
(controller), press and hold the
SET buon for 10-15 seconds unl
the LED quickly blinks green, then
red, then, release the buon
1
YoLink Outdoor Alarm controller
( r e s p o n d e r ) , p r e s s a n d h o l d
the SET buon for 10-15 seconds,
unl the LED quickly blinks green,
then red, then, release the buon
2
U p o n u n - p a i r i n g , e i t h e r t h e
P o w e r F a i l A l a r m L E D
o r t h e O u t d o o r S i r e n
C o n t r o l l e r L E D w i l l s t o p
b l i n k i n g a n d t u r n o ff
3
T h e w i l l n o l o n g e r S i r e n A l a r m
r e s p o n d t o t h e P o w e r F a i l A l a r m
SET b. SET Buon
(10-15 seconds)
b. SET Buon
(10-15 seconds)

G. Maintenance
G-1. Firmware Update
To ensure our customers have the best user experience,
we highly recommend you update to the newest version
firmware when an update is available
In “Firmware”, if a new version is listed as available (####
ready now), click it to start the firmware update process
You may use your device during the update as it is
performed in the background. The LED light will slowly
blink green during the update and the process will be
complete within 2 minutes aer the light stops blinking
21
SET

G-2. Factory reset
Factory reset will erase all of your sengs and restore it to factory defaults. Aer the factory reset,
your device will remain in your Yolink account
22
Hold the SET buon for 20-25 seconds unl the status light blinks red and green alternately,
then, release the buon (Hold the SET buon longer than 25 seconds will ABORT the factory
reset operaon)
Factory reset will be complete when the status light stops blinking
SET SET Buon
(20-25 seconds)
This manual suits for next models
1
Table of contents
Other Yolink Security System manuals
Popular Security System manuals by other brands

Eaton
Eaton 460-CSA Instruction leaflet

Whelen Engineering Company
Whelen Engineering Company WeCanX Traffic Advisor Module installation guide

Eurotops
Eurotops 29267 instruction manual

Johnson Controls
Johnson Controls Tyco WS900 UL Reference manual

X10
X10 PA5800 owner's manual

Xirgo
Xirgo XT1520-1 Series product manual