YoraHome SILVERBACK 6060 User manual

YORA SILVERBACK BENCHTOP CNC ROUTER 6060
USER MANUAL
Version 1.3 • April, 2022

Purpose
This Manual is intended for assembly of the Yora SilverBack Benchtop CNC
Router. This manual is designed to cover the basic functionality of the
machine and software, and may not address every aspect or option present.
Before beginning assembly, we recommend conducting an inventory using
the Packing List to ensure all components are present. NOTE - there may be
extra hardware included; this is normal, in case items get dropped or lost.
Please read these instructions carefully before assembling your machine to
prevent possible damage to your machine.

Safety1/3
➔Read and understand the entire user manual before attempting assembly or operation
➔Do not use the CNC router for other than its intended use. If used for other purposes,
YoraHome disclaims any real or implied warranty and holds itself harmless from any injury
that may result from that use.
➔Always wear approved safety glasses/face shield while using CNC router machine. Everyday
eyeglasses only have impact resistant lenses, they are not safety glasses
➔Before operating CNC router, remove tie, rings, watches and other jewelry, and roll sleeves up
past the elbows.
➔Do not wear loose clothing. Confine long hair. Non-slip footwear or anti-skid floor strips are
recommended. Do not wear gloves.
➔Wear ear protectors (plugs or muffs) during extended periods of operation. Do not operate
CNC router while tired or under the influence of drugs, alcohol or any medication.

Safety2/3
➔Make certain the switch is in the OFF position before connecting CNC router machine to the
power supply
➔Make all machine adjustments or maintenance with CNC router unplugged from the power
source.
➔Give your work undivided attention. Looking around, carrying on a conversation and “horseplay”
are careless acts that can result in serious injury.
➔Use the right tool at the correct speed and feed rate. Do not force a tool or attachment to do a job
for which it was not designed. The right tool will do the job better and more safely.
➔Do not touch a bit immediately after use, it will be hot and may cause skin burns.
➔Never leave CNC router running unattended. Turn the power off and do not leave CNC router until
it comes to a complete stop.
➔Remove loose items and unnecessary work pieces from the area before starting CNC router.

Safety3/3
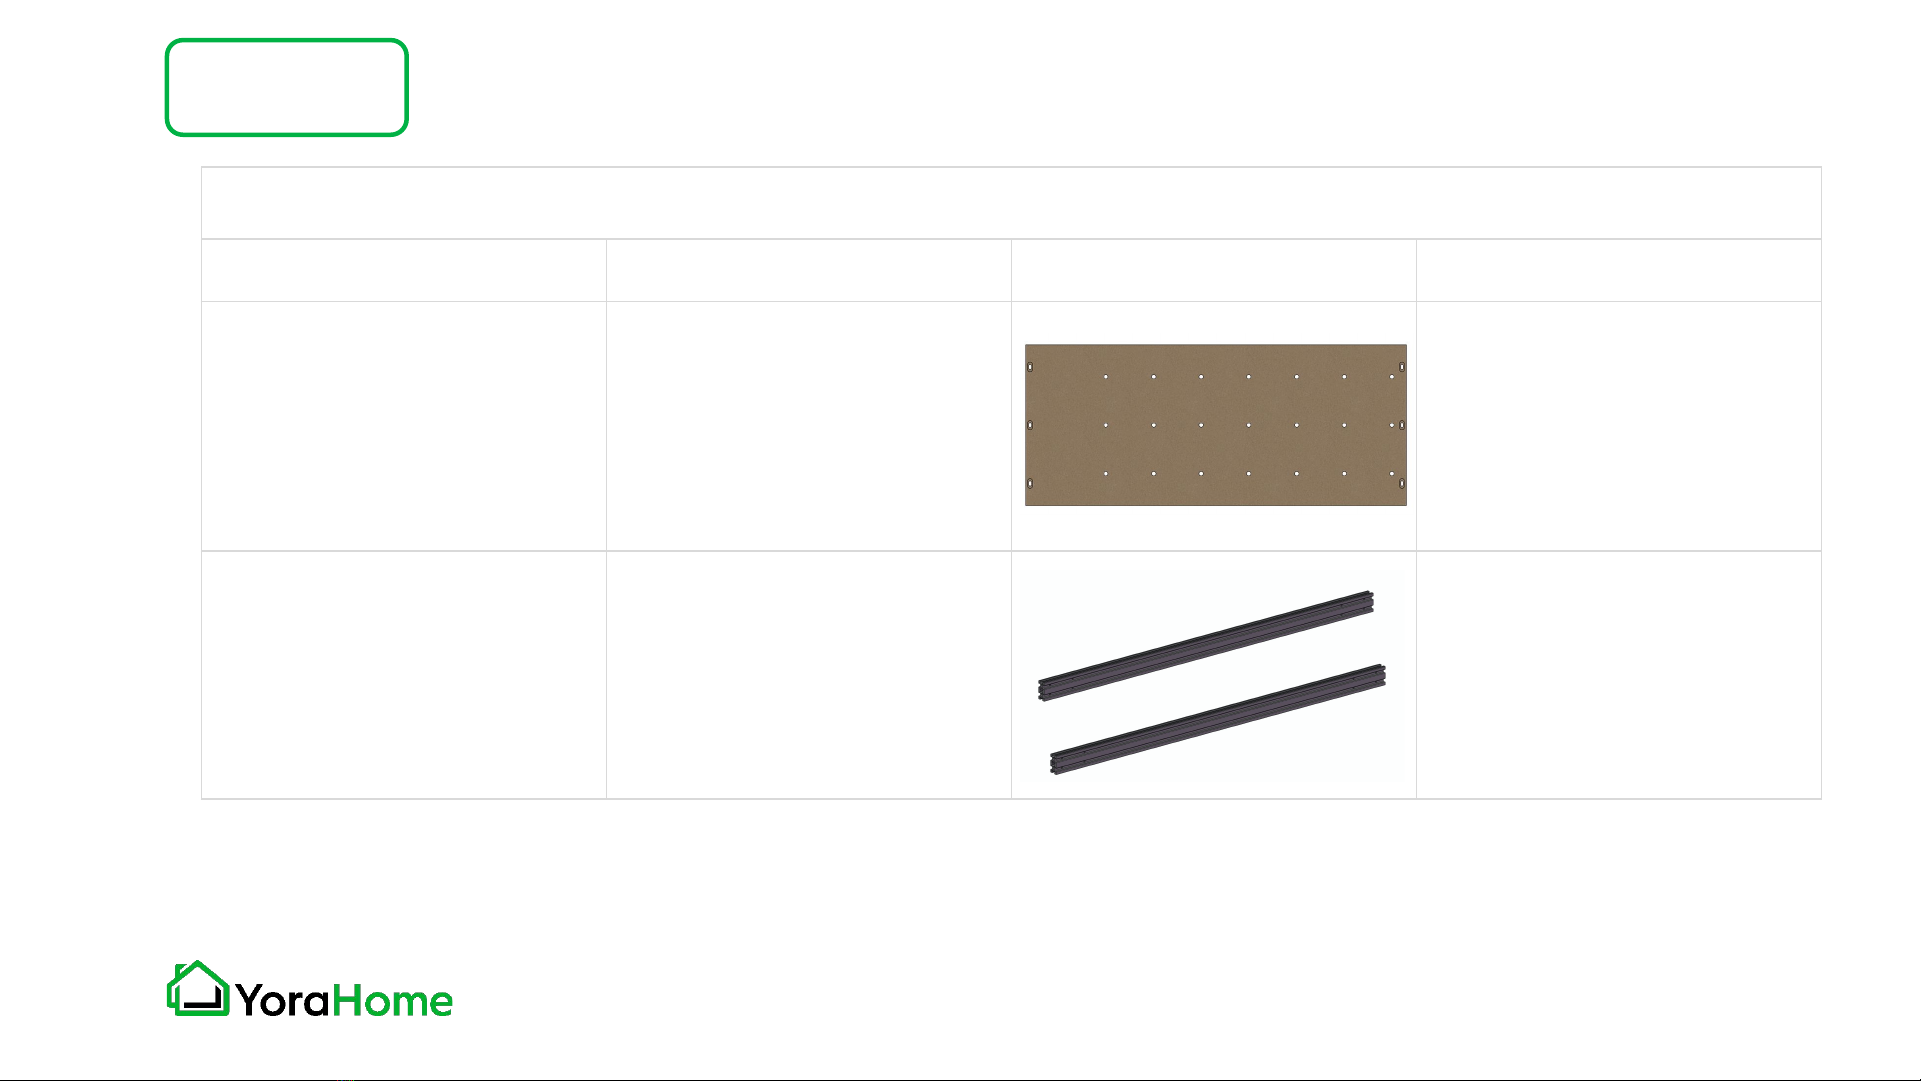
➔Always secure workpiece to spoil board using clamps or double-sided tape. Never hold
workpiece down by hand while operating.
➔Make sure workpiece is free from nails or other foreign objects.
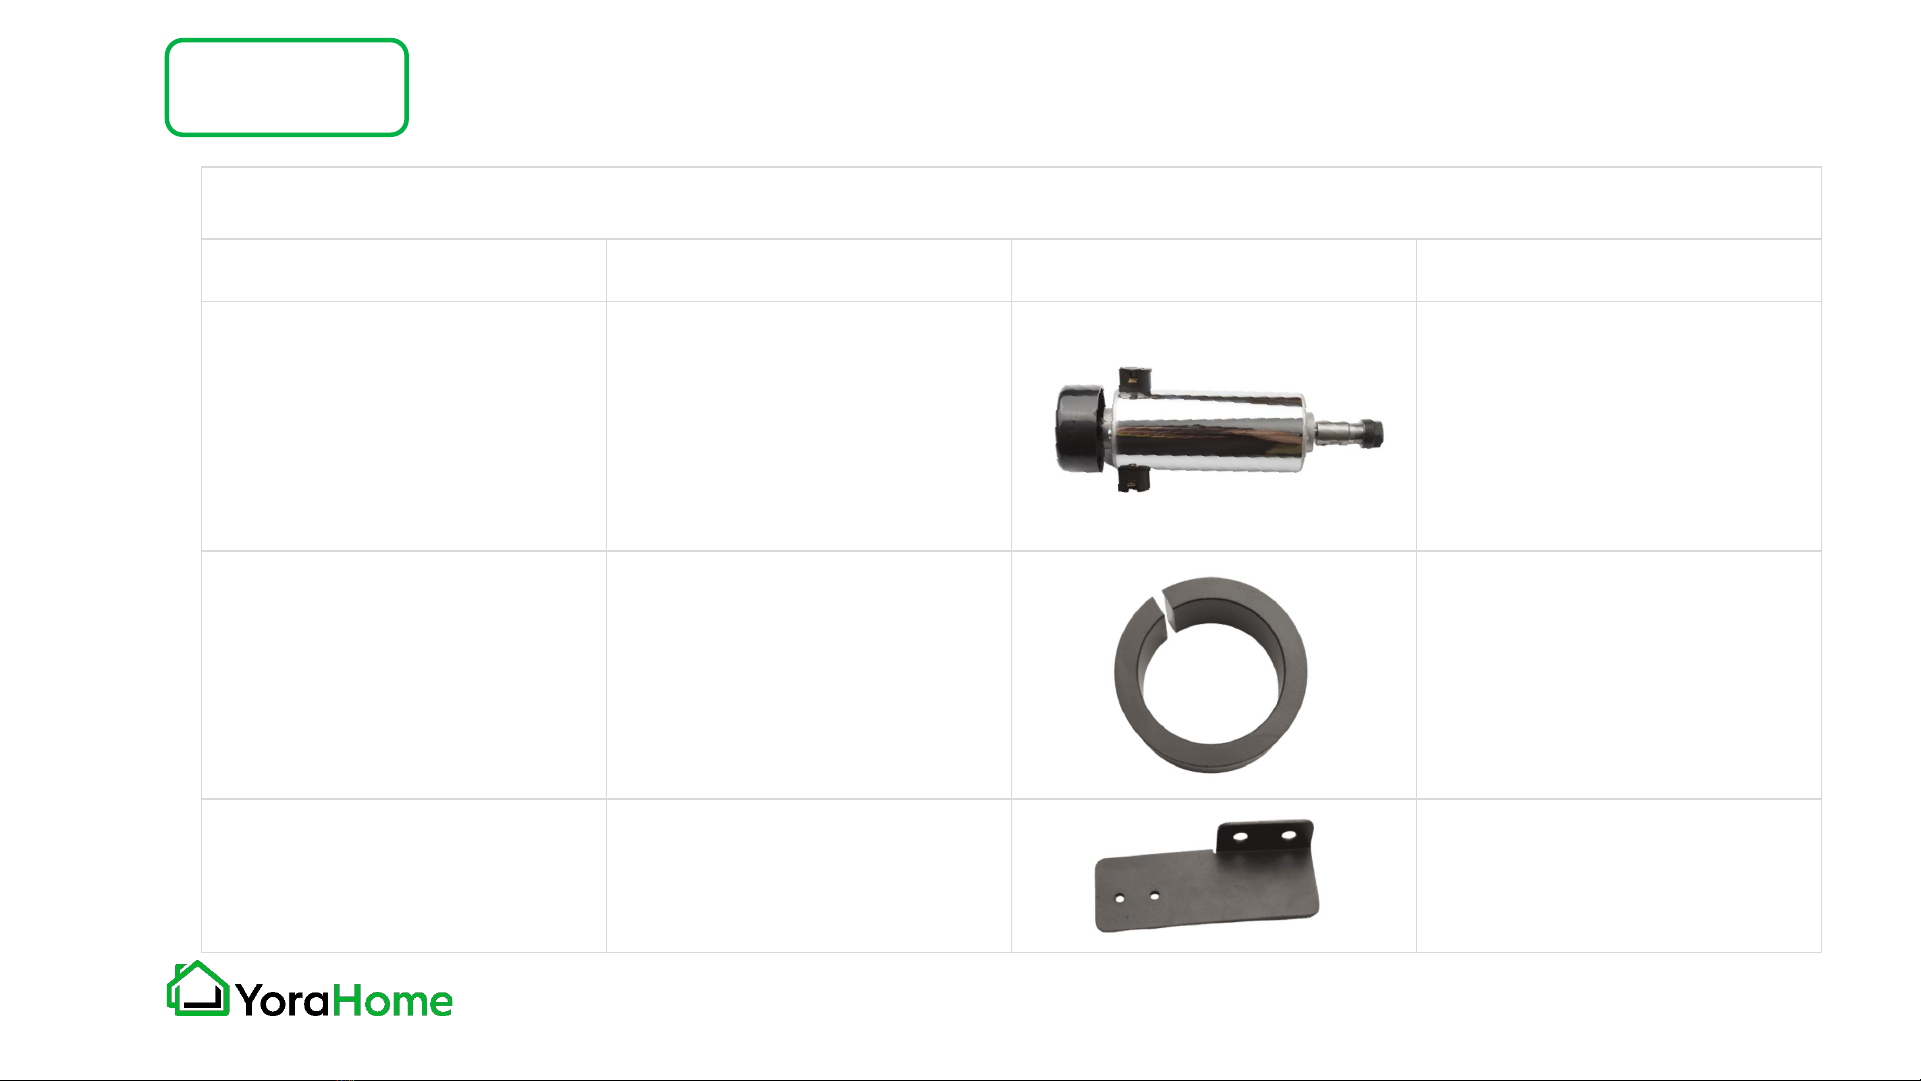
➔After installing a bit, make sure collet is securely tightened. An unsecured bit may fly loose
from the collet and cause injury.
➔The SilverBack CNC router is intended for carving and cutting wood, acrylics, plastics and soft
metal, etc. Do not use it to cut hard metals.
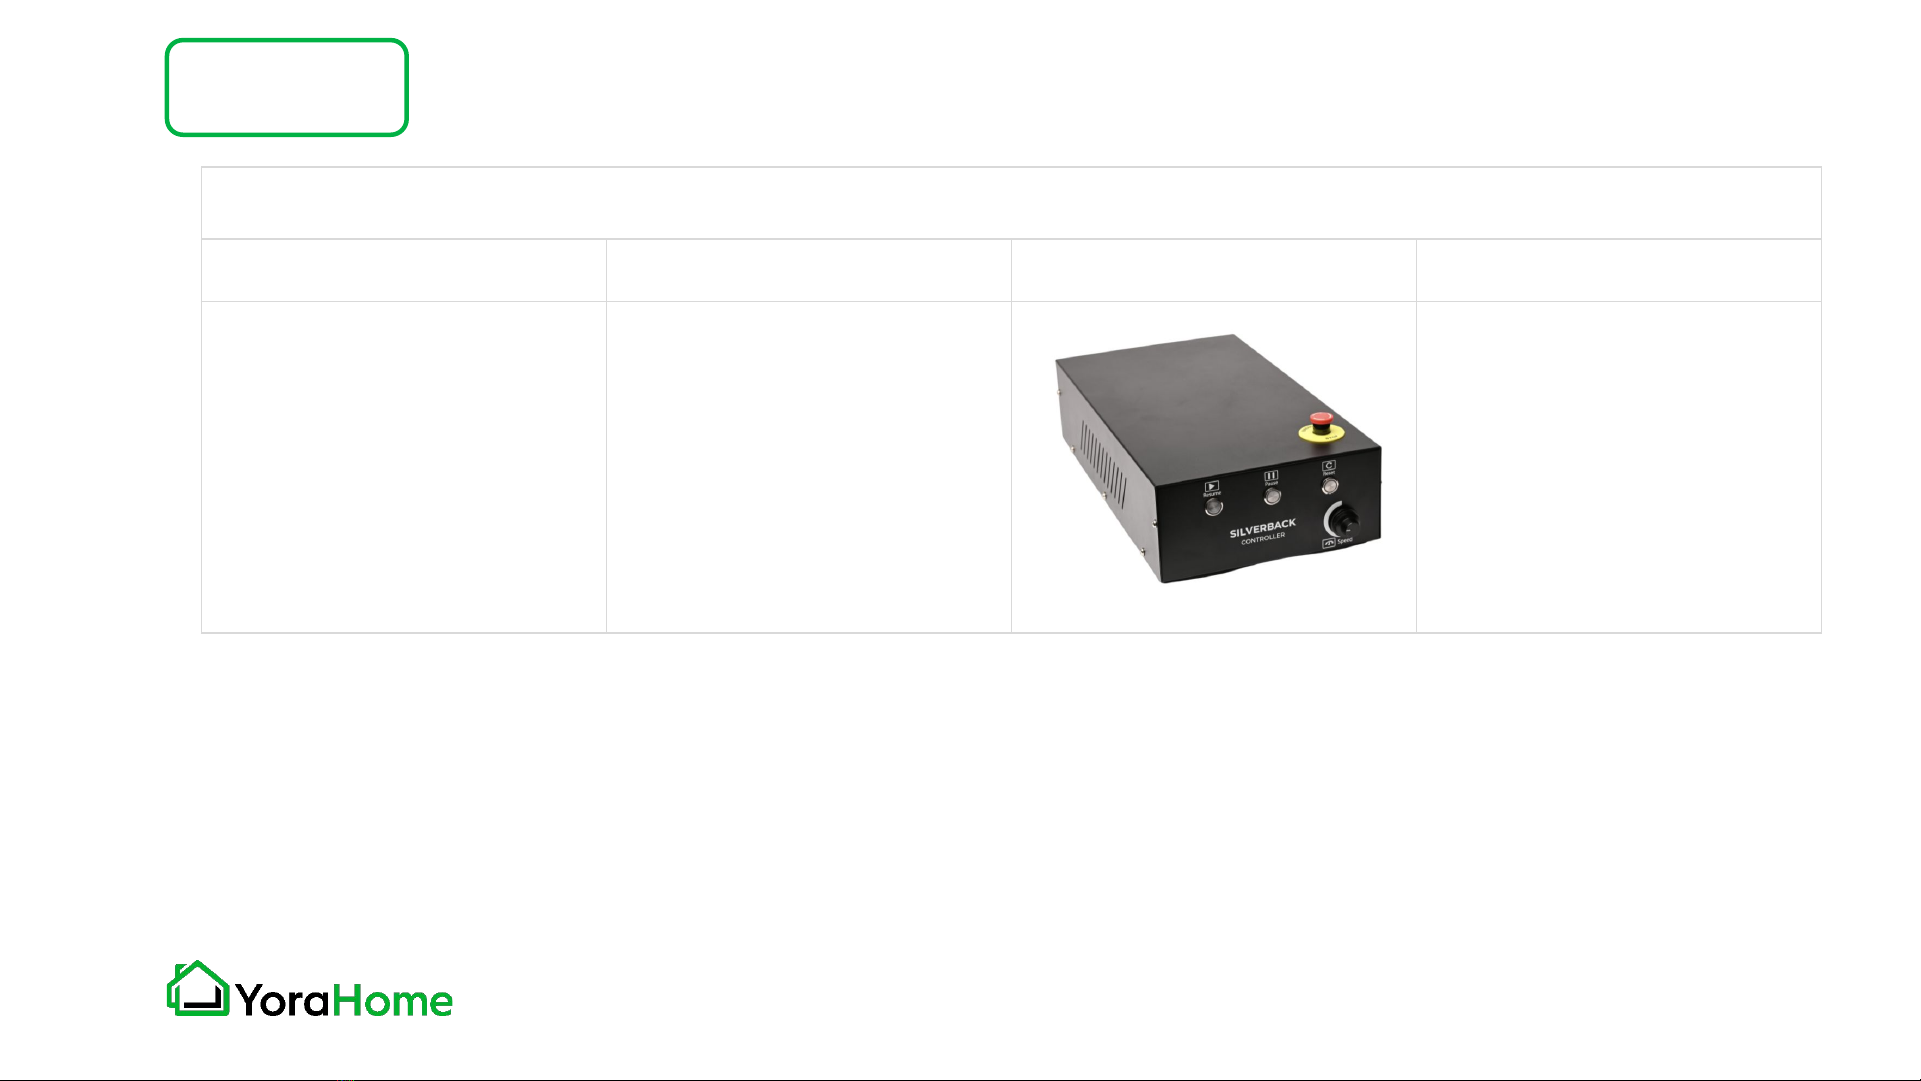
➔Be within reach of the Emergency Stop or pause button when the machine is in operation. In
the event of an emergency, or if there are any conditions that may result in injury to yourself or
others, the SilverBack is equipped with an Emergency Stop button on top of the Controller.
When pressed, this button will latch in the Stop position. To reset, twist the red knob
clockwise.

Contents
Part 1: Packing List
Part 2: Mechanical Assembly
Part 3: Software Installation
Part 4: Machine Setup
Part 5: Recommended Settings
Part 6: Optional Laser
Part 7: Best Practices
Part 8: Terminology
Part 9: Default GRBL Settings

Packing List1/12
Part 1
Small Box
Item Size Picture Quantity
SilverBack Controller 1

Packing List2/12
Part 1
Layer 1
Item Size Picture Quantity
MDF Spoilboard 2
Front/Rear Frame Rail 20x40 Aluminum Extrusion 2

Packing List3/12
Part 1
Layer 2
Item Size Picture Quantity
Spindle Motor 1
Spindle Motor Sleeve 1
Drag Chain Bracket Large Bracket 1

Packing List4/12
Part 1
Layer 2 - continued
Item Size Picture Quantity
Drag Chain Bracket Small Bracket 2
Laser Adapter Sleeve 1
Drag Chain Support Rail 1

Packing List5/12
Part 1
Layer 2 - continued
Item Size Picture Quantity
Drag Chain/Wire Harness
Assembly 1
X Axis Assembly 1
Spoilboard Support Kit
3x Support Rails
12x Corner Brackets
24x M5 T-Nuts
24x M5*8 Screws

Packing List6/12
Part 1
Layer 3
Item Size Picture Quantity
Z Axis Assembly 1
Y Axis Assemblies Y1 - Left
Y2 - Right 1+1
Spindle Mount 1

Packing List7/12
Part 1
Hardware Box
Item Size Picture Quantity
Socket Head Cap Screws
M4 x 8mm 3
M5 x 6mm 7
M5 x 14mm 14
M5 x 20mm 29

Packing List8/12
Part 1
Hardware Box - continued
Item Size Picture Quantity
Countersunk
Socket Head Cap Screws
M5 x 25mm 4
M4 x 6mm 9
Square Nut M5 3
Flat Washer M5 25
Spring Lock Washer M5 25

Packing List9/12
Part 1
Hardware Box - continued
Item Size Picture Quantity
Hold-down Clamps 4
Clamp Thumbscrews M5 including wing nuts and
washers 4
Wrenches
13mm x 15mm 1
14mm x 17mm 1
Z Probe Assembly 20mm 1

Packing List10/12
Part 1
Hardware Box - continued
Item Size Picture Quantity
Hex Key 2mm, 2.5mm, 3mm, 4mm 1 of each
Power Cable 1
USB Cable 1
Name Plate Personalizable 1

Packing List11/12
Part 1
Hardware Box - continued
Item Size Picture Quantity
Shank Blue Corn Milling Bits 0.8/1.0/1.2/1.4/1.6/1.8/2.0/2.2/
2.4/3.17 mm 1 pack of 10
Engraving Bits 30 deg bit, 0.1mm cutting tip 1 pack of 10

Packing List12/12
Part 1
Optional Accessories & Upgrades - Not included
Yora Laser Module Yora SilverBack 6060
Aluminum Spoilboard Yora Essential Bits
Yora Makita
1.25HP Router
Yora SilverBack 6060
Expansion Kit
(100x100cm)
Yora CNC V-Groove Bits
(With ER11 Spring Collets)
Yora SilverBack
2-in-1 Dust Shoe
Yora SilverBack
100x100cm
Aluminum
Spoilboard
Yora CNC Diamond Drag
Engraving Bit (90 Degree)
Yora SilverBack 6060
MDF Spoilboard
(For Replacement)
Yora 6 Inch Stainless Steel
Digital Caliper | mm/in/f
Conversion 1/4" bits and more!

Mechanical Assembly
Part 2
Step 1 - Assemble Main Frame 1/4
Parts Required:
➔16 M5 x 20mm Screws
➔16 M5 Flat Washers
➔16 M5 Split Lock Washers
➔2 Front/Rear Frame Rails
➔2 Y Axis Assemblies

Mechanical Assembly
Part 2
Step 1 - Assemble Main Frame 2/4
➔Ensure Y1 Axis is on left
➔Ensure Y2 Axis is on right
➔Position Y Axes with lead screws to
the OUTSIDE of the frame
Using 4x M5 x 20mm screws, Split Lock
Washers, and Flat Washers at each corner,
attach the Front and Rear Rails to the Y
Axis end brackets.
NOTE - Do NOT tighten these screws yet.
Y1 Axis
Y2 Axis
Other manuals for SILVERBACK 6060
1
Table of contents
Other YoraHome Lathe manuals
Popular Lathe manuals by other brands

Axminster Trade
Axminster Trade AT310T2 Original instructions

CHESTER
CHESTER Coventry Pro Operation manual

Scheppach
Scheppach DM1100T Translation of the original instruction manual

mori seiki
mori seiki ZL-153S Operation manual

Gude
Gude GMD 400 Translation of original operating instructions

Axminster
Axminster Professional AP350WL Original instructions