4
○○○○○○○○○○○○○○○○○○○○○○○○○○○○○○○○○○○○○○○
○○○○○○○○○○○○○○○○○○○○○○○○○○○○○○○○○○○○○○○○○○○○○○○
GB
○○○○○○○○○○○○○○○○○○○○○○○○○○○○○○○○○○○○○○○○○○○○○○○
INSTALLATION
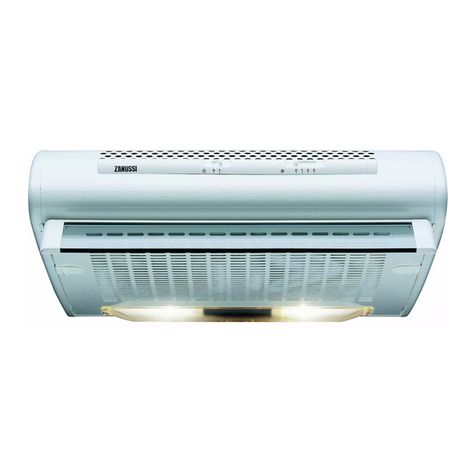
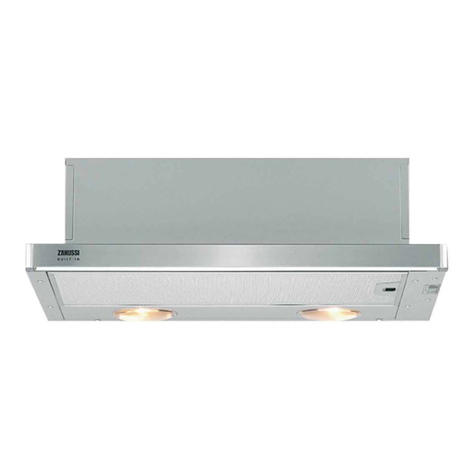
This hood has been designed to be all-mounted above a cooking hob.It can be installed
under a all unit or directly onto a all.It can ork either by ducting system (external
discharge)or filter (internal recirculation).
SAFETY WARNINGS
• Before st rting the inst ll tion,consider tion should be given to the difficulties to be
found during inst ll tion.The inst ll tion work must be undert ken by qu lified nd
competent person in conformity to the rules concerning the ev cu tion of cont min ted
ir.The m nuf cturer discl ims ll li bility for ny d m ge or injury c used s result
of not following the instructions for inst ll tion cont ined in the following text.
• When used in the extr ction mode,the cooker hood ducting must not be connected to
flue which is used for exh usting fumes from ppli nces supplied with energy other
th n electric,such s centr l he ting flue or w ter he ting flue.
• When inst lled,the hood must be positioned t le st 65 cm bove the hotpl te.
• If the room where the cooker hood is to be used cont ins fuel burning ppli nce
such s centr l he ting boiler then this must be of the room se led or b l nced flue
type.If other types of flue or ppli nce re fitted,ensure th t there is n dequ te
supply of ir into the room.When the cooker hood is used in conjunction with ppli nces
supplied with energy other th n electric,the neg tive pressure in the room must not
exceed 0,04 mb r to prevent fumes being dr wn b ck into the room by the cooker
hood.
W ll inst ll tion
The hood can be supplied ith t o different fixing kits:
a)scre s,plugs and safety square.
b)scre s,plugs and metal brackets.
Fixing with screws
Using the cardboard template,mark and drill
the holes on the all (2 holes Ø 8 mm see
instructions on the template),insert the plugs
in the holes,tighten both 4,2 x 44,4 scre s
(supplied)leaving about 5 mm unscre ed,
hook the hood onto the scre s (fig.1)and
secure tightly from inside (fig.2).Mount the
safety square (supplied)above the hood (fig.
3). Fig.1
Fig.2
Fig.3
