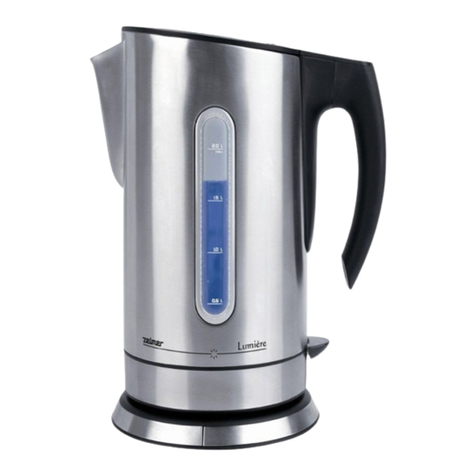
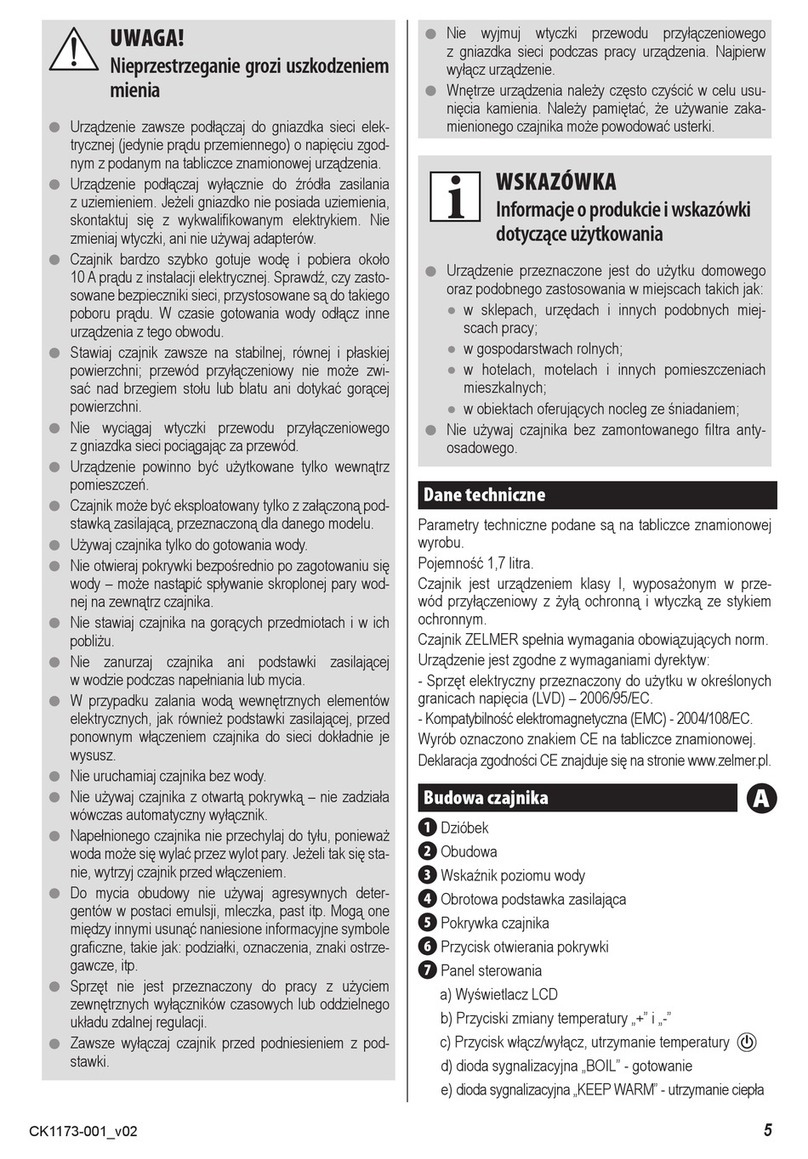
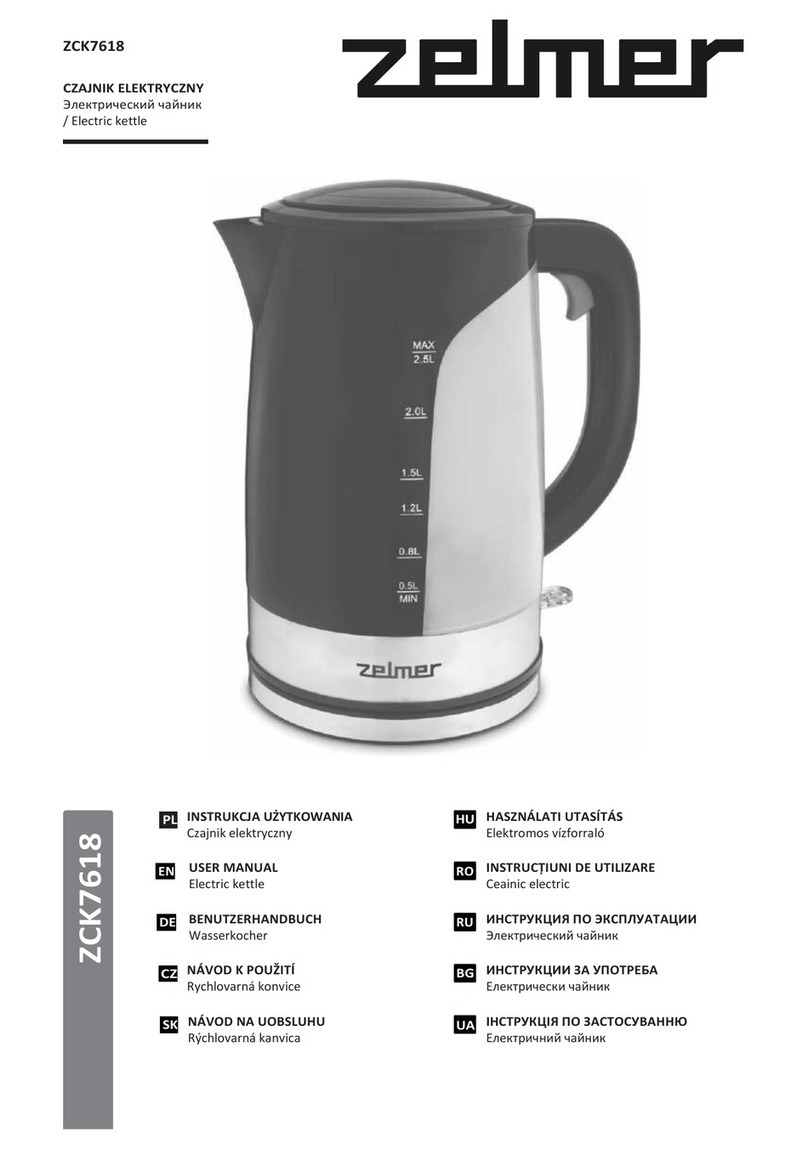
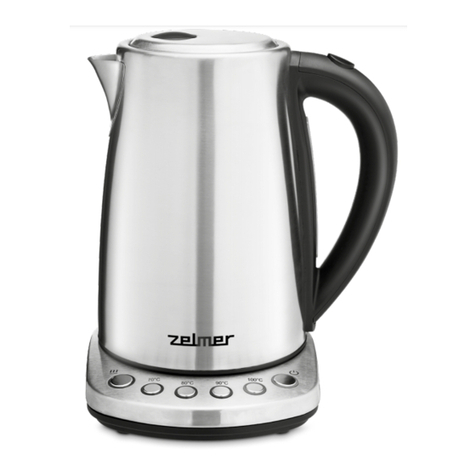
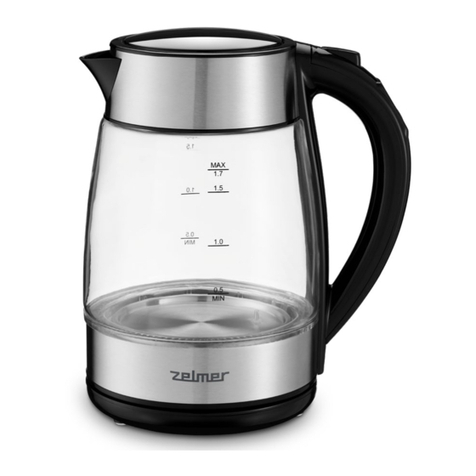
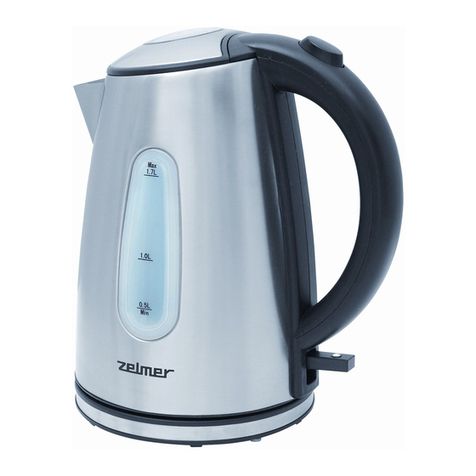
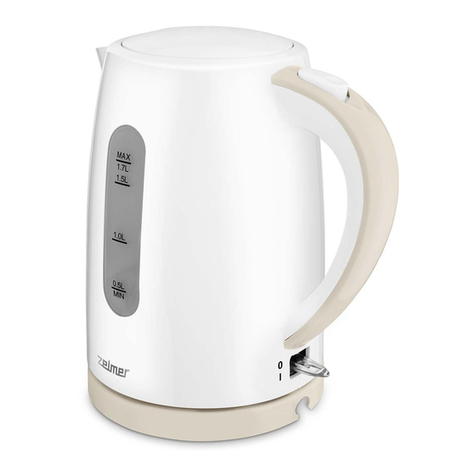
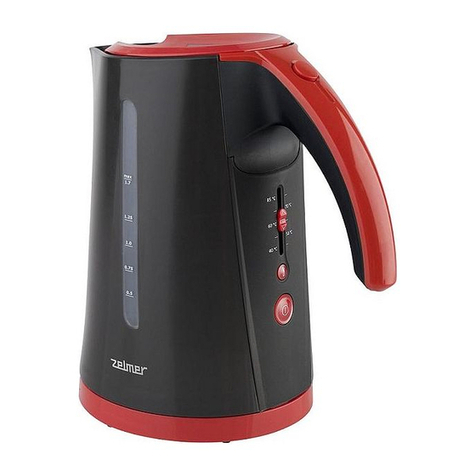
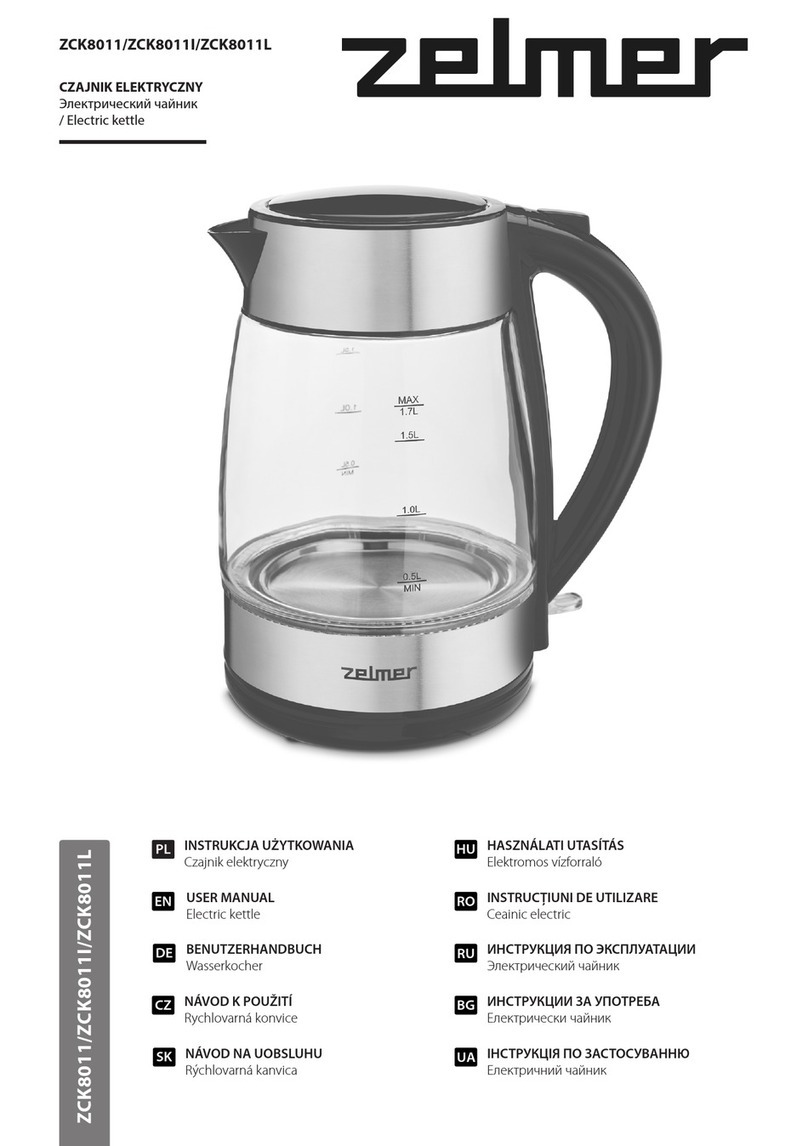
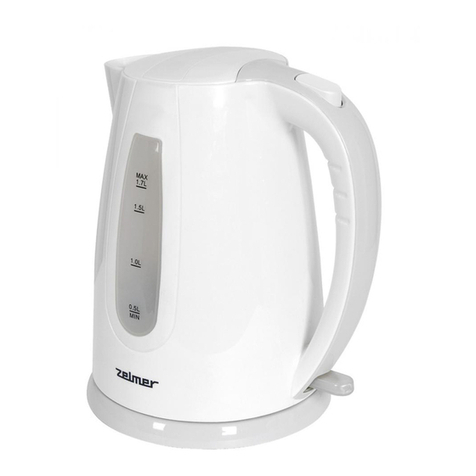
Zelmer 17Z010 User manual

1
Rzeszów Październik 2012
ul. Hoffmanowej 19 October 2012
INSTRUKCJA SERWISOWA
SERVICE MANUAL
CZAJNIKI ELEKTRYCZNE 17Z010, 17Z011, 17Z012
ELECTRIC KETTLES 17Z010, 17Z011, 17Z012
Wydanie / Issue 3
PARAMETRY TECHNICZNE
TECHNICAL PARAMETERS
Parametry / Parameters
Wartość / Value
(17Z010/17Z011/17Z012)
Napięcie znamionowe / Rated voltage
220 - 240V~ 50/60 Hz
Moc znamionowa / Rated power
2500 - 3000W
Pojemność / Capacity
1,7l
Hałas / Noise
63 dB/A
Poziom zakłóceń RTV / Radio interference
N
Klasa izolacji / Insulation class
I
Zabezpieczenie sieci / Mains protection
max. 16 A
17Z010
17Z011
17Z012

2
SCHEMAT POŁĄCZEŃ ELEKTRYCZNYCH
ELECTRIC DIAGRAM
LM
RZ
EG
KD KG
L
E
N
220-240V
2500-3000W
AC 220-240V 50/60Hz
68 k?
Objaśnienie oznaczeń:
L –przewód zasilający / live wire KD –kontroler dolny / lower connector
E –przewód uziomowy / earth wire KG –kontroler górny / upper connector
N –przewód neutralny / neutral wire EG –element grzejny / heater
RZ –rezystor / resistor (68kΩ)
LM –lampka / lamp

3
RYSUNEK CZAJNIKA TYM 17Z010 W ROZŁOŻENIU NA CZĘŚCI
EXPLODED DRAWING OF KETTLE TYPE 17Z010

4
WYKAZ CZĘŚCI ZAMIENNYCH CZAJNIKA TYP 17Z010
SPARE PARTS LIST OF KETTLE TYPE 17Z010
Nr
Nazwa części
Part name
Nr fabryczny
Serial number
EAN/UPC
Ilość
Qty
1
Pokrywka
Lid
0172010001
5900215868653
1
2
Sprężyna
Lid spring
0172010002
5900215868660
1
3
Zaczep
Lid handle
0172010003
5900215868677
1
4
Zawias
Lid cover
0172010004
5900215868684
1
5
Zaślepka pokrywki
Lid support
0172010005
5900215868691
1
6
Pierścień
Lid ring
0172010006
5900215868707
1
7
Uchwyt
Handle
0172010007
5900215868714
1
8
Zaślepka uchwytu
Handle cover
0172010008
5900215868721
1
9
Zaślepka wkrętu
Screw cover
0172010009
5900215868738
1
10
Wskaźnik poziomu wody kpl.
Water gauge assembly
0172010010
5900215868745
1
12
Pierścień uszczelniający
Silicone ring
0172010012
5900215868769
2
13
Zaślepka rurki
Steam cap
0172010013
5900215868776
1
14
Filtr
Filter
0172010014
5900215868783
1
15
Osłona lampki
Lamp cover
0172010015
5900215869681
1
16
Osłona kontrolera
Steam contact
0172010016
5900215868806
1
17
Przycisk wyłącznika – nowy
Switch –new
0172010117
5900215941325
1
18
Dźwignia - nowa
Link - new
0172010118
5900215941349
1
19
Wspornik lampki
Neon bracket
0172010019
5900215868837
1
20
Kontroler górny
Thermostat
0172010020
5900215868844
1
21
Lampka kpl.
Lamp and wire
0172010021
5900215868851
1
22
Korpus kpl.
Body assembly
0172010022
5900215869704
1
23
Podstawa korpusu
Body base
0172010023
5900215868875
1
24
Podstawa
Power base
0172010024
5900215868882
1
25
Nóżki
Rubber foot
0172010025
5900215868899
3
26
Odciążka
Clamp
0172010026
5900215868905
1
27
Kontroler dolny
Socket
0172010027
5900215868912
1
28
Przewód przyłączeniowy
Power cord assy
0172010028
5900215868929
1
29
Zaślepka podstawy
Base cover
0172010029
5900215868936
1
30
Wkręt ST3x8
Screw ST3x8
część handlowa / commercial part
6
31
Wkręt ST3x10
Screw ST3x10
część handlowa / commercial part
3
32
Śruba M3x8
Śruba M3x8
część handlowa / commercial part
1
33
Śruba M3x12
Śruba M3x12
część handlowa / commercial part
1
34
Śruba M3x6
Śruba M3x6
część handlowa / commercial part
3
35
Wkręt ST4x10
Screw ST4x10
część handlowa / commercial part
3
36
Wkręt ST3x10 H
Screw ST3x10 H
część handlowa / commercial part
1
37
Wkręt z łbem stożkowym ST3x6
Screw
część handlowa / commercial part
2

5
RYSUNEK CZAJNIKA TYM 17Z011 W ROZŁOŻENIU NA CZĘŚCI
EXPLODED DRAWING OF KETTLE TYPE 17Z011

6
WYKAZ CZĘŚCI ZAMIENNYCH CZAJNIKA TYP 17Z011
SPARE PARTS LIST OF KETTLE TYPE 17Z011
Nr
Nazwa części
Part name
Symbol fabryczny
Serial number
EAN/UPC
Ilość
Qty
1
Pokrywka
Lid
0172011001
5900215869865
1
2
Zaczep
Lid lock
0172011002
5900215869889
1
3
Sprężyna
Lid spring
0172011003
5900215869902
1
4
Zawias
Lid cover
0172011004
5900215869926
1
5
Wkręt ST3x10
Screw ST3x10
część handlowa / commercial part
4
6
Wkręt z łbem pow. ST3x10
Washer head screw ST3x10
część handlowa / commercial part
4
7
Uchwyt zawiasu
Handle lock
0172011007
5900215869971
1
8
Zaślepka uchwytu
Handle cover
0172011008
5900215869995
1
9
Uchwyt
Handle
0172011009
5900215870014
1
10
Pierścień uszczelniający
Silicone ring
0172011010
5900215870038
2
11
Wskaźnik poziomu wody kpl.
Water gauge assembly
0172011011
5900215870069
1
13
Śruba M3x8
Screw M3x8
część handlowa / commercial part
1
14
Osłona kontrolera
Steam contact
0172010016
5900215868806
1
15
Kontroler górny
Thermostat
0172010020
5900215868844
1
16
Śruba M3x6
Screw M3x6
część handlowa / commercial part
3
17
Wspornik lampki
Neon bracket
0172010019
5900215868837
1
18
Podstawa korpusu
Body base
0172010023
5900215868875
1
19
Dźwignia – nowa
Link –new
0172010118
5900215941349
1
20
Przycisk wyłącznika – nowy
Switch - new
0172010117
5900215941325
1
21
Osłona lampki
Lamp cover
0172010015
5900215869681
1
22
Wkręt ST4x10
Screw ST4x10
część handlowa / commercial part
3
23
Kontroler dolny
Socket
0172010027
5900215868912
1
24
Podstawa
Power base
0172011024
5900215870090
1
25
Nóżki
Rubber foot
0172011025
5900215870113
3
26
Zaślepka podstawy
Base cover
0172011026
5900215870137
1
27
Wkręt ST3x10 H
Screw ST3x10 H
część handlowa / commercial part
1
28
Przewód przyłączeniowy
Power cord
0172010028
5900215868929
1
29
Odciążka
Clamp
0172010026
5900215868905
1
30
Opaska
Band
część handlowa / commercial part
1
31
Lampka kpl.
Lamp and wire
0172010021
5900215868851
1
32
Korpus kpl.
Body assembly
0172011032
5900215870328
1
33
Filtr
Filtr
0172010014
5900215868783
1
35
Wkręt ST3x10
Screw ST3x10
część handlowa / commercial part
4

7
RYSUNEK CZAJNIKA TYM 17Z012 W ROZŁOŻENIU NA CZĘŚCI
EXPLODED DRAWING OF KETTLE TYPE 17Z012

8
WYKAZ CZĘŚCI ZAMIENNYCH CZAJNIKA TYP 17Z012
SPARE PARTS LIST OF KETTLE TYPE 17Z012
Nr
Nazwa części
Part name
Symbol fabryczny
Serial number
EAN/UPC
Ilość
Qty
1
Pokrywka
Lid
0172012001
5900215870199
1
2
Zaczep
Lid lock
0172012002
5900215870212
1
3
Sprężyna
Lid spring
0172011003
5900215869902
1
4
Zawias
Lid cover
0172012004
5900215870243
1
5
Wkręt ST3x8
Screw ST3x8
część handlowa / commercial part
4
6
Wkręt z łbem pow. ST3x10
Washer head screw ST3x10
część handlowa / commercial part
2
7
Uchwyt zawiasu
Handle lock
0172012007
5900215870274
1
8
Filtr
Filter
0172012008
5900215870304
1
9
Korpus kpl.
Body assembly
0172012009
5900215870359
1
10
Kontroler górny
Thermostat
0172010020
5900215868844
1
11
Wspornik lampki
Light bracket
0172012011
5900215870366
1
12
Śruba M3x6
Screw M3x6
część handlowa / commercial part
3
13
Dźwignia - nowa
Link –new
0172012113
5900215941288
1
14
Podstawa korpusu
Body base
0172012014
5900215870298
1
15
Osłona lampki
Lamp cover
0172012015
5900215870410
1
16
Wkręt ST4x10
Screw ST4x10
część handlowa / commercial part
2
17
Wkręt ST4x10H
Screw ST4x10H
część handlowa / commercial part
1
18
Podstawa
Power base
0172012018
5900215870700
1
19
Nóżki
Rubber foot
0172012019
5900215870472
3
20
Kontroler dolny
Contactor
0172010027
5900215868912
1
21
Wkręt ST3x8
Screw ST3x8
część handlowa / commercial part
2
22
Odciążka
Press block
0172010026
5900215868905
1
23
Zaślepka podstawy
Power base cover
0172012023
5900215870496
1
24
Wkręt ST3x10
Screw ST3x10
część handlowa / commercial part
2
25
Wkręt ST3x10 H
Screw ST3x10H
część handlowa / commercial part
1
26
Osłona kontrolera
Steam contact
0172012026
5900215870519
1
27
Rurka uszczelniająca
Sealing tube
0172012027
5900215870533
1
28
Wyłącznik - nowy
Switch –new
0172012128
5900215941301
1
29
Pierścień uszczelniający
Sealing ring
0172012029
5900215870571
2
30
Wskaźnik poziomu wody kpl.
Water gauge assembly
0172012030
5900215870595
1
31
Uchwyt
Handle
0172012031
5900215870618
1
32
Przewód przyłączeniowy
Power cord
0172010028
5900215868929
1
33
Zaślepka uchwytu
Handle cover
0172012033
5900215870632
1
34
Śruba M3x12
Screw M3x12
część handlowa / commercial part
1
35
Zaślepka wkrętu
Screw cover
0172012035
5900215870656
1
36
Wkręt z łbem pow. ST3x10
Washer head screw ST3x10
część handlowa / commercial part
2
37
Lampka kpl.
Lamp and wire
0172010021
5900215868851
1
Części zmienione po serii 03/11
Nr
Nazwa części
Part name
Symbol fabryczny
Serial number
EAN/UPC
Ilość
Qty
1
Pokrywa - nowa
Lid –new
0172012101
5900215538525
1
2
Zaczep - nowy
Lid lock –new
0172012102
5900215538532
1
3
Zawias - nowy
Lid lower cover –new
0172012104
5900215538549
1
7
Uchwyt zawiasu - nowy
Handle lock –new
0172012107
5900215538556
1
9
Korpus kpl. –nowy
Kettle body assembly –new
0172012109
5900215538563
1

9
BUDOWA CZAJNIKA
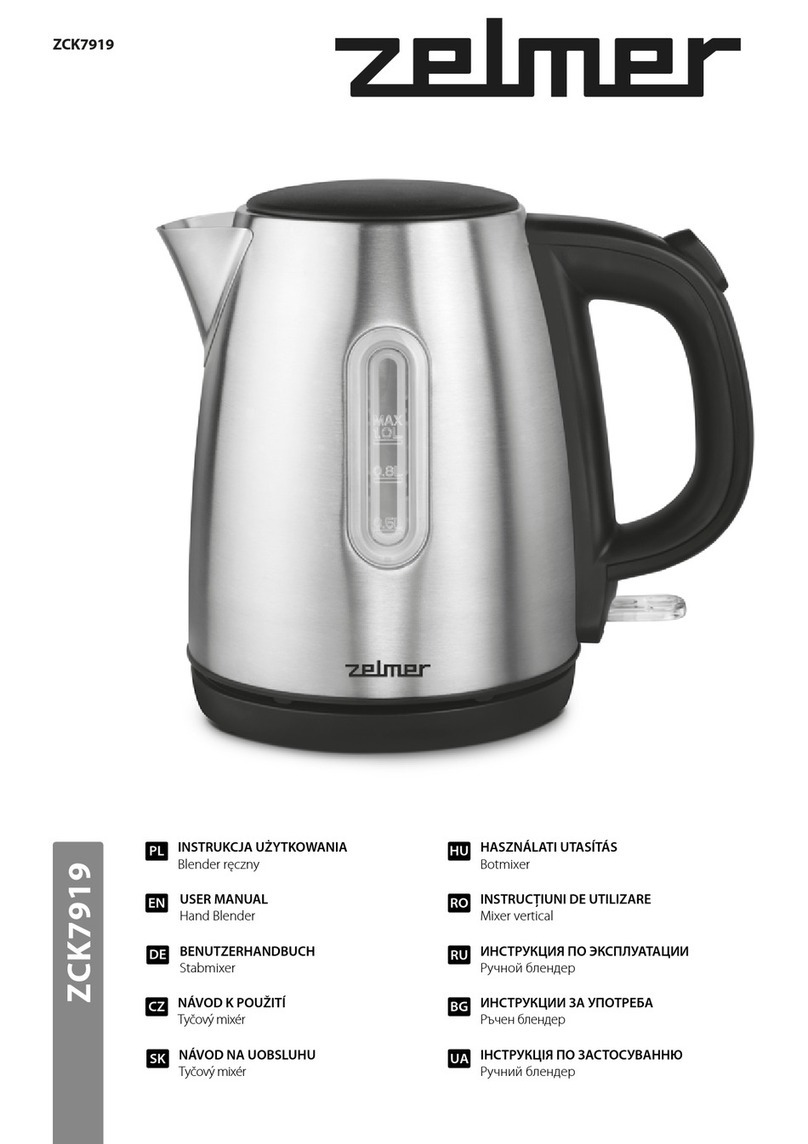
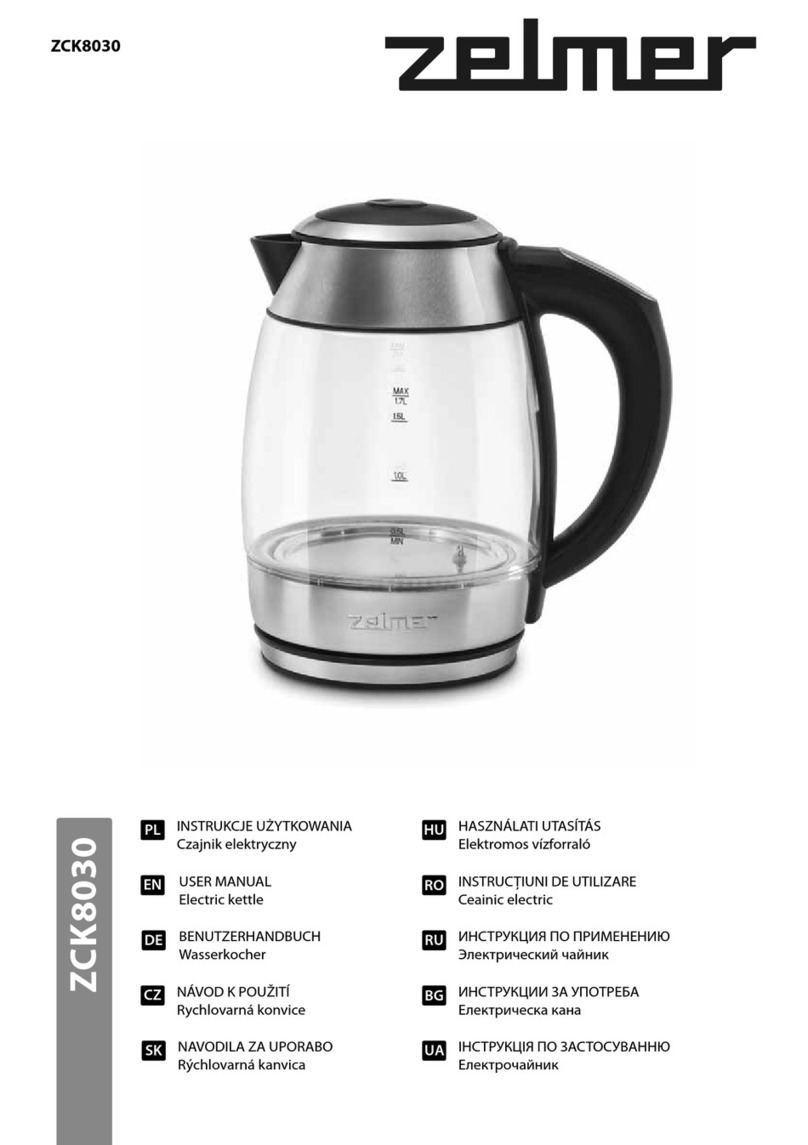
Czajnik elektryczny jest urządzeniem przeznaczonym do gotowania wody. Korpus
czajnika wykonany jest z blachy chromoniklowej, natomiast uchwyt, pokrywka i podstawa
kompletna wykonane są z tworzyw sztucznych. Pracą czajnika, jego włączaniem
i wyłączaniem po przegotowaniu wody, steruje kontroler górny, który dzięki systemowi
zabezpieczeń, zapewnia bezpieczną eksploatację czajnika. U spodu korpusu czajnika
znajduje się lampka, która świeci się, gdy czajnik jest włączony. Podstawa kompletna
jest osobnym elementem służącym do doprowadzenia prądu do czajnika. Taka
konstrukcja ułatwia eksploatację czajnika, gdyż jego napełnianie, czy wylewanie z niego
wody nie wymaga wyjmowania wtyczki przewodu przyłączeniowego z gniazdka.
DEMONTAŻ CZAJNIKA
Przed przystąpieniem do pracy należy dokładnie zapoznać się z treścią niniejszej
Instrukcji serwisowej oraz Instrukcji użytkowania czajnika.
Napraw powinien dokonywać tylko odpowiednio przeszkolony pracownik serwisu.
Wszelkich napraw należy dokonywać po wyjęciu wtyczki przewodu przyłączenio-
wego z gniazdka sieci.
Demontaż czajnika typ 17Z010
Demontaż korpusu czajnika:
Demontaż należy przeprowadzić na stole pokrytym czystym filcem lub innym
miękkim materiałem, zwracając uwagę, aby nie porysować części wykonanych z
tworzywa. Zdjąć czajnik z podstawy kompletnej. Cienkim, ostro zakończonym
narzędziem wykonać w zaślepce wkrętu 9otwór, w który należy wkręcić wkręt. Ciągnąc
za wkręt, wyjąć zaślepkę wkrętu 9z zaślepki uchwytu 8. Wkrętakiem krzyżowym
wykręcić wkręt 31. Płaskim wkrętakiem podważyć zaślepkę uchwytu 8doprowadzając w
ten sposób do rozłączenia zaczepów i zdjąć ją z uchwytu 7. Otworzyć pokrywkę do
położenia pionowego. Wkrętakiem krzyżowym wykręcić dwa wkręty 37. Płaskim
wkrętakiem rozłączyć zaczep między zaślepką pokrywki 5, a zawiasem 4, podważyć
zaślepkę pokrywki 5i zdjąć ją razem z pokrywką kompletną z czajnika. Wyjąć zaślepkę
pokrywki 5z zawiasu 4. Wkrętakiem krzyżowym wykręcić cztery wkręty 38. Zdjąć
pokrywkę 1wraz ze sprężyną 2i zaczepem 3z zawiasu 4. Wcisnąć zaczep 3i wyjąć go
wraz ze sprężyną 2z pokrywki 1. Wyjąć sprężynę 2z gniazda w zaczepie 3. Palcami
odgiąć po kolei pięć zaczepów i doprowadzić do rozłączenia pierścienia 6z korpusem
kpl. 22. Wkrętakiem krzyżowym wykręcić śrubę 32 i śrubę 33. Uchwycić ręką uchwyt 7,
pociągnąć go mocno w kierunku do siebie i doprowadzić do rozłączenia z korpusem
kpl. 22. Z pierścieni uszczelniających 12 znajdujących się w korpusie kpl. 22 wyciągnąć
wskaźnik poziomu wody kpl. 10. Ścisnąć palcami pierścień uszczelniający 12 i wcisnąć
go do środka korpusu kpl. 22. Podobnie postąpić z drugim pierścieniem uszczelniającym
12, a następnie wyjąć dwa pierścienie uszczelniające 12 ze środka korpusu kpl. 22.
Ściągnąć z rurki, znajdującej się w środku korpusu kpl. 22, zaślepkę rurki 13. Włożyć
płaski wkrętak do „dzióbka” korpusu kpl. 22. Przytrzymać palcami, od środka korpusu,
filtr 14. Odgiąć wkrętakiem zaczep znajdujący się u góry filtra 14 i wyjąć filtr 14 z korpusu
kpl. 22. Wkrętakiem krzyżowym wykręcić trzy wkręty 35 i zdjąć podstawę korpusu 23
wraz z przymocowanymi do niej wyłącznikiem 17, dźwignią 18 i osłoną lampki 15.
Przytrzymując ręką podstawę korpusu 23, a drugą ciągnąc wyłącznik 17, zdjąć go z
dźwigni 18. Ścisnąć palcami dźwignię 18, doprowadzając do wyczepienia jej z gniazda w
podstawie korpusu 23. Odgiąć dwa zaczepy osłony lampki 15 i wyjąć ją z podstawy
korpusu 23. Rozpiąć opaskę i wyjąć lampkę ze wspornika lampki 19. Odpiąć konektory
10
przewodów wychodzących z elementu grzejnego od kontrolera górnego 20. Wkrętakiem
krzyżowym wykręcić śrubę 34, mocującą wspornik lampki 19 oraz kontroler górny 20 do
korpusu kpl. 22 i zdjąć wspornik lampki 19. Odkręcić pozostałe dwie śruby 34 i zdjąć
kontroler górny 20.
Demontaż podstawy kompletnej:
Wkrętakiem krzyżowym wykręcić dwa wkręty 31, a wkrętakiem płaskim z rozcięciem
wkręt 36 i rozłączyć podstawę 24 z zaślepką podstawy 29. Wkrętakiem krzyżowym
wykręcić dwa wkręty 30, zdjąć odciążkę 26 i wyjąć przewód przyłączeniowy 28 wraz z
kontrolerem dolnym 27. Odpiąć konektory przewodu przyłączeniowego 28 od kontrolera
dolnego 27. Z podstawy 24 wyjąć trzy nóżki 25.
Demontaż czajnika typ 17Z011
Demontaż korpusu czajnika:
Demontaż należy przeprowadzić na stole pokrytym czystym filcem lub innym
miękkim materiałem, zwracając uwagę, aby nie porysować części wykonanych z
tworzywa. Zdjąć czajnik z podstawy kompletnej. Otworzyć pokrywkę kompletną do
położenia pionowego. Wkrętakiem krzyżowym wykręcić cztery wkręty 5. Z zawiasu 4
zdjąć pokrywkę 1oraz wyjąć zaczep 2i sprężynę 3. Wkrętakiem krzyżowym wykręcić
dwa wkręty 6mocujące zaślepkę uchwytu 8do korpusu kpl. 32. Cienkim, płaskim
wkrętakiem podważyć zaślepkę uchwytu 8. W powstałą szczelinę włożyć palce i mocno
pociągnąć zaślepkę uchwytu 8w kierunku do siebie, doprowadzając do wyczepienia
zaczepów zaślepki uchwytu 8z uchwytu 9. Z zaślepki uchwytu 8zdjąć zawias 4.
Wkrętakiem krzyżowym wykręcić śrubę 13 oraz dwa wkręty 6mocujące uchwyt 9do
korpusu kpl.32. Uchwycić ręką uchwyt 9, pociągnąć go mocno w kierunku do siebie i
doprowadzić do rozłączenia z korpusem kpl. 32. Wyjąć ze środka korpusu kpl. 32 uchwyt
zawiasu 7. Z pierścieni uszczelniających 10 znajdujących się w korpusie kpl. 32
wyciągnąć wskaźnik poziomu wody kpl. 11. Ścisnąć palcami pierścień uszczelniający 10
i wcisnąć go do środka korpusu kpl. 32. Podobnie postąpić z drugim pierścieniem
uszczelniającym 10, a następnie wyjąć dwa pierścienie uszczelniające 10 ze środka
korpusu kpl. 32. Włożyć płaski wkrętak do „dzióbka” korpusu kpl. 32. Przytrzymać
palcami, od środka korpusu, filtr 33. Odgiąć wkrętakiem zaczep znajdujący się u góry
filtra 33 i wyjąć filtr 33 z korpusu kpl. 32. Wkrętakiem krzyżowym wykręcić trzy wkręty 22
i zdjąć podstawę korpusu 18 wraz z przymocowanymi do niej wyłącznikiem 20, dźwignią
19 i osłoną lampki 21. Przytrzymując ręką podstawę korpusu 18, a drugą ciągnąc
wyłącznik 20, zdjąć go z dźwigni 19. Ścisnąć palcami dźwignię 19, doprowadzając do
wyczepienia jej z gniazda w podstawie korpusu 18. Odgiąć dwa zaczepy osłony lampki
21 i wyjąć ją z podstawy korpusu 18. Rozpiąć opaskę i wyjąć lampkę ze wspornika
lampki 17. Odpiąć konektory przewodów wychodzących z elementu grzejnego od
kontrolera górnego 15. Wkrętakiem krzyżowym wykręcić śrubę 16, mocującą wspornik
lampki 17 oraz kontroler górny 15 do korpusu kpl. 32 i zdjąć wspornik lampki 17.
Odkręcić pozostałe dwie śruby 16 i zdjąć kontroler górny 15.
Demontaż podstawy kompletnej:
Wkrętakiem krzyżowym wykręcić dwa wkręty 35, a wkrętakiem płaskim z rozcięciem
wkręt 27 i rozłączyć podstawę 24 z zaślepką podstawy 26. Wkrętakiem krzyżowym
wykręcić dwa wkręty 35, zdjąć odciążkę 29 i wyjąć przewód przyłączeniowy 28 wraz z
kontrolerem dolnym 23. Odpiąć konektory przewodu przyłączeniowego 28 od kontrolera
dolnego 23. Z podstawy 24 wyjąć trzy nóżki 25.

11
Demontaż czajnika typ 17Z012
Demontaż korpusu czajnika:
Demontaż należy przeprowadzić na stole pokrytym czystym filcem lub innym miękkim
materiałem, zwracając uwagę, aby nie porysować części wykonanych z tworzywa. Zdjąć
czajnik z podstawy kompletnej. Odwrócić czajnik podstawą korpusu 14 do góry.
Wkrętakiem krzyżowym wykręcić dwa wkręty 16 i wkręt 17. Unieść podstawę korpusu 14
do góry, następnie wyczepić dźwignię 13 z kontrolera górnego 10 i zdjąć z korpusu kpl. 9
podstawę korpusu 14 wraz z przymocowanymi do niej: osłoną lampki 15, dźwignią 13 i
wyłącznikiem 28. Cienkimi, płaskimi kleszczami ścisnąć, w miejscu między podstawą
korpusu 14, a wyłącznikiem 28, ramiona dźwigni 13 i doprowadzić do rozłączenia
dźwigni 13 z wyłącznikiem 28. Odgiąć dwa zaczepy osłony lampki 15 i wyjąć ją z
podstawy korpusu 14. Rozpiąć opaskę i wyjąć lampkę ze wspornika lampki 11. Odpiąć
konektory przewodów wychodzących z elementu grzejnego od kontrolera górnego 10.
Wkrętakiem krzyżowym wykręcić śrubę 12, mocującą wspornik lampki 11 oraz kontroler
górny 10 do korpusu kpl. 9i zdjąć wspornik lampki 11. Odkręcić pozostałe dwie śruby 12
i zdjąć kontroler górny 10. Otworzyć pokrywkę kompletną do położenia pionowego.
Wkrętakiem krzyżowym wykręcić cztery wkręty 5. Z zawiasu 4zdjąć pokrywkę 1wraz
zaczepem 2i sprężyną 3. Z pokrywki 1wyjąć zaczep 2i sprężynę 3. Wkrętakiem
krzyżowym wykręcić dwa wkręty 36 mocujące zaślepkę uchwytu 33 do korpusu kpl. 9.
Cienkim, płaskim wkrętakiem podważyć zaślepkę wkrętu 35 i wyjąć ją z zaślepki uchwytu
33. Wkrętakiem krzyżowym wykręcić śrubę 34. Cienkim, płaskim wkrętakiem podważyć
zaślepkę uchwytu 33. W powstałą szczelinę włożyć palce i ściągnąć zaślepkę uchwytu
33 z uchwytu 31. Ze środka korpusu kpl. 9wyjąć zawias 4. Wkrętakiem krzyżowym
wykręcić dwa wkręty 6mocujące uchwyt 31 do korpusu kpl. 9. Uchwycić ręką uchwyt 31,
pociągnąć go w dół i doprowadzić do rozłączenia z korpusem kpl. 9. Wyjąć ze środka
korpusu kpl. 9uchwyt zawiasu 7. Z pierścieni uszczelniających 29 znajdujących się w
korpusie kpl. 9wyciągnąć wskaźnik poziomu wody kpl. 30. Wyjąć dwa pierścienie
uszczelniające 29 z gniazd w korpusie kpl. 9. Włożyć płaski wkrętak do „dzióbka”
korpusu kpl. 9. Przytrzymać palcami, od środka korpusu, filtr 8. Odgiąć wkrętakiem
zaczep znajdujący się u góry filtra 8i wyjąć filtr 8z korpusu kpl. 9.
Demontaż podstawy kompletnej:
Z zaślepki podstawy 23 wyjąć trzy nóżki 19. Wkrętakiem krzyżowym wykręcić dwa
wkręty 24, a wkrętakiem płaskim z rozcięciem wkręt 25 i rozłączyć podstawę 18 z
zaślepką podstawy 23. Wkrętakiem krzyżowym wykręcić dwa wkręty 21, zdjąć odciążkę
22 i wyjąć przewód przyłączeniowy 32 wraz z kontrolerem dolnym 20. Odpiąć konektory
przewodu przyłączeniowego 32 od kontrolera dolnego 20.
MONTAŻ CZAJNIKA TYP 17Z010, 17Z011, 17Z012
Montaż czajnika typ 17Z010, 17Z011, 17Z012 przebiega w odwrotnej kolejności niż
demontaż, należy jednak zwrócić szczególną uwagę na prawidłowe wykonanie
niektórych czynności:
Przed przykręceniem kontrolera górnego do elementu grzejnego, należy oczyścić
kontroler górny i element grzejny z pasty termoprzewodzącej, a w te miejsca nanieść
nową warstwę pasty termoprzewodzącej typu Dow Corning 340.
Połączenia elektryczne należy wykonać ściśle wg schematu elektrycznego (rys.
poniżej), zwracając przy tym uwagę, aby przewody elektryczne lampki kpl. w żadnym
przypadku nie dotykały do elementu grzejnego.
Przed zamocowaniem podstawy korpusu na korpusie kpl. należy prawidłowo
połączyć dźwignię z kontrolerem górnym.

12
WYKAZ NARZĘDZI I PRZYRZĄDÓW POMIAROWYCH
–Komplet wkrętaków
–Lutownica elektryczna
–Kleszcze do obnażania przewodów
–Woltomierz kl.1,5 zakres 0-300V
–Watomierz kl. 1,5 zakres 100/200/300V, 5/10A
–Amperomierz kl.1,5 zakres 5/10A
–Autotransformator
UWAGI
W CZASIE MONTAŻU NALEŻY UŻYWAĆ CZYSTYCH NARZĘDZI I CZĘŚCI.
ZAKŁAD NIE PROWADZI INDYWIDUALNEJ WYSYŁKI CZĘŚCI.
ZAKŁAD ZASTRZEGA SOBIE PRAWO ZMIAN KSZTAŁTU CZĘŚCI, MAJĄCYCH
NA CELU POPRAWĘ JAKOŚCI I FUNKCJONALNOŚĆ TEGO WYROBU.
EWENTUALNE USZKODZENIA CZAJNIKÓW
Lp
Objawy
uszkodzenia
Przyczyny uszkodzenia
Sposób naprawy
1
Czajnik, po włączeniu,
nie podgrzewa wody.
1.1.Brak napięcia w gniazdku.
Sprawdzić, czy jest napięcie w gniazdku
1.2.Uszkodzony przewód przyłączeniowy
lub wewnętrzne połączenia
elektryczne.
Wymienić uszkodzony przewód
przyłączeniowy lub przewody wewnętrzne
na nowe. Połączenia wykonać ściśle wg
schematu połączeń elektrycznych.
1.3.Uszkodzony kontroler górny.
Wymienić kontroler górny na nowy.
1.4.Uszkodzony kontroler dolny.
Wymienić kontroler dolny na nowy.
1.5.Uszkodzony element grzejny.
Wymienić korpus czajnika na nowy.
2
Czajnik, po zagotowaniu
wody, nie wyłącza się
automatycznie.
2.1.Uszkodzony kontroler górny.
Wymienić kontroler górny na nowy.
3
Po zdjęciu czajnika z
podstawy kpl., w trakcie
gotowania wody, wyłącznik
nie wyłącza się.
3.1. Uszkodzony kontroler górny.
Wymienić kontroler górny na nowy.
4
Nie można włączyć
wyłącznika lub przed
zagotowaniem wody, wy-
łącznik wyłącza się
samodzielnie
4.1. Uszkodzony kontroler górny.
Wymienić kontroler górny na nowy.
5
Po włączeniu czajnika
lampka kon-trolna nie
świeci się.
5.1. Uszkodzona lampka tląca.
Wymienić lampkę tlącą na nową – w tym
celu należy odciąć, w odległości 8 cm od
wierzchołka uszkodzonej lampki tlącej, dwa
czerwone przewody. Następnie do
przewodów wychodzących z korpusu
czajnika przylu-tować nową lampkę. Na
połączeniach lutowanych wy-konać izolację
z koszulek termokurczliwych.
6
Filtr wypada z „dzióbka”
czajnika.
6.1. Wyłamane zaczepy filtra.
Wymienić filtr na nowy.
7
Pokrywka nie zamyka się.
7.1. Pęknięta sprężyna.
Wymienić sprężynę na nową.

13
CONSTRUCTION OF KETTLE
An electric kettle is a device designed for boiling water. The kettle body is made of
chrome-nickel sheet, whereas the handle, the lid and the base are made of plastic. A
kettle’s operation, its switching on and after the water is boiled, off, are controlled by a
steam thermostat, which ensures safe operation of the kettle. A lamp, installed on the
kettle bottom, comes on when it is switched on. The complete base is a separate
element used to supply power to the kettle. This design facilitates using the kettle,
because filling it up or pouring the water out does not require removing the plug from the
power socket.
DISASSEMBLY OF THE KETTLE
Before starting to work, carefully review the content of this Service Manual and the
User Manual of the kettle.
Repairs should be made only by a properly trained service technician. Any repair
should be made after removing the plug from the power socket.
Disassembly of the kettle, type 17Z010
Disassembly of the kettle body:
Disassembly should be carried out on a table covered with a clean soft cloth,
taking care not to scratch the parts made of plastic. Remove the kettle from the power
base. Using a thin sharp-ended tool, make a hole in the screw cover 9. Screw in a screw
into this hole. Remove the screw cover 9 from the handle cover 8by pulling the screw.
Remove the screw 31 with a Philips screwdriver. Lever up the handle cover 8with a flat
screwdriver bringing the catches to be disengaged and remove the cover from the
handle 7. Open the lid to its vertical position. Remove two screws 37 with a Philips
screwdriver. Using a flat screwdriver, disconnect the lid handle between the lid support 5
and the lid cover 4, lever up the lid support 5and remove it with the lid assembly from
the kettle. Remove the lid support 5from the lid cover 4. Remove four screws 38 with a
Philips screwdriver. Remove the lid 1with the spring 2and the lid handle 3from the lid
cover 4. Push in the lid handle 3and remove it with the spring 2from the lid 1. Remove
the spring 2from its seat in the lid handle 3. Using your fingers, bend out five catches
one by one and disconnect the lid ring 6from the body assembly 22. Remove the screw
32 and the screw 33 with a Philips screwdriver. Grasp the handle 7with your hand; pull it
firmly bringing it to be disconnected from the body assembly 22. Take out the water
gauge assembly 10 from the silicone rings 12 located in the body assembly 22. Squeeze
the silicone ring 12 with your fingers and push it in inside the body assembly 22. Proceed
the same way with the second silicone ring 12, and next, remove these two silicone rings
12 from the body assembly 22. Remove the steam cap 13 from the pipe located inside
the body assembly 22. Place a flat screwdriver into the spout of the body assembly 22.
Hold the filter 14 with your fingers, from the inside of the body. Bend out the catch
located at the top of the filter 14 with a flat screwdriver and remove the filter 14 from the
body assembly 22. Remove three screws 35 with a Philips screwdriver and take out the
body base 23 with the switch 17, the link 18 and the lamp cover 15 attached. Holding the
body base 23 with one hand, pull out the switch 17, with the other hand, to remove it
from the link 18. Squeeze the link 18 with your fingers bringing it to be disconnected from
the socket of the body base 23. Bend out two catches of the lamp cover 15 and remove
it from the body base 23. Undo the clamp and remove the lamp from the neon bracket
19. Disconnect wire connectors of the heating element from the thermostat 20. With a
Philips screwdriver, remove the screw 34, mounting the neon bracket 19 and the

14
thermostat 20 to the body assembly 22, and remove the neon bracket 19. Remove
remaining two screws 34 and the thermostat 20.
Disassembly of the power base assembly:
Remove two screws 31 with a Philips screwdriver and remove the screw 36 with a
spanner head screwdriver and disconnect the power base 24 from the base cover 29.
Remove two screws 30 with a Philips screwdriver, remove the clamp 26 and take out the
power cord assy 28 with the socket 27. Disconnect the connectors of the power cord 28
from the socket 27. Remove three rubber feet 25 from the power base 24.
Disassembly of the kettle, type 17Z011
Disassembly of the kettle body:
Disassembly should be carried out on a table covered with a clean soft cloth,
taking care not to scratch the parts made of plastic. Remove the kettle from the power
base. Open the lid to its vertical position. Remove four screws 5with a Philips
screwdriver. Remove the lid 1from the lid cover 4and take out the lid lock 2and the lid
spring 3. With a Philips screwdriver, remove two screws 6mounting the handle cover 8
to the body assembly 32. Lever up the handle cover 8with a flat screwdriver. Put your
fingers into the resulting gap and firmly pull the handle cover 8bringing the catches of
the handle cover 8to be disconnected from the handle 9. Remove the lid cover 4from
the handle cover 8. Remove the screw 13 with a Philips screwdriver and two screws 6
mounting the handle 9to the body assembly 32. Grasp the handle 9with your hand; pull
it firmly bringing it to be disconnected from the body assembly 32. Remove the handle
lock 7from the inside of the body assembly 32. Take out the water gauge assembly 11
from the silicone rings 10 located in the body assembly 32. Squeeze the silicone ring 10
with your fingers and push it in inside the body assembly 32. Proceed the same way with
the second silicone ring 10, and next, remove these two silicone rings 10 from the body
assembly 32. Hold the filter 33 with your fingers, from the inside of the body. Bend out
the catch located at the top of the filter 33 with a flat screwdriver and remove the filter 33
from the body assembly 32. Remove three screws 22 with a Philips screwdriver and take
out the body base 18 with the switch 20, the link 19 and the lamp cover 21 attached.
Holding the body base 18 with one hand, pull out the switch 20, with the other hand, to
remove it from the link 19. Squeeze the link 19 with your fingers bringing it to be
disconnected from the socket of the body base 18. Bend out two catches of the lamp
cover 21 and remove it from the body base 18. Undo the clamp and remove the lamp
from the neon bracket 17. Disconnect wire connectors of the heating element from the
thermostat 15. With a Philips screwdriver, remove the screw 16, mounting the neon
bracket 17 and the thermostat 15 to the body assembly 32, and remove the neon
bracket 17. Remove remaining two screws 16 and the thermostat 15.
Disassembly of the power base assembly:
Remove two screws 35 with a Philips screwdriver and remove the screw 27 with a
spanner head screwdriver and disconnect the power base 24 from the base cover 26.
Remove two screws 35 with a Philips screwdriver, remove the clamp 29 and take out the
power cord 28 with the socket 23. Disconnect the connectors of the power cord 28 from
the socket 23. Remove three rubber feet 25 from the power base 24.
Disassembly of the kettle, type 17Z012
Disassembly of the kettle body:
Disassembly should be carried out on a table covered with a clean soft cloth, taking care
not to scratch the parts made of plastic. Remove the kettle from the power base. Turn

15
the kettle to have the body base 14 up. Remove two screws 16 and the screw 17 with a
Philips screwdriver. Lift up the body base 14 and next, disconnect the link 13 from the
thermostat 10 and remove the body base 14 with: the lamp cover 15, the link 13 and the
switch 28 attached, from the body assembly 9. Squeeze the arms of the link 13 with a
thin flat tongs in the area between the body base 14 and the switch 28 bringing the link
13 to be disconnected from the switch 28. Bend out two catches of the lamp cover 15
and remove it from the body base 14. Undo the clamp and remove the lamp from the
light bracket 11. Disconnect wire connectors of the heating element from the thermostat
10. With a Philips screwdriver, remove the screw 12, mounting the light bracket 11 and
the thermostat 10 to the body assembly 9, and remove the light bracket 17. Remove
remaining two screws 12 and the thermostat 10. Open the lid to its vertical position.
Remove four screws 5with a Philips screwdriver. Remove the lid 1from the lid cover 4
and take out the lid lock 2and the lid spring 3. With a Philips screwdriver, remove two
screws 36 mounting the handle cover 33 to the body assembly 9. Lever up the screw
cover 35 with a flat screwdriver and take it out from the handle cover 33. Remove the
screw 34 with a Philips screwdriver. Lever up the handle cover 33 with a flat screwdriver.
Put your fingers into the resulting gap and pull out the handle cover 33 from the handle
31. Remove the lid cover 4from the inside of the body assembly 9. With a Philips
screwdriver, remove two screws 6mounting the handle 31 to the body assembly 9.
Grasp the handle 31 with your hand; pull it down bringing it to be disconnected from the
body assembly 9. Remove the handle lock 7from the inside of the body assembly 9.
Take out the water gauge assembly 30 from the sealing rings 29 located in the body
assembly 9. Remove two sealing rings 29 from the seats of the body assembly 9. Place
a flat screwdriver into the spout of the body assembly 9. Hold the filter 8with your
fingers, from the inside of the body. Bend out the catch located at the top of the filter 8
and remove the filter 8from the body assembly 9.
Disassembly of the power base assembly:
Remove three feet 19 from the power base cover 23. Remove two screws 24 with a
Philips screwdriver and the screw 25 with a spanner head screwdriver and disconnect
the power base 18 from the power base cover 23. Remove two screws 21 with a Philips
screwdriver, remove the press block 22 and take out the power cord 32 with the
contactor 20. Disconnect the connectors of the power cord 32 from the contactor 20.
ASSEMBLY OF THE KETTLE, TYPE 17Z010, 17Z011, 17Z012
The assembly of the kettle, type 17Z010, 17Z011, 17Z012 proceeds in reverse order
than disassembling, special attention should be paid to proper execution of certain
operations:
Before attaching the thermostat to the heating element, clean the thermostat and the
heating element to remove the thermal grease and apply a new layer of Dow Corning
340 thermal grease in these places.
Electrical wiring shall be made strictly according to the wiring diagram (see below),
taking into account that the electric lamp wires, in any case, shall not touch the
heating element.
Before mounting the body base on the body assembly, you shall connect property the
link with the thermostat.

16
LIST OF TOOLS AND MEASURING INSTRUMENTS
–Set of screwdrivers
–Electric soldering tool
–Insulation strippers
–Voltmeter Cl. 1.5, range 0-300V
–Voltmeter Cl. 1.5, range 100/200/300V, 5/10A
–Ammeter Cl. 1.5, range 5/10A
–Autotransformer
NOTES
DURING ASSEMBLING, USE CLEAN TOOLS AND PARTS.
THE MANUFACTURER DOES NOT PROVIDE INDIVIDUAL SHIPMENT OF PARTS.
THE MANUFACTURER RESERVES THE RIGHT TO CHANGE THE SHAPE OF
PARTS TO IMPROVE THE QUALITY AND FUNCTIONALITY OF THIS PRODUCT.
POTENTIAL FAILURES OF KETTLES
No.
Failure
Problem
Solution
1
After switching the kettle
on, it does not heat the
water.
1.1. No power supply.
Check the wall outlet for voltage.
1.2. The power cord is defective or
internal electrical malfunction.
Replace the power cord or internal wires
for new ones. Make the electrical wiring
strictly according to the wiring diagram.
1.3. The thermostat is defective.
Replace the thermostat for new one.
1.4. The socket is defective.
Replace the socket for new one.
1.5. The heating element is defective.
Replace the kettle body for new one.
2
After boiling the water, the
kettle does not switch off
automatically.
2.1. The thermostat is defective.
Replace the thermostat for new one.
3
During boiling and after
removing the kettle from the
power base, the switch does
not switch off.
3.1. The thermostat is defective.
Replace the thermostat for new one.
4
You cannot switch on the
switch or it switches off
automatically before having
the water boiled.
4.1. The thermostat is defective.
Replace the thermostat for new one.
5
After switching the kettle
on, the lamp does not come
on.
5.1. The neon lamp is defective.
Replace the neon lamp for new one –to do
this, cut two red wires at the distance of 8
cm from the top of the defective lamp.
Next, solder a new lamp to the body wires.
Insulate the soldered joints with heat
shrinkable tubing.
6
The filter comes out of the
spout.
7.1. The filter lock is broken.
Replace the filter for new one.
7
The lid is not locked.
8.1. The spring is broken.
Replace the spring for new one.
This manual suits for next models
2
Table of contents
Languages:
Other Zelmer Kettle manuals

Zelmer
Zelmer ZCK7924 User manual

Zelmer
Zelmer ZCK8023 User manual

Zelmer
Zelmer 17Z015 User manual

Zelmer
Zelmer 17Z021 User manual

Zelmer
Zelmer CK1020 User manual

Zelmer
Zelmer ZCK7640 User manual

Zelmer
Zelmer ZCK1171X User manual

Zelmer
Zelmer cke820 User manual

Zelmer
Zelmer ck1020-002 User manual

Zelmer
Zelmer ZCK8020B User manual

Zelmer
Zelmer CK1004 User manual

Zelmer
Zelmer ZCK7635B Onyx User manual

Zelmer
Zelmer ZCK7616 Series User manual

Zelmer
Zelmer ck1175 User manual

Zelmer
Zelmer 17Z021 User manual

Zelmer
Zelmer CK1004 User manual

Zelmer
Zelmer 17Z019 User manual

Zelmer
Zelmer CK1400 User manual

Zelmer
Zelmer 432 User manual

Zelmer
Zelmer CK1500 User manual