manuals.online logo
Brands
  1. Home
  2. •
  3. Brands
  4. •
  5. ZENEC
  6. •
  7. Car Receiver
  8. •
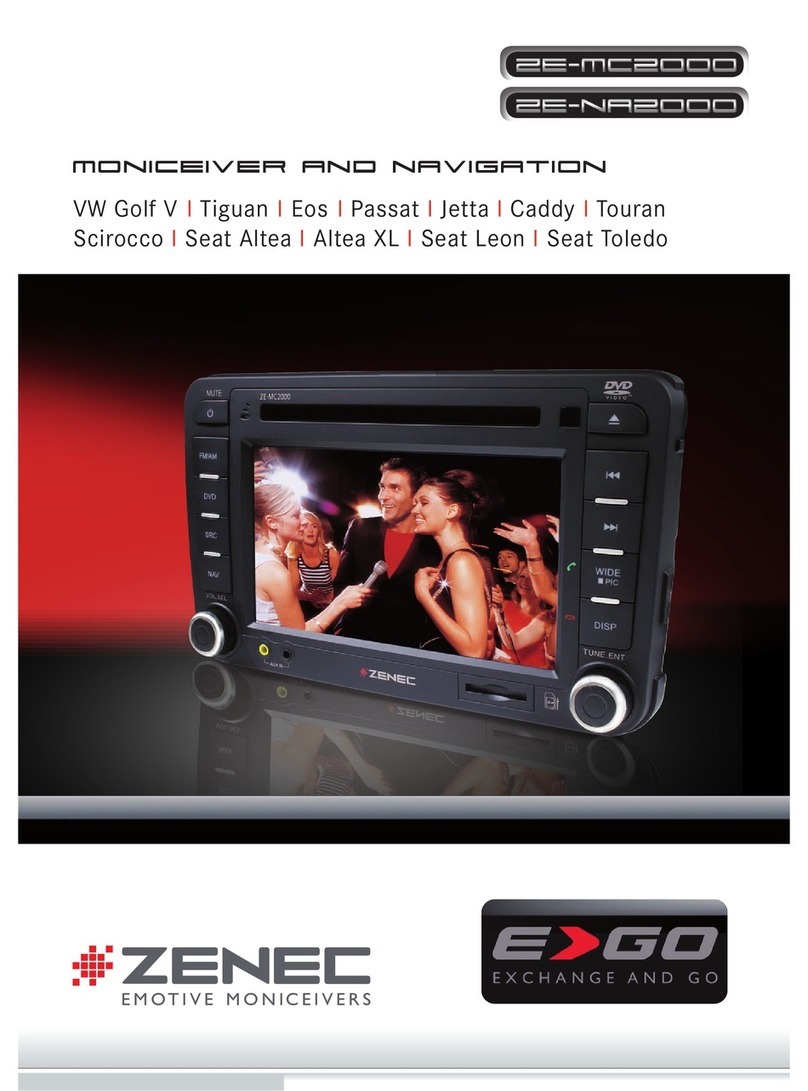
  9. ZENEC ZE-MC2000 User manual

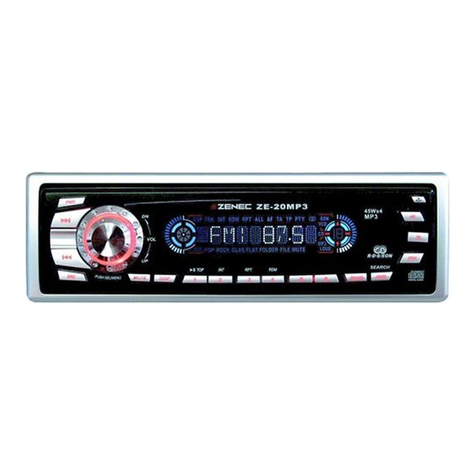
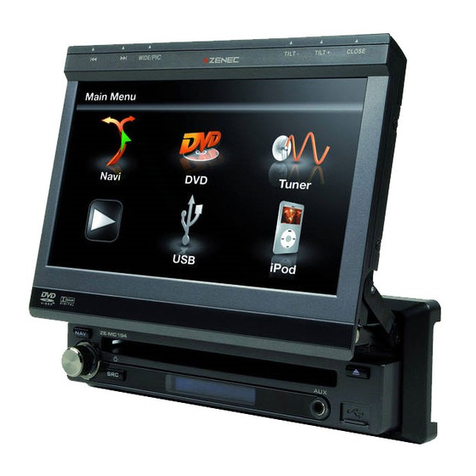
ZENEC ZE-MC2000 User manual

MOUNTING INSTRUCTIONS GOLF V
MOUNTING INSTRUCTIONS
2Nachdem das Gitter abgenommen
wurde, trennen Sie den Stecker von
der Unterseite des Gitters.
After the metal mesh has come off,
proceed with unplugging the
connector underneath.
Hebeln Sie vorsichtig das Gitter
heraus. Beginnen Sie an der zur
Scheibe zugewandten Seite.
Lever up the metal mesh top cover.
Start with the side that is close to
the windshield.
1
Lösen Sie die Torx-Schraube. Unscrew the Torx head screw in the
center.
3
Hebeln Sie die Lüftungsarmatur nur
an der zur Scheibe zugewandten
Seite heraus. Drücken Sie dann die
Armatur vorsichtig nach oben.
Pull up the A/C plastic main frame
at the end that is nearest to the
windshield. Carefully push the A/C
assembly upwards.
6
Ihr Fahrzeug ist mit einem elektro-
nischem Eigendiagnose-System (DME)
ausgestattet. Um unbeabsichtigte
Fehlermeldungen zu vermeiden, trennen
Sie bitte unbedingt vor Montagebeginn
den negativen Pol von der Batterie. Für
einen optimalen Halt montieren Sie die
beiliegenden Führungsschienen (No.11)
mit den entsprechenden Schrauben
(No.10) gemäß Packliste.
Verbinden Sie den CAN-Bus Adapter
(Abbildung ähnlich) an den vorge-
sehenen Stecker.
Tampering with the on-board electrical
system might cause an error code
to be stored in the DME. It is thus
recommended to disconnect the GND
wire of the negative battery pole before
you start any installation work.
For best stability of unit inside the
dashboard, please mount the die-cast
rails (No.11/packing list), using the
appropiate screws (No.10/packing list).
Bevor Sie beginnen: Before you start:
Montage:
Hebeln Sie nun vorsichtig das innere
Plastikteil aus der Verankerung.
Beginnen Sie an der zur Scheibe
zugewandten Seite.
Carefully lift the inner plastic part
out of its seating.
Here as well, start with the end
closest to the windshield.
4
Lösen Sie die zwei Torx-Schrauben. Unscrew the two Torx head screws.
5
1
3
2
6
4
5
Installation:
Lösen Sie vorsichtig die 2 Torx-
Schrauben der Zierblende, die
um das Radio und die Regler sitzt.
Beim lösen der Zierblende halten
Sie sich unbedingt an die vorgege-
bene Reihenfolge. Erst die rechte
Seite, dann die linke Seite.
Unscrew both Torx head screws
at the upper left and right side
of the trim part. Then remove the
U-shaped trim cover exactly in
the sequence as shown in the pic.
Start at the upper right end and
work towards the bottom and
around.
7
Lösen Sie dann die 4 Torx-Schrau-
ben, die das Radio fixieren und
ziehen Sie das Gerät heraus.
Unscrew the four Torx head screws
that fix the radio to the dashboard.
Pull the head unit out.
8
Lösen Sie die Verankerung des
MOST-Steckers und ziehen Sie
diesen Hebel nach oben.
The MOST plug on the backside of
the head unit can be unlocked by
lifting the lever up towards the
wires.
9
Ziehen Sie nun den MOST-Stecker
vom Gerät. Lösen Sie nun noch
die zwei Antennenstecker.
Pull out the MOST plug and also
remove the two antenna plugs.
bl
Der Radio-Schacht ist nun frei.
Es kann mit der Montage des
ZE-MC2000 begonnen werden.
Gehen Sie dazu in umgekehrter
Reihenfolge dieser Einbauanleitung
vor. Verbinden Sie den weissen
Antennenstecker mit dem Antennen-
anschluss des ZE-MC2000. Stellen
Sie sicher, das Sie alle benötigten
Kabel der Media-Link-Box oder der
Rückfahrkamera angeschlossen
haben. Der Anschlussplan gibt Ihnen
Auskunft über weitere Anschluss-
möglichkeiten.
The dashboard is now ready for
the install of the ZE-MC2000.
For ZE-MC2000 installation apply
the same steps as described above
but in reversed sequence. Connect
the white antenna plug to the
antenna port on the ZE-MC2000.
Check the wiring diagram overleaf
to see, how to connect a rear view
camera or media-link box.
bm
1
2
3
4
7
8
9bl
bm
ACR AG
Bohrturmweg 1
CH-5330 Bad Zurzach
Schweiz
www.acr.eu
Fachhandelspartner/Dealer
ZE-NA2000
Anschlußdiagramm/Electrical Connections Overall Diagram
MOUNTING INSTRUCTIONS GOLF V
NO. ITEM SKETCH MAP QUANTITY
1 Main unit 1
2 Media link box 1
3 Line out cable 1
420 pins
wiring harness 1
5 iPod cable 1
63.5 mm
audio cable 1
7 Microphone 1
8 Remote control 1
9Bolts for
box mounting 4
10 Bolts for
unit mounting 4
11 Guide tracks 2
12 User manual 1
13 Mounting
manual 1
14 Cleaning towel 1
15 CAN-Bus Interface 1
Packliste/Packing list

Other manuals for ZE-MC2000

1

Other ZENEC Car Receiver manuals

ZENEC ZE-30MP3 User manual

ZENEC

ZENEC ZE-30MP3 User manual

ZENEC ZE-MC290 User manual

ZENEC

ZENEC ZE-MC290 User manual

ZENEC ZE-ME194 User manual

ZENEC

ZENEC ZE-ME194 User manual

ZENEC ZE-MC190 User manual

ZENEC

ZENEC ZE-MC190 User manual

ZENEC ZE-MC192 User manual

ZENEC

ZENEC ZE-MC192 User manual

ZENEC Z-E6150 User manual

ZENEC

ZENEC Z-E6150 User manual

ZENEC ZE-NA2000 - User manual

ZENEC

ZENEC ZE-NA2000 - User manual

ZENEC ZE-NE3810 User manual

ZENEC

ZENEC ZE-NE3810 User manual

ZENEC Z-E3215-MKII Application guide

ZENEC

ZENEC Z-E3215-MKII Application guide

ZENEC ZE-MC172 User manual

ZENEC

ZENEC ZE-MC172 User manual

ZENEC ZE-MC172 User manual

ZENEC

ZENEC ZE-MC172 User manual

ZENEC ZE-160DVD User manual

ZENEC

ZENEC ZE-160DVD User manual

ZENEC Z-E2060 User manual

ZENEC

ZENEC Z-E2060 User manual

ZENEC ZE-MC2000 - BT COMPATIBILITY LIST V1.9 User manual

ZENEC

ZENEC ZE-MC2000 - BT COMPATIBILITY LIST V1.9 User manual

ZENEC Z-E2015 User manual

ZENEC

ZENEC Z-E2015 User manual

ZENEC ZE-NC2040 User manual

ZENEC

ZENEC ZE-NC2040 User manual

ZENEC ZE-MC294 User manual

ZENEC

ZENEC ZE-MC294 User manual

ZENEC EGO - COMPATIBILITY VIDEO FILES Installation guide

ZENEC

ZENEC EGO - COMPATIBILITY VIDEO FILES Installation guide

ZENEC ZE-MC192 User manual

ZENEC

ZENEC ZE-MC192 User manual

ZENEC ZE-NC620D User manual

ZENEC

ZENEC ZE-NC620D User manual

ZENEC ZE-NC3811D User manual

ZENEC

ZENEC ZE-NC3811D User manual

ZENEC ZE-NC2010 User manual

ZENEC

ZENEC ZE-NC2010 User manual

ZENEC ZE-MC294 User manual

ZENEC

ZENEC ZE-MC294 User manual

ZENEC ZE-080DVD User manual

ZENEC

ZENEC ZE-080DVD User manual

Popular Car Receiver manuals by other brands

Alpine CDE-178BT owner's manual

Alpine

Alpine CDE-178BT owner's manual

Sony CDX-GT610U Service manual

Sony

Sony CDX-GT610U Service manual

Kenwood DDX6019 - DVD Player With LCD Monitor installation manual

Kenwood

Kenwood DDX6019 - DVD Player With LCD Monitor installation manual

Phonocar VM 020 instruction manual

Phonocar

Phonocar VM 020 instruction manual

JVC KD-R526 Installation & connection manual

JVC

JVC KD-R526 Installation & connection manual

ASA Electronics AquaTronics MS-407 owner's manual

ASA Electronics

ASA Electronics AquaTronics MS-407 owner's manual

Dual XDMA350 Installation & owner's manual

Dual

Dual XDMA350 Installation & owner's manual

Kenwood KDC-MP208 - Radio / CD Service manual

Kenwood

Kenwood KDC-MP208 - Radio / CD Service manual

Sony CDX-555RF Operating Instructions... operating instructions

Sony

Sony CDX-555RF Operating Instructions... operating instructions

Alpine PKG-RSE4AP owner's manual

Alpine

Alpine PKG-RSE4AP owner's manual

Xtrons D12 user manual

Xtrons

Xtrons D12 user manual

Sony CDX-GT35UW - Fm/am Compact Disc Player Installation/connections

Sony

Sony CDX-GT35UW - Fm/am Compact Disc Player Installation/connections

Pioneer DEH-X8500BT installation manual

Pioneer

Pioneer DEH-X8500BT installation manual

Beat BEAT390 instruction manual

Beat

Beat BEAT390 instruction manual

JVC KD-S6250 Service manual

JVC

JVC KD-S6250 Service manual

Multilaser WAVE user manual

Multilaser

Multilaser WAVE user manual

Hyundai CRM749SU instruction manual

Hyundai

Hyundai CRM749SU instruction manual

JVC KD-S685 Service manual

JVC

JVC KD-S685 Service manual

manuals.online logo
manuals.online logoBrands
  • About & Mission
  • Contact us
  • Privacy Policy
  • Terms and Conditions

Copyright 2025 Manuals.Online. All Rights Reserved.