04
Appendix C: Viavi 3920 Test Procedures
MAINTENANCE GUIDE | MT-4E ANALOG & P25 DIGITAL RADIO SYSTEMS
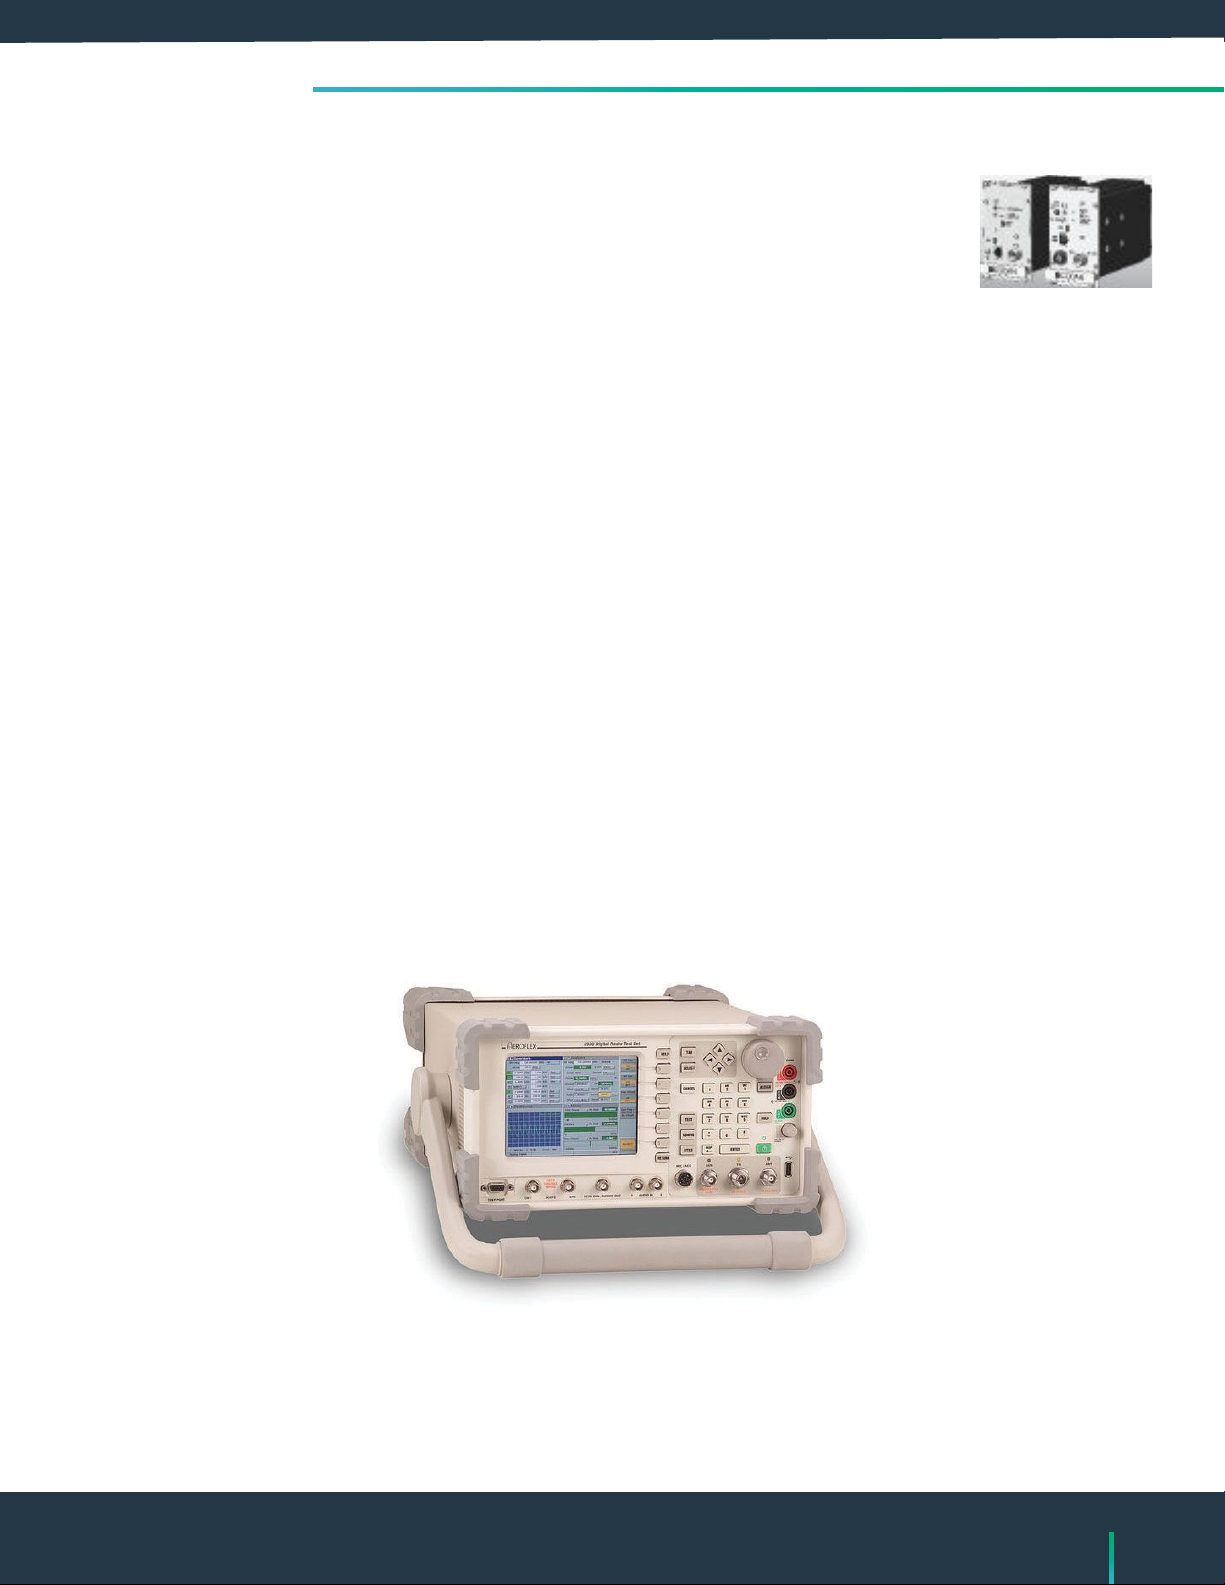
Turning OFF the MT-4E Receiver and Transmitter Modules
Turning the switch on the front panel of the MT-4E receiver or transmitter modules to the OFF position can cause
unwanted effects on other MT-4E receiver and transmitter modules.
When the MT-4E receiver and transmitter are connected directly together with the LVDS serial data RJ45 cable,
turning the MT-4E transmitter front panel switch to the OFF position will cause the MT-4E receiver module to turn
off. The MT-4E receiver modules A and D LEDs on the front panel will blink on and off when this occurs. Turning
the MT-4E receiver modules front panel switch to the OFF position will not cause any adverse effects on the
MT-4E transmitter. When turning the MT-4E receiver modules front panel switch from the OFF to NORM position
(or vice versa), it will cause the MT-4E transmitter to reboot. Remove the RJ45 cable to stop this interaction from
occurring. When connecting the LVDS serial data RJ45 cables to the CI-RC-4L repeater control card or CI-RC-
4M-G2 multiple link controller, the MT-4E receiver and transmitter modules are isolated from each other and the
modules can be turned on or off independently of each other.
When the MT-4E receiver and transmitter channel and bank select lines are connected together in parallel,
turning the MT-4E receiver or transmitter front panel switch to the OFF position will cause the channel and bank
select lines to be grounded. This will cause the other MT-4E module to operate on Bank B, Channel 1 regardless
of how the channel and bank select lines are set. If the bank select lines are not connected in parallel, only
the channel will be affected. The channel select lines are independent of the LVDS serial data RJ45 cables (the
cables will have no impact on the channel select).
When the MT-4E receiver and transmitter are connected to the antenna relay in the System Regulator module,
turning the MT-4E transmitter front panel switch to the OFF position will cause the MT-4E transmitter PTT OUT
line to be grounded, activating the antenna relay and causing it to be switched so that the transmitter is
connected to the antenna. This makes it impossible to test the MT-4E receiver through the antenna relay when
the MT-4E transmitter is turned off.
When performing maintenance on the Zetron MT-4E radio system it is best to simply remove the MT-4E receiver
or transmitter, that is not being tested, from the subrack and disconnect all RJ45 cables, rather than turning the
front panel switch to the OFF position. All Zetron modules are hot swappable. There is no need to disconnect
the power supply when inserting or removing the modules from the subrack.