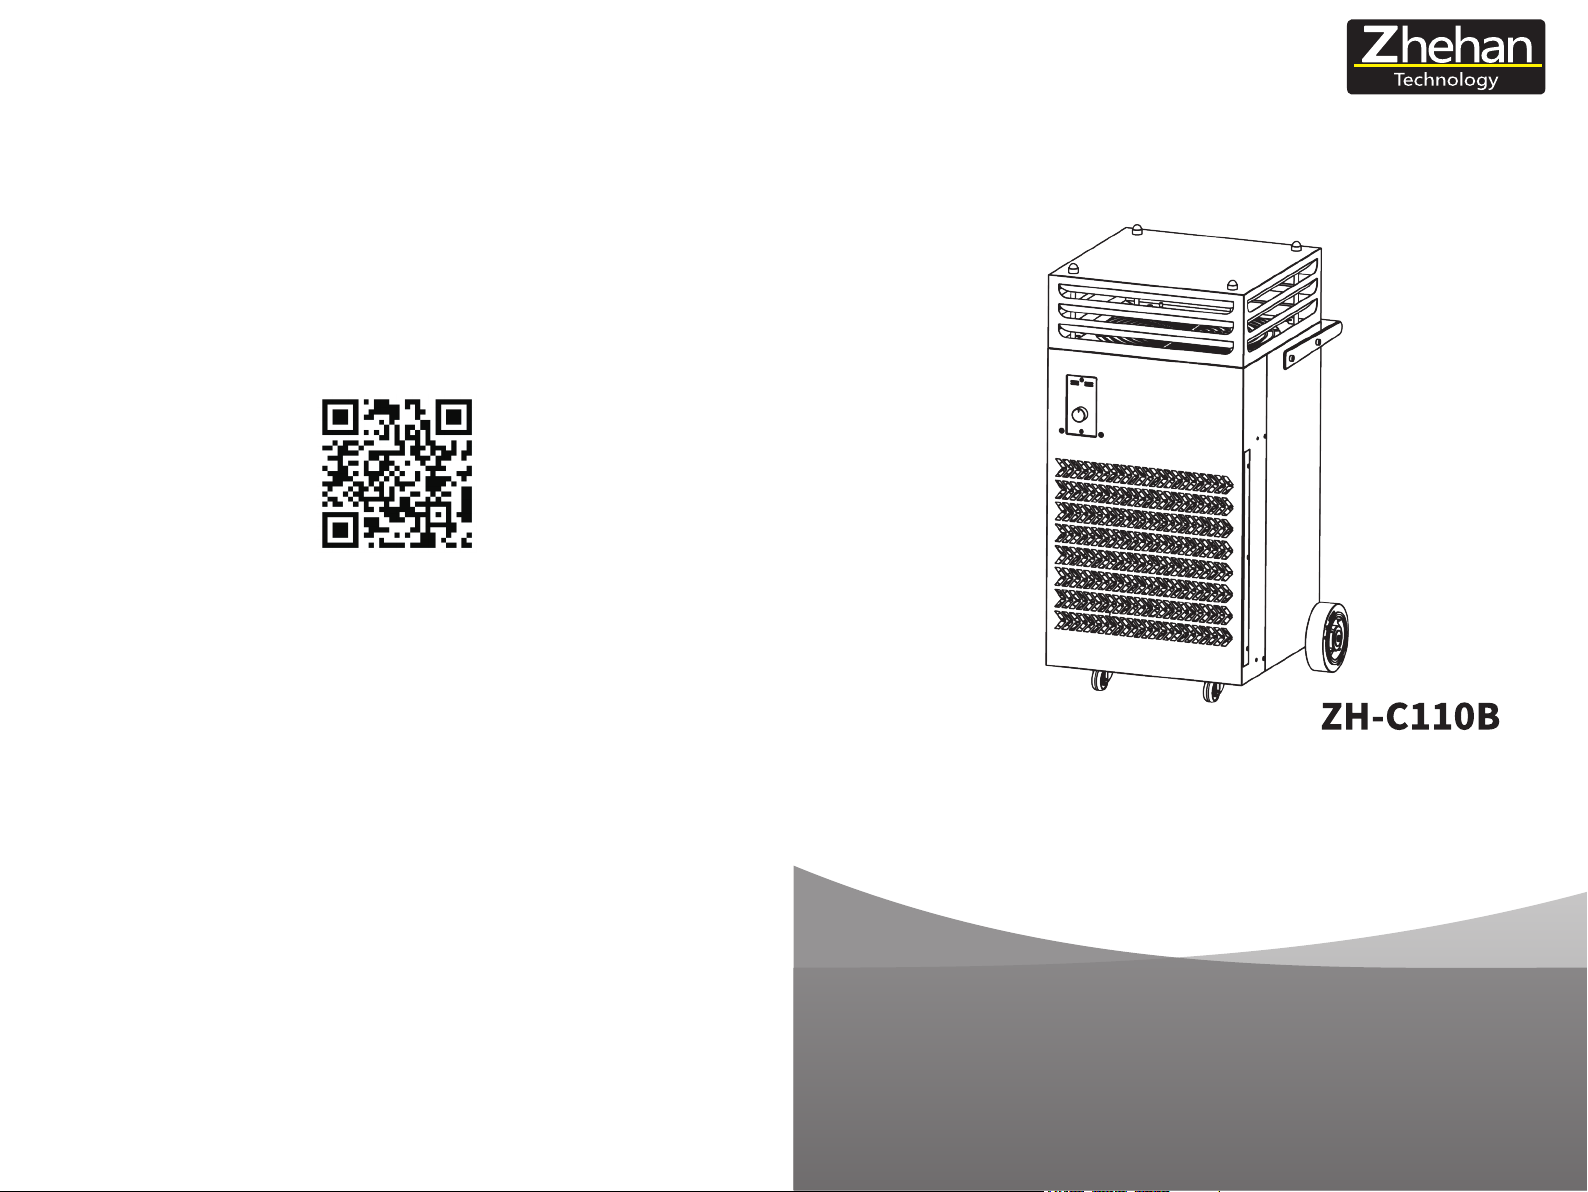
Zhehan Technology ZH-C110B User manual

Thank you and your family for choosing this dehumidifier as your professional dehumid-
ifier. This manual will explain to you the correct use and maintenance of this dehumidifi-
er. Please take a few minutes to read through this article to become familiar with the
operation and performance of this dehumidifier.
This dehumidifier will remove excess moisture from the air, creating a comfortable
environment for your home and various places. Its lightweight and convenient design
allows you to move it easily.
PLEASE KEEP THIS MANUAL IN A SAFE PLACE FOR REFERENCE
THANK YOU!
DEHUMIDIFIER
INSTRUCTION MANUAL
www.zhehanclub.com
Tel: 400-004-3019
Web: www.zjehanclub.com
Shanghai ZheHan Intelligent Technology Co., LTD

CATALOG
Specifications
Characteristic
Safety Warning
Product Icon
Instructions
Preparation
Maintenance & Repair
Dehumidifier Storage
Troubleshooting

CHARACTERISTIC
01 Powerful Dehumidification 02 Simple design
03 Air Purification Function
05 Easy To Maintain
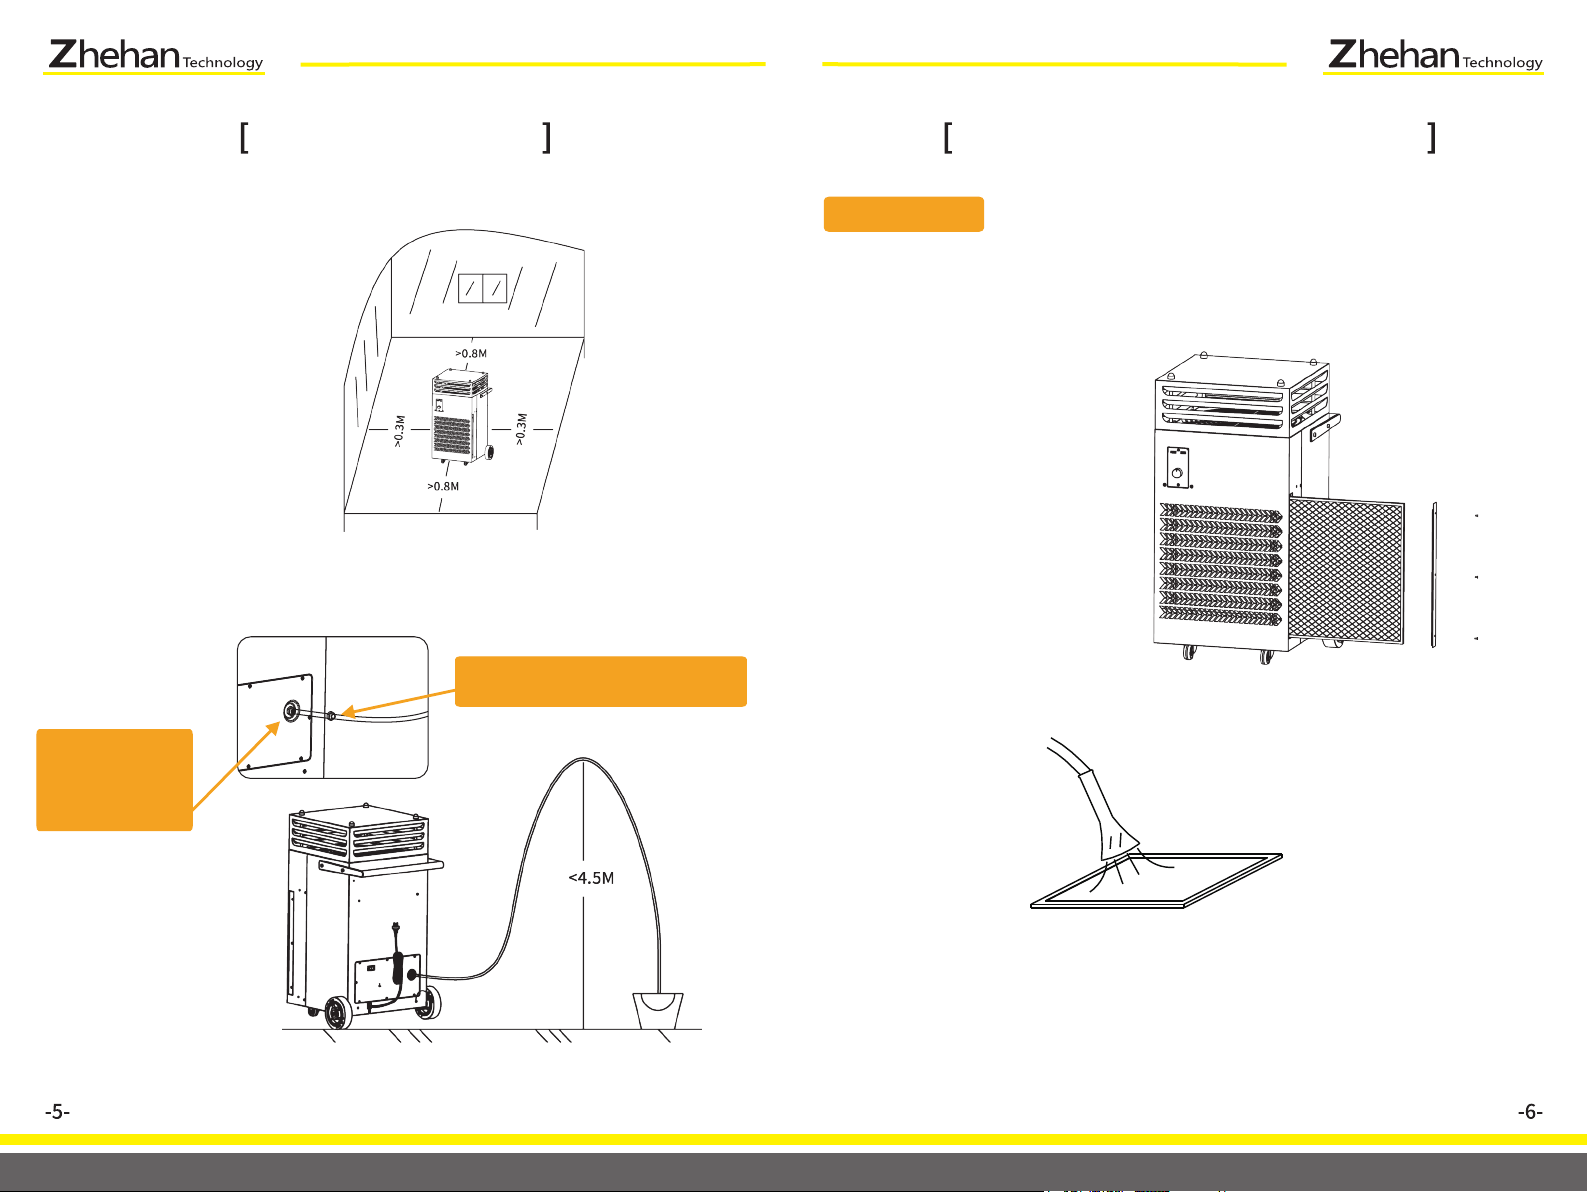
07 Fully Automatic Drainage
09 Easy To Move
11 Wind Flows From All Sides
10 Low Power Consumption
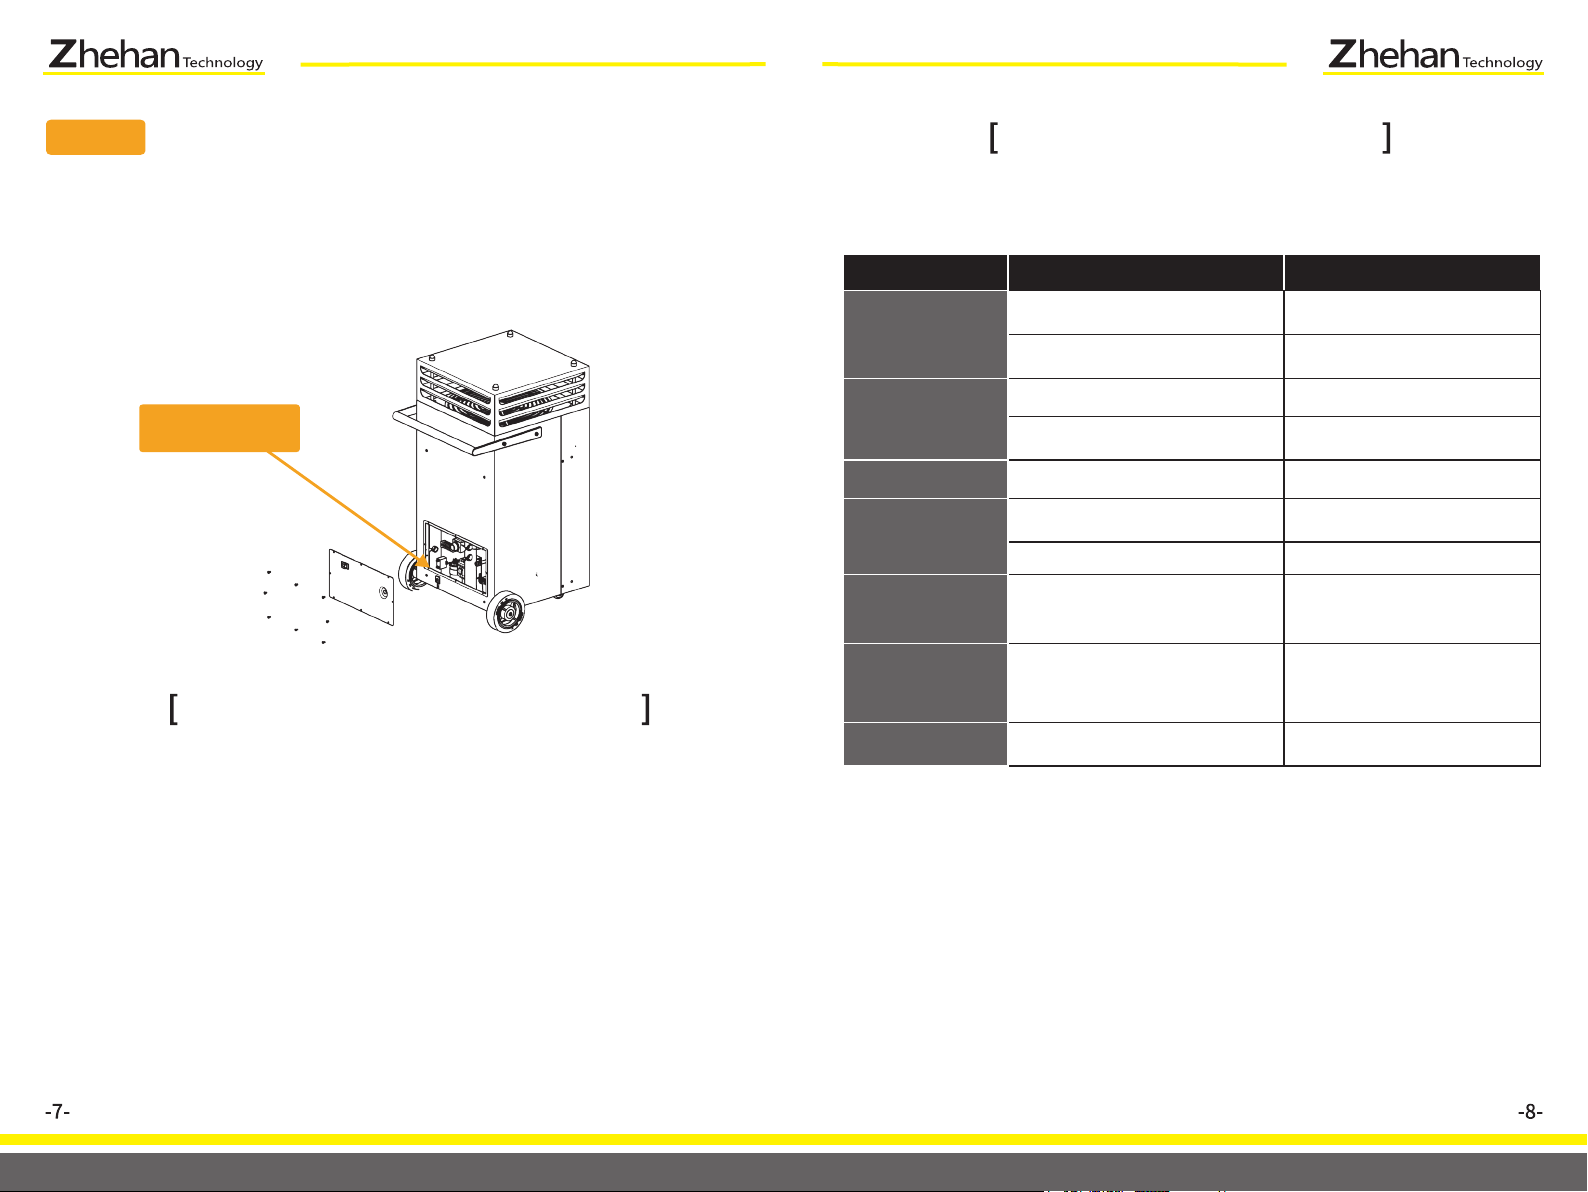
Fault Alarm And Shutdown
Protection
08
06 Automatic Defrost
04 Humidity Adjustable
Based on the principle of refrigeration
technology, this dehumidifier can
Remove the right amount of moisture
to keep the room dry and comfortable.
Can effectively solve air quality
problems.
Simple and smooth design, suitable
for all environment and place.
Different dehumidification levels can
be selected according to different
room needs.
Subtle design allows quickest and
easiest repairs.
Natural weathering frost, safer and
more efficient.
Built-in high-lift water pump, automatic
detection of water level and drainage. Automatic detection fault alarm
display, to solve your problems.
Equipped with 2-inch universal wheels,
move freely.
Let every corner of the space feel the
comfortable air. 11 Industrial Application
Built-in mechanical control mode,
durable and use in harsh working
conditions.
The machine has passed the EU
authoritative certification, and the
energy efficiency exceeds the
national level.
SPECIFICATIONS
Motor
Power
Drainage Method Fully automatic drainage
N.W. (KG)
Dimension (W x D X H)
Note: This dehumidification ability is obtained by testing at
room temperature of 27°C and relative humidity of 60%.
SAFE USE WARNING
When using this machine,
please pay attention to the following safety warnings.
• Unplug this dehumidifier before cleaning or storing it
• Do not immerse the machine in or near water
• Do not place the machine near heat generating devices or flammable
hazards
• Do not stuff your fingers or other objects into the air vents or air outlets
• Do not sit on this table
• Please drain as required
• Before moving the machine, please use the manual drain button to
drain the accumulated water in the consumption
• Make sure the drain hose is not broken so that condensate can drain
continuously
• If the power cord is damaged, please purchase a power cord of the
same specification for replacement
• Do not alter or modify your dehumidifier in any way, please contact
your authorized dealer for assistance
• Prevent electric shock hazard. Equipment must be grounded

OUTLET
CONNECTOR
POWER CABLE
UNIVERSAL
WHEEL
GRAVITY
WHEEL
PRODUCT ICON INSTRUCTIONS
FRONT
BACK
HUMIDITY
ADJUSTMENT
SWITCH
AIR INLET
AIR OUTLET
BACK PANEL
BACK PANEL
FILTER COVER
FRONT PANEL
FILTER
1. Humidity regulation
2. Automatic defrost
3. Recoverable overload protection switch
Adjust the indoor humidity by
setting the desired humidity
through the control panel of the
humidifier. The machine can also
be switched off via the control
panel.
When the room temperature is below 15°C, the heat exchanger freezes during the
dehumidification process. The device will then automatically defrost. The duration of
the defrost process depends on the room temperature. The lower the temperature, the
longer the thawing time.
Please check whether the overload switch is turned on when starting up, otherwise it
cannot be powered on. It is also protected when the current is too large, and it is turned
on after troubleshooting.

MAINTENANCE & REPAIR
PREPARATION
Wipe the machine panel with a soft, slightly damp cloth
1. Place the machine in the position shown in the figure below to fully
utilize the machine performance.
2. Take out the water outlet pipe well and connect it to the water outlet port
for connection, and place the water pipe at a height of not more than 4.5
meters. If the water outlet pipe is entangled or in a flat state, it will affect
the smoothness of the water outlet and even cause the machine to not
work properly.
3. Take out the power cord and insert the power cord plug into the power
socket safely and securely
Step 1: Unscrew the water connec-
tor and set it into the water pipe.
Step 2: Connect
the water pipe to
the faucet and
tighten the water
connector
MAINTENANCE
1. Machine surface cleaning
a. Take out the filter
1. Prepare a Phillips screwdriver
2. Unscrew 3 screws and take off
the filter cover
3. Pull out the filter
b. Clean the filter
Use a vacuum cleaner to gently absorb the dust on the surface of the
filter. If the filter is very dirty, use a brush to remove the surface dust.
c. Put the cleaned filter back into the air inlet panel.
2. Filter cleaning

REPAIR
ELECTRIC
CONTROL BOX
1. In the power-on state, press the drain button, wait for a while, and
press it again until the water is drained.
2. Roll up the power cord and water hose and secure them in place.
3. Clean the filter.
4. Place in a cool, dry, relatively dust-free environment. Do not place in
chemical environment.
a. Remove the 8 fixing screws of the electric control cover of the
machine, and use a wrench to unscrew the faucet fixing ring.
b. Open the electric control cover to repair the electrical part.
1. Electronic control maintenance
The following maintenance requires professional or qualified maintenance
personnel to perform maintenance
If the following conditions occur, please confirm the following conditions
before requesting customer service:
When you do not use this product for a long time and
plan to store or collect it, pay attention to the following steps:
DEHUMIDIFIER STORAGE
TROUBLESHOOTING
DESCRIPTION
Machine
Not Running
Does Not
Dehumidify
No Wind Enters
Loud Noise
When Running
Does Not
Turn On After
Humidity Setting
Defrost Time
Too Long
Water Leakage
Is the power cord properly
connected?
Is the room temperature above 5°C
or within 38°C?
Is the filter blocked?
Are the air inlets or
air outlets blocked?
Machine must operate at normal
operating temperature
Clean the filter
Is the filter blocked?
Is the machine placed at an angle?
Mechanical sensor failure or
disconnected wiring
The temperature switch is faulty
and the temperature is low
Clean the filter
Is the filter blocked? Clean the filter
Replace accessories or check
wiring and connect
First judge whether it is caused
by the ambient temperature for
too long or better to sense the
temperature switch
Discounted or clogged water pipes Check the connection and status
of water pipes
Move the machine to a flat,
sturdy location
Clear the blockage from the
air inlet or outlet
Connect the plug and socket
POTENTIAL CAUSE SOLUTION
Table of contents
Other Zhehan Technology Dehumidifier manuals