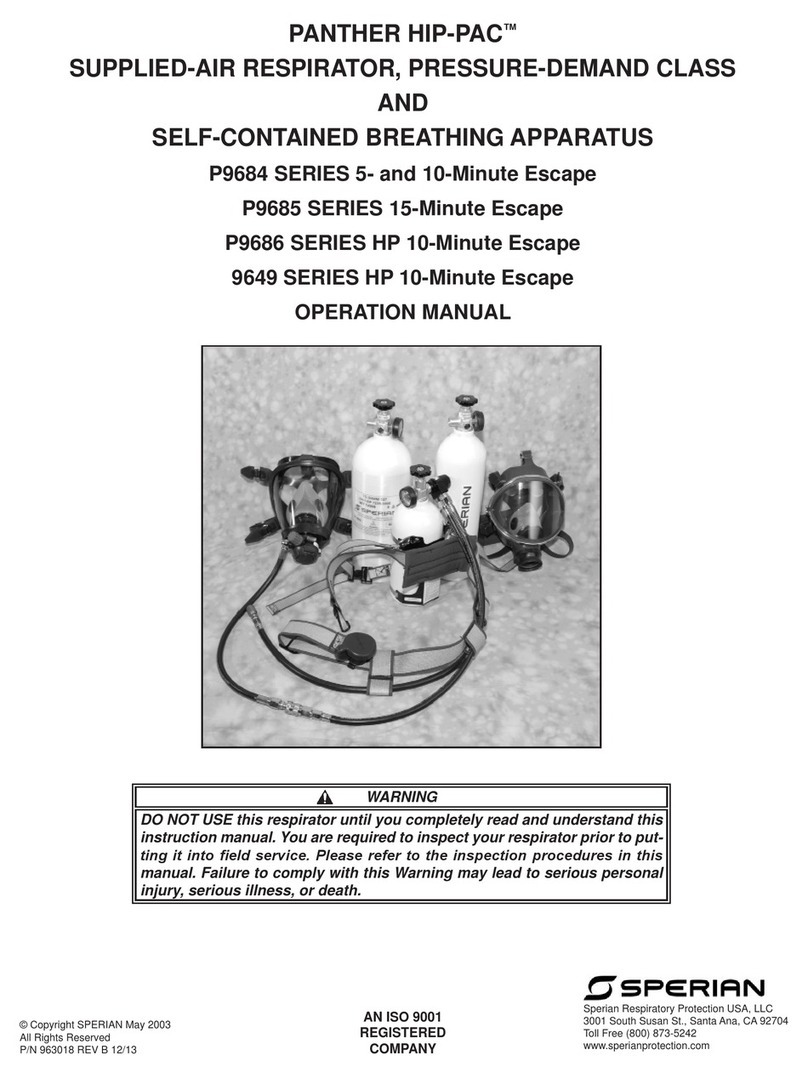
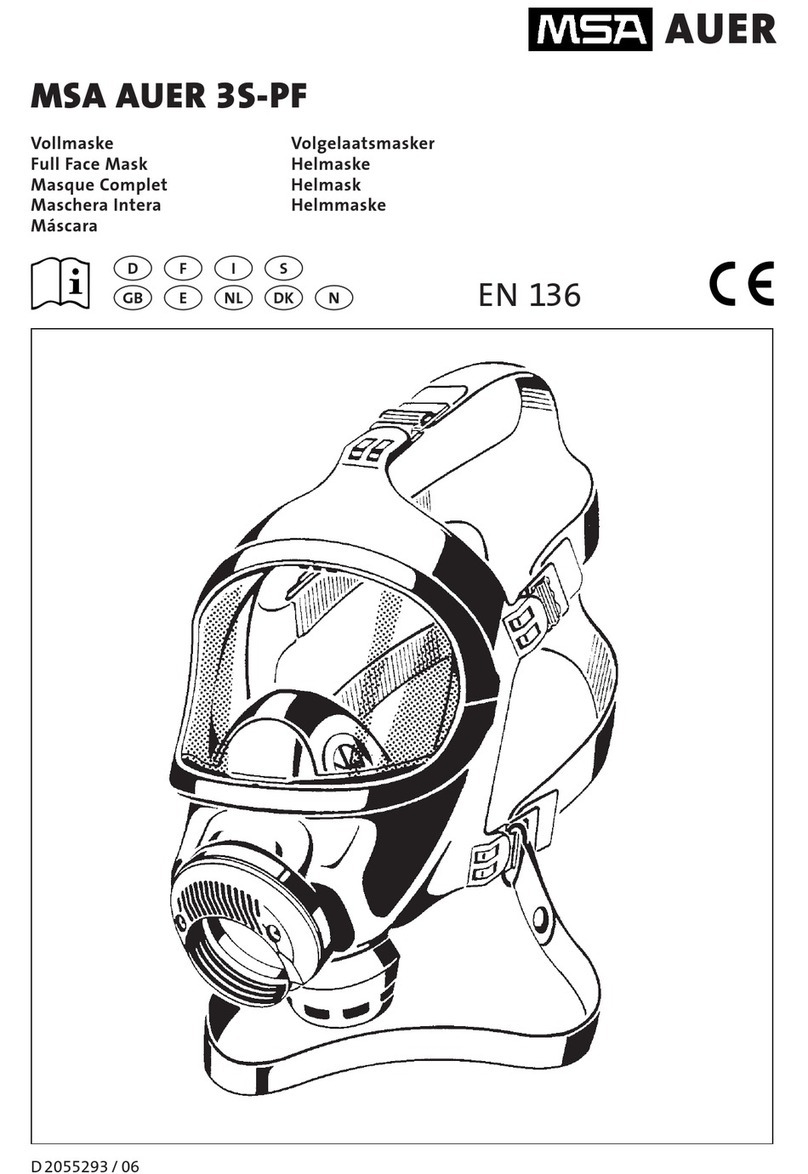
Zodiac Aerospace EROS MF40 User manual

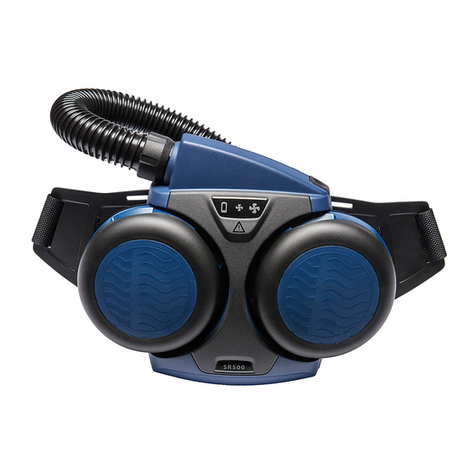
EROS©MF40 Crew Oxygen Mask without Stowage Strap
User Guide
Cup
4NUT0577 issue 3
Box

1.Insitu Testing
Press and hold the “PRESS TO TEST”
button on the regulator. While pressing
the buttons:
• The blinker must turn yellow,
indicating that oxygen is flowing.
• Check for oxygen noise in your
communication headset. It
indicates that the microphone is
operating correctly.
Before each flight, check that the system is operating properly.
Press the “PRESS TO TEST”
button on the regulator.
Oxygen flow must be heard.
1.1
1.2. Cup 1.2. Box
After the test, the
blinker must stay
black. If it stays yellow,
check for leakage in
the system.
4NUT0577 issue 3
Press and hold the
“PRESS TO TEST
AND RESET” button on
the stowage box.
After 1 second the
blinker must turn black. It
indicates that there is no
leakage in the system.
1.2. Cup with ON/OFF valve
• Slightly remove the mask from its
cup.
• While holding the mask, press the
“PRESS TO TEST” button on the
regulator. Oxygen flow must be
heard.
Push the mask
in its cup until it
clicks locked

2.Donning
Firmly grasp the
regulator by the
red tabs and pull
the mask out of
the box.
While swinging the mask forward,
inflate the harness by pressing and
holding down the two red tabs
Firmly grasp the regulator
by the red tabs and pull the
mask out of the cup.
Close the stowage box doors.
Release the red tabs to guide the mask onto
the face
2.2
2.3. Box
The “OXY ON” flag indicates
that the oxygen supply is on.
By turning yellow, the blinker
indicates that oxygen is flowing to
the mask.
CAUTION: After any use of
a mask, always restow it in
its stowage container in
100% mode (see Section 5)
even if it may be necessary
to use it again during the
same flight.
2.1. Cup 2.1. Box
By disappearing, the piston
indicates that oxygen is
flowing to the mask.
An oxygen flow indicator can
be found on the supply hose.
2.3. Cup
Put the mask on
the head
4NUT0577 issue 3

3.Regulator Function
100% Mode
The regulator is switched to different
modes using a rotating knob.
A double cross check allows the user’s
colleagues to know in which mode the
regulator is in.
• This mode is used during the stowage and the donning.
• It allows the user to breathe 100% oxygen.
• To activate the 100% mode, turn the rotating knob to the “100%”
position.
Normal Mode
• This mode must be used when pre-
breathing is performed or after emergency
descent, when diversion altitude is
reached.
• It allows the user to breathe a mixture of
ambient air and oxygen.
• To activate the Normal mode, turn the
rotating knob to the “N” position.
Emergency Mode
• In Emergency mode the regulator
supplies an oxygen overpressure.
• It prevents smoke and harmful gases from
entering into the mask, allowing the user
to breathe safely.
• To use the Emergency mode, turn the
rotating knob to the “EMGCY” position.
Double cross
check
4NUT0577 issue 3

4.Optional Features
The noise reduction function
suppresses breathing noise
during communication.
Noise Reduction Function
If the mask regulator is
equipped with this function,
an ON/OFF selector is
available either on the radio
cord
…or inside the stowage box.
Harness Comfort-Control Function
• To release tension of the harness, press the
harness comfort-control button to the first stop.
• To increase tension of the harness, press the
same button to the second stop, until it feels
comfortable.
To deactivate this function in case of emergency, press the red tabs and release
them immediately. The harness will apply full tension to the user’s head.
O2SaverTM
When the regulator is in Normal mode, the
“O2SaverTM” mode can be activated by pushing
the “O2SaverTM” button.
In doing so, the oxygen supply stops and only
ambient air is breathed, hence oxygen is saved.
• This function is automatically disabled if the regulator mode is changed or in
event of depressurization .
• It also may be manually deactivated by pulling the O2SaverTM button.
Ambiant
air
O2
supply
WARNING:
4NUT0577 issue 3

5.Packing (1/8)
5.1. Set the regulator in 100% mode by centering
the unique command knob. Make sure the two
arrows are aligned.
5.2. Open the stowage box doors & coil the oxygen-
supply hose in “figure eight” and position it into the bottom
of the stowage box.
Gently press the coiled hose down taking care not to
tangle the stack.
WARNING: Failure to follow the correct packing procedure may prevent repeatable mask
deployment performance.
4NUT0577 issue 3

5.Packing (2/8)
5.3. Hold the mask by the regulator (do not press
the red tabs). 5.4. While holding the mask, position the harness
lower spacer against the upper part of the face
piece.
WARNING: Failure to follow the correct packing procedure may prevent repeatable mask
deployment performance.
4NUT0577 issue 3
Harness lower
spacer

5.Packing (3/8)
5.8. Continue to insert the mask regulator assembly
into the stowage box while maintaining the centered
position of the supply hose. Avoid rubbing lens
against the box.
5.7. First position the harness inside the box.
Continue with the mask regulator assembly.
Keep the lower spacer of the harness against the
upper part of the face piece when inserting the mask
inside the box.
Position the supply hose down the center of the mask
to ensure proper alignment when doors are closed.
WARNING: Failure to follow the correct packing procedure may prevent repeatable mask
deployment performance.
4NUT0577 issue 3

5.Packing (4/8)
5.9. Ensure the mask regulator is fully seated
against the box locking mechanism in the
stowage box.
Make sure that the mask stowage locking tabs
are fully engaged in the box mechanism until
tabs « click » into place.
Mask stowage locking tabs
WARNING: Failure to follow the correct packing procedure may prevent repeatable mask
deployment performance.
4NUT0577 issue 3
5.10. To reset the system fully
press then release the “PRESS
TO TEST AND RESET” button on
the stowage box.

5.Packing (5/8)
5.11. Ensure the “OXY ON”
flag disappears when the
“PRESS TO TEST AND
RESET” button is released.
5.12. Finally press then release the
“PRESS TO TEST” button on the
regulator.
NOTE: This step will help release
any residual pressure within the
mask supply hose.
4NUT0577 issue 3
Table of contents
