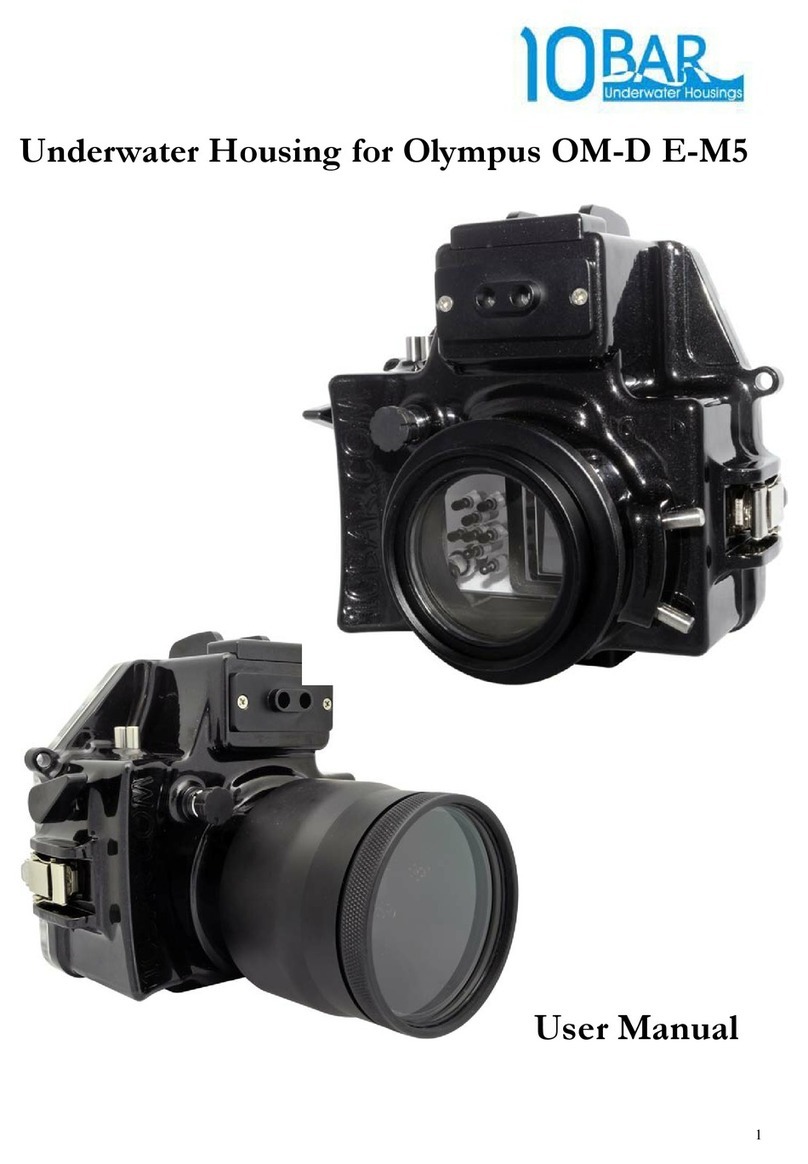
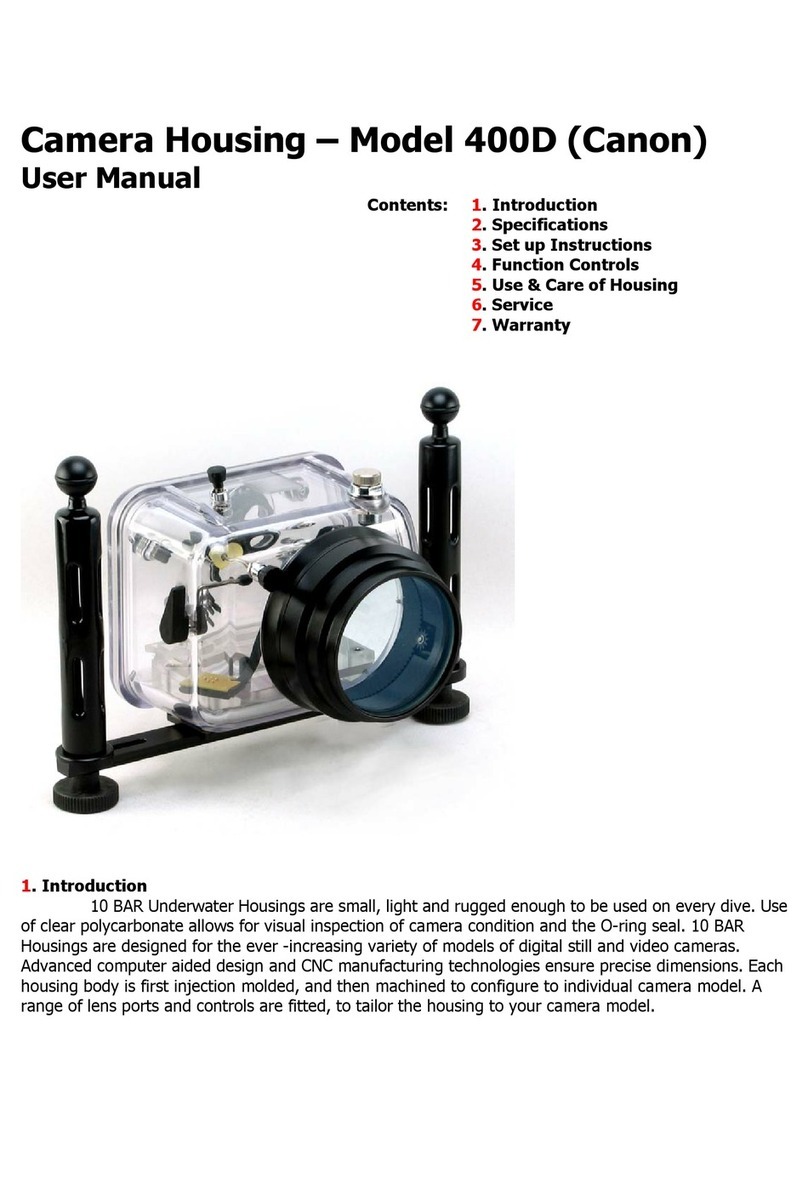
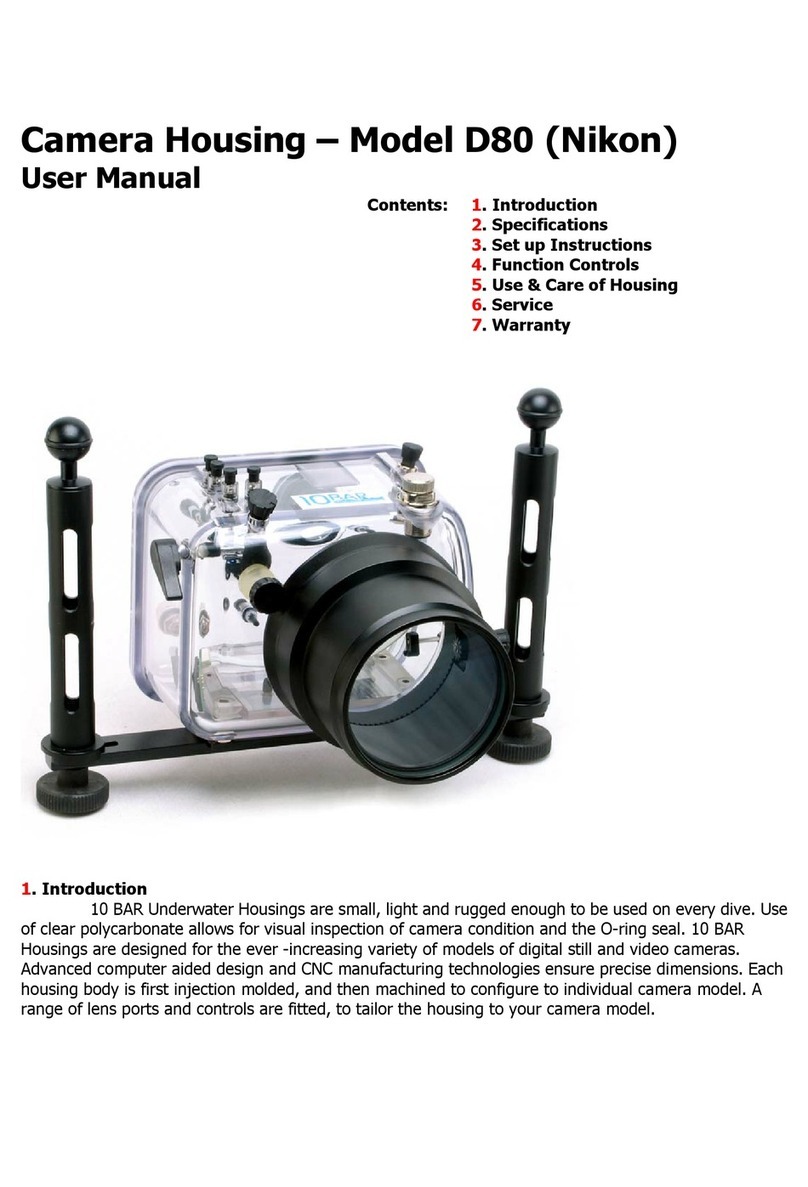
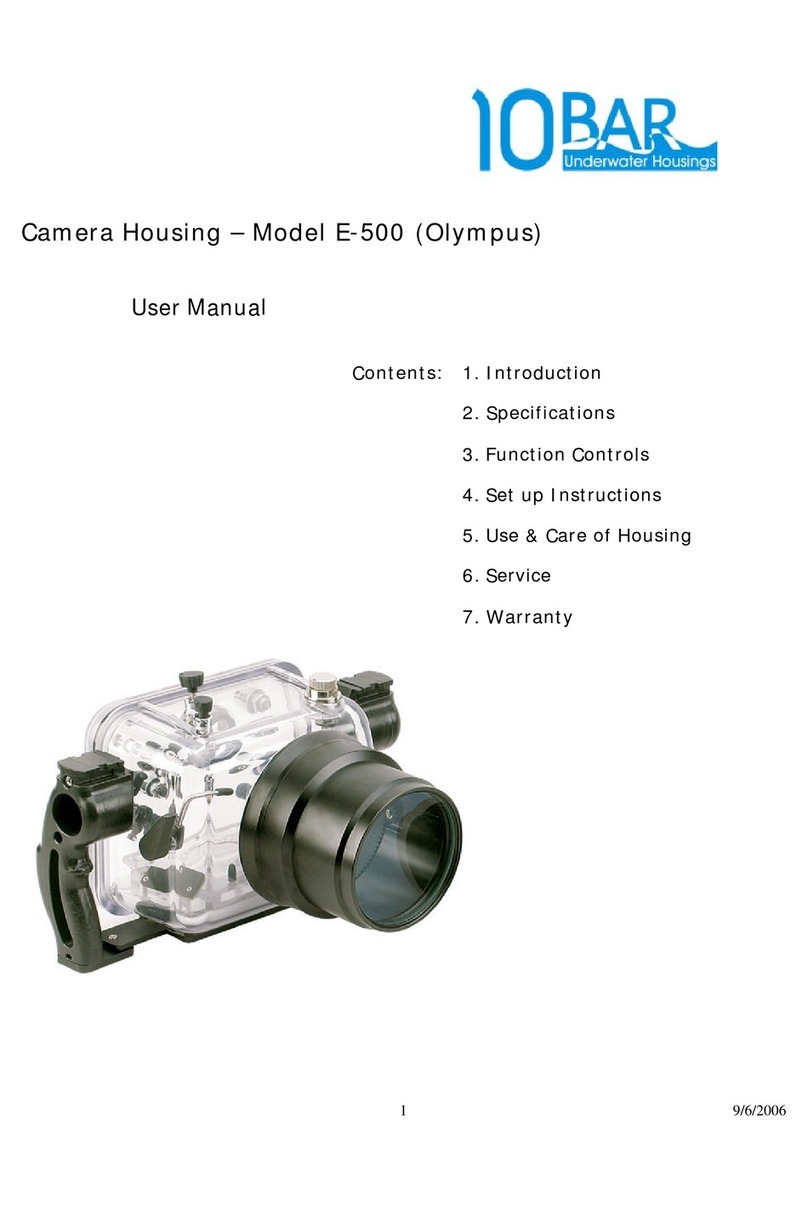
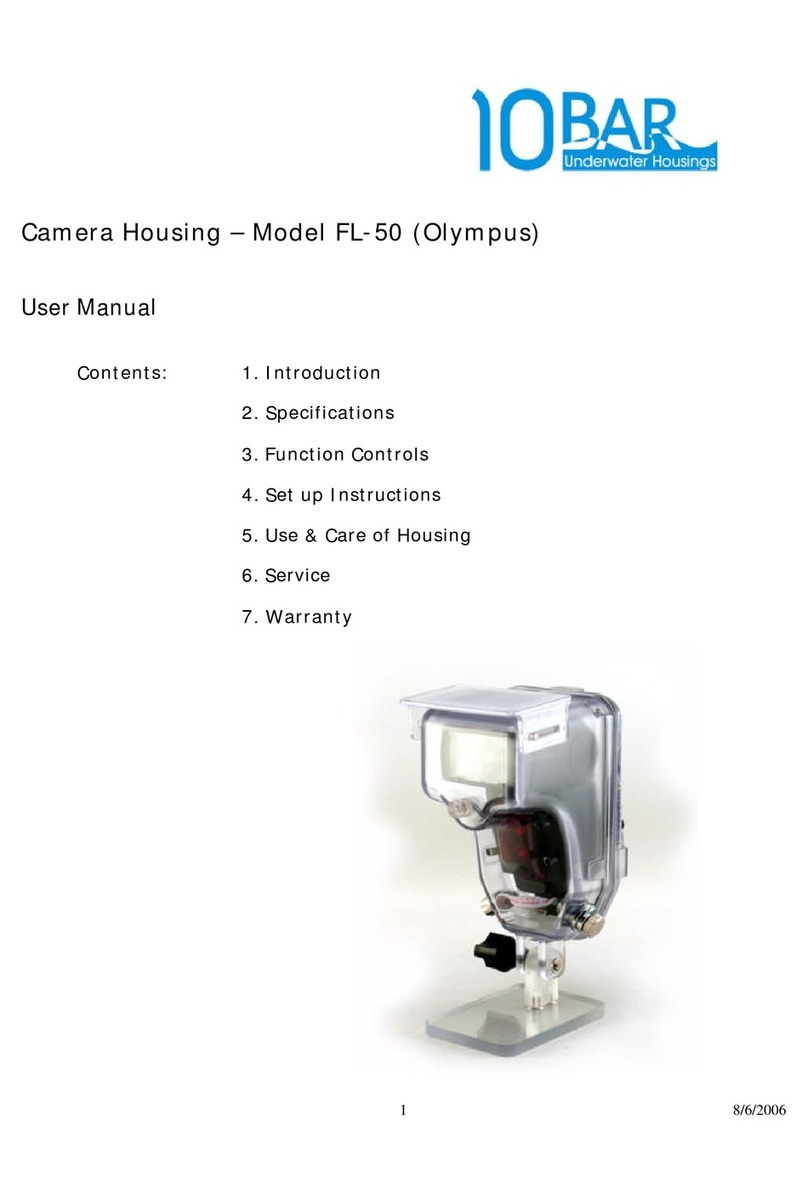
10Bar 10BAR 450D User manual

CameraHousing Model450D(Canon)
User Manual
Contents:
1. Introduction
2. Specifications
3. FunctionControls
4. SetupInstructions
5. Use&CareofHousing
6. Service
7.Warranty
1. Introduction
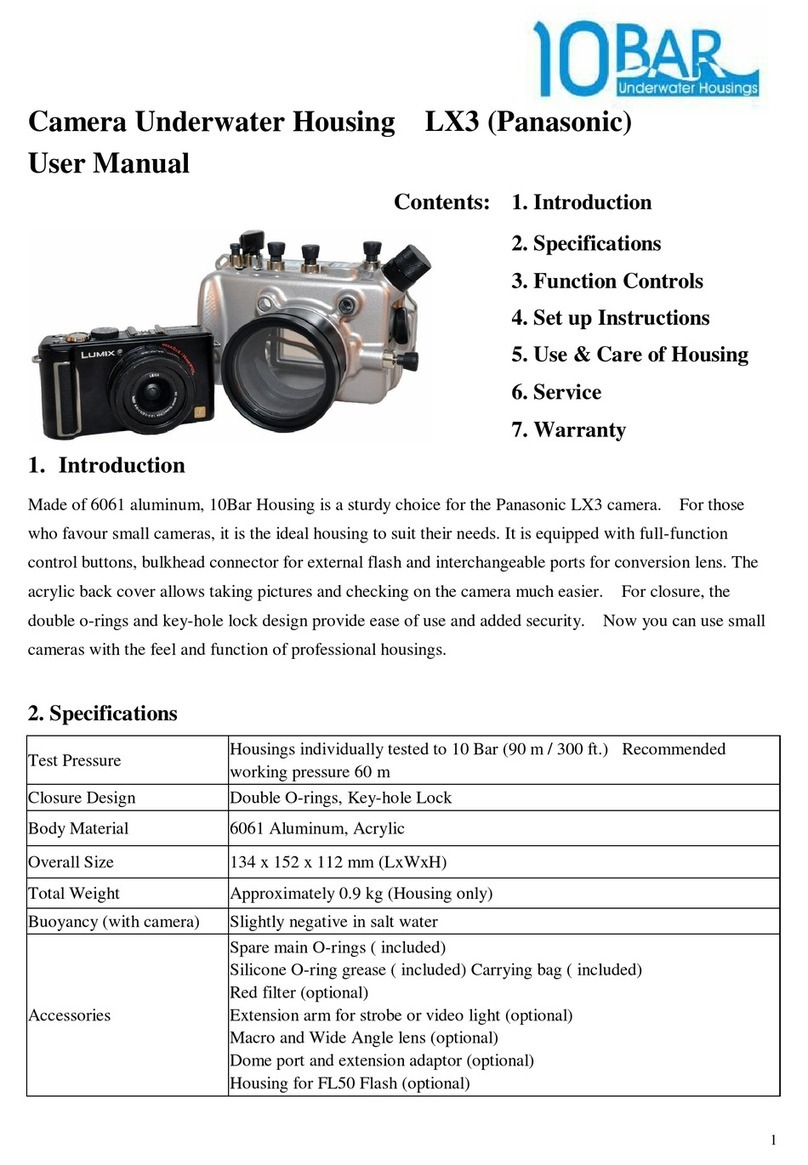
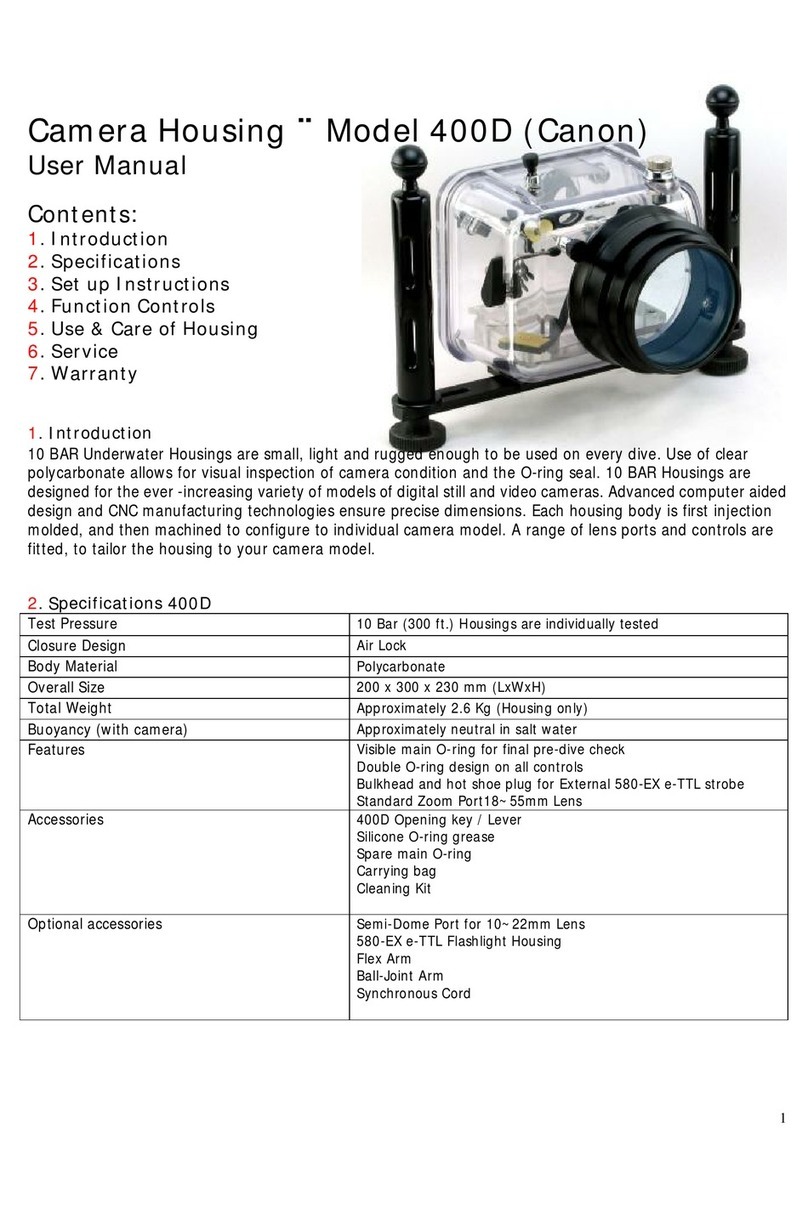
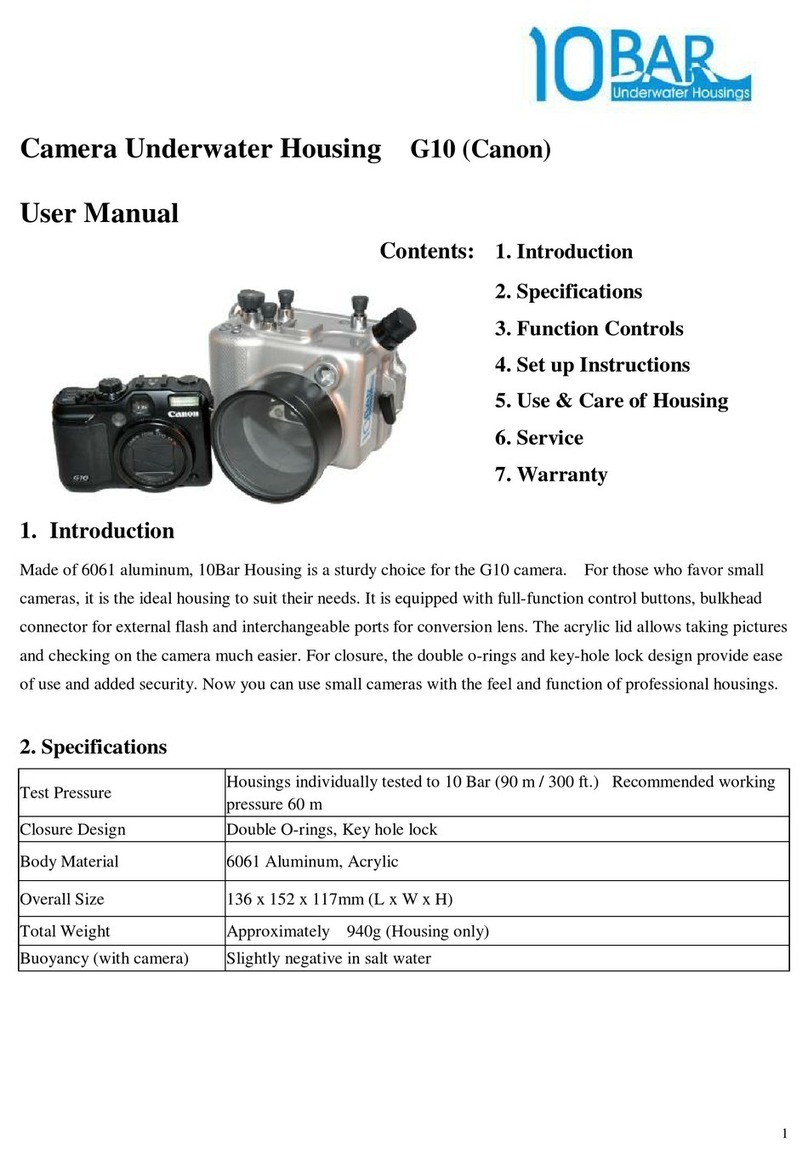
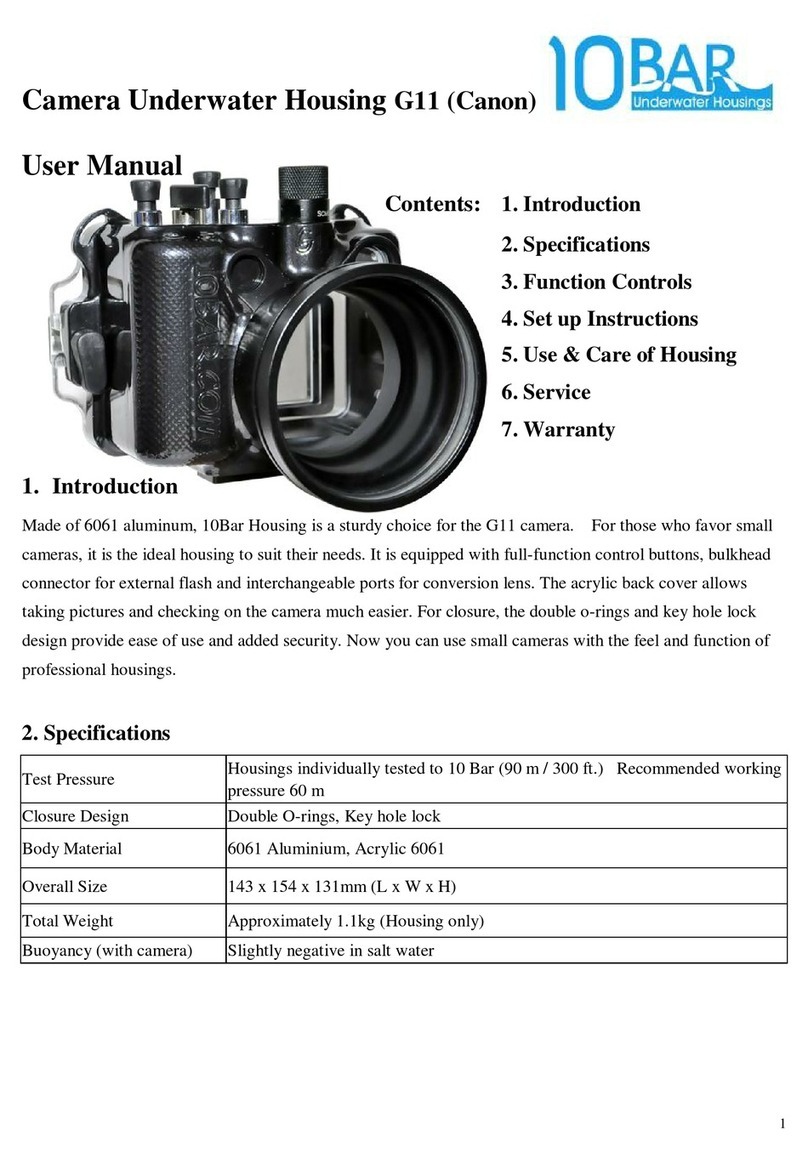
10BARUnderwaterHousingsaresmall,lightandruggedenoughtobeusedoneverydive.Useofa
clearpolycarbonateallowsforvisualinspectionofcameraconditionandtheO-ringseal.10BAR
Housingsaredesignedfortheever-increasing varietyofmodelsofdigitalstillandvideocameras.
AdvancedcomputeraideddesignandCNCmanufacturingtechnologiesensureprecisedimensions.Each
housingbodyisfirstinjectionmolded,andthenmachinedtoconfiguretoindividualcameramodel.A
rangeoflensportsandcontrolsarefitted, totailorthehousingtoyourcameramodel.

2
2. Specifications450D
TestPressureHousingsareindividuallytestedto10 Bar(90 m/300 ft.)Recommended
workingpressure60 m.
ClosureDesignO-ring,AirLock
BodyMaterialPolycarbonate
OverallSize 200 x 300 x 230 mm (LxWxH)
TotalWeightApproximately2.6 Kg(Housingonly)
Buoyancy(withcamera) Approximatelyneutralinsalt water
Features
Visible mainO-ring for finalpre-dive check
Double O-ring designonallcontrols
Bulkheadandhot shoeplugforExternal580-EXe-TTLstrobe
StandardZoomPort18~55mmLens
Accessories
450DOpening key/Lever
SiliconeO-ring grease
Spare mainO-ring
Carrying bag
Cleaning Kit
Optionalaccessories
Semi-DomePortfor10~22mmLens
580-EXe-TTLFlashlightHousing
FlexArm
Ball-JointArm
SynchronousCord
3. FunctionControls450D
1. ISOspeedset
2. ModeDial/Power switch
3. Flashlightsynbulkhead
4.Shutter
5. MainDial
6. Zoom
7. Pressure releaseplug
8. Menu/DISP.
9. (AE/FELock/Index/Reduce)/
(AFpointselection/Magnify)
10. Aperture /Exposure compensation
11. Print/Share/Whitebalanceselsction
12. Crosskeys-(Meteringmode)/
(PictureStyleselection)/
(DriveModeselection)/
(AFmodeselection)
13.Setting
14. Playback
15.Erase

3
4. SetupInstructions
4.1AirLock:
ThebodyandlidaredesignedwiththeAirLocksystem no clip”closurearrangement.Testinghasshownthatthis
arrangementallowthewatertoexertanevenpressureontheO-ring, increasing thereliabilityofthewatertightseal.
4.2Pressurereleaseplug
Toopenthehousing,thepressurereleaseplugmustbefirst
unscrewedandthenpulledoutall theway(Counter-clockwise)
(Fig1).Thisprovidesapassagefortheairtopass though
andeliminatethepressuredifferentbetweentheinsideofthe
housingandtheambient.Theplugonsistsofaninternal
doubleO-ringsealonthestainless steelslideshaft.
TheseinternalO-ringsformthewatertightseal.Thereisalsoa
largeouterO-ring undertheknob. ThisO-ringservesto
preventcontaminationoftheslideshaft, with dirt, salt etc., and
isnotrequiredforwatertightintegrity.If thisO-ring should
becomedetached, itcansimplybepushedbackinplace.
4.3Openinglevers
Afterunscrewingandpullingoutthepressurereleaseplug, thelidcanbeopened. Toovercomethefriction ofopening,
uselever(Fig. 2)topushagainstthelidwithacamaction. Besuretheyareinsertedall thewayflattothehousingbefore
turningtoavoiddamagingtheprotrusionsonthelid. Thebody hasfourholeson eachcorneredgesforopening. Gently
leveroff thelidwiththesuppliedopeninglever(Fig. 3)takingcarenottotwistthelidexcessively.Thelidshouldbe
openedkeepingit approximatelyparalleledtothebodyatall times, turnfirstonecorneralittle, thentheotheralittle,
and repeatagainuntil thelidisopened. Remembertounscrewandpull outthepressurereleaseplugall thewayfirst,
otherwisetheairpressurewill resistattemptsatopening.Laythelidonaflatstablesurface afteropening.

4
4.4Specialnoteonresponsibilityforwatertightintegrity:
Eachhousingisindividuallyinspectedandhydrostatically testedinthefactory. ThedesignofthemainpistonO-ringseal
isamongthemostreliableintheindustryand thewatertightintegrityisexcellent.ThisspecialO-ring designprovidesa
perfectsealevenifthereisanymovementbetweenthebodyandlidduetochangeofambientpressure.Howeverplease
notethatresponsibilityforensuringtheintegrityofthewatertightsealliesentirelywiththeuser.10 BARacceptsno
liabilityfordamageto,orloss ofanyequipmentusedwith,orplacedinsidethehousing.Usersarehighly
recommendedtocarryoutin-watertestofthehousingswithoutinstallingofthecamerafortheirfirstdiveafterchange
ofnewportsoralternationofanynewconfiguration.Thetestcanbecarriedoutby loweringthehousingwithballast
totheworkingdepthordivedowntothesafediving range.
TheO-ringsealistheonlybarrierbetweenthewateroutsideandtheairspace withinthecamera.
Itisaneffectivebarrieronlyifthesealisproperlymaintained.TheO-ringsealshouldbeinspected
beforeeverydive.Thefollowinginformationisprovidedforyourguidance inusingand
maintainingtheO-ringseal.
4.5MaintainingtheO-ringSeal:
If themainbodytolidO-ringisnotinstalled,install theO-ring beforediving.ThisistheonlyuserserviceableO-ring.
Itscareandmaintenance iscriticaltothewatertightintegrityofthehousing.TheO-ringshould bereplacedattheservice
interval(see sectiononservice).IftheO-ringiscontaminated,ornotalready installed,inspectgreaseandinstallthe
O-ring accordingtothefollowing guidelines.
4.6Inspection,cleaningand re-instillationoftheO-ring:
Tools:
Asoftcottonbud orspongeapplicator,makesurethesearefree ofall chemicalsorcontamination suchasloosefibers,
and thetubeofsiliconegreasesuppliedwiththehousingarerequired.Noteothertypesofsiliconegreasespecificallyfor
usewithunderwatercameraequipmentcanusuallyalsobeused.Itisadvisedtocarryoutthefollowingprocedureona
firmcleanlevelsurface, (e.g. atatable), topreventskiddingespeciallyusefultohavewhendivingfromaboat.
WhentomaintaintheO-ringseal:
RemovetheO-ring periodicallyforinspection.Itisnotnecessarytoremove,cleanandre-install theO-ring afterevery
diveprovidedtheO-ring didnotbecomecontaminated.Asaruleofthumbsetupthecameraand housingbeforeaday’s
diving.If thehousing isrequiredtobeopenedbetweendivesforchangingmemorycardorre-chargingbatteries,make
suretheoutsideofthehousingisthoroughlytoweleddrybeforeopeningup.Afterremovingthelidandservicingthe
camera,replacethelidstraightaway,ratherthanleavingitlyingaround.Beforereplacingthelid,makesurethatno

5
contaminationsuchasdust,hair,salt,sand etc.hasfallenontotheO-ring orO-ring recess,asaprecautionwe
recommendtoinspecttheO-ring everytimethelidisopenedandtocarryoutthemaintenance ifnecessary.
Procedure:
Place thelidonafirmnon-sliplevelsurface.
TheO-ring canbeextractedusinganO-ringextractortool(makesurethetoolasnosharpedges).Alternativelyuse
theflatsofthethumbstogentlystretchtheO-ringontwofaces(Fig.4)thusmakingasmall loopprotrudingafewmm.
Theloopcanthenbegraspedbetweenfingerandthumb, topull theO-ringoverthelip.
CleantheO-ringrecess (thesquaregroovewheretheO-ringsits)withacottonbud.
InspecttheO-ringall thewayrounditssurface fordamagesuchascutstearsorcontamination.Thisshouldbedone
visuallyandalsobyfeelingthesurfacetexturebetweenfingerandthumb.
IFTHEO-RINGISDAMAGEDORSUSPECTEDOFBEINGDAMAGED,DISCARD IT
IMMEDIATELY. AspareO-ring issuppliedwithyourhousing,orareplacementO-ring canbeobtainedfrom10
BAR.IftheO-ringiscontaminatedorsuspectedofbeingcontaminated,cleanit withacottoncloththatisfreeofall
chemicalsorcontamination.AftercleaninginspecttheO-ring again.
OncetheO-ringhasbeeninspectedand verifiedfit foruse, applya SMALLamountofsiliconegreaseto theO-ring.
Thesiliconegreasemustbeevenlydistributedround theO-ring
Replace theO-ringintothegroove;runafingerroundtheO-ring, tomakesureit issnuglyseatedinthegroove.

6
4.7Mountingtheflashlightinthehousing
Removethelenscapandwriststrap.Thepressurereleaseplugshouldbepulledoutbeforeinsertingthecamera.Attach
theplasticslidetraytothecamera¡stripodmountingfixturewithacoin,screwdriverortheendoftheuniversaltool
supplied(Fig.5). Takecarenottoexcessivelytightenthescrew.Slidethecameraintothebodyalongtheguiderail (Fig.
6).Makesurethecamerabodyreachthelimit andtestthefunctionoftheon/ofbuttononthebodyofthehousing. Slide
thehotshoeplugintothehotshoe(Fig.7)Note:Ifyou findthatthebuttonsdonotalignproperlywiththecontrols,
pleasecheckagainthatthecameraisproperlyseatedtothelimit oftheguiderail.
Replace thelid(Fig. 8).Remembertoensurethepressurereleaseplugispulledall thewayoutwhileclosing, otherwise
theaircannotescape.Squeezethelidclosedall thewaywiththehissingofexpelledair.Screwhome(CLOCKWISE)
thepressurereleaseplug(Fig.9).Thereisnoneedtoexcessivelytightenthisplug.ThesealismadebyinternalO-rings.
TheO-ringontheundersideoftheplugisjusttokeepoutdirt.
Afterreplacingthelid,makeafinalvisualinspectionofthemainO-ring forcontamination(Fig. 10).
Note:IftheO-ringisingoodcontact,athinblackline,
about0.5-1mm inwidthshouldbevisible,wherethe
O-ringisincontactwiththelid.Followthislineallthe
way round theedgeoftheseal,asafinalcheckthatthe
sealisgood. Thehousingis nowreadyforthedive.
Important !!!Before diving, makesurethepressure
releaseplugispushedbackinsideandthenscrewed
home, donotovertightenthis plug(fingertightonly).

7
5.Use&CareofHousing:
5.1PreDiveFunctionCheck.
Justbeforeenteringthewater,makeahabitofreviewingthepropersteps toclosethehousingand
connectthebulkhead. MakeavisualcheckoftheO-ringseal. Itisalsousefultoswitchonthecamera,
andcheckthatcontrolse.g.on/off, zoom, shutterfunctionsoperatenormally.
lCheckhousing isclosed
lCheckO-ringisinthegroovebetweenhousingand Acrylic
lCheckbatteryandmemorycardstatus ontheLCDdisplay
lCheckcontrolknobandzoomfunction
lChecktheBulkheadisproperlyconnectedorblanked.
Alwaysavoidsubmergingthehousinginhotwaterforaprolongedtimeoracleansingtankwhere
thewatermay beheatedup bythesun.
5.2GeneralOperation.
ThecontrolleversandpushbuttonsconsistofinternaldoubleO-ringsealsona stainless steelshaft. This
arrangementisveryreliable,howeverasaprecaution, when operatingthecontrols, avoidexcessivelyrapid
movements, asthismaydistorttheO-ring. Alsopleaseallowforthefactthatthecameratakesafew
secondstopoweron.Ifthecameradoesnotappeartorespondtoacontrolaction,makesurethatnoother
controlsarepressing onthecamera, i.e.lockingoutfurtheractions.
Wearthewriststrap;itiseasytoinadvertentlyletgo ofthehousing, especiallyifyouaredistracted.
5.3Cleaning&Storage.
Thebody&lidofthehousingaremadeof6061 AluminumandAcrylicrespectively. 6061 Aluminumis
selectedforitsoutstandingstrengthstiffness, hardness andtoughness, WhileAcrylicforitscrystalclear
transparencyandhighglosssurface. Bothofthemhavegoodresistance toweathering, although
long-termexposuretosunlightshouldbeavoided. Normaloperatingtemperaturerangeis3°Cto36°C
(Storagetemperature:-10°Cto50°C)
Itisgoodpractice torinseoffyourhousing withfreshwateraftereverydive.Avoidtoexposuretofine
sand.Afteraseriesof10 ormoredives,e.g.afteradiveholiday,itisrecommendedtoimmersethe
housingfor2-3hoursinwarmwatertodissolveanysaltdepositsthatmayhavebuiltup.Nochemical
cleanersshouldbeused.
Important!!!Forlongtermstoragepleaseremovethemainclosureo-ringsfrombody.

8
5.4Transportation.
Pleaseprotectthehousingduringtransportation.Itisrecommendedtoremovethehandle,andshutter
extension, andwrapthecamerainfoamorbubblewrap.
5.5Accidents.
Theimpactresistance ofthehousing isexcellent.Howeverafteranaccidentthealignmentofthehousing
mayhavebeenaltered.Thereforeintheeventofyourhousingsufferinganimpactforce,e.g.being
dropped,itisessentialthatyoudonotusethehousingfordiving.Pleasereturnthehousingimmediately
forservice andputanoteinsidetoindicatethenatureoftheaccident, sothattheseveritycanbeassessed.
6. Service
Toensurethecontinuedperformance ofyourhousing,itshouldbeservicedeveryyear,orafterevery200
diveswhicheverisearlier. Pleasenotethetermsforservicingthehousing postedatourwebsite. Afull
servicewillinclude:
lInspectall componentsforwearsordamage(reportifrepair necessary),
lCleanall sealing surfaces,
lReplace all O-ringseals,
lHydrostaticpressuretestto10 Bar.
Note:Replacementofdamagedcomponentsmay requireadditionalcost.
7.Warranty
Thewarrantyisvalidwithintwoyearsfromthedateoffirstpurchase.Thewarrantyappliesonly
tothehousingitself. 10BAR doesnotacceptanyliabilityeither implicitorotherwisefor
anyequipment housedinside, orusedtogether withthehousing. Intheeventofthe
housingflooding withintheperiodofwarranty,10BARwill repairorreplace thehousing.Please
notethatdisassemblyofthehousingwillinvalidatewarranty.Pleasefill inthe informationbelow,
and returnacopyto10BarUnderwaterHousingattheaddressbelow, tovalidatethewarranty.

9
(Copytoberetainedbyuser)
HousingType DateofPurchase
SerialNumber:
(Labelled inside
housing)
Dealer:
Owner’sName: E-mail:
Owner’s
Address: Tel:
Fax:
Office &Showroom:
UnitC,2/F., WingHinFactoryBuilding, 31-33 NgFongSt.,
SanPoKong, HongKong.
Tel:(852)2573 3228Fax:(852)28119180.
Email: service@10bar.com Website: http://www.10bar.com
Pleasekeepthis document forfuture reference
(Note:duetocontinuousimprovementthelatestmodelhousingmaydifferslightlyformthosedescribedinthis
document)
(Copytobereturnedto10BarUnderwater Housings)
Table of contents
Other 10Bar Camera Accessories manuals

10Bar
10Bar Underwater Housing User manual

10Bar
10Bar 400D User manual

10Bar
10Bar G10 User manual

10Bar
10Bar GF1 User manual

10Bar
10Bar Underwater Housing User manual

10Bar
10Bar E-500 User manual

10Bar
10Bar G11 User manual

10Bar
10Bar 220ex User manual

10Bar
10Bar FL 50 - Hot-shoe clip-on Flash User manual

10Bar
10Bar LUMIX LX3 User manual
Popular Camera Accessories manuals by other brands

MK Powered
MK Powered 8A Series Installation and operating instructions

Moog Videolarm
Moog Videolarm BMT10 SERIES Installation and operation instructions

Nikon
Nikon MD-15 instruction manual

GreenWorks Tools
GreenWorks Tools 2918307 manual

SAFARI
SAFARI R1100 operating instructions

BB Battery
BB Battery BP10-4 manual