10Bar GF1 User manual

1
CameraUnderwaterHousing GF1(Panasonic)
UserManual Contents:
1.Introduction
2.Specifications
3.Function Controls
4.Setup Instructions
5.Use&CareofHousing
6.Service
7. Warranty
1.Introduction
Made of 6061 aluminum, 10BarHousing isasturdychoiceforthe PanasonicGF1camera.For
thosewho favoursmall cameras,itisthe idealhousing,equipped withfull-function controlbuttons,
flashwindowforlighting and externalflashsynchronizationand interchangeableportsfor
conversion lenstosuittheirneeds.The acrylicback coverallowstaking picturesand checking on
the cameramucheasier.Forclosure,the doubleo-ringsand key-holelock designprovideeaseof
useandadded security. Nowyou canusesmallcameraswiththefeeland functionof professional
housings.
2.Specifications
Test Pressure Housingsindividuallytested to10 Bar(90 m/ 300 ft.)Recommended
working pressure60 m
ClosureDesign DoubleO-rings, Key-holeLock
BodyMaterial 6061 Aluminum, Acrylic
OverallSize 183 x168 x128mm (LxWxH)ZOOM
115 x168 x128mm (LxWxH)
TotalWeight Approximately1.15kg(Housing only)
Buoyancy (withcamera)
Slightlynegativeinsaltwater

2
Accessories
SparemainO-rings(included)
Silicone O-ring grease(included)
Carrying bag (included)
Red filter(optional)
Extension armforstrobeorvideolight(optional)
Macroand Wide Anglelens(optional)
3.Function Controls
3.1Buttons&Parts
(1) Flashoff
(2) Bulkhead
(3) DriveModeLever
(4) Modedial
(5)On/ Off
(6)Motionpicturebutton
(7)Shutter
(8)Keyholelock
(9)Flashon
(10) Playback /[AF/AELOCK]
(11)Realdial
(12)[AF/MF]/ [Q.MENU]
(13)Cursor
(14)[MENU / SET]
(15)Display/ Delete/ Preview
(16)Housinglid
(17)Zoomring
(18)[O.I.S.]Switch
(19)Focusring
3.2Control Details
(1)Flashoff press theleverdowntoturnoff the flash. Makesurethat theFlashisturnoff
beforeremovethe camerafromthe housing.
(2)Bulkhead forconnecting synccord, unscrewthe blankplug and installthe synccord.
Always keep the blankplug inplaceif synccordisnotinstalled.
(3)Drivemodelever turnthe button toselect Single/Burst / Autobracket / Self-timer.
Important -makesurethewhitedot onthecontrolbutton align withthe whitedot onthe Drive

3
Mode Leverbeforeinstallthe cameraintothe housing.
(4)Modedial switching the mode bypress and rotating thebutton.
(5)On/Off align the whitedottowardsthe lid,pressandturnthebutton toturnon and off the
cameraon
(6)Motionpicturebutton pressthe motionpicturebutton tostartthe recording
(7)Shutter press toactivatethe shutter
(8)KeyHoleLock press downand turntolock and unlock the lid.
(9)Flashon press thebutton toopentheflash.MakesurethattheFlashisturnoff withlever (1)
beforetakeoutthe camerafromthe housing.
(10)Playback Press thebutton toactivate
(11)Reardial gentlypress andturntorotatethe dial,press downtoselect orchange mode
(12)[AF/MF]/ [Q.MENU] turntoselectand press toactivatethefunction.
(13)Cursor Rotateuntilthewhitedotisoverthe requireddirection andpress,when notinuse
rotatethe whitedot towardsthescreentofacilitatethe Menu Set function
(14)[MENU / SET] Rotateuntilthe whitedot alignand press, when notinuserotatethe white
do downwardtofacilitatethe cursor”function
(15) Display/ Delete/ Preview rotatetoselect and press toactivate
(16)Housinglid monitordisplay
(17)Zoom press and turntoactivatethe zoomfunction
(18)[O.I.S.]Switch press and turntotoggleon and off
(19)Focusring press andturntoadjust thefocus
Forthefull listofcamerafunctionsandsettingsaccessedbyeachcontrol, pleaseconsult
thePanasonicGF1camerainstructionmanual.
4.Set upInstructions
4.1Special noteonresponsibilityforwatertightintegrity
Eachhousing isindividuallyinspected and hydrostaticallytested inthe factory.The design of the
mainpiston O-ringsealisamong the most reliableinthe industryand thewatertightintegrityis
excellent. ThisspecialO-ring design providesaperfectsealevenif thereisanymovement
between the bodyand liddue tochange of ambient pressure. Howeverpleasenotethat
responsibilityforensuring the integrityof the watertight seallies entirelywiththeuser. 10BAR
acceptsno liabilityfordamage to, orloss ofanyequipment used with, orplaced inside the
housing. Usersarehighlyrecommendedtocarryout in-watertest of the housingswithout
installing of the camerafortheirfirst dive, afterchangeof newportsoralternation of anynew
configuration. The test can be carried outbylowering the housing withballast tothe working
depthordivedowntothesafediving range.
TheO-ringseal isthemainbarrierbetweenthewateroutsideandtheair space within

4
thecamera.
Itisaneffectivebarrieronlyiftheseal isproperlymaintained. TheO-ringseal shouldbe
inspectedbeforeeverydive. Thefollowing informationisprovidedforguidance inusing
andmaintainingtheO-ringseal.
4.2MaintainingtheO-ringSeal
If the mainbodytolidO-ringsarenot installed, installthe O-ringsbeforediving.Theircareand
maintenancearecriticaltothe watertightintegrityof thehousing.If theO-ringsarecontaminated,
ornot alreadyinstalled;inspect, greaseand installthe O-ringsaccording tothe following
guidelines.
4.3Inspection, cleaningandre-instillationoftheO-rings
Tools
Asoft cotton bud orspongeapplicator, makesurethesearefree of all contaminationsuchasloose
fibers,and thetubeof silicone greasesuppliedwiththe housing. Noteothertypesof silicone grease
specificallyforusewithunderwatercameraequipment can usuallyalsobeused. Itisadvised to
carryout the following procedureon afirmclean levelsurface, e.g. atatable,toprevent skidding
especiallywhen divingfrom aboat.
WhentomaintaintheO-ringseal
Removethe O-ringperiodicallyforinspection.It isnot necessarytoremove, clean andre-install
the O-ring aftereverydiveprovidedthe O-ringsarenotbecomecontaminated. Asaruleof
thumbsset up the cameraand housing beforeaday’sdiving.If the housing isrequired tobe
opened between divesforchangingmemorycardorre-chargingbatteries, makesuretheoutside
of the housing isthoroughlytoweled drybeforeopening up. Afterremoving thelidandservicing
the camera, replacethe lidstraight away, ratherthan leaving itlyingaround. Beforereplacingthe
lid, check the o-ringsand makesurethat no contamination suchasdust, hair, salt, sand etc. has
fallenontothe O-ring orO-ring recess,asaprecaution werecommend toinspectthe O-ring every
timethe lidisopenedand tocarryoutthe maintenanceonlyif necessary.
Procedure
lPlacethelidon afirmnon-sliplevelsurface.
lThe O-ring canbe extractedusing anO-ring extractortool(makesurethetoolhasno sharp
edges).Alternativelyusethe flatsofthe thumbstogentlystretchthe O-ring on twofacesthus

5
making asmall loop protruding afewmm. The loop can then begrasped between fingerand
thumb, topulltheO-ring overthe lip.
lClean the O-ring recess (the squaregroovewheretheO-ring sits)withacottonbud.
lInspect theO-ringallthe wayround itssurfacefordamage suchascutstearsor
contamination. Thisshouldbe done visuallyand alsobyfeeling thesurfacetexturebetween
fingerandthumb.
lIFTHEO-RING ISDAMAGEDORSUSPECTEDOFBEING DAMAGED, DISCARD IT
IMMEDIATELY.
A spareO-ring issupplied withyourhousing,orareplacementO-ring canbe ordered from10BAR.
If the O-ring iscontaminated orsuspected ofbeingcontaminated, clean itwithacotton cloththat
isfree ofallchemicalsorcontamination. Aftercleaning inspectthe O-ring again.
Oncethe O-ring hasbeen inspected andverified fit foruse, applyasmall amount of silicone
greasetothe O-ring. Thesilicone greasemust be evenlydistributedround theO-ring.
Replacethe O-ringintothe groove;run afingerround theO-ring, tomakesureitissnuglyseated
inthe groove.
4.4KeyHoleLock
The Key-holeLock issimpleandeasy touseand addingsecurity. Turntheleversof the lock
perpendiculartothe wallof the housing untilthe lock isreleased onbothsides.
Pullout the lidbyholding onthe gripnearthelock.
Usethe universalkeytoinsertinbetween the lidandbodynearthe keyholelock topushoffthe
lidif necessary
4.5Mountingthecamerainthehousing:

6
Makesurethe drivemode leverandthe buttonleveralignup asshownon the photobelow.
Slidethehotshoeplug intothehotshoe
Installthe cameraand storethe hot shoe plug cableasillustrated below.

7
Replacethelidand makesuretheleverisperpendiculartothe side wallofthe housing.Lockthe
lidbypress downthe leverand turnuntilthe leverisparalleltothe side wallof the housing.
Afterreplacingand locking thelid, makeafinalvisualinspection of the mainO-ring for
contamination.
Note:IftheO-ringisingood contact,athinblack line,about0.5to1mm inwidth shouldbe
visible, wheretheO-ringisincontactwiththelid. Follow thislineall thewayroundthe
edgeoftheseal, as afinal check thattheseal isgood.
Thehousingisnowreadyforthedive.
5. Use&CareofHousing
5.1PreDiveFunctionCheck.
Just beforeentering the water, makeahabit of reviewing that you havecarried out theproper
stepstoclosethe housing andthe bulkheadisconnected.Makeavisualcheck oftheO-ring seal.
It isalsousefultoswitchonthe camera, and check that controlse.g. on/off, zoom, shutter
functionsoperatenormally.
lCheck housing isclosed
lCheck O-ringisinthe groovebetween housingand Acrylic
lCheck batteryand memorycardstatuson the LCD display
lCheck controlknob and zoomfunction.
Alwaysavoidsubmergingthehousinginhotwaterforaprolongedtimeora cleansing
tankwherethewatermaybeheatedupbythesun.
5.2General Operation.

8
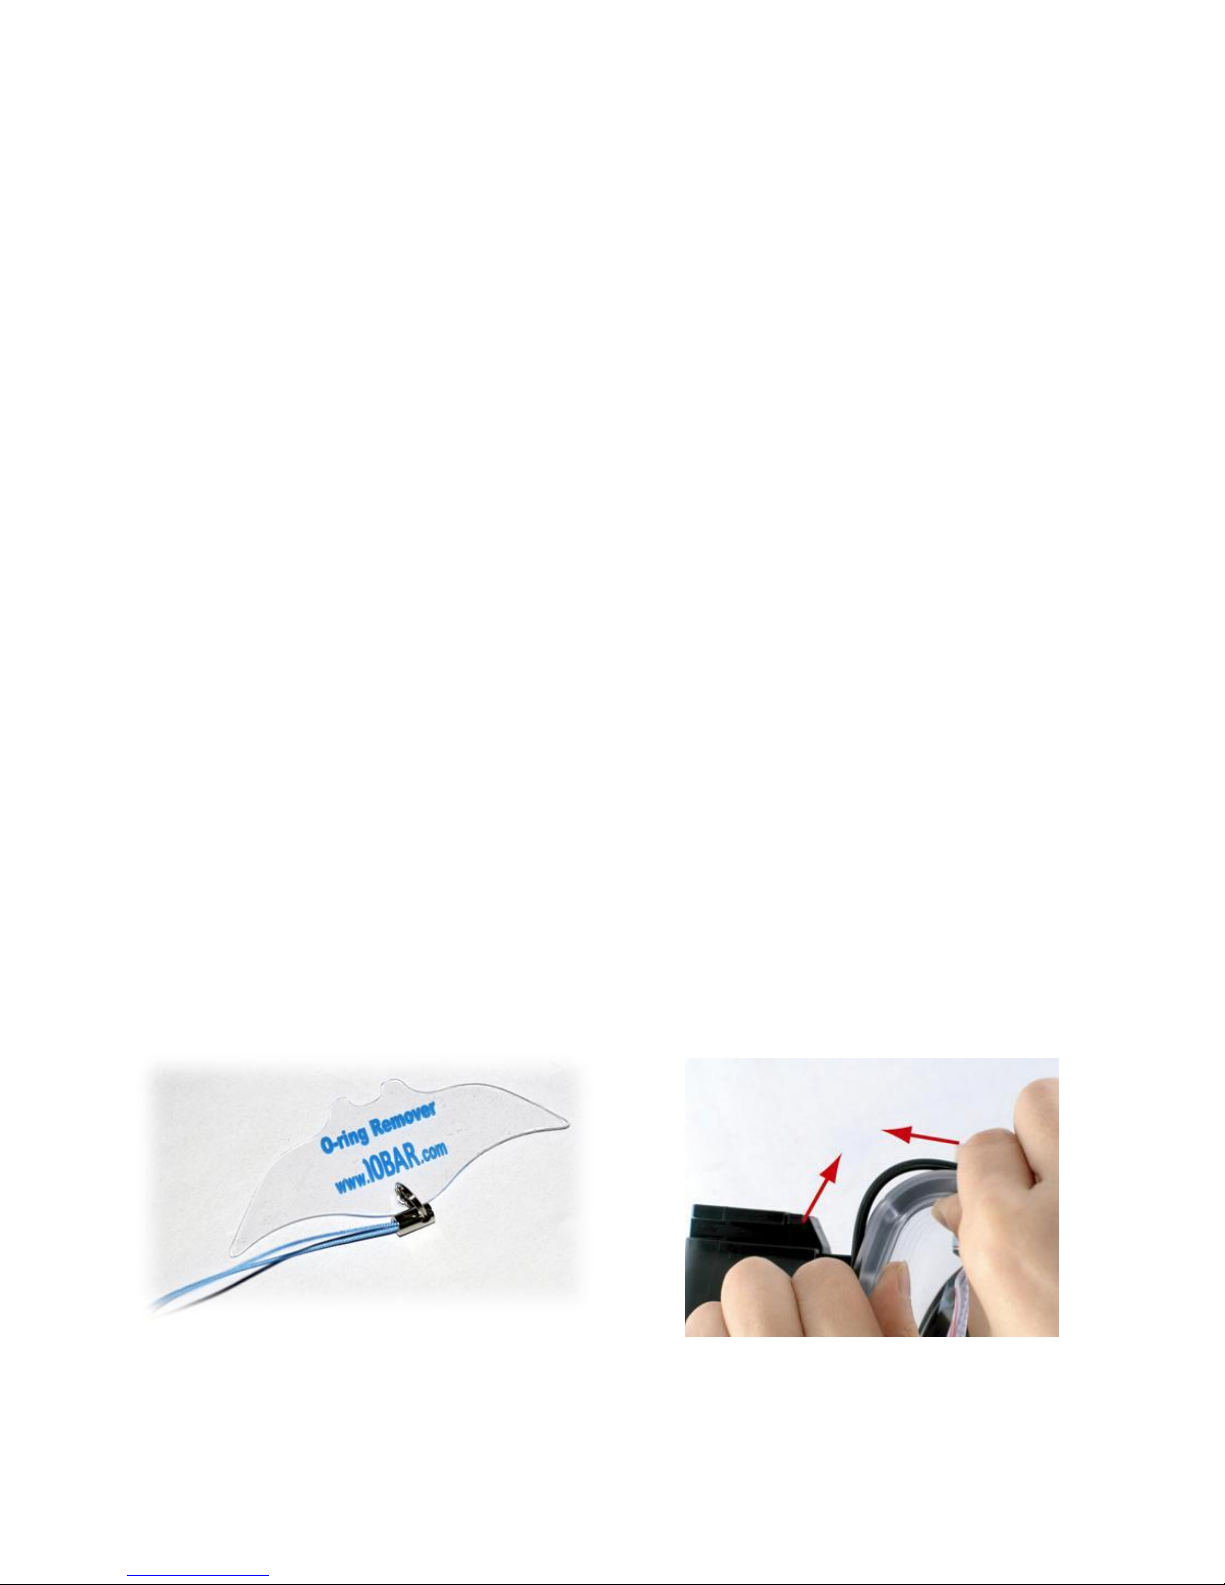
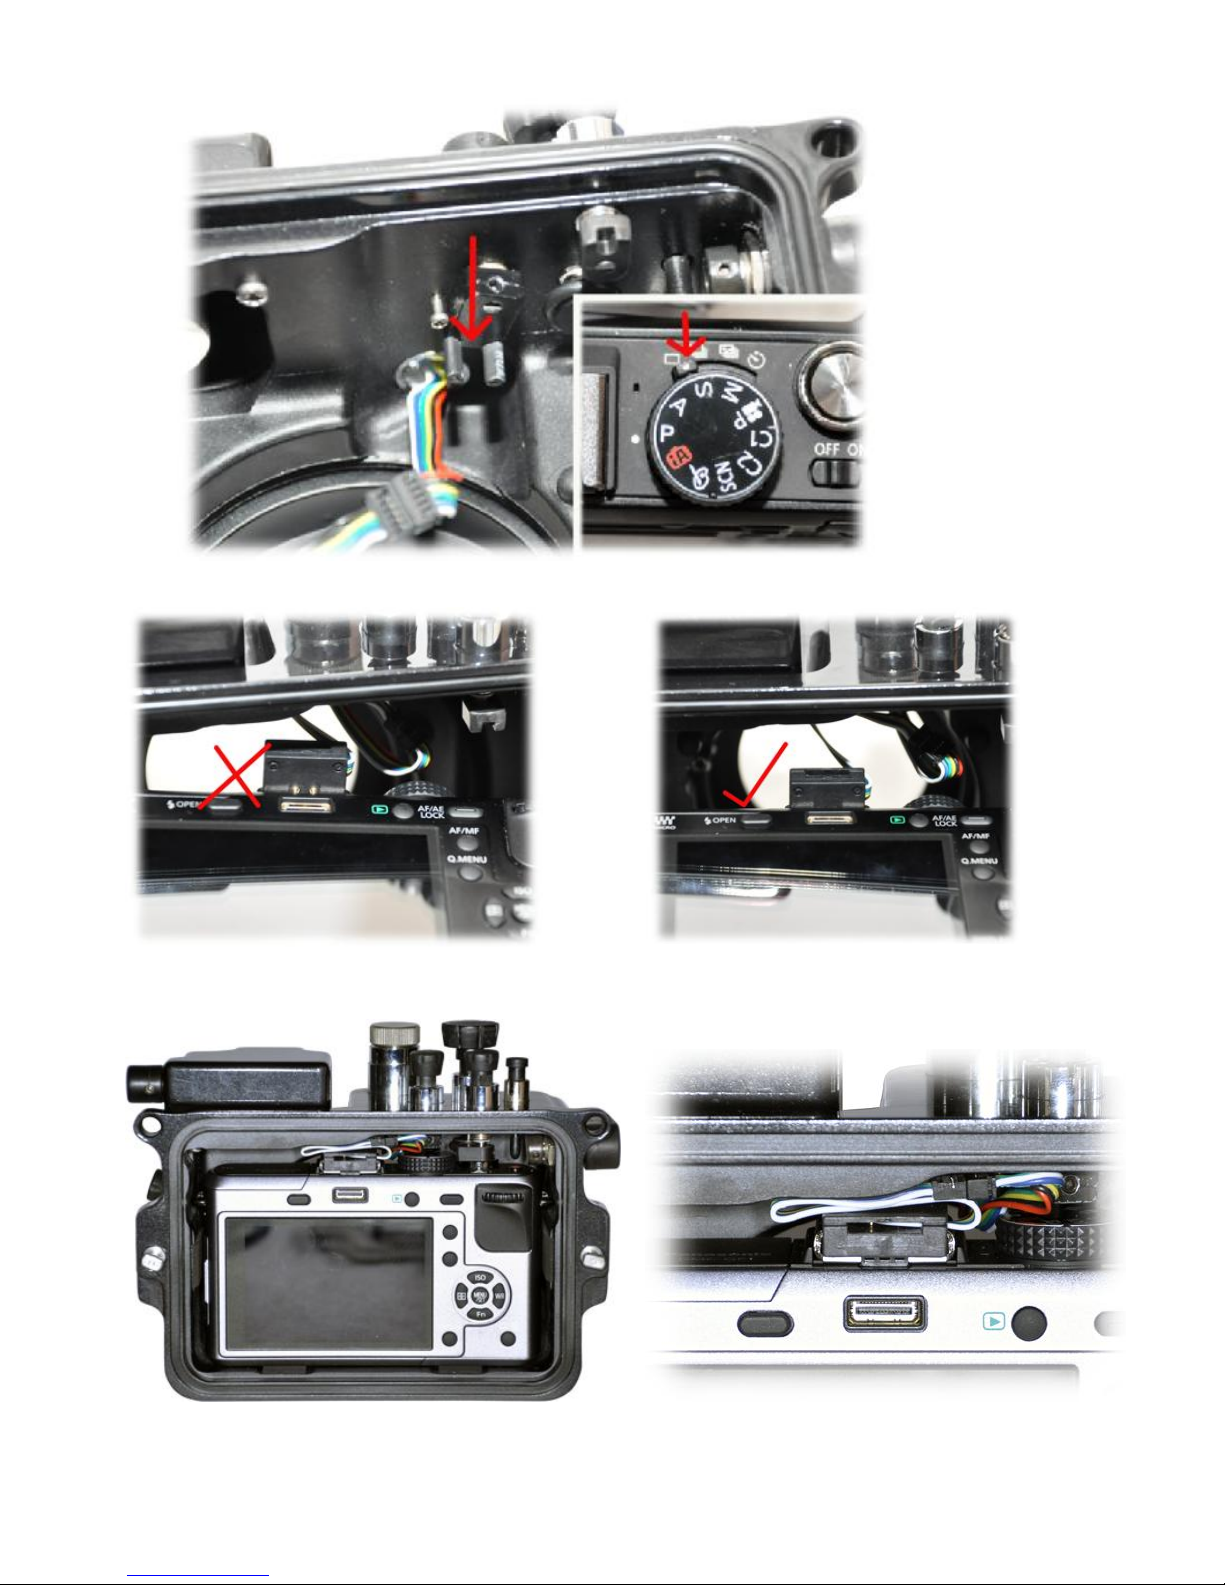
The controlleversandpushbuttonsconsistofinternaldoubleO-ring sealsona stainlesssteelshaft.
Thisarrangement isveryreliable, howeverasaprecaution, when operatingthe controls,avoid
excessivelyrapidmovements,asthismaydistortthe O-ring. Alsopleaseallowforthe factthatthe
cameratakesafewsecondstopoweron.If thecamera dosenot appeartorespondtoacontrol
action, makesurethat noothercontrolsarepressing on the camera, i.e.locking out further
actions.
Wearthe wrist strap;itiseasy toinadvertentlyletgo of the housing, especiallyif you are
distracted.
5.3Cleaning&Storage.
The body&lidof thehousingaremade of 6061 Aluminiumand Acrylicrespectively. 6061
Aluminiumisselectedforitsoutstanding strengthstiffness,hardness andtoughness,While
Acrylicforitscrystalcleartransparency and high gloss surface. Bothof themhavegood
resistancetoweathering,althoughlong-termexposuretosunlight shouldbe avoided. Normal
operatingtemperaturerange is3°Cto36°C(Storage temperature: -10°Cto50°C)
It isgood practicetorinseoff yourhousing withfreshwateraftereverydive. Avoidtoexposureto
fine sand.Afteraseriesof10 ormoredives,e.g.afteradiveholiday,itisrecommended to
immersethe housing for2-3hoursinwarmwatertodissolveanysaltdepositsthat mayhavebuilt
up. Nochemicalcleanersshouldbe used.
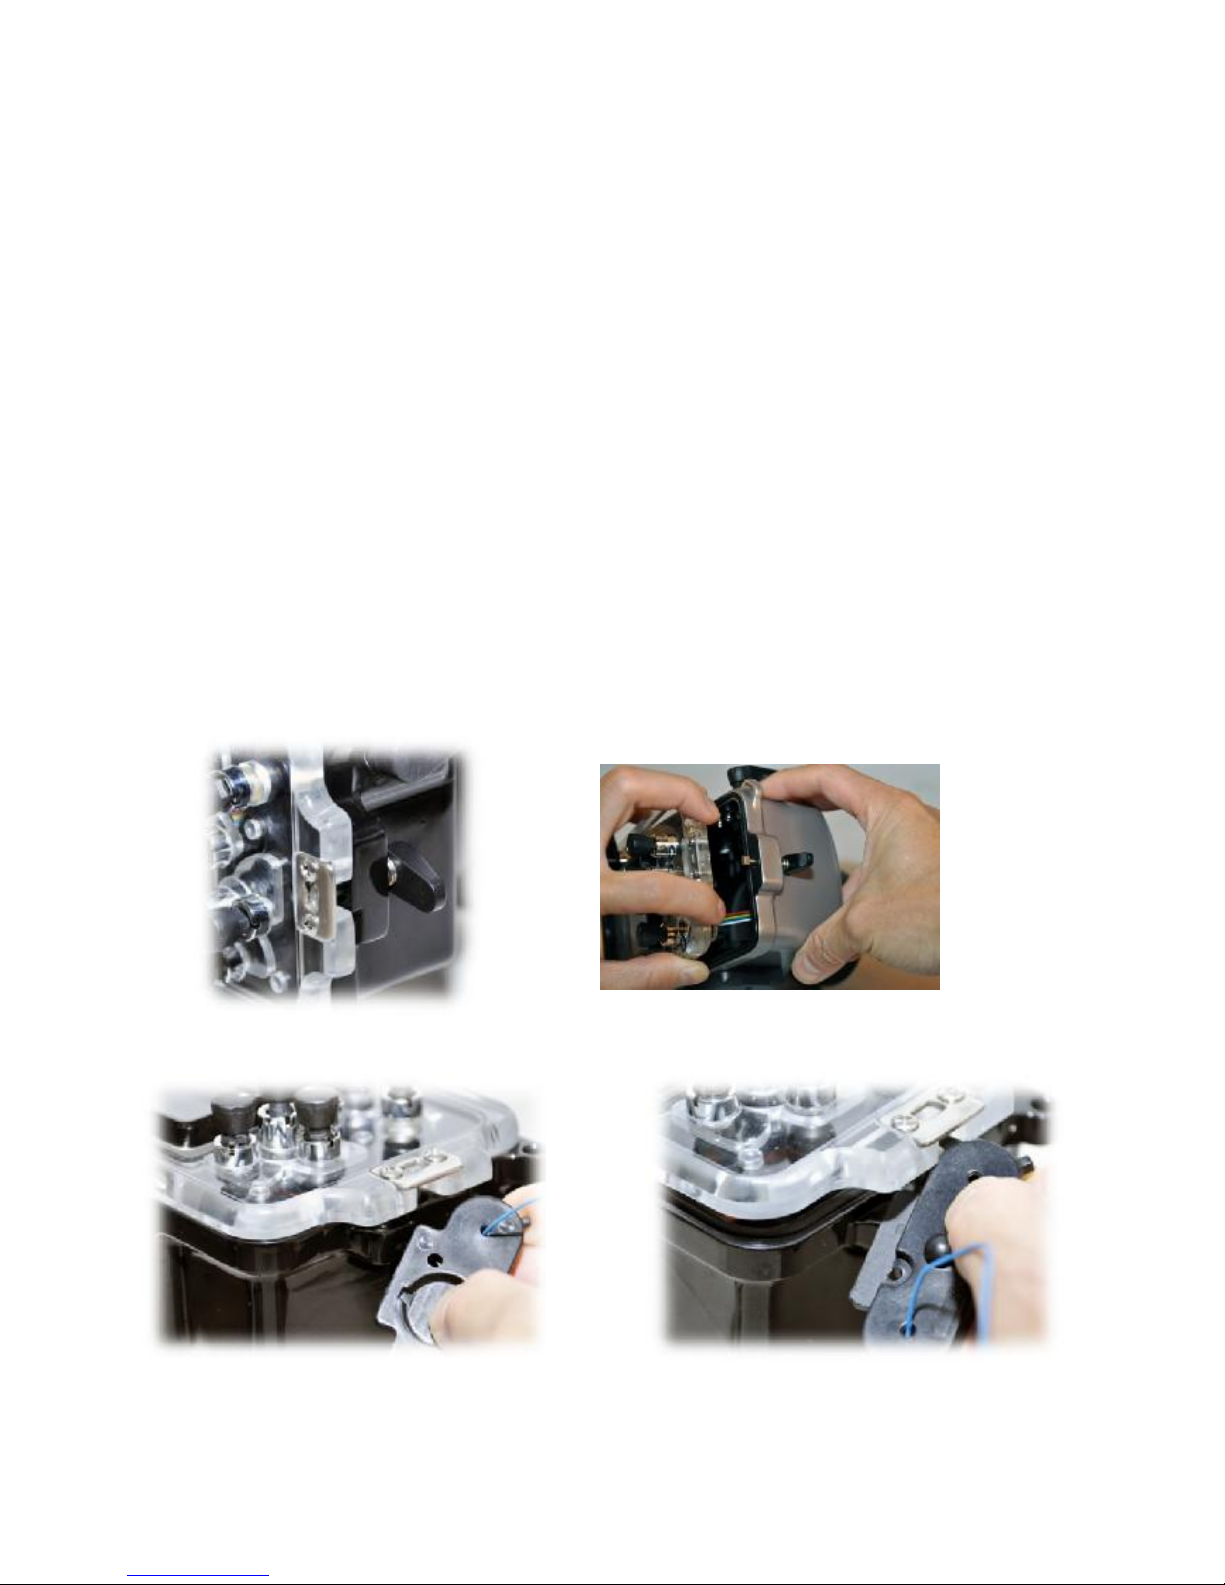
Important :Forlongterm storagepleaseremovethemainclosureo-ringsfrombody.
5.4Transportation.
Pleaseprotectthe housing during transportation. It isrecommended toremovethe handle,and
shutterextension,and wrap thecamerainfoamorbubblewrap.
5.5Accidents
The impact resistanceofthe housing isexcellent. Howeverafteran accident thealignment of the
housing mayhavebeen altered. Thereforeinthe eventof yourhousingsuffering an impact force,
e.g. beingdropped,itisessentialthat you do not usethehousingfordiving. Pleasereturnthe
housing immediatelyforserviceandput anoteinsidetoindicatethenatureofthe accident, so
that the severitycanbe assessed.
6.Service
Toensurethecontinued performanceof yourhousing,it shouldbeserviced everyyear,orafter
every200diveswhicheverisearlier.Pleasenotethetermsforservicingthe housingpostedatour
website. Afullservicewillinclude:
Inspectall componentsforwearsordamage(reportifrepair necessary),
Cleanall sealingsurfaces,
Replace all O-ringseals,

9
Hydrostaticpressuretestto10Bar.
Note:Replacementofdamagedcomponentsmay requireadditional cost.
7.Warranty
Thewarrantyisvalidwithintwoyearsfromthedateoffirstpurchase.Thewarrantyapplies
onlytothehousingitself. 10BAR doesnotacceptanyliabilityeitherimplicitor
otherwise foranyequipmenthousedinside, orusedtogetherwiththe
housing. Intheeventofthehousingflooding withintheperiodofwarranty, 10BARwill
repairorreplace thehousing. Please notethatdisassemblyofthehousingwill invalidate
warranty.Please fill inthe informationbelow, andreturnacopyto10BarUnderwater
Housingattheaddress below, tovalidatethewarranty.
(Copytoberetainedbyuser)
HousingType:
DateofPurchase
Serial Number:(Labelledinsidehousing)
Dealer:
Owner’sName:
e-mail :
Owner’sAddress
Tel:
Fax :
Office &Showroom:
UnitC, 2/F., WingHinFactoryBuilding, 31-33 NgFongSt., SanPoKong, HongKong.
Tel:(852)25733228 Fax:(852)2811 9180
Email: service@10bar.com Website:http://www.10bar.com
Pleasekeepthisdocumentforfuturereference
(Note: due tocontinuousimprovementthe latestmodelhousing maydifferslightlyformthosedescribed inthis
document)
(Copytobereturnedto10 Bar Underwater Housings)
Table of contents
Other 10Bar Camera Accessories manuals

10Bar
10Bar Underwater Housing User manual

10Bar
10Bar FL 50 - Hot-shoe clip-on Flash User manual

10Bar
10Bar 10BAR 450D User manual

10Bar
10Bar LUMIX LX3 User manual

10Bar
10Bar E-500 User manual

10Bar
10Bar D80 User manual

10Bar
10Bar 220ex User manual

10Bar
10Bar G10 User manual

10Bar
10Bar Underwater Housing User manual

10Bar
10Bar EOS XTi EOS400D User manual