10Bar G10 User manual

1
CameraUnderwater HousingG10(Canon)
User Manual Contents:1.Introduction
2.Specifications
3.FunctionControls
4.Setup Instructions
5.Use&CareofHousing
6.Service
7.Warranty
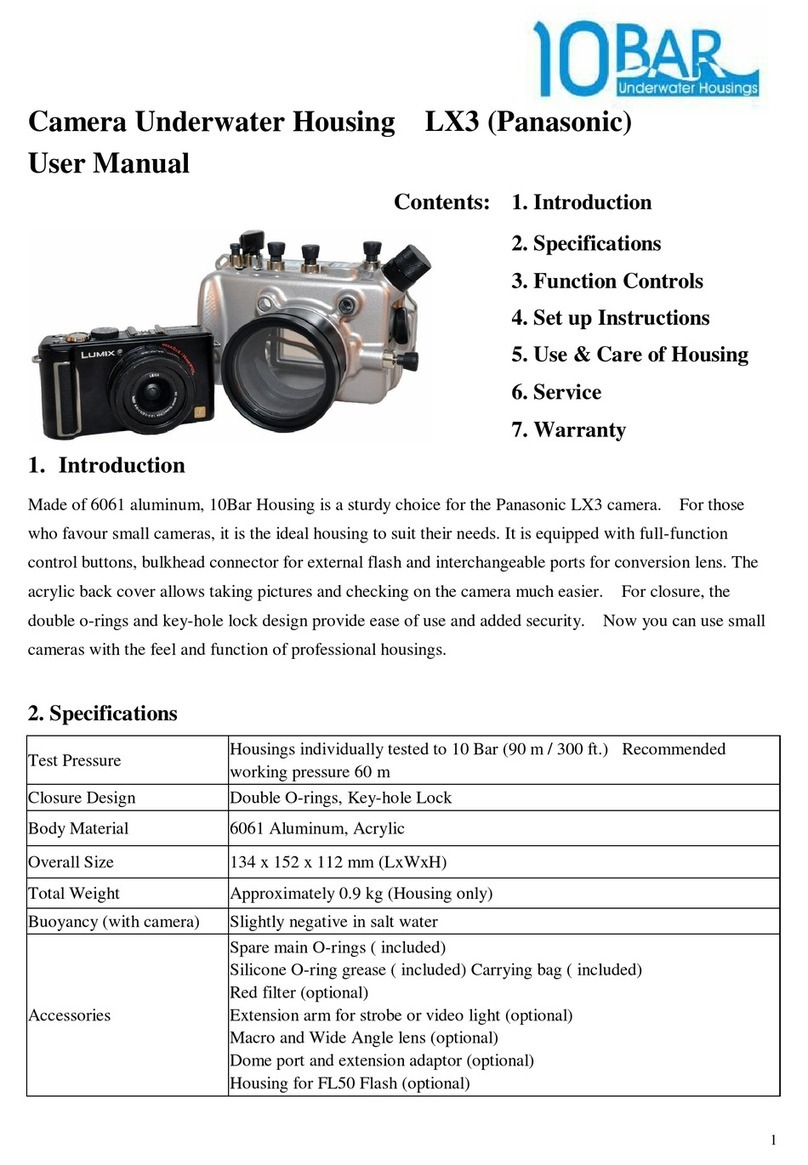
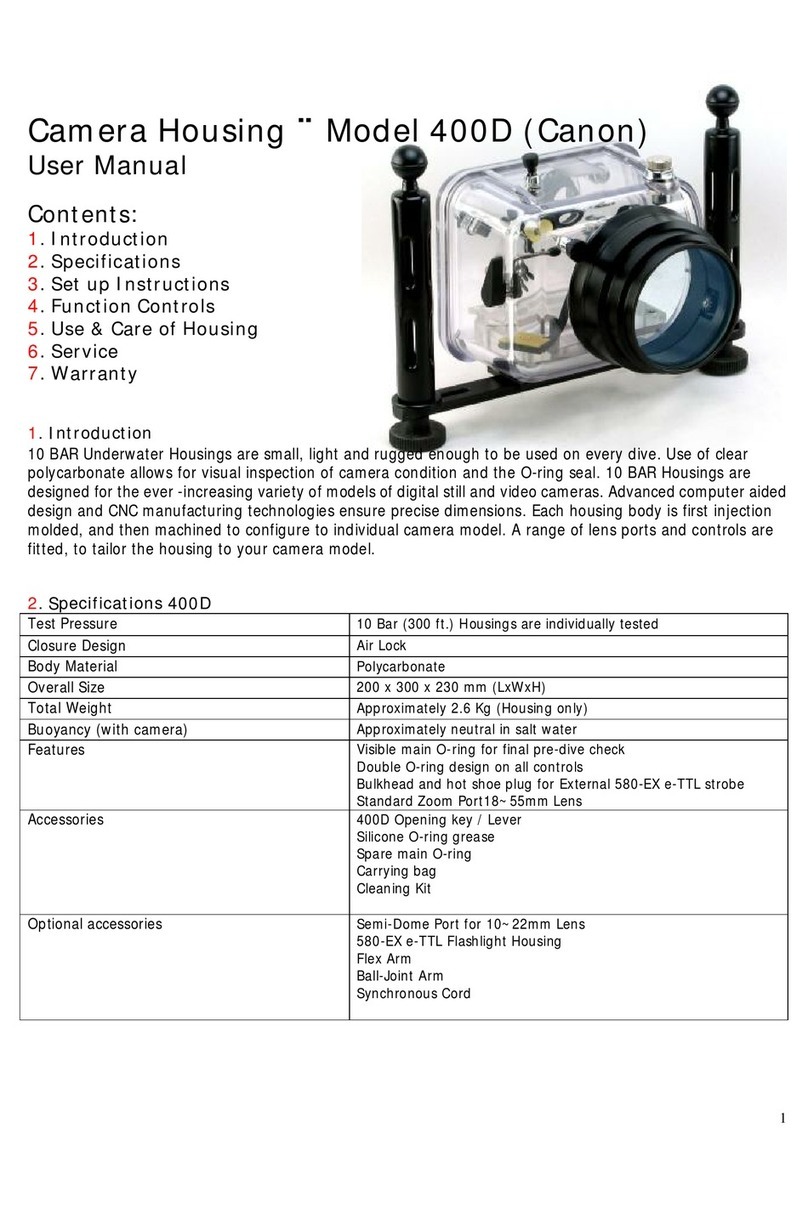
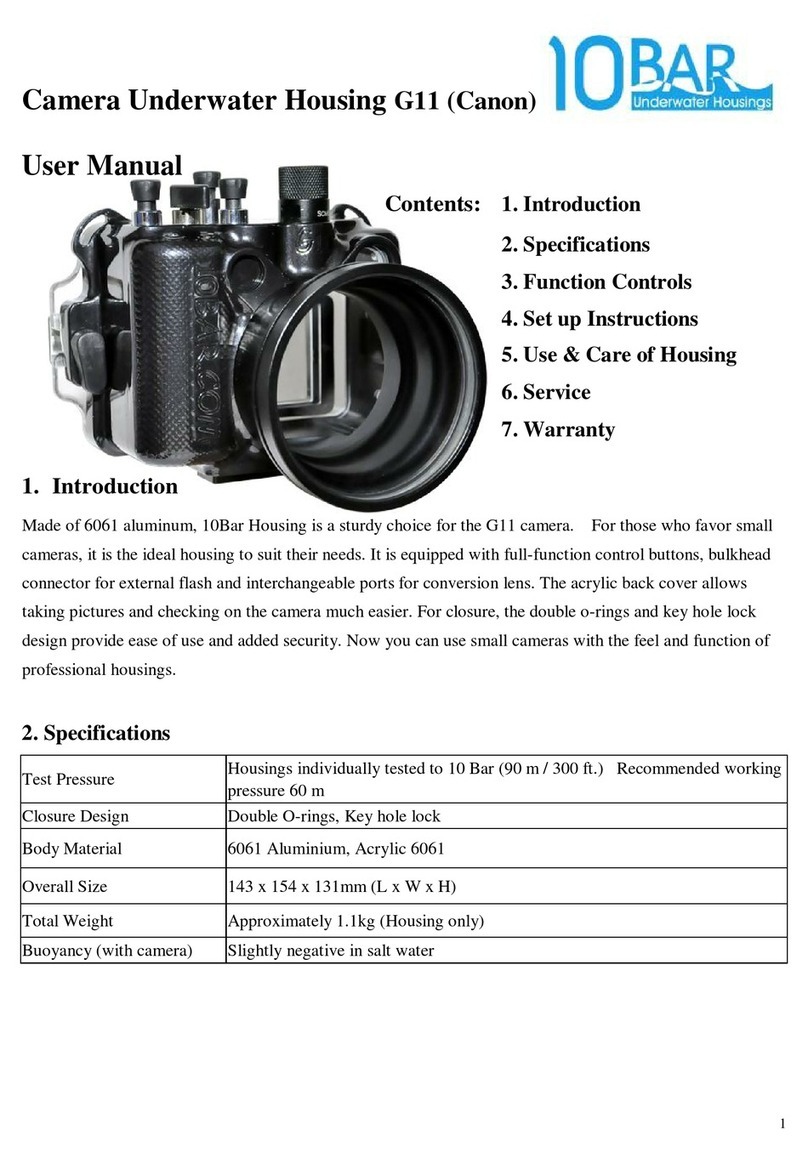
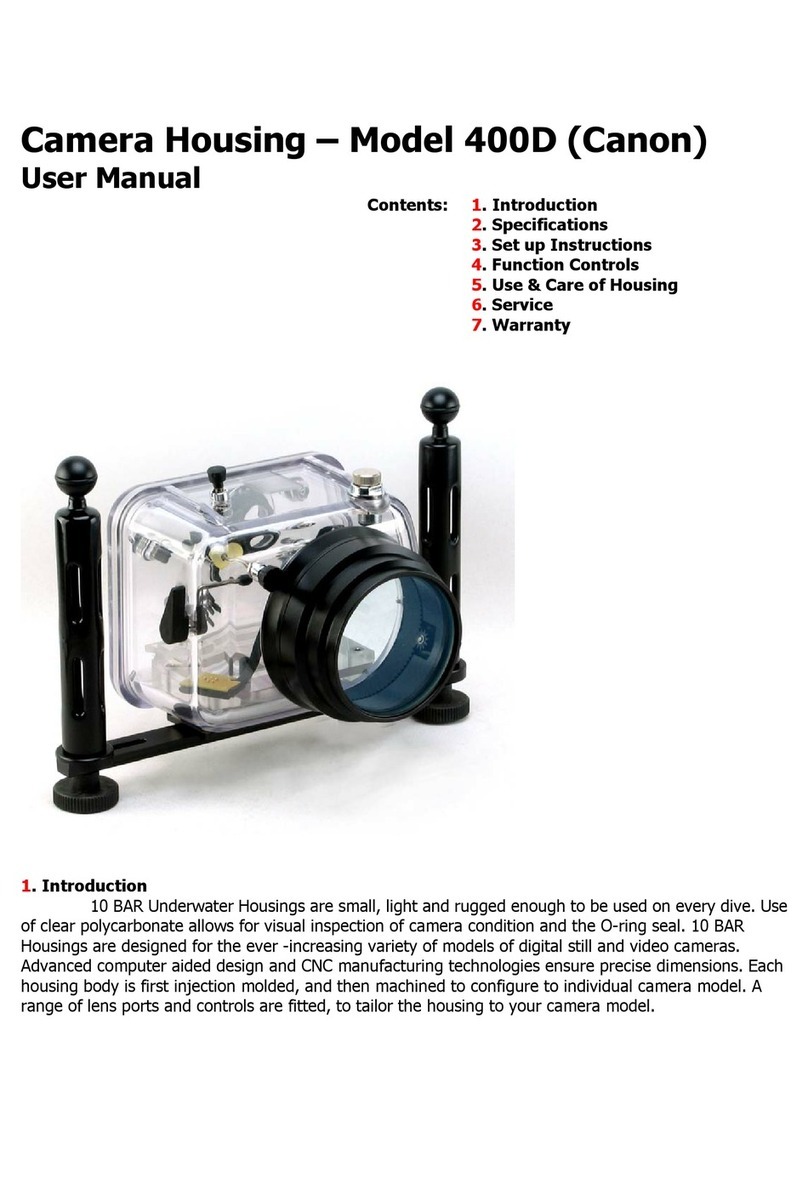
1.Introduction
Madeof6061 aluminum, 10BarHousingisasturdychoice fortheG10 camera.Forthosewhofavorsmall
cameras,itistheidealhousingtosuittheirneeds. Itisequippedwithfull-functioncontrolbuttons, bulkhead
connectorforexternalflashandinterchangeableportsforconversionlens. Theacryliclidallowstakingpictures
andchecking onthecameramucheasier. Forclosure,thedoubleo-ringsandkey-holelockdesignprovideease
ofuseandaddedsecurity. Nowyoucanusesmallcameraswiththefeelandfunctionofprofessionalhousings.
2.Specifications
TestPressure Housingsindividuallytestedto10Bar(90m/300 ft.)Recommendedworking
pressure60 m
ClosureDesign DoubleO-rings,Keyholelock
BodyMaterial 6061 Aluminum, Acrylic
OverallSize 136 x152 x117mm(LxWxH)
TotalWeight Approximately940g (Housingonly)
Buoyancy(withcamera)Slightlynegativeinsaltwater

2
Accessories
SparemainO-rings(included)
SiliconeO-ringgrease(included)
Carrying bag(included)
Redfilter(optional)
Extensionarmforstrobeorvideolight(optional)
MacroandWideAngleConverter(optional)
Domeportandextensionadaptor(optional)
Housingfor580EXIIFlash(optional)
3.FunctionControls
3.1Buttons&Parts
(1)BULKHEAD
(2)EXPOSURECOMPENSATIONDIAL
(3)MODEDIAL
(4)ISOSPEEDDIAL
(5)SHUTTER/ZOOM
(6)POWERON/OFF
(7)PLAYBACK
(8)(AELOCK/FELOCK)/(MICROPHONE)BUTTON/
(METERINGLIGHT)/(JUMP)BUTTON/
(AFFRAMESELECTOR)/(SINGLE IMAGEERASE)BUTTON
(9)CONTROLDIAL
(10)4-WAY BUTTON
(11)FUNCTION. SET
(12)DISPLAY /MENU
(13)(SHORTCUT)/(PRINT/SHARE)
3.2ControlDetails
(1)BULKHEAD forconnectingsynccord,unscrewtheblankplug andinstallthesynccord.Alwayskeep
theblankplug inplace ifsynccordisnotinstalled.
(2)EXPOSURECOMPENSATIONDIAL- press downandturntoadjusttheexposurecompensation.

3
(3)MODEDIAL- press downandturntoactivatetherequiredmode.
(4)ISOSPEEDDIAL -press downandturntoadjusttheISOvalue.
(5)SHUTTER/ZOOM- press toactivatetheshutter,turntoactivatethezoomfunction(separatecontrolson
someversion).
(6)POWERON/OFF - alignthewhitedottowardsthelid, press andturnonoroff.
(7)PLAYBACK- press toactivate.
(8)(AELOCK/FELOCK)/(MICROPHONE)BUTTON (METERINGLIGHT)/(JUMP)BUTTON
(AFFRAMESELECTOR)/(SINGLE IMAGEERASE)BUTTON- rotateuntil thewhitedotisover
therequiredbuttonandpress toactivate.
(9)CONTROLDIAL - press downandrotatetoselect.
(10)4-WayBUTTON- rotateuntilthewhitedotalignandpress,whennotinuserotatethewhitedotuntil
pointingdownwardtofacilitatethe ‘FunctionSet’tobeactivated.
(11)FUNCTION. SET- rotateuntil thewhitedotalignandpress.
(12)DISPLAY /MENU- rotateuntilthewhitedotalignandpress.
(13)(SHORTCUT)/(PRINT/SHARE) -press downtoactivatethefunction.
Forthefulllistofcamerafunctionsand settingsaccessedbyeachcontrol, pleaseconsulttheCanonG10
camerainstructionmanual.
4.Set upInstructions
4.1Specialnoteonresponsibilityforwatertightintegrity
Eachhousing isindividuallyinspectedandhydrostaticallytestedinthefactory. Thedesignofthemainpiston
O-ringsealisamongthemostreliableintheindustryandthewatertightintegrityisexcellent.Thisspecial
O-ringdesignprovidesaperfectsealevenifthereisanyslightmovementbetweenthebodyandliddueto
changeofambientpressure. Howeverpleasenotethatresponsibilityforensuringtheintegrityofthewatertight
sealliesentirelywiththeuser. 10BARacceptsnoliabilityfordamageto,orloss ofanyequipmentusedwith,
orplacedinsidethehousing. Usersarehighlyrecommendedtocarryoutin-watertestofthehousings without
installing ofthecamerafortheirfirstdive, afterchangeofnewports oralternationofanynewconfiguration.
Thetestcanbecarriedoutbylowering thehousing withballasttotheworkingdepthordivedowntothesafe
diving range.
TheO-ringsealisthemainbarrierbetweenthewateroutsideand theairspace withinthecamera. Itis
aneffectivebarrieronlyifthesealisproperlymaintained. TheO-ringsealshouldbeinspectedbefore
everydive. Thefollowinginformationisprovidedforguidance inusingand maintainingtheO-ringseal.

4
4.2MaintainingtheO-ringSeal
IfthemainbodytolidO-ringsarenotinstalled,install theO-rings
beforediving. Theircareandmaintenancearecriticaltothe
watertightintegrityofthehousing. IftheO-ringsarecontaminated,
ornotalreadyinstalled;inspect,greaseandinstalltheO-rings
accordingtothefollowing guidelines.
4.3Inspection,cleaningand re-instillationoftheO-rings
Tools
Asoftcottonbud orspongeapplicator,makesurethesearefree ofall chemicalsorcontaminationsuchasloose
fibers, andthetubeofsiliconegreasesuppliedwiththehousing. Noteothertypesofsiliconegreasespecifically
forusewithunderwatercameraequipmentcanusuallyalsobeused. Itisadvisedtocarryoutthefollowing
procedureonafirmcleanlevelsurface, e.g. atatable, topreventskidding especiallywhendiving fromaboat.
WhentomaintaintheO-ringseal
RemovetheO-ringperiodicallyforinspection. Itisnotnecessarytoremove, cleanandre-installtheO-ring
aftereverydiveprovidedtheO-ringsarenotbecomecontaminated. Asaruleofthumbssetup thecameraand
housingbeforeaday’sdiving. Ifthehousingisrequiredtobeopenedbetweendivesforchanging memorycard
orre-chargingbatteries,makesuretheoutsideofthehousingisthoroughlytoweleddrybeforeopeningup.
Afterremoving thelidandservicing thecamera, replace thelidstraightaway, ratherthanleavingitlying
around. Beforereplacing thelid, checktheo-ringsandmakesurethatnocontaminationsuchasdust,hair, salt,
sandetc.hasfallenontotheO-ringorO-ringrecess, asaprecautionwerecommend toinspecttheO-ringevery
timethelidisopenedandtocarryoutthemaintenanceonlyifnecessary.
Procedure
•Place thelidonafirmnon-sliplevelsurface.
•TheO-ringcanbeextractedusinganO-ringextractortool(make
surethetoolhasnosharpedges).Alternativelyusetheflatsofthe
thumbstogentlystretchtheO-ringontwofacesthusmaking a
small loopprotrudingafewmm. Theloopcanthenbegrasped
betweenfingerandthumb, topulltheO-ringoverthelip.
•CleantheO-ringrecess(thesquaregroovewheretheO-ringsits)
withacottonbud.
•InspecttheO-ringall thewayrounditssurface fordamagesuch
ascuts tears orcontamination. Thisshouldbedonevisuallyand
alsobyfeeling thesurface texturebetweenfingerandthumb.
5
•IFTHEO-RINGISDAMAGEDORSUSPECTEDOFBEINGDAMAGED, DISCARD ITIMMEDIATELY.
AspareO-ringissuppliedwiththehousing, orareplacementO-ringcanbeorderedfrom10 BAR. Ifthe
O-ringiscontaminatedorsuspectedofbeing contaminated, cleanitwithacottoncloththatisfree ofall
chemicalsorcontamination. Aftercleaning inspecttheO-ringagain.
•Once theO-ringhasbeeninspectedandverifiedfitforuse, applyasmall amountofsiliconegreasetothe
O-ring. ThesiliconegreasemustbeevenlydistributedroundtheO-ring
•Replace theO-ringintothegroove;runafingerroundtheO-ring, tomakesureitissnuglyseatedinthe
groove.
4.4Key-holeLock
TheKey-holeLockissimpleandeasytouseandaddingsecurity.
Toopenthehousing,turntheleversofthelockperpendiculartothewallofthehousinguntil thelockis
releasedonbothsides.
Pulloutthelidbyholding onthegripnearthelock.
4.5Mountingthecamerainthehousing:
Removethelenscapandwriststrap. Slidethecameraintothebodyalongtherubberpacking. Makesurethe
camerabodyreachthelimitandtestthefunctionoftheOn/Off buttononthebodyofthehousing.
Alignthebulkheadcableasshownbelowandcheckthecableisnotjammedunderanybuttonoroverthe
o-ring
Slidethehotshoeplug intothehotshoe

6
Replace thelidandmakesuretheleverisperpendiculartothesidewall ofthehousing.Lockthelidby
press downtheleverandturnuntil theleverisparalleltothesidewallofthehousing.
Afterreplacing andlockingthelid,makeafinalvisualinspectionofthemainO-ringforcontamination.
Note:IftheO-ringisingoodcontact, athinblackline, about0.5to1mm inwidth shouldbevisible,
wheretheO-ringisincontactwiththelid. Followthislineall theway round theedgeoftheseal, asa
finalcheckthatthesealisgood.
4.6 Mountingthecameralensand ports
The10 BarG10 underwaterhousinginterchangeableportsystemaccommodateawidevarietyoflensfor
useunderwater. Theinstallationprocedureisasfollows:
Mounting theConversionLensAdaptorforcamera

7
Mounting thecamera into housing and closethelid
Mounting thePortAdaptorforhousing
Mounting ConversionLens
Mounting DomePort
Thereareo-ringsonall thecomponentsoftheportpartswhichshouldbeinstalledaccordingtothe
proceduresat4.3.

8
4.6 UsingExternalStrobes:
ThestandardbulkheadisSF6(Subtronic,TTL).BulkheadNKF5(2)(Nikonos.Non-TTL)orothertypetobe
custom-madeasrequested.
Checktheo-ringsandconnectthestrobesynccordtohousing’sbulkhead.Tightenthelockringtosecurethe
cordinplace. Makesuethattheblankplug issecuredtothebulkheadifnosynccordisconnected.
5. Use&CareofHousing
5.1PreDiveFunctionCheck.
Justbeforeenteringthewater,makeahabitofreviewingthepropersteps toclosethehousingandconnectthe
bulkhead. MakeavisualcheckoftheO-ringseal. Itisalsousefultoswitchonthecamera, andcheckthatthe
controlse.g.on/off, zoom, shutterfunctionsoperatenormally.
lCheckhousing isclosed
lCheckO-ringisinthegroovebetweenhousingand Acrylic
lCheckbatteryandmemorycardstatus ontheLCDdisplay
lCheckcontrolknobandzoomfunction
lChecktheBulkheadisproperlyconnectedorblanked.
Alwaysavoidsubmergingthehousinginhotwaterforaprolongedtimeora cleansingtankwhere the
watermay beheatedupbythesun.
5.2GeneralOperation.
ThecontrolleversandpushbuttonsconsistofinternaldoubleO-ringsealsonastainlesssteelshaft. This
arrangementisveryreliable, howeverasaprecaution, whenoperatingthecontrols, avoidexcessivelyrapid
movements, asthismaydistorttheO-ring. Alsopleaseallowforthefactthatthecameratakesafewsecondsto
poweron. Ifthecameradoesnotappeartorespondtoacontrolaction,makesurethatnoothercontrolsare
pressing onthecamera, i.e.lockingoutfurtheractions.
Wearthewriststrap;itiseasytoinadvertentlyletgo ofthehousing, especiallyifyouaredistracted.
5.3Cleaning&Storage.
Thebody&lidofthehousingaremadeof6061 AluminumandAcrylicrespectively. 6061 Aluminumis
selectedforitsoutstandingstrengthstiffness, hardness andtoughness, whileAcrylicforitscrystalclear
transparencyandhighglosssurface. Bothofthemhavegoodresistance toweathering, althoughlong-term
exposuretosunlightshouldbeavoided. Normaloperatingtemperaturerangeis3°Cto36°C(Storage
temperature:-10°Cto50°C)
Itisgoodpractice torinseoffyourhousingwithfreshwateraftereverydive.Avoidtoexposuretofinesand.
Afteraseriesof10 ormoredives,e.g.afteradiveholiday,itisrecommendedtoimmersethehousing for2-3
hoursinwarmwatertodissolveanysaltdeposits thatmayhavebuiltup. Nochemicalcleanersshouldbeused.
Important!!!Forlongtermstoragepleaseremovethemainclosureo-ringsfrombody.

9
5.4Transportation.
Pleaseprotectthehousingduringtransportation. Itisrecommendedtoremovethehandle, andshutterextension,
andwrapthecamerainfoamorbubblewrap.
5.5Accidents
Theimpactresistance ofthehousingisexcellent.Howeverafteranaccidentthealignmentofthehousingmay
havebeenaltered. Thereforeintheeventofyourhousingsufferinganimpactforce, e.g.beingdropped, itis
essentialthatyoudo notusethehousingfordiving. Pleasereturnthehousingimmediatelyforserviceandputa
noteinsidetoindicatethenatureoftheaccident, sothattheseveritycanbeassessed.
6.Service
Toensurethecontinuedperformance ofyourhousing,itshouldbeservicedeveryyear,orafterevery200 dives
whicheverisearlier. Pleasenotethetermsforservicingthehousingpostedatourwebsite. Afull service will
include:
lInspectallcomponentsforwears ordamage(reportifrepairnecessary),
lCleanall sealing surfaces,
lReplace all O-ringseals,
lHydrostaticpressuretestto10 Bar.
Note:Replacementofdamagedcomponentsmay requireadditionalcost.

10
7.Warranty
Thewarrantyisvalidwithintwoyearsfromthedateoffirstpurchase. Thewarrantyappliesonlytothe
housingitself. 10BAR does notaccept anyliabilityeither implicitorotherwiseforany
equipment housedinside, orusedtogetherwiththehousing. Intheeventofthehousing
flooding withintheperiodofwarranty, 10BAR willrepairorreplace thehousing. Please notethat
disassemblyofthehousingwill invalidatewarranty.Pleasefillinthe informationbelow, andreturna
copyto10BarUnderwaterHousingattheaddress below, tovalidatethewarranty.
(Copytoberetainedbyuser)
HousingType:
DateofPurchase
SerialNumber:(Labeledinsidehousing)
Dealer:
Owner’sName:
e-mail:
Owner’sAddress
Tel:
Fax:
Office &Showroom:
UnitC,2/F., WingHinFactoryBuilding, 31-33 NgFongSt., SanPoKong,HongKong.
Tel:(852)2573 3228Fax:(852)2811 9180
Email: service@10bar.com Website: http://www.10bar.com
Pleasekeepthis document forfuture reference
(Note:duetocontinuousimprovementthelatestmodelhousingmaydifferslightlyformthosedescribedinthisdocument)
(Copytobereturnedto10BarUnderwater Housings)
Table of contents
Other 10Bar Camera Accessories manuals

10Bar
10Bar Underwater Housing User manual

10Bar
10Bar D80 User manual

10Bar
10Bar 10BAR 450D User manual

10Bar
10Bar LUMIX LX3 User manual

10Bar
10Bar GF1 User manual

10Bar
10Bar Underwater Housing User manual

10Bar
10Bar 220ex User manual

10Bar
10Bar EOS XTi EOS400D User manual

10Bar
10Bar FL 50 - Hot-shoe clip-on Flash User manual

10Bar
10Bar E-500 User manual