ABC-Products DSLR Light-Jib User manual

DSLR Light-Jib Operating Instructions
English

DSLR Light-Jib
Original Operating Instructions
2
Date of Issue:
2011 /02

DSLR Light-Jib Operating Instructions
DSLR Light-Jib
Original Operating Instructions
3
Table of Contents
1.
Device Information
4
1.1
1.2
Delivery Contents
Responsibilities of the Manufacturer
4
5
1.3
1.4
Responsibilities of the Operator
Exploded View with Numeration
6
6
1.5 External Interfaces 7
1.6 Legal Notices 7
2.
2.1
Operating Instructions
How to Use These Operating Instructions
8
8
2.1.1 Labels on the Device 8
2.1.2 Labels in this Manual 9
2.2 Service Address 10
3.
3.1
Safety Noti
ces
General Manufacturer Safety Notices
10
10
3.2 General Usage Safety Notices 11
3.3 General Testing Safety Notices 11
3.4 Proper Use of the DSLR Light-Jib 11
3.5 Personnel Requirements 12
3.6 Safety Related Environmental Conditions 12
3.7 Possible Misapplications 12
3.8 Residual Dangers and Protective Measures 13
4
.
Technical Information
14
4.1
4.2
Technical Data
Counterweight Table
14
14
5
.
Assembly and Operation
15
5.1 Main Components 15
5.2 Optional Accessories 17
5.3 Assembly 18
5.3.1 Mounting the Tripod and Crane Support 18
5.3.2 Mounting the Camera 20
5.3.3 Mounting the Counterweight Sleeve 21
5.3.4 Loading Counterweights 22
5.3.5 Balancing the DSLR Light-Jib with Counterweights 23
5.3.6 Dismounting the Camera 25
5.3.7 Mounting the Monitor Holder and Monitor 26
5.4 Jib Head Angle Adjustment 27
5.5 Jib Head
Parallelogram Adjustment 28
5.6 Horizontal and Vertical Brakes 29
5.7
5.8
Adjusting the Handle
List of Recognized Hazards Identified as Non-Relevant
29
30

DSLR Light-Jib Operating Instructions
DSLR Light-Jib
Original Operating Instructions
4
1. Device Information
1.1 Delivery Contents
Packed on (date):
_____________________________
Signature:
__________________________________________________
1.
1 x carbon main pipe and parallelogram pipe
including head and center support with
integrated horizontal and vertical brakes; bubble
level
O
2. Integrated adapter for tripod mounting
75mm/100mm ball socket size 3/8” thread O
3. 1 x retractable counterweight tube O
4. 1 x sleeve for counterweight tube O
5. 1 x quick pin for sleeve 6.2mm O
6. 1 x quick pin for crane head 6mm O
7. 1 x clamp fastener for counterweights O
8. 1 x cork handle end stop with M8 thread O
9. 1 x adjustable cork handle with tube clamp O
10. 1 x carrying case O
11. 1 x operating instruction manual O
12. 1 x ¼“ screw + 1 x 3/8“ screw O
13. 1 x monitor holder with ¼“ screw O

DSLR Light-Jib Operating Instructions
DSLR Light-Jib
Original Operating Instructions
5
1.2 Responsibilities of the Manufacturer / EC Declaration of Conformity
EC Declaration of Conformity
Manufacturer / Distributor
MovieTech AG
Martin-Kollar-Str. 9
D-81829 Munich
Hereby declares that the following product
Product Identifier: DSLR Light-Jib
Manufacturer: ABC Products
Serial Number:
Series and Type Identifier: Crane Product
Description:
The DSLR Light-Jib was developed for the photographic and film industries to enable weightless tracking
shots.
All applicable provisions of the aforementioned directive as well as further directives (hereinafter) apply,
including changes applicable at the time of declaration.
The following harmonized standards were adhered to:
EN ISO 12100-1:2003 Safety of machinery - Basic concepts, general principles for design - Part
1: Basic terminology, methodology (ISO 12100-1:2003)
EN ISO 12100-2:2003 Safety of machinery - Basic concepts, general principles for design - Part
2: Technical principles (ISO 12100-2:2003)
EN ISO 14121-1:2007 Safety of machinery - Risk assessment - Part 1: Principles (ISO 14121-
1:2007)
The following national or international standards (or parts/clauses thereof) and specifications were
applied:
Name and address of the individual authorized to assemble technical documents:
Mr. Dipl. Ing. (FH) S. Reibenspiess; Mr. F. Strassmann
Location: Munich
Date: 1.24.2011
Mr. Reibenspiess Mr. Straßmann

DSLR Light-Jib Operating Instructions
DSLR Light-Jib
Original Operating Instructions
6
NOTICE
1.3 Responsibilities of the Operator
Maintenance Requirements
Maintenance of the DSLR Light-Jib may only be carried out by MovieTech AG or an authorized
contractor.
Disposal
The DSLR Light-Jib may not be disposed of with household waste. It must be brought to a collection point
(please check with your municipality) or disposed of through your dealer/manufacturer. The delivery
address is given on the product label. This ensures for an environmentally friendly disposal.
Care
It is recommended that the DSLR Light-Jib be wiped down with a damp, clean cloth when dirty. Avoid
corrosive or aggressive cleaning agents.
1.4 Exploded View with Numeration
Use the part numbers specified when ordering replacement parts!
DSLR Light-Jib

DSLR Light-Jib Operating Instructions
DSLR Light-Jib
Original Operating Instructions
7
1.5 External Interfaces
The DSLR Light-Jib is autonomous.
1.6 Legal Notices
Limits specified by the manufacturer must be observed. Exceeding these limits must be avoided under all
circumstances.
In the event of an accident due to negligence or improper use, the manufacturer cannot be held liable for
damages or injuries. The sequence stated in the operating manual for assembly and disassembly must
be observed.
Only original parts may be used for product maintenance.
Accessories from other manufacturers must not restrict the usage or safe operation of the DSLR Light-
Jib!
Individuals responsible for the operation of the DSLR Light-Jib must have read and understood the
original operating instructions. In the event of questions regarding safe operation, the manufacturer
should be contacted. Contact information can be found, among other places, on the central joint of the
DSLR Light-Jib.
Service life of the device:
The service life is limited by material wear and fatigue. Service life is therefore dependant on the
frequency of use and the environmental conditions to which the DSLR Light-Jib is exposed.

DSLR Light-Jib Operating Instructions
DSLR Light-Jib
Original Operating Instructions
8
2. Operating Instructions
We thank you for choosing the DSLR Light-Jib, as well as for your trust.
The DSLR Light-Jib allows gliding tracking shots in horizontal and vertical directions.
We wish you much enjoyment and success with your new ABC-Products DSLR Light-Jib!
Your DSLR Light-Jib has the follow features:
- short assembly and disassembly times
- low transport weight 3.9kg
- mechanical crane head angle adjustment
- adaptable for tripods with 75mm and 100mm ball sockets
Please carefully read these operating instructions before using your new device for the first time. It
contains everything you need to know to operate the tripod while avoiding personal injury or property
damage.
Carefully observe all safety precautions in this instruction manual.
Keep these instructions in a safe place. Give these instructions to the new owner, should you sell the
device or otherwise relinquish ownership.
Inform other users of the necessity to read and understand the operating instructions before use.
2.1 How to Use These Operating Instructions
2.1.1 Labels on the Device
CE Symbol
:
This symbol signifies that your device fulfills the
safety requirements of all applicable EU directives
Waste C
ontainer
This symbol means that you may only dispose of
the device at a local collection point.

DSLR Light-Jib Operating Instructions
DSLR Light-Jib
Original Operating Instructions
9
2.1.2 Labels in this Manual
Label Definition
Alerts you to the handling and consequence of
safety information.
WARNING
Alerts you to a dangerous situation, which could
lead to significant injury or death if not avoided.
CAUTION
Alerts you to a dangerous situation, which could
lead to mild or moderate injury if not avoided.
NOTICE
Alerts you to possible property damage and other
important information concerning your device.
Foot protection
Safety Shoes:
Mandatory signs in accordance with ANSI (Z 535.3
- 2007)
Definition: Foot protection
Fall Down/Drop
Warning signs in accordance with ANSI (Z 535.3 -
2007)
Definition: Fall down/downward movement –
hazard for feet
Bruise/Crush
Warning signs in accordance with ANSI (Z 535.3 -
2007)
Definitions: Crush – hazard for hands

DSLR Light-Jib Operating Instructions
DSLR Light-Jib
Original Operating Instructions
10
Entering of Area Prohibited
Prohibitory sign in accordance with ASR A1.3
Appendix 1 (until now BGV A8, before VBG 125),
DIN 4844-2 :2001-02 and DIN 4844-2/A1: 2004-05
Definition: Entering of area prohibited
2.2 Service Address
MovieTech AG
Martin-Kollar-Str. 9
D-81829 Munich
E-Mail: info@movietech.de
www.movietech.de
Tel.: +49 (0) 89 43 68 91 3
3. Safety Notices
3.1 General Manufacturer Safety Notices
•Before first use, ensure the operating instructions have been read and understood.
•Do not leave the assembled jib unattended. Protect against unauthorized use.
•Limits specified by the manufacturer must be observed. Exceeding these limits must be avoided
under all circumstances.
•The jib should not be assembled under the influence of alcohol, drugs, or other narcotics.
•Only qualified individuals should be assigned the responsibility of assembling, disassembling, and
operating camera cranes and jib arms. This assignment must be made in writing if necessary.
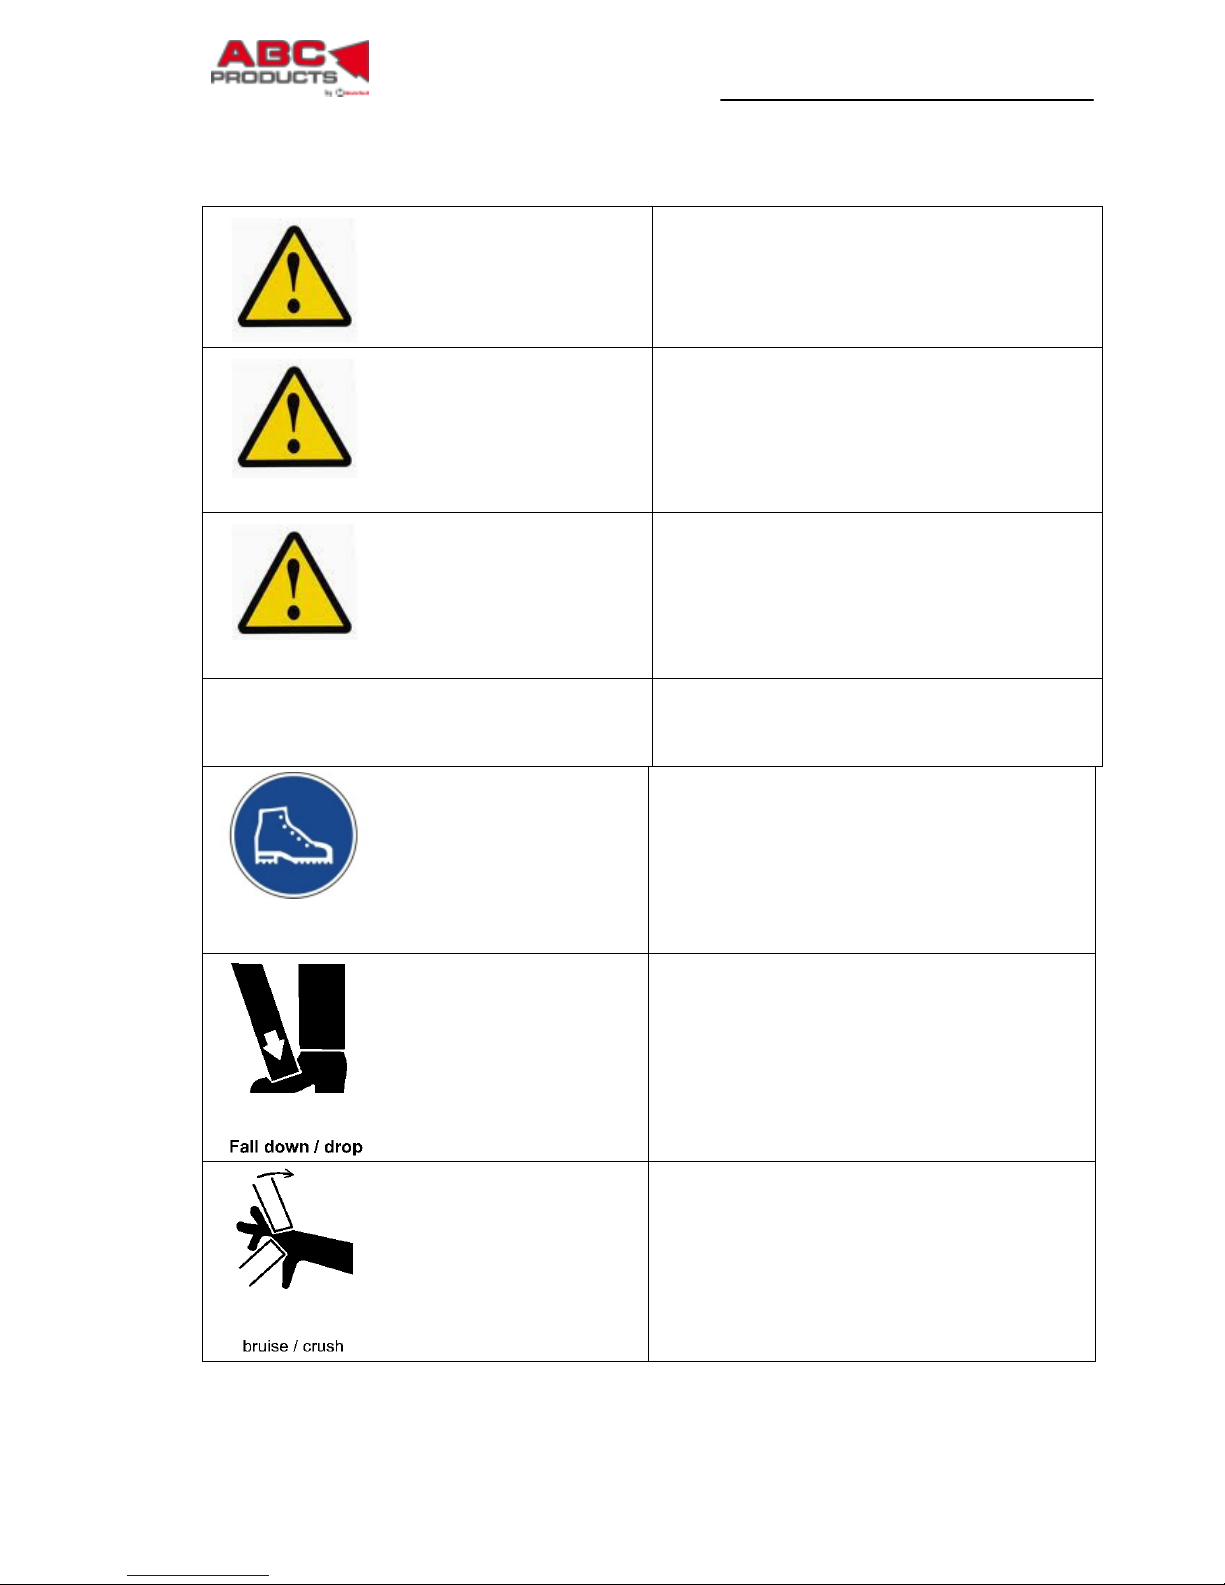
•Beware of possible crushing hazards during assembly, disassembly, and operation (please see
Assembly chapter and observe the special warning for each operational phase). Warning signs on the
product and in the operating instructions must be followed!
•To avoid injuries, gloves must be worn during assembly and disassembly.
•Electrical equipment, for example monitors, must always be protected from wetness and moisture.

DSLR Light-Jib Operating Instructions
DSLR Light-Jib
Original Operating Instructions
11
3.2 General Usage Safety Notices
•Observe the maximum camera weight of 4.5kg, as well as warning notices on the device, and special
notices regarding stability and safe use.
•Do not leave the DSLR Light-Jib unattended. Protect against unauthorized use.
•Due to the risk of lightning strike, operation in the area of an approaching storm should be stopped.
•The DSLR Light-Jib can be used at an ambient temperature of -5°C to +40°C
•Do not assemble or disassemble if winds exceed the maximum allowable speed of 50km/h
•The DSLR Light-Jib is suited for studio and limited outdoor use. The assembly location should not be
sandy, dusty, salty, or wet.
•Striking the crane, especially the crane tubes, against objects or obstacles with hard edges, must be
avoided due to possible risk of damage to materials. The manufacturer must replace damaged crane
tubes and other components important for safety.
3.3 General Testing Safety Notices
•Before each use, safety must be ensured through a visual and functional test (in accordance with
DIN15999)
•Specifically, pay attention to the following criteria
Unusual noises during movement,
Distortion (for example, bending, twisting),
Damage (for example, cracks, corrosion),
Missing parts (for example, cotter pins, fasteners)
•In the event of damage or distortion, the manufacturer must be contacted!
•Please observe all further safety notices in the following chapters!
3.4 Proper Use of the DSLR Light-Jib
The DSLR Light-Jib may be used only as intended. The DSLR Light-Jib is designed for horizontal and
vertical tracking shots around the pivot point of the center section. The camera will have a weight
between 1 to 4.5 kg. Through the balancing with counterweights, the camera can be moved effortlessly.

DSLR Light-Jib Operating Instructions
DSLR Light-Jib
Original Operating Instructions
12
3.5 Personnel Requirements
Jib operators should be able to control the camera image as well as the operating range of the DSLR
Light-Jib. Operation of the DSLR Light-Jib should always be gauged considering relevant safety aspects.
The responsibility for safe operation lies with the user. Distances between the camera and other objects
must always be gauged properly in order to avoid accidents and damage. Responsible handling of the
product within the respective environment is assumed. Using the manual, operators need to familiarize
themselves with and understand relevant safety aspects.
General Safety Notice:
While operating the DSLR Light-Jib, there is a risk of the head striking a performer.
Within the operation range of the DSLR Light-Jib, only the operator is allowed!
For safety reasons, do not allow individuals to remain underneath the jib arm!
3.6 Safety Related Environmental Conditions
Operation of the DSLR Light-Jib is suitable under the following conditions:
Studio and limited outdoor use.
The assembly location should not be sandy, dusty, salty, or wet.
Operation in heavy rain, snowfall, and highly windy or gusty environments should be avoided!
The surface should be flat and stable, and have suitable properties for the total weight of the jib.
Always be aware that the pressures of the individual tripod legs on the floor increases many times when
the DSLR Light-Jib is loaded.
Avoid assembling the DSLR Light-Jib on snow, sand, or ground that is muddy.
3.7 Possible Misapplications
The following uses are not permitted for the DSLR Light-Jib:
•The use of cameras with a weight over 4.5kg.
•The use of the jib without counterweights.
•The use of the DSLR Light-Jib for holding lighting systems.
•The use of the DSLR Light-Jib in sandy environments.
•The use underwater.
•Removing the camera before the counterweights are removed.

DSLR Light-Jib Operating Instructions
DSLR Light-Jib
Original Operating Instructions
13
3.8 Residual Dangers and Protective Measures
Transport/Storage:
•When transporting the DSLR Light-Jib, ensure that the load does not rest on individual components
•The jib should be stored in a dry room
•The jib must not be stored in direct sunlight
•The jib should not be transported or shipped without appropriate packaging
•The jib must not be moved while under load. Weights should always be removed before relocation in
accordance with the operating instructions
•All accessories must be disassembled before transporting

DSLR Light-Jib Operating Instructions
DSLR Light-Jib
Original Operating Instructions
14
4. Technical Information
4.1 Technical Data
Packing Dimensions: 155 x 25 x 15cm
Dimensions (Assembled): Lifting Height 2350cm Operating Range 155cm
Weight: 3.9kg + Accessories and Counterweights
Materials Used:
Crane Tube: Carbon
Crane Middle Section and Head: Aluminum
Clamps, Various Small Pieces: Plastic
4.2 Counterweight Table
Determining the necessary counterweight is accomplished with the following formula:
3 x Camera Weight + 3kg = Necessary Counterweight
Camera Weight
Coun
terweight
2kg 9kg
3kg 12kg
4kg 15kg

DSLR Light-Jib Operating Instructions
DSLR Light-Jib
Original Operating Instructions
15
5. Assembly and Operation
5.1 Main Components
Crane head with ¼” mounting screws and 3/8” angle adjustment
with set screw
Guide handle with rotary clamp
Crane middle section with swivel joint
Monitor holder
Horizontal brake
Vertical brake
Counterweight tube
Counterweight clamp with mounting tube

DSLR Light-Jib Operating Instructions
DSLR Light-Jib
Original Operating Instructions
16
Handle end stop
75mm/100mm tripod adapter
Carrying case
1. Crane head quick pin
2. Counterweight quick pin
1. 3/8“ screws
2. ¼“ screws
Counterweight tube clamp
1
2
1
2

DSLR Light-Jib Operating Instructions
DSLR Light-Jib
Original Operating Instructions
17
5.2 Optional Accessories
Item No. M1000 Set
12.5kg consisting of round, rubberized disk
weights (1 x 5kg/2 x 2.5kg, 2 x 1.25kg) and
carrying case
Subject to technical change, items may differ from picture
Item No. M2592
DSLR-Adventure padded carrying case, heavy
duty washable outer shell, backpack transport
system, molded foam interior
Subject to technical change, items may differ from picture
Item No. M2594
7“ TFT LCD7/HDMI Marshall 800x480 monitor incl.
battery and charger
Subject to technical change, items may differ from picture
Item No. 8321-0
32X tripod with 100mm ball socket
Subject to technical change, items may differ from picture
Item No. 8321-3000
Folding tripod roller
Subject to technical change, items may differ from picture

DSLR Light-Jib Operating Instructions
DSLR Light-Jib
Original Operating Instructions
18
CAUTION
5.3 Assembly
Please open the shipping box carefully.
Do not use any sharp tools such as cutters, scissors, etc., which could lead to carrying case or jib
damage.
Please check the delivery contents. For a list of delivery contents see page 4.
Inform the manufacturer in the event of any missing items.
5.3.1 Mounting the Tripod and Crane Support
•The tripod with jib may only be used on a stable, flat and slip-resistant
surface. The load capacity of the floor, or more specifically that of the
supporting structure, must be known and sufficiently rated. The jib must be
assembled in such a way, that stability is continuously maintained during
operation.
•The tripod must be capable of carrying the maximum load (jib weight, camera,
counterweights, accessories such as a monitor, etc.!). Observe the technical
information provided by the manufacturer! Individuals in the vicinity may be
injured!
•Ensure that the tripod is always upright! Avoid tilted positions!
•Ensure that the tripod leg extension screws are always securely closed!
When mounting the jib on a tripod with a 3/8“ screw, the threaded bolt M10 A must be unscrewed!
Image
01
Pull the tripod out to the
desired height, securely
fasten, and level
Image
02
Adapter for tripod
mounting is delivered
fully assembled.
Suitable for ball
sockets:
75mm and 100mm
Additional thread for
tripod with 3/8” screw
A
1

DSLR Light-Jib Operating Instructions
DSLR Light-Jib
Original Operating Instructions
19
CAUTION
Image
03
Mount the crane
support onto the tripod.
The M10 axel pin is
guided through the
opening in the tripod
socket. The support
must be horizontal and
centered in the socket.
You may now securely
fasten the support with
the washer and star grip
nut.
Image
04
Slide spacer Aonto the
threaded bolt and screw
on star grip nut B.
Image
05
Hand tighten the star
grip nut Buntil it stops!
Image
06
The jib level can be
inspected using the
bubble level Aon the
crane support.
Not paying close attention during assembly may lead to being crushed between
the middle section and the tripod!
B
1
A
1
B
1
A
1

DSLR Light-Jib Operating Instructions
DSLR Light-Jib
Original Operating Instructions
20
CAUTION
NOTICE
NOTICE
5.3.2 Mounting the Camera
For mounting the camera a ¼“ screw and a 3/8“ screw are included!
The maximum weight capacity for the DSLR Light-Jib is 4.5kg and must not be
exceeded!
For damage occurring as a result of overloading, no product liability is
assumed, and the warranty will be void!
The closer the camera is mounted to the pivot point of the jib head (1), the lower
the pivot acceleration will be for steep camera viewing angles.
When mounting, ensure that a long camera body does not come into contact
with the top tube during steep pivoting angles.
Pivot Point (1)
Jib Head
Image 07
Set camera on jib head and fasten with
¼” or 3/8” mounting screw, depending
on the threading of your camera.
Image
08
For mounting with a ¼“ or
3/8“ screw, a slotted
screwdriver or other
suitable tool is required.
This tool is not included!
Adjustment of the focal length on certain lenses can lead to a shift in weight
distribution. Rebalance the counterweights accordingly by adjusting the
counterweight tube.
(See chapter 5.3.5 Balancing the DSLR-Jib with Counterweights)
Warning sign in accordance with
ANSI (Z 535.3 - 2007)
Definitions: Crush – hazard for hands
Crushing
Hazard
In the spaces between the
crane head exists a
crushing hazard for fingers!
(1)
Table of contents
Other ABC-Products Camera Accessories manuals
Popular Camera Accessories manuals by other brands

Delta
Delta BX6.3 EX100 Quick installation guide

Abus
Abus TV8339 installation guide

B. Braun
B. Braun Aesculap Acculan 4 GA346 Instructions for use/Technical description

Smart Technologies
Smart Technologies AirLiner WS100 Technical bulletin

Data Video
Data Video PTR-10MKII instruction manual

pro master
pro master 3669 quick start guide