ABI INTERIORS BATH BEND POP DOWN User manual
Other ABI INTERIORS Bathroom Fixture manuals
ABI INTERIORS
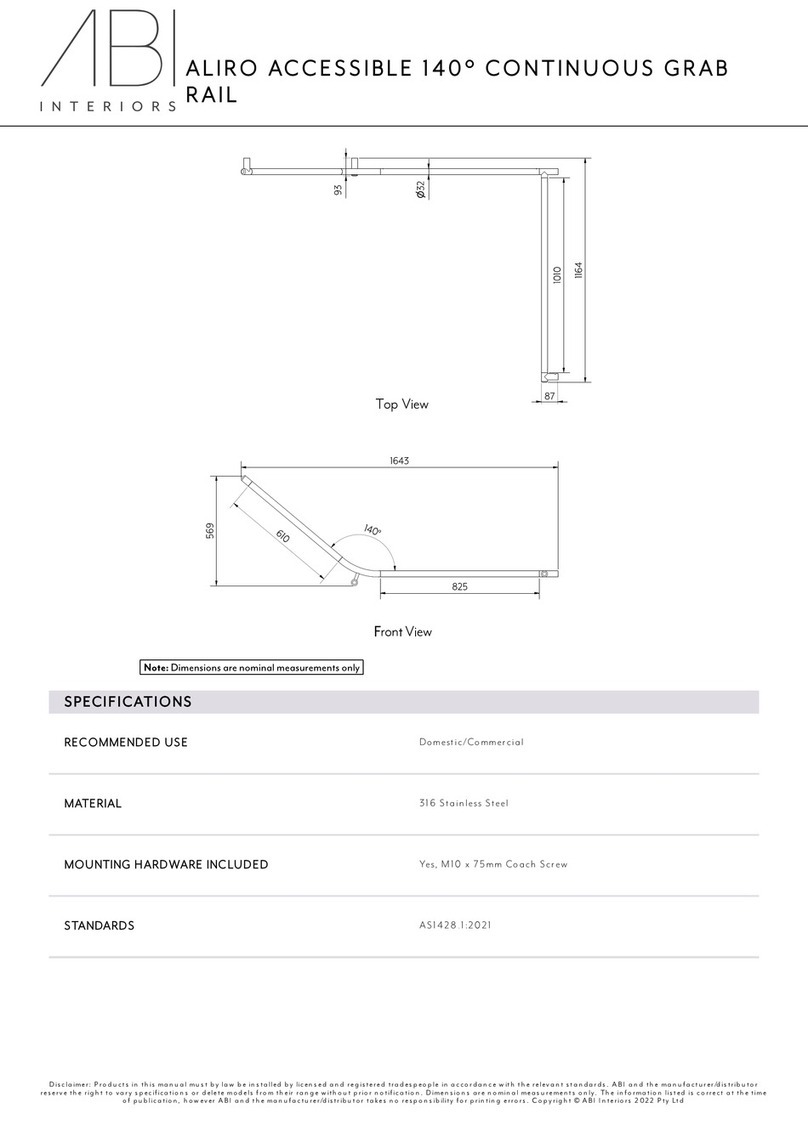
ABI INTERIORS ALIRO 14774 User manual

ABI INTERIORS
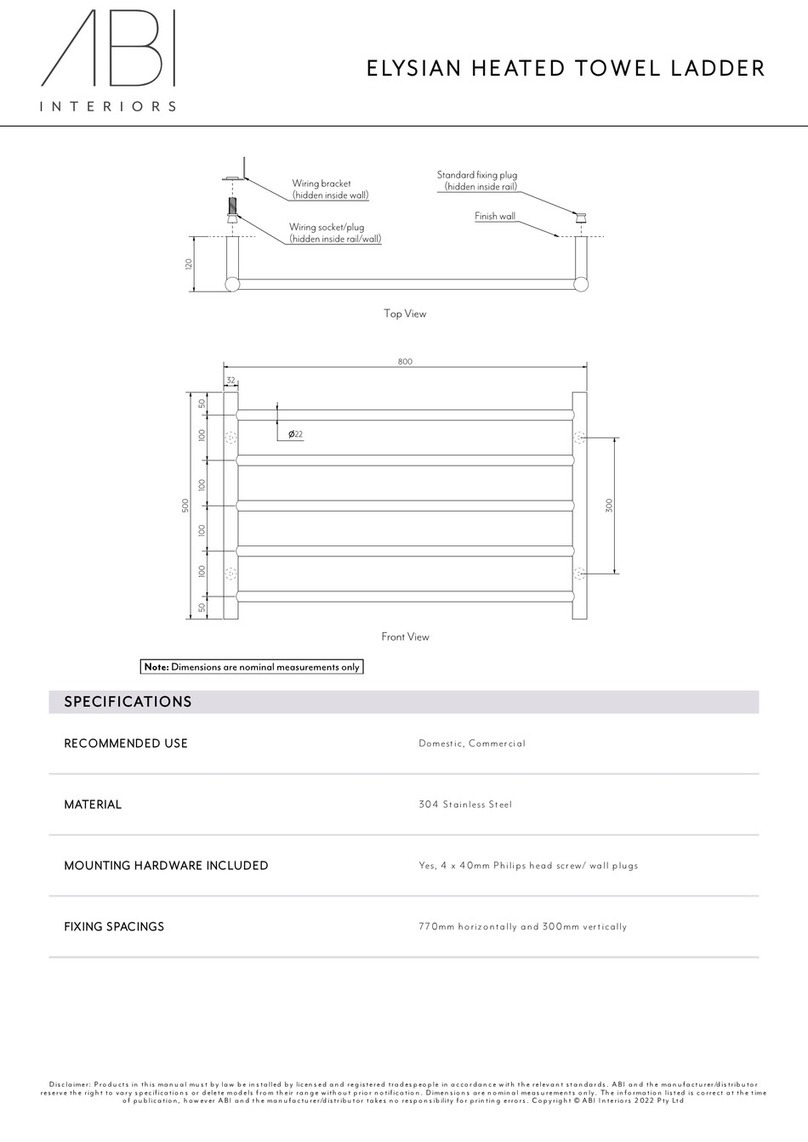
ABI INTERIORS ELYSIAN User manual
ABI INTERIORS
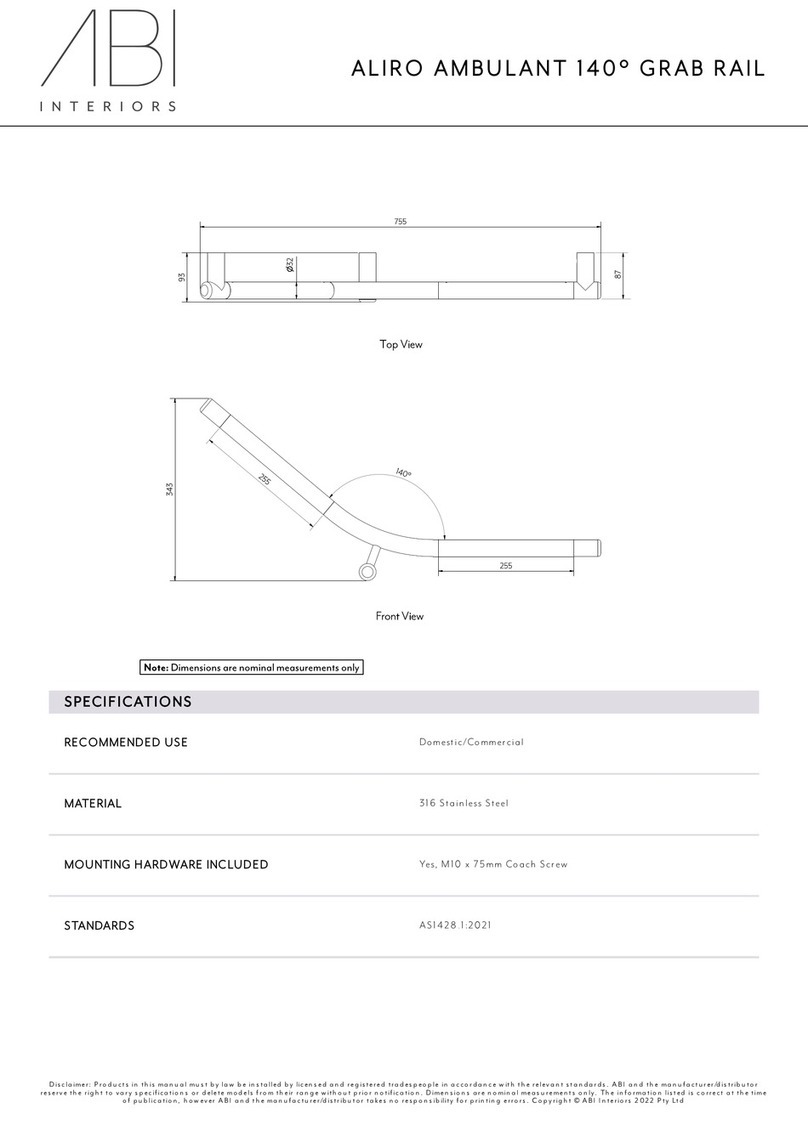
ABI INTERIORS Aliro Ambulant 14755 User manual

ABI INTERIORS
ABI INTERIORS Sola 15957 User manual
ABI INTERIORS
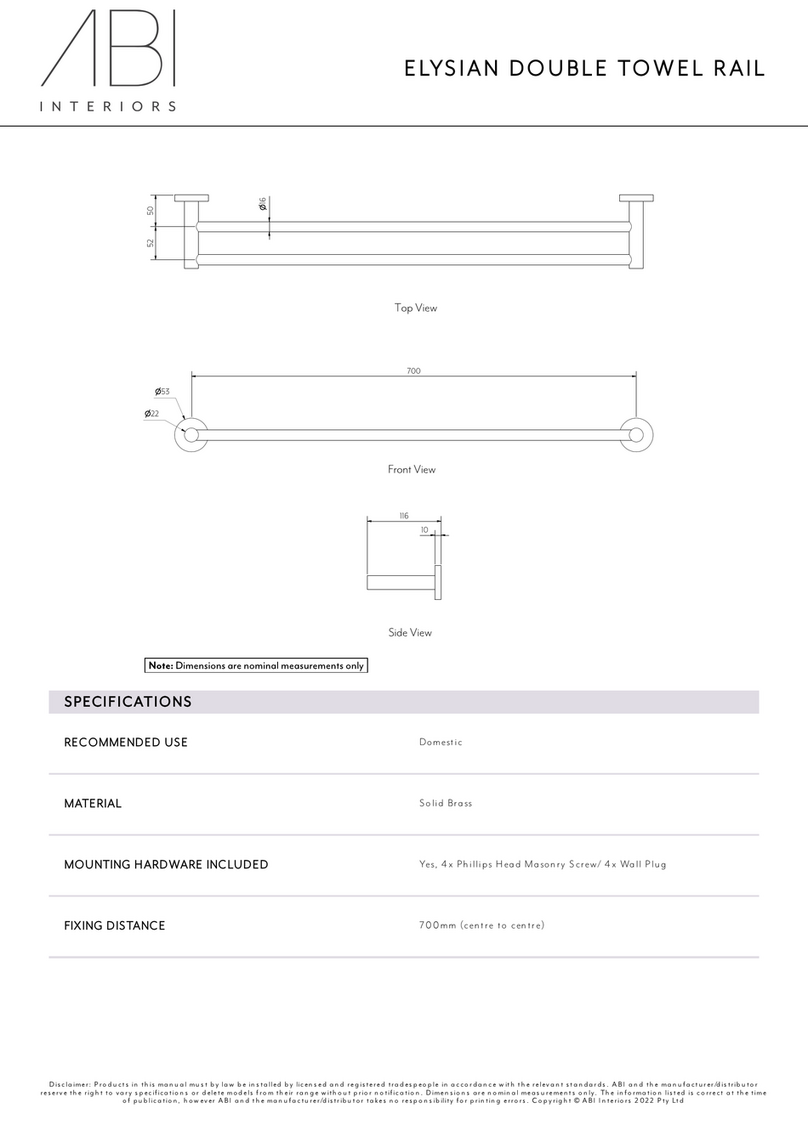
ABI INTERIORS ELYSIAN DOUBLE TOWEL RAIL 11447 User manual

ABI INTERIORS
ABI INTERIORS AZUL User manual

ABI INTERIORS
ABI INTERIORS 13076 User manual
ABI INTERIORS
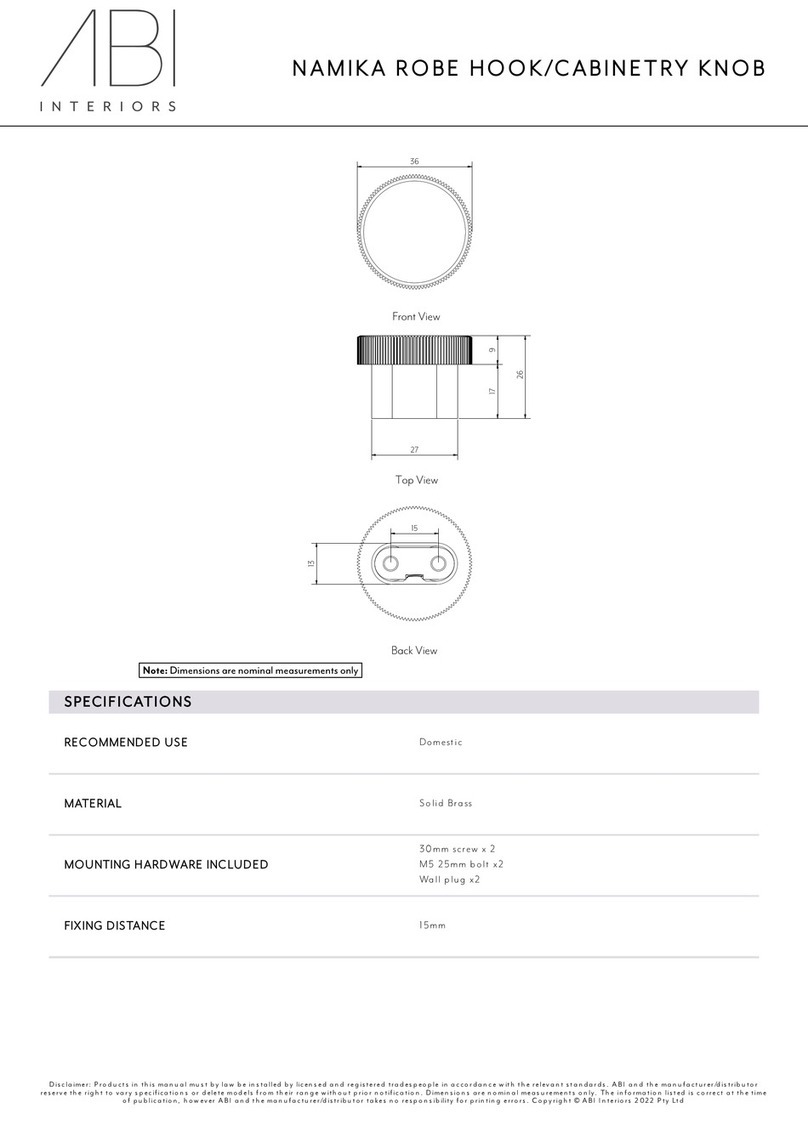
ABI INTERIORS Namika 15672 User manual

ABI INTERIORS
ABI INTERIORS Pixi 16007 User manual
ABI INTERIORS
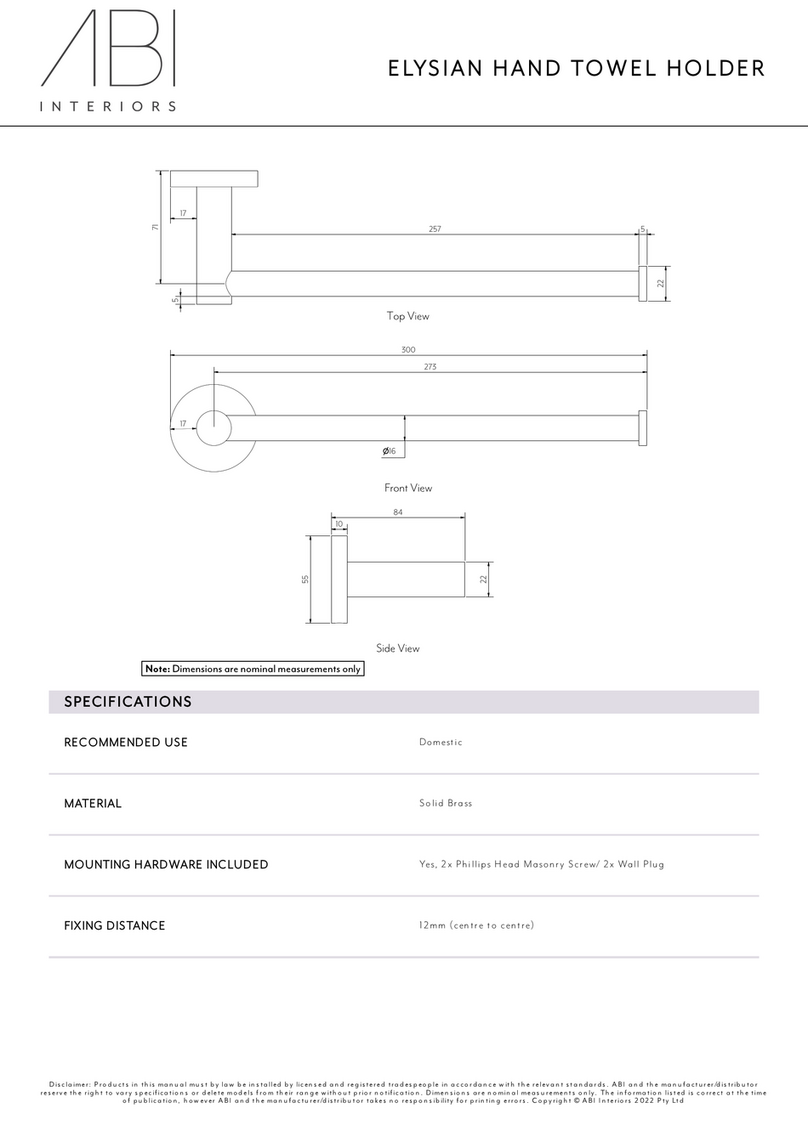
ABI INTERIORS ELYSIAN HAND TOWEL HOLDER 12250 User manual
Popular Bathroom Fixture manuals by other brands

Kohler
Kohler Mira Sport Max J03G Installation and user guide

Moen
Moen 186117 Series installation guide

Hans Grohe
Hans Grohe Raindance Showerpipe 27235000 Instructions for use/assembly instructions

Signature Hardware
Signature Hardware ROUND SWIVEL BODY SPRAY 948942 Install

fine fixtures
fine fixtures AC3TH installation manual

LIXIL
LIXIL HP50 Series quick start guide

