manuals.online logo
Brands
  1. Home
  2. •
  3. Brands
  4. •
  5. ABI INTERIORS
  6. •
  7. Bathroom Fixture
  8. •
  9. ABI INTERIORS ELYSIAN User manual

ABI INTERIORS ELYSIAN User manual

ELYS IAN HE ATED TO W E L LADDER
Dis cla imer: P ro d u ct s in th is ma n u a l mu s t by law b e in s ta lled b y licen s ed a n d reg is tered t ra d es p eo p le in a c cord a n c e w ith th e releva n t s tan d a rd s . A BI a n d th e ma n u f a ctu rer/d is trib u t o r
res erve th e rig h t to v a ry s p ecifica tion s o r d elete mo d els f ro m th eir ra n g e w ith o u t p rio r n o t ifica tion . Dimen s io n s a re n o min a l mea s u remen ts o n ly. Th e in fo rmatio n lis ted is co rrect a t th e time
o f p u b lica tio n , h o w ever A B I a n d th e man u fa ctu rer/dis tribu to r ta kes n o res p o n s ib ility fo r p rin t in g erro rs . C o p yrig h t © A B I I n terio rs 2 02 2 P ty Ltd
SPECIFICATIONS
RECOMMENDED USE Domestic, Commercial
MATERIAL 304 Stainless Steel
MOUNTING HARDWARE INCLUDED Yes, 4 x 40mm Philips head screw/ wall plugs
FIXING SPACINGS 770mm horizontally and 300mm vertically
Installation Option 1:
Rough-in Installation Method [Recommended Installation]
INSTA LLATION GUIDE
Note: This product must be installed by a licensed electrician.
This is a general installation guide - there are many factors that
are inv olved that can alter the installation method. This product
install must comply with the standards in your respective country
and must be adhered to by your licensed tradesperson. [AS/NZS
3000:2018]
Talk with your client to determine the best
location for the heated towel ladder, ensuring
the position satisfies regulations for IP55
devices.
2
NOTE: ensure towel
ladder will be fixed
into adequite
structure.
Fix the wiring bracket to the internal structure.
3
770mm
300mm
61. Attach top legs using the bolts provided.
2. Attach only the non-electrical leg at the
bottom using the grub screws.
1. 2.
Finish the wall. Ensure the wiring socket/plug
is not covered up, mark fixing locations and
attach the brackets.
5
770mm
770mm
300mm
300mm
Wiring socket/plug
Thread the wiring through the bracket to your
transformer (not included). Be sure to adhere
to the relevant electrical standards.
4
Wiring bracket
Talk with your client about how they wish
to control the heated towel ladder. Usually,
having it connected to a switch in the
bathroom is ideal.
1
Heated
Towel
Ladder
OR
NOTE: Do not attach the leg that will cover the electrical cord
1. Connect the 12v electrical outlet to the inlet
located on the inside of the tube of the ladder.
2. Attach the leg to the main frame.
7
1.
A.
A.
2.
8Push the ladder onto the wall fixings and
tighten the grub screws to secure it.
INSTA LLATION GUIDE
Note: This product must be installed by a licensed electrician.
This is a general installation guide - there are many factors that
are inv olved that can alter the installation method. This product
install must comply with the standards in your respective country
and must be adhered to by your licensed tradesperson. [AS/NZS
3000:2018]
Check all electrical connections before
switching on the power to the rail. Test and
commission.
9
DO NOT use cr eam
cleaners or bleach.
These substances are
abra sive.
Regularlyclean with
mildliquid deter gent
or soap and w a ter.
DO NOT use cleaning
pads with abra sive
surfaces as this may
scra t ch the material.
Installation Option 1:
Rough-in Installation Method continued [Recommended Installation]
INSTA LLATION GUIDE
Note: This product must be installed by a licensed electrician.
This is a general installation guide - there are many factors that
are inv olved that can alter the installation method. This product
install must comply with the standards in your respective country
and must be adhered to by your licensed tradesperson. [AS/NZS
3000:2018]
2The placement will be determined by the
location of the wiring. Ensure the position
satisfies local regulations for IP55 devices.
1. Connect the 12v electrical outlet to the inlet
located on the inside tube of the ladder.
2. Tighten the nut.
3. Push leg on and tighten grub screw.
6
1.
A.
A.
2.
3.
Using the wiring socket, thread the wire through
and send it to an accessible space where the
transformer (not included) is located. Fix the
socket in by threading it into the wall, applying
adhesive to the plug will ensure a secure fit.
Note: Take caution with tiled walls
3
Wiring socket/ plug
770mm
770mm
300mm
300mm
Mark all other fixings based off this point and
fix the standard fixing plugs to the wall.
4
Wiring socket/ plug
1. Attach top legs using the bolts.
2. Attach only the non-electrical leg at the
bottom using the grub screws.
5
NOTE: Do not attach the leg that will cover the electrical cord
1. 2.
Talk with your client about how they wish
to control the heated towel ladder. Usually,
having it connected to a switch in the
bathroom is ideal.
1
Heated
Towel
Ladder
OR
Installation Option 2:
Fit-off Installation Method
Push the ladder onto the wall fixings and
tighten the grub screws to secure it.
7
In The Box
1. 1 x Heated Towel Ladder
2. 2 x Bolt fixing legs
3. 2 x Grub screw fixing legs
4. 3 x Standard fixing plugs
5. 1 x Wiring bracket
6. 1 x Wiring socket/ plug
7. 6 x Grub screws
8. 2 x M6 x 1 x 45mm Philips head bolts
9. 2.5mm Allen key
10. 4 x 40mm Philips head fixing screws
11. 4 x Wall plugs
12. 1 x Electrical cord (2m long)
3
3
7
7
7
9
6
5
12
1
2
2
7
8
8
10
10
10
4
4
4
11
11
11
INSTA LLATION GUIDE
Note: This product must be installed by a licensed electrician.
This is a general installation guide - there are many factors that
are inv olved that can alter the installation method. This product
install must comply with the standards in your respective country
and must be adhered to by your licensed tradesperson. [AS/NZS
3000:2018]
12v Transformer
NOT INCLUDED
Available on
our website.
Check all electrical connections before
switching on the power to the rail.
8
DO NOT use cr eam
cleaners or bleach.
These substances are
abra sive.
Regularlyclean with
mildliquid deter gent
or soap and w a ter.
DO NOT use cleaning
pads with abra sive
surfaces as this may
scra t ch the material.
Installation Option 2:
Fit-off Installation Method continued

This manual suits for next models

6

Other ABI INTERIORS Bathroom Fixture manuals

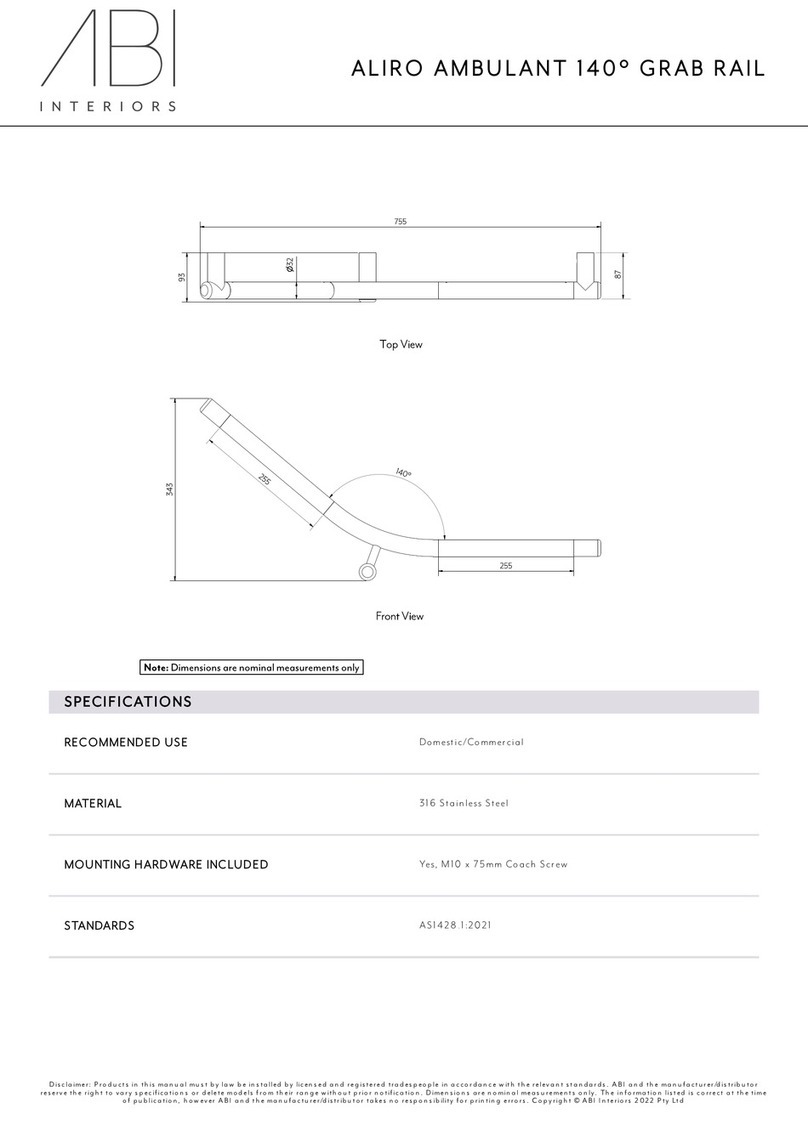
ABI INTERIORS Aliro Ambulant 14755 User manual

ABI INTERIORS

ABI INTERIORS Aliro Ambulant 14755 User manual

ABI INTERIORS Namika 15672 User manual

ABI INTERIORS

ABI INTERIORS Namika 15672 User manual

ABI INTERIORS Aliro Accessible 14736 User manual

ABI INTERIORS

ABI INTERIORS Aliro Accessible 14736 User manual

ABI INTERIORS ALIRO 14774 User manual

ABI INTERIORS

ABI INTERIORS ALIRO 14774 User manual

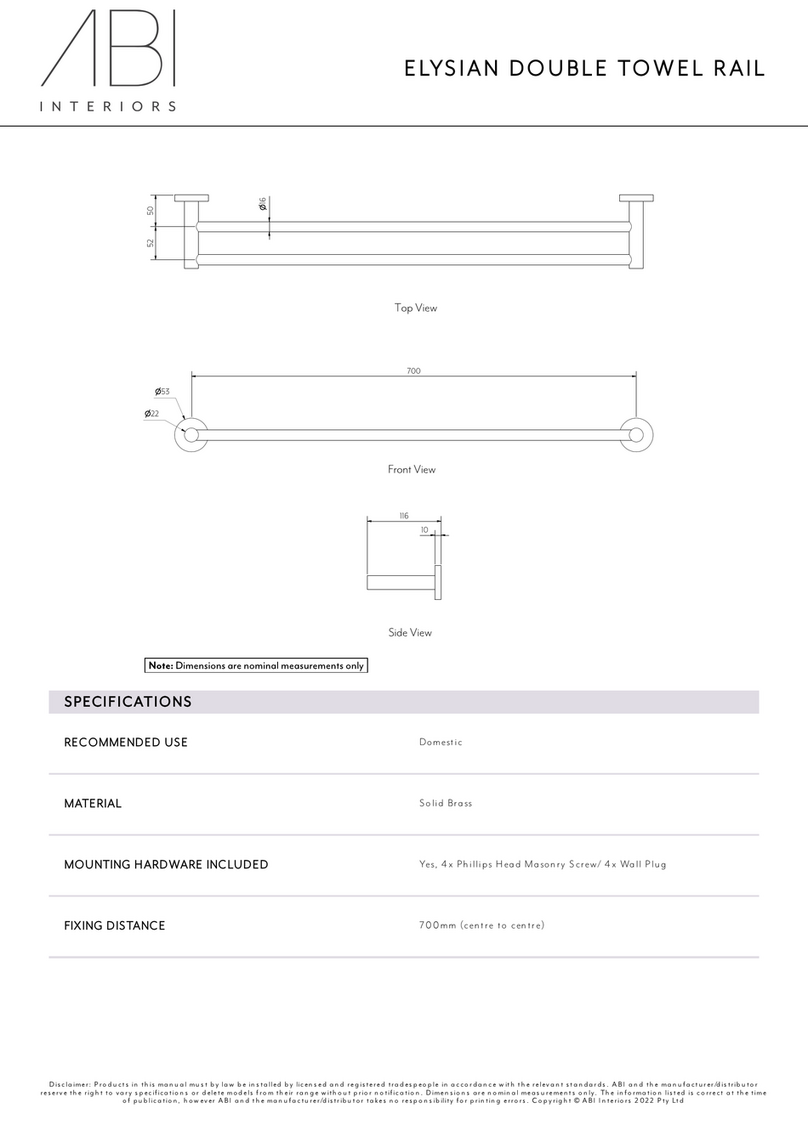
ABI INTERIORS ELYSIAN DOUBLE TOWEL RAIL 11447 User manual

ABI INTERIORS

ABI INTERIORS ELYSIAN DOUBLE TOWEL RAIL 11447 User manual

ABI INTERIORS Sola 15957 User manual

ABI INTERIORS

ABI INTERIORS Sola 15957 User manual

ABI INTERIORS 11836 User manual

ABI INTERIORS

ABI INTERIORS 11836 User manual

ABI INTERIORS Aliro 14772 User manual

ABI INTERIORS

ABI INTERIORS Aliro 14772 User manual

ABI INTERIORS AZUL User manual

ABI INTERIORS

ABI INTERIORS AZUL User manual

ABI INTERIORS Pixi 16007 User manual

ABI INTERIORS

ABI INTERIORS Pixi 16007 User manual

ABI INTERIORS ELYSIAN HAND TOWEL HOLDER 12250 User manual

ABI INTERIORS

ABI INTERIORS ELYSIAN HAND TOWEL HOLDER 12250 User manual

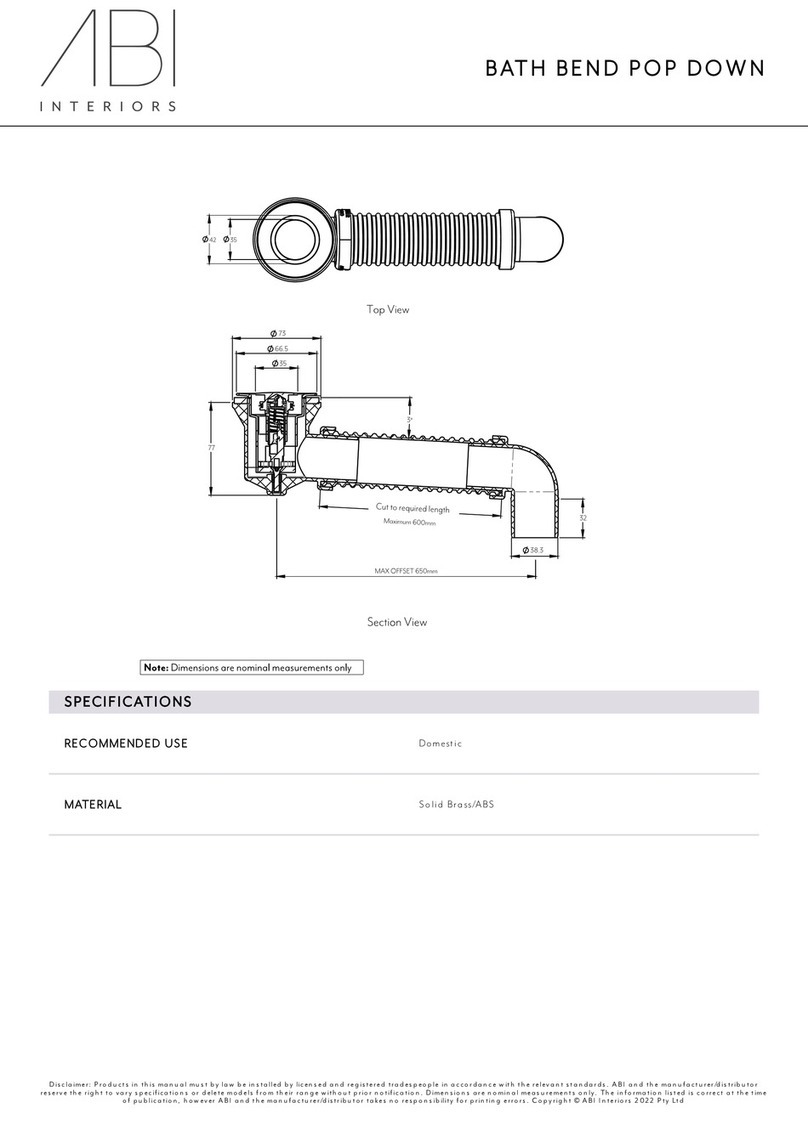
ABI INTERIORS BATH BEND POP DOWN User manual

ABI INTERIORS

ABI INTERIORS BATH BEND POP DOWN User manual

ABI INTERIORS ELYSIAN User manual

ABI INTERIORS

ABI INTERIORS ELYSIAN User manual

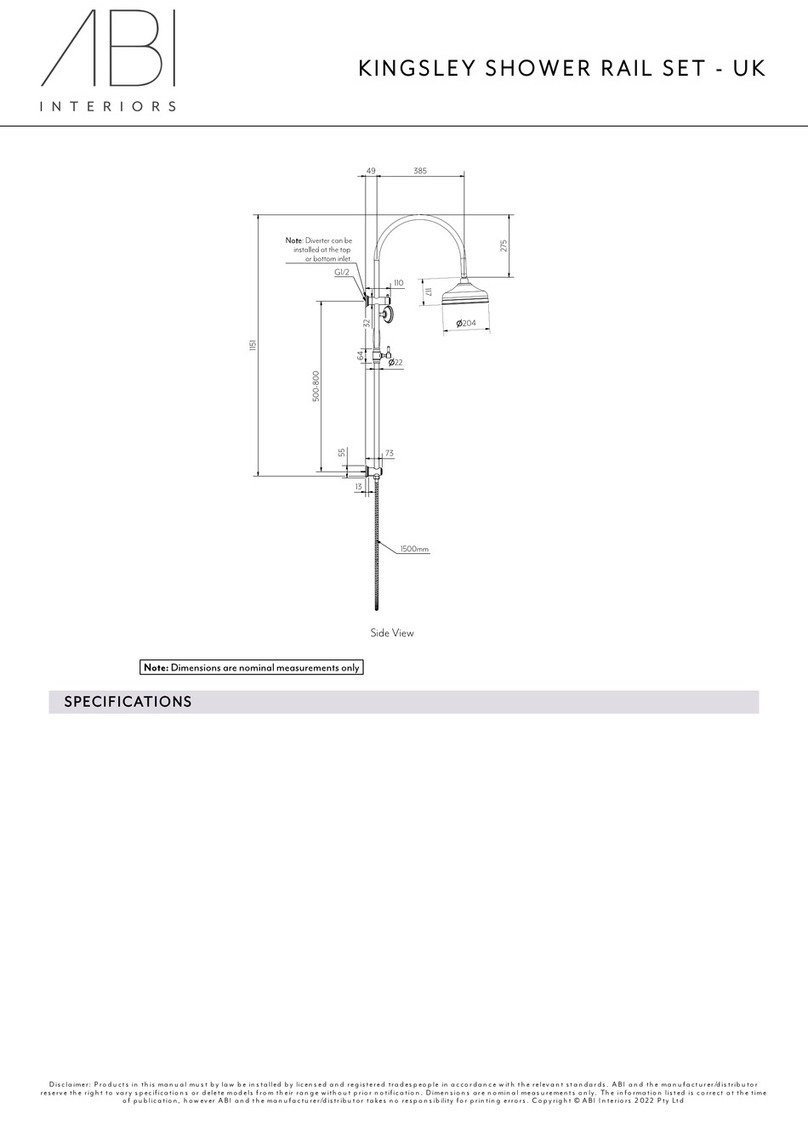
ABI INTERIORS KINGSLEY SHOWER RAILSET User manual

ABI INTERIORS

ABI INTERIORS KINGSLEY SHOWER RAILSET User manual

ABI INTERIORS 13076 User manual

ABI INTERIORS

ABI INTERIORS 13076 User manual
Popular Bathroom Fixture manuals by other brands

Toto TMC95 V101 installation manual

Toto

Toto TMC95 V101 installation manual

Hans Grohe Axor Arco 11444 Series manual

Hans Grohe

Hans Grohe Axor Arco 11444 Series manual

Crosswater US-L1 installation instructions

Crosswater

Crosswater US-L1 installation instructions

Tiger AKCENT 171514 Instructions for installation

Tiger

Tiger AKCENT 171514 Instructions for installation

Toto TTSH302J Installation and owner's manual

Toto

Toto TTSH302J Installation and owner's manual

Waterman 10 l-SOLARDUSCHE COMPACT Assembly and operating instructions

Waterman

Waterman 10 l-SOLARDUSCHE COMPACT Assembly and operating instructions

Black & Decker Pfister G16 Series Installation

Black & Decker

Black & Decker Pfister G16 Series Installation

Arova MICA BTH40 installation guide

Arova

Arova MICA BTH40 installation guide

Moen WS84661SRN installation guide

Moen

Moen WS84661SRN installation guide

Brizo Virage 65330LF Series owner's manual

Brizo

Brizo Virage 65330LF Series owner's manual

Mirabelle MIRRS1025RBN manual

Mirabelle

Mirabelle MIRRS1025RBN manual

Pulse Shower Spas Monterey ShowerSpa 1042-SSB-1.8GPM owner's manual

Pulse Shower Spas

Pulse Shower Spas Monterey ShowerSpa 1042-SSB-1.8GPM owner's manual

Helvex 410-32 installation guide

Helvex

Helvex 410-32 installation guide

Akw iSure Installation and instruction manual

Akw

Akw iSure Installation and instruction manual

Luxier SP06-CEC manual

Luxier

Luxier SP06-CEC manual

newform 67706 instructions

newform

newform 67706 instructions

Kohler K-817 installation guide

Kohler

Kohler K-817 installation guide

Triton ASTI Installation and operating instructions

Triton

Triton ASTI Installation and operating instructions

manuals.online logo
manuals.online logoBrands
  • About & Mission
  • Contact us
  • Privacy Policy
  • Terms and Conditions

Copyright 2025 Manuals.Online. All Rights Reserved.