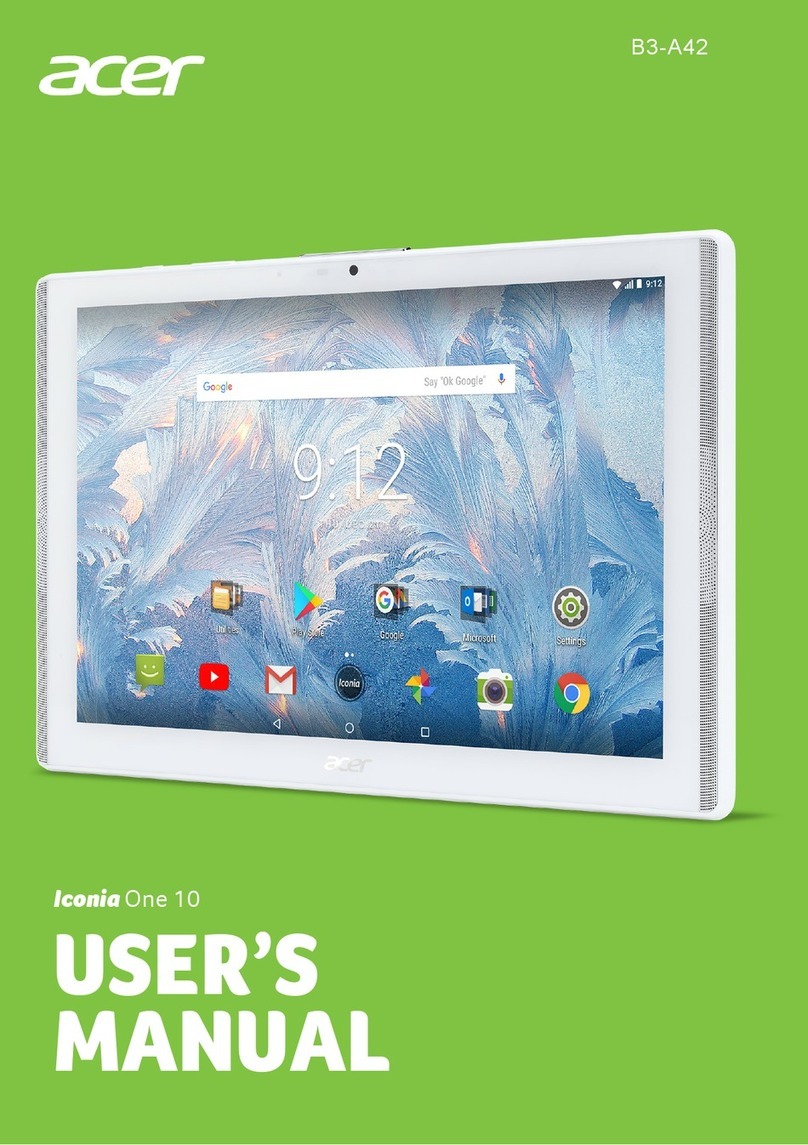
Acer A3-A50 User manual

USER’S
MANUAL
A3-A50
Iconia Tab 10

2 -
© 2017 All Rights Reserved
Acer Iconia Tab 10 User’s Manual
Covers: A3-A50
Regulatory Model Number (RMN): A7003
This revision: August 2017
Acer Iconia Tab 10
Model number: _______________________________________________
Serial number: _______________________________________________
Date of purchase: ____________________________________________
Place of purchase: ___________________________________________
Important
This manual contains proprietary information that is protected by
copyright laws. The information contained in this manual is subject to
change without notice. Images provided herein are for reference only
and may contain information or features that do not apply to your
computer. Acer Group shall not be liable for technical or editorial errors
or omissions contained in this manual.
Sign up for an Acer ID and enjoy great benefits
There are three great reasons for you to get an Acer ID:
• Create your own connected world.
• Get the latest offers and product information.
• Register your device for quick, personalized customer support.
For more information, please visit the Acer website: account.acer.com

Table of contents - 3
TABLE OF CONTENTS
Getting started with your tablet 4
Features and functions ............................ 4
Unpacking your tablet.............................. 4
Getting to know your tablet...................... 5
Turning on for the first time...................... 6
Charging your tablet 8
Assembling the power adapter ................ 8
Connecting devices to your tablet 10
Connecting to AC power........................ 10
Inserting a microSD card ....................... 10
Transferring files between your tablet
and a PC................................................ 10
Connecting a Bluetooth device .............. 11
Accessories ........................................... 12
Specifications 13
Guidelines for safe battery usage 16
Battery information................................. 16
Replacing the battery............................. 17

4 - Getting started with your tablet
GETTING STARTED WITH YOUR TABLET
Features and functions
Your new tablet offers leading, easy-to-access multimedia and
entertainment features. You can:
• Connect to the Internet via Wi-Fi.
• Access your email while on the move.
• Keep in touch with your friends with social networking apps.
• Watch movies or listen to music.
• Play games or read a book.
Unpacking your tablet
Your new tablet comes packed in a protective box. Carefully unpack
the box and remove the contents. If any of the following items are
missing or damaged, contact your dealer immediately:
• Acer Iconia tablet
• Product setup and safety information
• USB cable
• AC adapter
• Warranty card
Note
Before using your tablet for the first time, you need to charge it for at least
four hours. After that you can recharge the battery as needed.
Note
If the battery has been depleted for a while, please charge the tablet for at
least 30 minutes using the adapter.

Getting started with your tablet - 5
Getting to know your tablet
123
6
11
8
7
8
10
4
5
9
Views

6 - Getting started with your tablet
Turning on for the first time
To turn on your tablet, press and hold the power button until you see
the Acer logo. Wait a moment for your tablet to boot up. You will then
be asked some questions before you can use your tablet.
To start, tap to select your language then tap the arrow. Follow the
rest of the instructions as they are displayed.
No. Item Description
1 Power button
Long press to turn the tablet on, press
briefly to turn the screen on/off or enter
sleep mode; press and hold to turn the
tablet off.
2 Microphone Receives audio for voice searches, video
chats and Internet calls.
3
Cover for Micro HDMI
port and microSD
card slot
Insert a microSD card into the slot.
43.5 mm headphone
jack Connects to stereo headphones.
5 Micro USB port
Connects to a computer via a USB cable.
Also serves as the charging port for the
AC adapter. For more information, see
Charging your tablet on page 8.
6 Front-facing camera A 2-megapixel camera for video chats
and selfies.
7 Volume control key Increases and decreases the tablet
volume.
8 Speakers Emits audio.
9 Touchscreen 10.1" LED-backlit LCD.
10 MediaMaster button Selects the best audio and video settings
for different activities.
11 Rear-facing camera A 8-megapixel camera for taking high-
resolution images.

Getting started with your tablet - 7
If the tablet’s screen turns off, it has entered sleep mode. Briefly press
the power button to wake it up. For more information see Waking
your tablet on page 25.
Sign in to or create a Google account
If you have Internet access, your tablet allows you to synchronize
information with a Google account.
During the start-up process, you may create or sign in to an account,
which will be used to synchronize your contact list, email, calendar
and other information. If you do not yet have Internet access, or do not
want to use this feature, then tap Skip.
If you have multiple Google accounts, such as separate accounts for
personal and business contacts, you can access and synchronize
them from the Accounts settings section. See Multiple Google
accounts on page 44
Important
You must sign in to a Google Account to use Gmail, Hangouts, Google
Calendar, and other Google apps; to download apps from Google Play;
to back up your settings to Google servers; and to take advantage of
other Google services on your tablet.

8 - Charging your tablet
CHARGING YOUR TABLET
Assembling the power adapter
Your tablet is bundled with one of two types of USB power adapters: a
fixed-prong type or a removable-prong type. Both types are described
in this manual.
Fixed-prong type
The prongs and power adapter body form a complete piece, no
assembly required. Simply slide the large end of the USB cable into
the power adapter body (it will fit in only one direction). You cannot
remove or switch the prongs with this type of adapter.
Removable-prong type
Align arrows on the power adapter head and body. Insert the head
onto the power adapter body and turn the head towards "CLOSE"
printed on the head until it clicks into place. Simply slide the large end
of the USB cable into the power adapter body (it will fit in only one
direction).
CLOSE
OPEN
1
C
OPEN
2

Charging your tablet - 9
Connecting power
Connect the power connector to your tablet and plug the AC adapter
into any AC outlet.
Warning
Only use an Acer-approved adapter to charge your device.
Note
It is normal for the tablet surface to become warm during charging or long
periods of use.

10 - Connecting devices to your tablet
CONNECTING DEVICES TO YOUR
TABLET
Connecting to AC power
See Charging your tablet on page 8
Inserting a microSD card
You may install a microSD card to expand your device's storage
space. Ensure that the microSD card is inserted all the way into the
card slot.
To check card capacity, open Settings > Storage & USB. Your card’s
current capacity is listed under SD card.
Transferring files between your tablet and a PC
Your tablet and any connected storage devices can be accessed from
a PC with a USB connection.
Connecting to a PC as a USB storage device
If you wish to transfer information between your device and your
computer (either the microSD card in your device or the device’s
internal memory), you can connect your device to a PC using the
supplied USB cable.
1. Plug the USB sync cable into the micro USB connector on your
device.
2. Plug the USB client connector into an available USB port on your
computer.
Note
Your tablet only supports microSD cards that use the FAT, FAT32, exFAT,
and NTFS file systems.

Connecting devices to your tablet - 11
Your device will now be available as a drive in your computer’s file
explorer.
For USB options, swipe down from the top of the screen to display the
notification area and tap USB for file transfer to choose whether to
Transfer files (the recommended option) or Transfer photos (PTP).
Connecting a Bluetooth device
To connect to a Bluetooth device, you must first pair the devices. To
do so, do the following:
1. Open Settings, then under Wireless & networks tap Bluetooth.
2. Turn Bluetooth on and the tablet instantly starts scanning for nearby
Bluetooth devices.
3. Tap the device you want to connect to and follow any on-screen
instructions.
After the initial pairing, you only need to ensure your tablet’s Bluetooth
is on and the device is on to connect the two. For more information on
connecting to another Bluetooth device, see the device’s operating
instructions.

12 - Connecting devices to your tablet
Only A2DP stereo headsets (playback only, no microphone) are
supported.
Accessories
For a complete list of accessories, visit store.acer.com.
Note
Please check for updates to the tablet's software which may add support for
additional Bluetooth devices (open Settings > About tablet > System
updates > CHECK NOW.

Specifications - 13
SPECIFICATIONS
Performance
• MTK MT8176 hexa-core processor
• 2x Cortex A72 2.1 GHz
• 4x Cortex A53 1.7 GHz
• System memory:
• 4 GB of LPDDR3 RAM
• 64 GB eMMC memory
Android™7.0 (Nougat) operating system
Display
• 10.1" IPS LCD capacitive multi-touch screen
• FHD 1920 x 1200 resolution
Multimedia
• Four built-in speakers
• Subwoofer
• Built-in microphone
Power
• DC power-in (10 W)
Connectivity
• 802.11a/b/g/n/ac wireless LAN
• Bluetooth 4.1
Navigation
•
GPS
• GLONAS
S support

14 - Specifications
Camera
• Front camera
• 2-megapixel
• 720p HD audio/video recording
• Rear camera
• 8-megapixel
• 1080p Full HD audio/video recording
Expansion
• MicroSD card slot (SDXC, up to 128 GB)
• Micro HDMI port (supports 4K output, 30 fps)
USB connector
• Micro USB port
• OTG support
Battery
•
22.2 Wh 6000 mAh 3.7 V 2-cell Li-ion battery pack
Battery life: Up to 8 hours (based on video playback test results)
Dimensions
Height 169.2 mm
Width 267.4 mm
Thickness 8.95 mm
Weight 530 g
Note
Length of battery operation will depend on power consumption which is
based on system resource use. For example, constantly using the backlight
or using power-demanding apps will shorten battery life between charges.

Specifications - 15
Environment
Temperature
Operating: 0°C to 35°C
Non-operating: -20°C to 60°C
Humidity (non-condensing)
Operating: 20% to 80%
Non-operating: 20% to 80%
TRADEMARK INFORMATION
For DTS patents, see http://patents.dts.com. Manufactured
under license from DTS Licensing Limited. DTS, DTS-HD, the
Symbol, & DTS or DTS-HD and the Symbol together are
registered trademarks, and DTS-HD Premium Sound is a
trademark of DTS, Inc. © DTS, Inc. All Rights Reserved.

16 - Guidelines for safe battery usage
GUIDELINES FOR SAFE BATTERY
USAGE
Battery information
Do not use this product in a humid, wet and/or corrosive environment.
Do not put, store or leave your product in or near a heat source, in a
high temperature location, in strong direct sunlight, in a microwave
oven or in a pressurized container, and do not expose it to
temperatures over 60° C (140° F). Failure to follow these guidelines
may cause the battery to leak acid, become hot, explode or ignite and
cause injury and/or damage. Do not pierce, open or disassemble the
battery. If the battery leaks and you come into contact with the leaked
fluids, rinse thoroughly with water and seek medical attention
immediately. For safety reasons, and to prolong the lifetime of the
battery, charging will not occur at low (below 0° C/32° F) or high (over
45° C/113° F) temperatures.
The full performance of a new battery is achieved only after two or
three complete charge and discharge cycles. The battery can be
charged and discharged hundreds of times, but it will eventually wear
out. When the talk and standby times are noticeably shorter than
normal, buy a new battery. Use only manufacturer approved batteries,
and recharge your battery only with manufacturer approved chargers
designated for this device.
Unplug the charger from the electrical plug and the device when not in
use. Do not leave a fully charged battery connected to the AC
charger, since overcharging may shorten its lifetime. If left unused, a
fully charged battery will lose its charge over time. If the battery is
completely discharged, it may take a few minutes before the charging
indicator appears on the display or before any calls can be made.
Use the battery only for its intended purpose. Never use any charger
or battery that is damaged.
Do not short-circuit the battery. Accidental shortcircuiting can occur
when a metallic object such as a coin, clip, or pen causes direct
connection of the positive (+) and negative (-) terminals of the battery.

Guidelines for safe battery usage - 17
These look like metal strips on the battery. This might happen, for
example, when you carry a spare battery in your pocket or purse.
Short-circuiting the terminals may damage the battery or the
connecting object.
Leaving the battery in hot or cold places, such as in a closed car in
summer or winter conditions, will reduce the capacity and lifetime of
the battery. Always try to keep the battery between 15° C and 25° C
(59° F and 77° F). A device with a hot or cold battery may not work
temporarily, even when the battery is fully charged. Battery
performance is particularly limited in temperatures well below
freezing.
Do not dispose of batteries in a fire as they may explode. Batteries
may also explode if damaged. Dispose of batteries according to local
regulations.Please recycle when possible. Do not dispose as
household waste.
Replacing the battery
Replace the battery with the same type as that which came bundled
with your product. Use of another battery may present a risk of fire or
explosion.
Warning
Batteries may explode if not handled properly. Do not disassemble or
dispose of them in fire. Keep them away from children. Follow local
regulations when disposing of used batteries.
This manual suits for next models
1
Table of contents
Other Acer Tablet manuals

Acer
Acer Iconia W700 User manual

Acer
Acer Iconia tab 7 User manual

Acer
Acer Iconia Tab 10 User manual

Acer
Acer ICONIA W7 User manual

Acer
Acer Iconia W4 User manual

Acer
Acer B1-860 User manual

Acer
Acer W510 User manual

Acer
Acer B1-830 User manual

Acer
Acer ICONIA Tab A500 User manual

Acer
Acer Iconia A3-A10 User manual

Acer
Acer ICONIA User manual

Acer
Acer A1401 Operating and safety instructions

Acer
Acer Iconia A1-810 User manual

Acer
Acer Iconia B1 User manual

Acer
Acer ICONIA TAB A210 User manual

Acer
Acer B1-870 User manual

Acer
Acer Jetfire HD User manual

Acer
Acer ICONIA SMART User manual

Acer
Acer A200 User manual

Acer
Acer A700 User manual