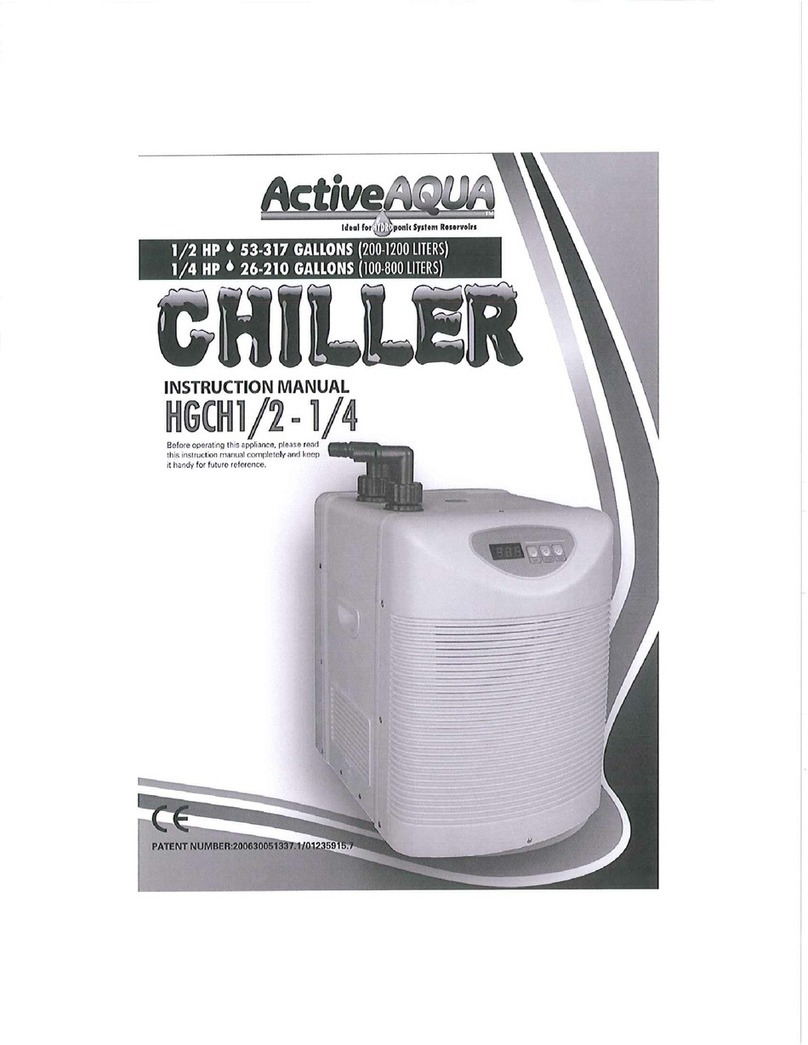
ActiveAqua AACH10 User manual

ActiveAquaChiller
Specifications:
Model:
Watts:
BTU:
Amps:
Volts:
CordLength:
Compatibility:
AACH10/AACH25/AACH50/AACH100
150W/280W/360W/950W
960/2300/4100/10370
2.2/3/4.4/9.6
110‐120V
6'
ActiveAquasubmersiblewaterpumps
Parts:
Chillerunitx1 ea.
Inflow/outflowfittingkit:x1 ea.
a. Inlet/outletfittings x2 ea.
b. Wormdrivehoseclamps x2 ea.
c. Rubberreplacementcollars(extras) x2 ea.
d. Replacementfuse x1 ea.
AssemblyInstructions:
1. Removethechillerunitandallofthecontainedhardwarefromtheboxandpacking
material.
2. Setthechillerunituprightinthedesiredareaonastablesurfaceensuringthereisat
least1'ofclearancearoundthebody(sides,top,andback)oftheunit.
3. Installtheinlet/outletfittingsontotheinflowandoutflowthreadedsites.
Active Aqua Chiller Setup and Troubleshooting
Guide Summary

Note:Iftheinflowandoutflowfittingsareofdifferentsizes,typicallythelargeroneisused
ontheinflowandthesmalleroneontheoutflow.
4. Attachthedesiredlengthoftubingontoeachinflowandoutflowfittingadapterwith
thewormdrivehoseclamps.Theinflowshouldconnectthechillertotheappropriate
sizedsubmersiblewaterpump,suchasanActiveAqua,inthepropersizedreservoir
(see attached performance chart).Theoutflowtubeshouldhangfreelyinthereservoir
toreintroducethechilledwaterbackintotheholdingtank.
Operation:
1. DoNOTpoweronthechillerunityet.Fullysubmergethewaterpumptobeused,plugit
in,andensurethatwaterismovingfreelybetweentheholdingreservoirandthechiller
unit.
2. Plugthechillerintoagroundedoutletandensurethepowerswitchlocatedontheback
oftheunitisinthe“ON”(I)position.
SettingtheTemperature:
1. PressandholdtheSETbuttondownforapproximately3secondstoenterthewater
temperatureprogrammingmode.Thepreviouswatertemperaturesettingwilldisplay.
2. Usethe/\or\/buttonsonthecontrolpaneltoincreaseordecreasethedesiredwater
temperature.PresstheSETbuttononcemore,orwaitapproximately8secondsto
selectthedesiredtemperature.
TemperatureDisplay:
•PresstheSETbuttononcetodisplaythecurrentsettemperaturevalueofthechiller
unit; pressitagaintodisplaytheactualtemperaturevalueofthewater.Theblinking
displayindicatesthesettemperature.
TemperatureErrorAdjustment:
1. Whenthereservoirwatertemperaturediffersfromthesettemperaturevalue,an“II”
indicationshouldappearinthedisplay.

2. Pressandholdthe/\and\/buttonsatthesametimeforapproximately6secondsto
entertheerroradjustmentprogramming.Thedisplaywillblinkoncethisstatusis
active.
3. Bypressingeitherthe/\or\/buttons,theerroradjustmentrangecanbemodified
+/‐1.5degreesCelsius.DONOTUSETHISFUNCTIONIFITISNOTNECESSARY.
Fuse Replacement:
1. Detachthepowercordfromthechiller.Thefusecompartmentisunderneaththepower
cordsocketlocatedonthebackoftheunit.
2. Removethenotchedfuseslidefromthecompartmentbypullingitstraightout.Asmall
screwdriverorpointedtoolmaybeneededtoremovetheslide.
3. Checkthefuseandinternalcompartmentfordamage(e.g. blownfuse,melted
terminals, etc.).
4. Replacethefuseifnecessaryandretrytheoperation.
Compressor Operation:
Therefrigerationcompressorwillautomaticallyturnoffwhenthewaterreaches,orisbelow,
thesettemperature.Whenthecompressorturnsoff,itwillstayoffforapproximately3
minutesoruntilthewaterisonedegreeabovethesettemperature.
Anindicatorlightinthetoprightportionofthedisplaywillappearwhenthecompressoris
active,disappearwhenthewatertemperaturehasbeenreached,andblinkwhenthe
compressorisinthe3minuteprotectionmode.
Error Code:
Certaintextwillappearonthedisplaypanelintheeventofanerror.“P1”isanexamplethat
meansthereisadefectinthetemperaturesensor.Iferrorcodesareappearingonthedisplay,
returntheunittotheoriginalplaceofpurchaseforawarrantyassessment.
Cleaning and Maintenance:
Flushingoftheinternalchillercomponentsisrecommendedatleastonceevery1‐2monthsto
ensureoptimumperformanceandefficiency.Over time,nutrientdepositsandotherdebris
mayaccumulateinsidethechiller,impedingtheoperability.
To prevent clogging and minimize maintenance, we recommend use of our 6" or 10" filter bag
with your submersible pump.

Note:DoNOTusesoapordetergentsforcleaningtheinternalcomponentsofthechiller
system.
1. Disconnectthechillerandsubmersiblewaterpumpfromthepowersupply.
2. Cleanoffthepumpwithahighpoweredhoseorsprayertoremovedebrisanddirtfrom
thepre‐filterandhousing.Cleanthepre‐filteraswellifoneisused.
3. Reconnectthepumptothechillerinflowtubingandplaceitinacleanreservoir.
4. Fillthereservoirwithcleanwaterandaflushingagentformulatedtoremovesalt
depositsandexcessnutrientsfromtheplantsystemandgrowmedium(availableat
mostindoorgardeningandhydroponicretailers).
Note:Usingaflushingagentiscompletelyoptionalasstatedinstep4.
5. Pluginthepumpandallowittorunforatleast1hoursothattheprojectedsolution
contactsalloftheinternalcomponentsusedinthechillerduringoperation.Unplugthe
pumpandemptythereservoirsolution.
6. Repeatstep4and5withplainwaterONLY.
7. Removethefrontgrillfromtheunitsotheairinletfilterisaccessible.Cleanbothwitha
vacuumand/orbrush.
8. Replacetheairinletfilterandgrilltothefront.
SpecialNotesandInstructions:
•Thecoolingefficiencyofthisunitisrelativetothesurroundingenvironmenti.e.install
location,ambientairtemperature,additionalheatsources(growlights,pumps,CO2
generators,airconditioners,dehumidifiers,etc.),andanyotherconnectingpartsthat
mayimpedethechiller’soperation.Insufficientairexchangeoftheroomthe chilleris
occupying willreducetheoperationalefficiencyiftheambientairtemperaturerises
dueto heatoutputfromthechillerand/orotherequipment.
•FollowtheGPH(gallonperhour)recommendationssothattheappropriatesizepump
maybeimplemented.Apumpthatiseithertooweakortoopowerfulmayimpedethe
operation.Verticaldistancebetweenthepumpandthechillerwillaffectthesizeof
pumpthatisneeded.For example,ifthepumponlyneedstoprojectwater2'togetthe
chiller unit as opposedto10',asmalleronecanbeused.
•WerecommendthatthepowersourcesupportONLYthechillerunitandnoadditional
appliancesinordertopreventapowersurgeorcircuitoverload.
•Remoteoperationofthechillerunitoutsideofthegrowspacewillreducetheamount
ofheatgeneratedwithinthegarden.
Warnings:

•DoNOTcoverthechillerunitwithanythingduringoperation.
•PlacethechillerintheuprightpositionONLYforoperationandstoragepurposes.
•Avoidallowing the external body of the chiller unit to come into directcontactwith
liquids.Failuretodoso mayresultindamagetotheunitorelectricshock.
•Keepthepowercordfreeofobstructions,suchasheavyorsharpobjectssittingdirectly
onit.
•ThischillerisforapprovedforindooruseONLY.
•Keeptheunitawayfromflammablevapors,directsunshine,hightemperature
exposure,andhighhumidity.
•DoNOTsubmersethechiller.Doing sowilldamagetheunitandmayinflict electric
shock.
TheHydrofarmGuarantee
ActiveAquawaterchillersystemsareguaranteedtotheoriginalownerfor1yearfromthedate
ofpurchase.Misuse,abuse,orfailuretofollowinstructionsisnotcovered.Ifyouhavea
problem,recheckyoursystemandpump.Ifthisdoesnotremedythesituation,contactthe
originalplaceofpurchaseforawarrantyassessment.Unauthorizedreturnswillnotbe
accepted.Saveyourreceipt/invoice–acopyisrequiredforallwarrantywork.
This manual suits for next models
3
Table of contents
Other ActiveAqua Chiller manuals
Popular Chiller manuals by other brands
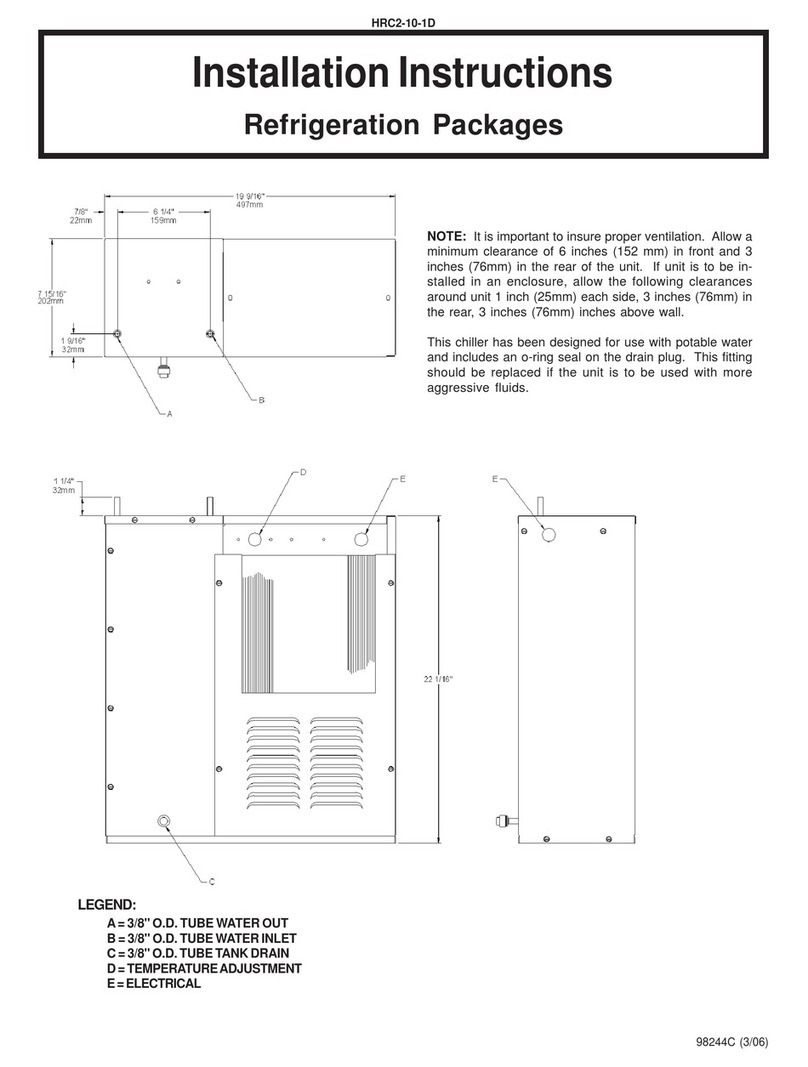
Elkay
Elkay HRC2-10-1D installation instructions

Daikin
Daikin EWAA011DAV3P User reference guide
REMKO
REMKO RVS***H Series Operation manual
Hoshizaki
Hoshizaki LANCER Everest Installation, operation & service manual

York
York YR owner's manual

Cole Parmer
Cole Parmer Polystat I Installation, Operation, Basic Maintenance
Carrier
Carrier 30GX080-265 Controls, start-up, operation, service, and troubleshooting

Carrier
Carrier 17/19EX Start-up, operation and maintenance instructions

Tefcold
Tefcold CT420 user manual
Carrier
Carrier HS070-160 troubleshooting guide

Trane
Trane Agility HDWA Installation, operation and maintenance
Trane
Trane Mobrus RTU TR1 Series instruction manual

