AddEnergie SmartTWO User manual
Other AddEnergie Batteries Charger manuals

AddEnergie
AddEnergie CoRe+V2 User manual
AddEnergie
AddEnergie SmartDC-V2 User manual
AddEnergie
AddEnergie SmartDC User manual
AddEnergie
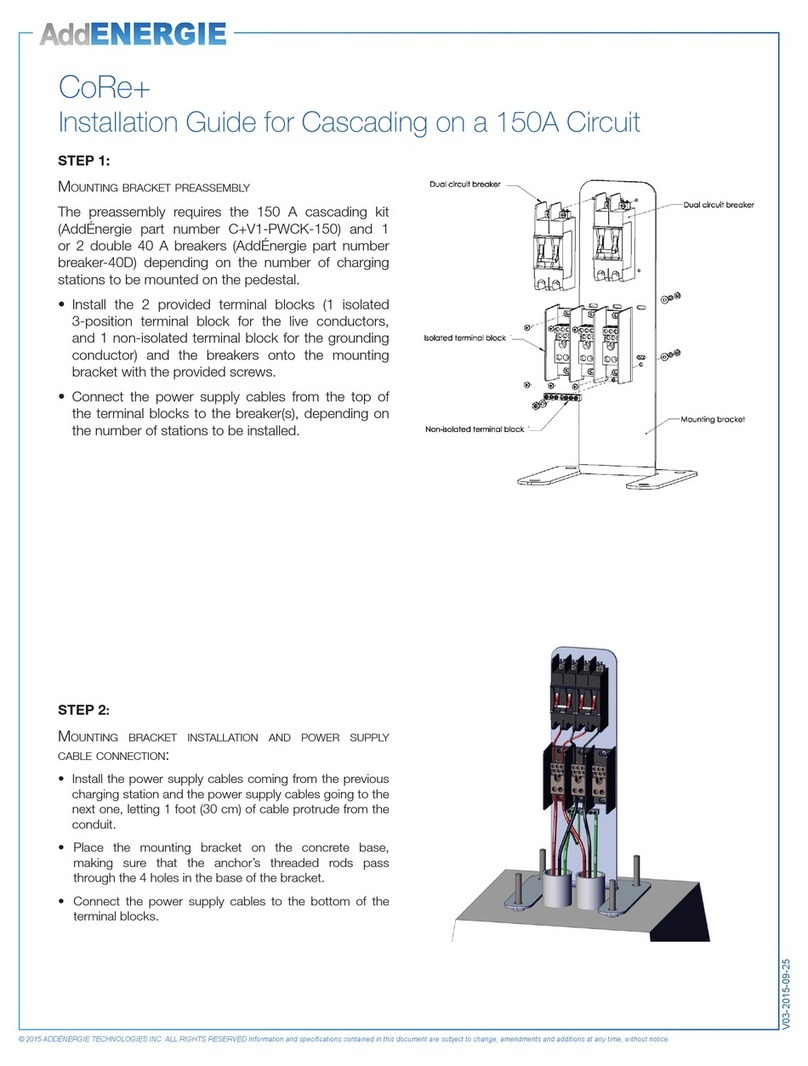
AddEnergie CoRe+ Instruction Manual

AddEnergie
AddEnergie SmartTWO User manual

AddEnergie
AddEnergie FLO SmartDC User manual

AddEnergie
AddEnergie CoRe+ C+V1-PED-ADD User manual
Popular Batteries Charger manuals by other brands

DeWalt
DeWalt DCB115 Series instruction manual

North Shore Safety
North Shore Safety EVSE 2 manual

Goji
Goji G26PBBL15 instruction manual

Regal Electro
Regal Electro Solar MPPT 12-2 200W Operation manual
Electron
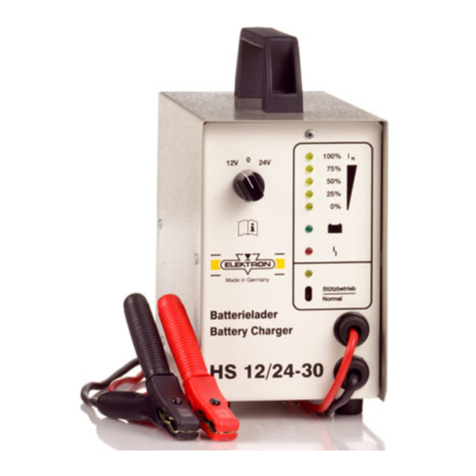
Electron HS 12/24-30 operating instructions

GreenWorks Tools
GreenWorks Tools 29717 Original instructions


