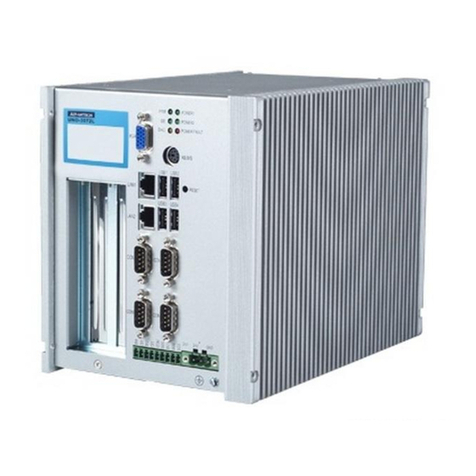
UNO-3072A/3074A User Manual viii
Table 2.7:Digital Output Power On Configuration ..... 22
2.6.3 Isolated Outputs ........................................................... 23
2.7 Onboard Isolated Counter/Timer .................................... 24
2.7.1 Counter/Timer Control Register .................................. 24
Table 2.8:Counter/Timer Control Register Bit Map .... 24
2.7.2 Counter 0 Function Block ............................................ 26
Figure 2.8:Counter 0 Function Block .......................... 26
2.7.3 Counter 1 Function Block ............................................ 26
Figure 2.9:Counter 1 Function Block .......................... 26
2.7.4 32-bit Counter Function Block (CTR32Set=1) .......... 26
Figure 2.10:32-bit Counter Function Block ................. 26
2.7.5 Counter Clock Source .................................................. 27
Table 2.9:Counter Clock Source Control Bit ............... 27
2.7.6 Counter Internal Clock ................................................. 27
Table 2.10:Counter Internal Clock Control Bit ........... 27
2.7.7 Counter Gate Source .................................................... 28
Table 2.11:Counter Gate Source Control Bit ............... 28
2.7.8 Counter Output Destination ......................................... 28
Table 2.12:Counter Output Destination Control Bit .... 28
2.7.9 Counter Interrupt Flag ................................................. 28
Table 2.13:Counter Interrupt Flag Control Bit ............ 28
2.7.10 Cascaded 32-bit Counter .............................................. 29
Table 2.14:32-bit Counter Control Bit ......................... 29
2.8 Power Inputs.................................................................... 29
Figure 2.11:Figure Location of Power and grounding 29
2.8.1 LED and Buzzer for System Diagnosis ....................... 30
Figure 2.12:Programmable LED .................................. 30
Table 2.15:LED Control Register ................................ 30
2.9 USB Connector .............................................................. 31
2.10 Battery Backup SRAM.................................................... 31
Figure 2.13:LED Location for Battery Backup ........... 31
2.10.1 Lithium Battery Specification ...................................... 32
Figure 2.14:Lithium Battery for SRAM ...................... 32
2.11 Reset Button .................................................................... 32
2.12 Power Button................................................................... 33
Figure 2.15:Hardware AT mode Jumper Location ...... 33
2.13 Audio............................................................................... 33
2.14 IEEE1394 ........................................................................ 34
2.15 SATA Hard Drive RAID Support................................... 35
Chapter 3 Initial Setup.................................................... 42
3.1 Inserting a CompactFlash Card ....................................... 42
3.2 Connecting Power ........................................................... 42
3.3 Installing a Hard Disk ..................................................... 43
3.4 Installing a PCI-bus Card ................................................ 46
3.5 Mounting UNO-3072A/3074A ....................................... 50
3.6 Installing Power Cable .................................................... 50
3.7 BIOS Setup and System Assignments ............................ 51
3.8 Rubber Foot Installation.................................................. 52
