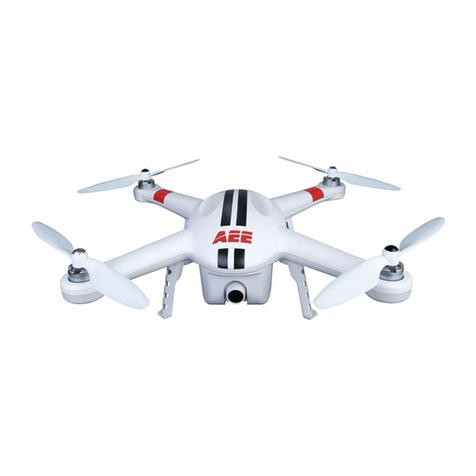
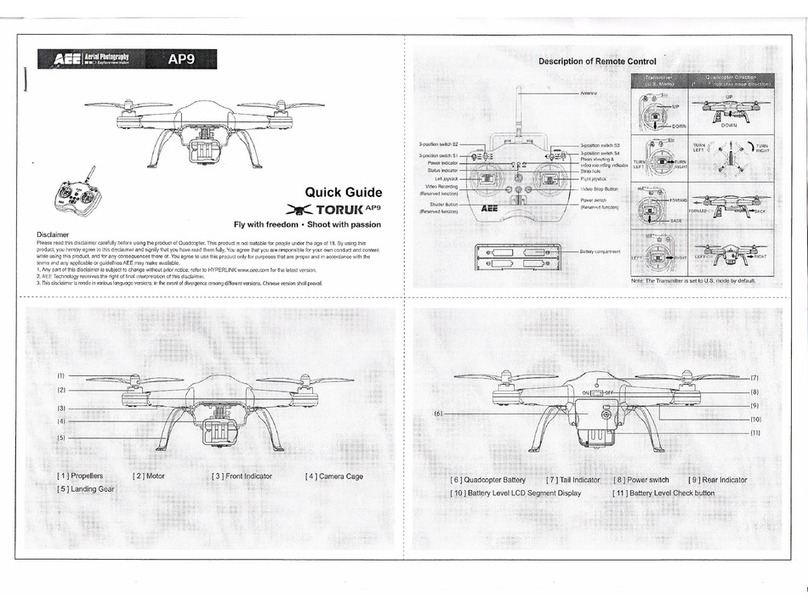
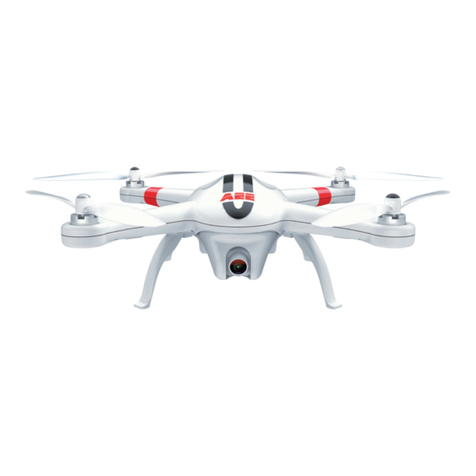
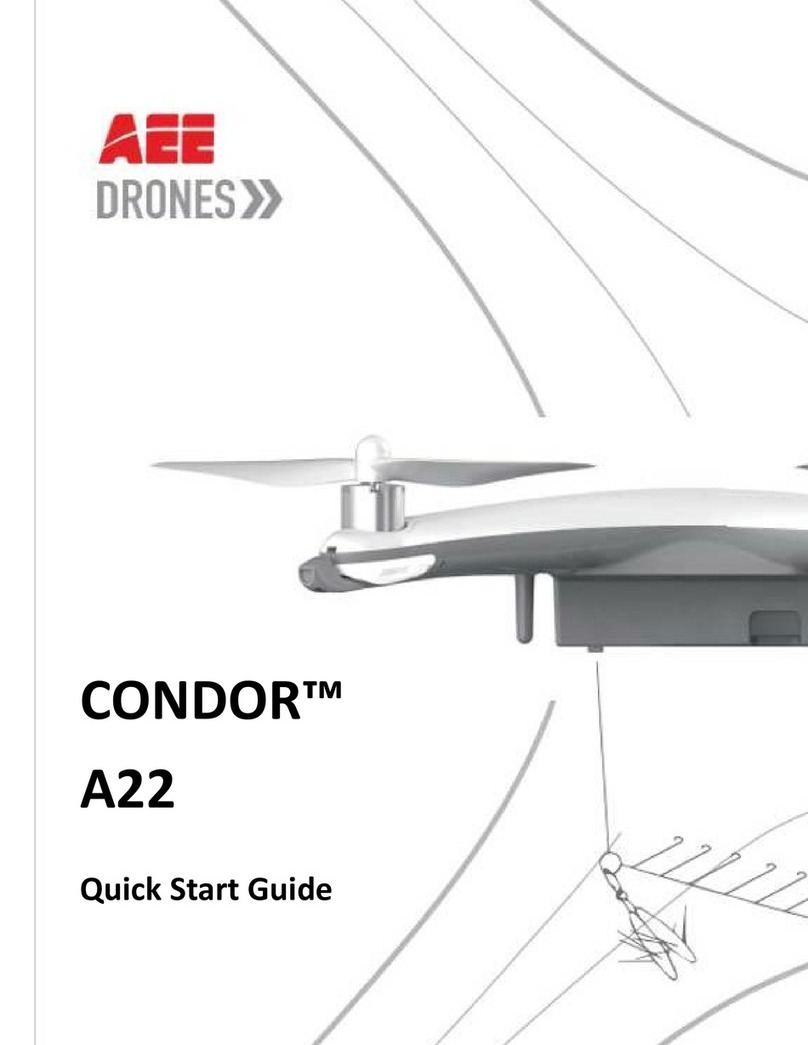
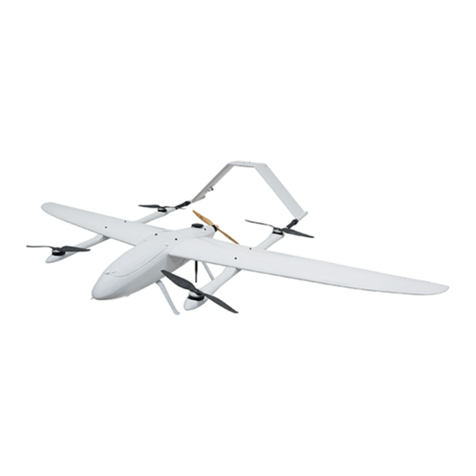
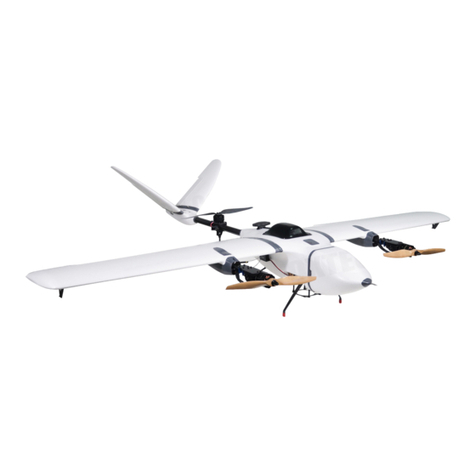
AEE CONDOR A22 User manual

CONDOR A22 User Manual
1 | P a g e
2023 All Rights Reserved V1.2

CONDOR A22 User Manual
2 | P a g e
2023 All Rights Reserved V1.2
Contents
User Manual ..................................................................................................................................... 4
Legend .......................................................................................................................................... 4
Video Tutorials.............................................................................................................................. 4
CASA Safety APPS and Regulations .......................................................................................... 4
What’s In The Box ........................................................................................................................ 5
Introduction ................................................................................................................................... 6
Features ....................................................................................................................................... 6
Preparation for Flight ....................................................................................................................... 6
Battery Installation ........................................................................................................................ 6
Landing Gear ................................................................................................................................ 7
Attaching the Propellers ............................................................................................................... 7
Preparing the Remote Controller ................................................................................................. 8
Diagrams ...................................................................................................................................... 9
Aircraft ............................................................................................................................................ 10
Flight Controller .......................................................................................................................... 10
Flight Modes ............................................................................................................................... 10
LED Status Indicators ................................................................................................................. 10
Status Indicator Description ....................................................................................................... 11
Return to Home .......................................................................................................................... 11
1: Manual RTH ........................................................................................................................... 12
2: Low Battery ............................................................................................................................. 12
3: Fail Safe RTH ......................................................................................................................... 12
Remote Controller .......................................................................................................................... 13
Charging the Remote ................................................................................................................. 14
Using The Remote Controller ..................................................................................................... 14
Controlling your UAV .................................................................................................................. 14
Flight Mode and Speed Switch .................................................................................................. 15
Return To Home Button ............................................................................................................. 15
Bait Release Button .................................................................................................................... 15
Compliance ................................................................................................................................. 15
Condor A22 Battery ....................................................................................................................... 16
Battery Charging ........................................................................................................................ 16
Battery Use ................................................................................................................................. 17
Battery Storage........................................................................................................................... 17
Disposal of Batteries .................................................................................................................. 17
NEWTON 3 Release ...................................................................................................................... 18
Flight ............................................................................................................................................... 19
Flight Environment and Location ................................................................................................ 19
Preflight Checklist .......................................................................................................................... 19
Compass Calibration ...................................................................................................................... 19

CONDOR A22 User Manual
3 | P a g e
2023 All Rights Reserved V1.2
Calibration Procedure: ................................................................................................................ 20
Recalibration Conditions ............................................................................................................ 21
Starting and Stopping the Motors .................................................................................................. 21
Starting ....................................................................................................................................... 21
Stopping ..................................................................................................................................... 21
Basic Flight Steps .......................................................................................................................... 22
Maintenance ............................................................................................................................... 22
Specifications ................................................................................................................................. 23
Compliance .................................................................................................................................... 24
Limitation of Liability ....................................................................................................................... 25
Warranty ......................................................................................................................................... 25
Warranty Periods: ....................................................................................................................... 25

CONDOR A22 User Manual
4 | P a g e
2023 All Rights Reserved
V1.2
User Manual
Please read and follow this user manual in its entirety before operating the UAV for the first time.
Legend
CAUTION: Pay attention to the instructions to minimise the risk of injury or damage to persons or
property
WARNING: NOT FOLLOWING THE INSTRUCTIONS COULD LEAD TO PERSONAL OR
PROPERTY DAMAGE AND MAY VOID ALL WARRANTIES
Video Tutorials
Please watch the tutorial videos that demonstrate the operation and set-up of your aircraft.
Scan the QR code to watch the videos.
https://www.condordrones.com.au/pages/resources
CASA Safety APPS and Regulations
Approved APPS
https://www.casa.gov.au/knowyourdrone/drone-safety-apps
CASA Rules
https://www.casa.gov.au/knowyourdrone/drone-rules

CONDOR A22 User Manual
5 | P a g e
2023 All Rights Reserved
V1.2
What’s In The Box
Pictures for reference only
No. Name Sketch Quantity Description
1 UAV
1 Condor A22 UAV
2 UAV Battery
2 LiPO Battery
3 Newton3
Release
1 A22 Mechanical Release
4 Release Wire
10 Release wires for Newton 3
release
5 Propeller
2 sets 4 x CW and 4 x CCW Rotating
propellers
6
Remote Control
1 Drone remote controller
7 Tools
1 set One spanner and one
screwdriver for propeller removal
8 Charger
1 Charger for remote and battery
9 Power Cable
1
Power cable for charger
10
User Manual
1
11
Bag
1

CONDOR A22 User Manual
6 | P a g e
2023 All Rights Reserved
V1.2
Introduction
The Condor A22 is a purpose-built fishing drone with an onboard NEWTON 3 release
mechanism. This drone is fitted with the latest flight control platform and software to ensure the
safety and performance of the drone.
Features
CONDOR A22: This is a hi-tech electronic product equipped with an advanced intelligent flight
control system with multiple fail-safes built in.
Newton 3 release: The Patented Newton 3 release can carry loads of up to 450 grams and either
use mechanical release or tension release to drop your baited hooks.
Smart UAV Battery: The Condor battery is an 11.1V, 6,800mAh smart battery with charging and
discharging management functions.
Preparation for Flight
Charge both the Remote controller and the UAV battery before the first flight. Always take off
with sufficient charge in both batteries.
Battery Installation
Slide the battery into the slot until the highlighted latch blocks the battery.
Pull the latch to the unlocked position and push the battery in until it is firmly seated.
Check latch is seated by audibly clicking into the locked position.

CONDOR A22 User Manual
7 | P a g e
2023 All Rights Reserved V1.2
Landing Gear
To extend the landing gear: Gently pull the landing gear up until you hear it click into place.
To retract the landing gear: Push the release button and then gently fold the gear down.
CAUTION: Make sure all four landing gear legs are clicked into place before standing the UAV up, as
it could collapse and cause damage to the unit if they are not.
Attaching the Propellers
Make sure to install the propellers on the correct motors. There are two Clockwise (CW) and two
Counter Clockwise (CCW) rotating propellers
The propellers with a “P” on the hub screw onto the motor with a “P” on the motor arm, and the
other two connect onto the other motors without any markings.
CAUTION: Do not over-tighten the propellers, you could strip the thread.

CONDOR A22 User Manual
8 | P a g e
2023 All Rights Reserved
V1.2
After a propeller is carefully wound onto the motor, hold the motor while turning the propeller to
lightly finger tighten.
Observe the arrow with the lock and unlock symbol to help with attaching and removing the
propellers in the correct direction.
CAUTION: Be careful to not cut your hand as the blades can be sharp. The motors will be hot to
the touch after flight, this is normal. Let them cool before removing the propellers.
Check that all propellers are secure before each flight.
Preparing the Remote Controller
Lift the antennas up vertically.

CONDOR A22 User Manual
9 | P a g e
2023 All Rights Reserved
V1.2
Diagrams
1. Battery Indicator Lights
2. Battery On – Off Button
3. Newton 3 Release Clip
4. Battery
5. Rear Green LED
6. Leg Lock Release Button
7. Front White LED
8. Battery Lock
1. Flight speed switch
2. Flight Mode switch
3. Joystick A
4. Joystick B
5. LCD flight information screen
1. Bait release
2. Return to Home
3. On/Off Button
NOTE: All other switches and buttons have been disabled.

CONDOR A22 User Manual
10 | P a g e
2023 All Rights Reserved V1.2
Aircraft
Flight Controller
The Condor A22 Has a high-tech flight controller on board, containing different flight modes and
safety modes which include Fail safes and Return-To-Home. Making the flight of your UAV safer
if any of the safety parameters are exceeded.
The flight controller also stores critical flight data from each flight for diagnosis of any issues.
Flight Modes
There are two flight modes available, selectable by way of the 3-position flight mode switch.
P-Mode(positioning): The UAV utilises the GPS and all of the other onboard sensors to
maintain its position, Heading and Height.
M-Mode(manual): In this mode, the GPS is turned off and the UAV will not hold its position
automatically, it will drift with the wind. It will hold Heading and height.
N-Mode(normal): This is reserved for future use. The UAV will however behave the same
as in M-mode.
Use the Flight Mode switch to select the flight mode. Always make sure to be in P-mode before
taking off. See page 14
LED Status Indicators
The Condor A22 has LED indicator status lights under each motor, these are used to indicate the
status of the aircraft. And a logo LED indicator that pulses when the UAV is powered on.
The two front LEDs show the orientation of the UAV and are a solid white, to show you where the
nose or front of the aircraft Is pointing, the two rear LEDs will flash different colours to indicate
the status of the UAV.

CONDOR A22 User Manual
11 | P a g e
2023 All Rights Reserved V1.2
Status Indicator Description
System Status: Normal LED Colours
Powering On Only Front LEDs are on White
Warming Up Flashing Rear LED’s Alternating Blue, Green and
Red
GPS Mode Solid Green(ready to fly)
Manual Mode Solid Yellow
Calibrating Slow Flash Flashes yellow, then Green
and then solid Green
indicates success
Successful Calibration Solid Relevant flight mode colour
System Status: Warning LED Colours
Compass Calibration required
Flashing Alternating Red and Yellow
Link Loss Flashing Yellow
Low Battery(38% remaining) Slow Flash All four LEDs flash red,
Remote Controller beeps
continuously (UAV will auto
RTH in 30 seconds)
Critical Low Battery(33%) Fast Flashing All Four LEDs flash rapidly,
Remote Controller Beeps
faster(the UAV will auto RTH
in 5seconds)
System or Battery Error Flash Front and Rear LEDs flash
alternating red
In low power warnings, the remote controller will beep.
During all warnings, the system status will be indicated with text or an icon on the remote-control
screen.
Return to Home
The return-to-home function on the UAV will make the aircraft fly back to the recorded home
point. Three scenarios would cause the aircraft to do so:
1. Manual RTH
2. Low Battery
3. Fail-safe RTH
CAUTION: The recorded home point is the point where the aircraft took off from.

CONDOR A22 User Manual
12 | P a g e
2023 All Rights Reserved V1.2
1: Manual RTH
You can make the UAV return home by manually pressing the RTH button on the remote
controller. The UAV will automatically return to the last recorded home point, land and shut down.
You can cancel this operation at any time by pressing the RTH button again, giving you full
control of the UAV.
The UAV must be in P-Mode for this to work.
2: Low Battery
Once the low battery warning has started, the aircraft will auto return to home to land after 30
seconds. It is recommended to return the aircraft and land as soon as the 1st warning level starts.
If the second critical low level is activated, the UAV will auto RTH after 5 seconds.
3: Fail Safe RTH
If any of the Fail Safes are triggered, the UAV will also initiate the RTH sequence, these events
are:
1. Link loss: If the signal is lost for more than 3 seconds the sequence will be initiated, once
the link is regained the RTH button can be pressed to cancel it and full control is
regained.
2. Max Height is reached. If the UAV is flown up to 100m height, this will then trigger the
RTH, once it has descended below that, the RTH button can be pressed to cancel the
RTH, giving you full control again.
3. Geo Fence is reached: The Geo fence is set at 1000m if this is reached the UAV will also
RTH.
In all Return To Home sequences, once initiated the drone will first climb to its safe RTH height
of 30m if it is below that, if it is higher than that it will fly directly overhead to the home point, and
land automatically, shutting down once it is on the ground.
WARNING: IF THERE ARE ANY OBSTACLES IN THE UAV'S PATH IT COULD FLY INTO
THEM, ALWAYS MAKE SURE TO FLY IN AREAS WITH NO OBSTACLES OR REMAIN
ABOVE OBSTACLES AT ALL TIMES.

CONDOR A22 User Manual
13 | P a g e
2023 All Rights Reserved
V1.2
Remote Controller
The remote controller that comes with the aircraft is already bound. By default, it is in Mode Two
(left-hand stick-up and down is power)
The Controller operates in the 2.4GHz spectrum. It is used for controlling the UAV as well as the
Newton 3 release system. The battery level is indicated on the LCD screen.
The onboard LCD screen gives all the critical information of the drone as well as the controller.
1. Flight speed switch
2. Flight Mode switch
3. Joystick A
4. Joystick B
5. LCD flight information screen
1. Bait release
2. Return to Home
3. On/Off Button
Note: All other switches have been disabled
Mechanism Release Status
11
666 m 45 m 15 m/s
N

CONDOR A22 User Manual
14 | P a g e
2023 All Rights Reserved V1.2
Charging the Remote
Plug the dedicated charger into the charging port of the remote.
Make sure the Remote controller is fully charged before each day of flying.
Using The Remote Controller
Slide the ON/OFF button on the front of the controller to the ON position, and the status LED will
turn on as well as the LCD screen with the current status of the controller.
If there are no user inputs for 5 minutes, the controller will emit a beep to remind you that it is still
on. The controller will auto-power off after 15 minutes if there have been no user inputs.
Controlling your UAV
Remote Control UAV Operation
Moving this stick up and down controls the
height of the aircraft. Push up to ascend and
pull down to descend. When centred the UAV
will hover.
The more the stick is moved away from the
centre, the faster the UAV will climb or
descend. Always use small smooth inputs.
Moving this stick left or right controls the
yaw/rotation of the aircraft.
Push left to rotate left and right to rotate right.
When centred the aircraft will maintain its
heading. The more it is pushed away from the
centre, the faster the aircraft will rotate.
Moving this stick up or down will change the
pitch of the aircraft, moving it forward or
backwards. Push up to move forward and pull
back to move backward.
The further it is moved from the centre, the
faster the aircraft will fly in the desired direction
Moving this stick left or right, will cause the
aircraft to roll/pitch left or right.
The further it is moved from the centre, the
faster the aircraft will fly in the desired direction

CONDOR A22 User Manual
15 | P a g e
2023 All Rights Reserved V1.2
Flight Mode and Speed Switch
Three Flight speed settings:
Position S: High speed
Position D: Medium speed
Position E: Low speed
Three flight mode positions:
P-mode: Position mode, GPS
is used to control the UAV
M-mode: Manual mode(No
GPS, will drift downwind)
N-mode: Normal mode(same
as manual mode)
Return To Home Button
Pressing this button will manually enter the RTH Sequence, pressing it again will cancel the
sequence giving you full control again.
Bait Release Button
Pressing this button will manually release your baited hooks.
Compliance
This Remote controller and UAV are compliant with both CE and FCC requirements.

CONDOR A22 User Manual
16 | P a g e
2023 All Rights Reserved V1.2
Condor A22 Battery
The specially designed UAV battery is an 11.1V, 6,800mAh smart battery with charging and
discharging management functions. Only use the supplied AEE charger to charge the UAV
battery.
By pressing the Power button once, the battery level will be indicated by the amount of lit LEDs
Each LED represents a charge of 25%.
CAUTION: Always make sure the battery is fully charged before each flight.
Always return the UAV for landing once the first low battery warning is issued.
Battery Charging
1. Plug the battery charger into a power source(100-240V) and then into the battery,
confirm polarity before plugging the charger into the battery.
2. The Battery status LEDs will flash, indicating charging.
3. All four LEDs will remain on when charging has been completed.
Charging Temperature 5ºC-40ºC
Discharging Temperature
-
10º
C
-
40ºC

CONDOR A22 User Manual
17 | P a g e
2023 All Rights Reserved V1.2
1. Battery Use
2. Do Not expose the batteries to any form of liquid.
3. Only use the correct batteries, no aftermarket batteries.
4. Never use or charge, swollen, leaking or damaged batteries, this could cause a fire.
5. Never remove or install the battery in the aircraft if it has been turned on.
6. Do not use a damaged battery to go flying.
7. Do not use batteries in temperatures below -10ºC or above 40ºC.
8. Never disassemble or pierce the battery with a sharp object.
9. The contents of the battery are highly corrosive, If you come into contact with it, wash the
affected area with fresh running water for at least 15 minutes, and then see a doctor
immediately.
10. Do not use the battery if it has been involved in a crash.
11. After a crash or crash into water, immediately remove the battery and place it in a safe
area, away from all combustible material as a fire could result, monitor it closely, and
dispose of it safely once confirmed the battery is safe, never use a battery after an
incident like this.
12. Do not place the battery in a bag where it may short circuit against any conductive items.
13. Do not drop or strike the batteries.
14. Keep the terminals clean with a dry cloth.
15. Battery Storage
16. Store the Batteries in a cool, dry location, out of reach of children and pets.
17. Do not store them near any source of heat, and DO not store them in a hot vehicle, Ideal
storage temperature is 22ºC-28ºC.
18. Never transport a damaged battery without first having monitored it to confirm it is safe to
do so.
19. If the batteries are going to be stored for more than 10 days, it is advised to do so in a
dedicated LiPo Safe storage bag.
20. The Battery will automatically discharge to below 65% if it has been idle for 10 days.
21. The battery will enter hibernation mode if idle for a long period. The battery will not power
on in hibernation mode, the power button LED will be the only LED and solid red.
Charging the battery will bring it out of hibernation mode.
22. Do not store any batteries in the aircraft for extended periods.
Disposal of Batteries
Batteries that are no longer usable should not be disposed of with household waste but in an
environmentally friendly way. Please recycle where facilities exist in your area. Check with your
local council authority for recycling guidance.

CONDOR A22 User Manual
18 | P a g e
2023 All Rights Reserved
V1.2
NEWTON 3 Release
The Newton 3 release is a patented release system, enabling smooth, repeatable results. It uses
both tension as well as a mechanical release to drop the load.
Pressing the Bait release button or RTH button on the remote causes the bait to drop, entering
any of the Fail safes also will cause the bait to drop, before returning home.
The Newton 3 inertia release clip, releases at a fixed load, it is an incredibly safe release system.
If anything causes the line to stop free spooling, the bait will be released as a safety measure.
The Newton clips are set to release at 1.1kg tension. This ensures the Condor drone carrying
capacity and flight stability are kept well within safe limits. Do Not Exceed 450 grams combined
weight of the baited hooks and sinkers.
WARNING: DO NOT ADJUST THE CLIP FOR HIGHER RELEASE PRESSURES. DOING SO
WILL VOID ANY WARRANTY.
1. Battery Indicator Lights
2. Battery On – Off Button
3. Newton 3 Release Clip
4. Battery
5. Rear LED
6. Leg Lock Release Button
7. Front White LED
8. Battery Lock
The release wire connects with one wire loop into the Newton 3 release clip and the other loop
connects to the sinkers and the end of your trace with hooks.
WARNING: ONLY USE THE SUPPLIED RELEASE WIRES.

CONDOR A22 User Manual
19 | P a g e
2023 All Rights Reserved
V1.2
Flight
Make sure you are familiar with the content of this manual before your first flight.
Make sure to conduct your preflight checks and compass calibration at the start of each day's
flying.
Flight Environment and Location
1. Do not use the aircraft in adverse weather conditions. This includes wind stronger than
20 knots, rain, snow, or fog.
2. Check that you are legally allowed to fly in your current location by using one of CASA’s
approved preflight apps*.
3. Always fly in an open area without obstacles, trees, powerlines, or crowds.
4. Always follow your country's rules and regulations set out by your regulator as well as
any state or territory regulations.
5. Do not fly in areas with high levels of electromagnetism i.e., near mobile phone and radio
towers.
*Scan the QR code to find an approved APP:
https://www.casa.gov.au/knowyourdrone/drone-safety-apps
Preflight Checklist
1. Check if the UAV and remote control are fully charged.
2. Check the condition of the propellers and that they are installed properly.
3. Power on the remote then UAV and wait for the system warm-up phase to be completed.
4. Check that the motors can be started once the UAV is powered on.
5. Calibrate the compass if the first flight of the day.
6. Make sure the UAV is placed in a suitable location for take-off with the release wire laid
out in front of the UAV.
Compass Calibration
WARNING: ALWAYS CALIBRATE THE COMPASS BEFORE THE FIRST FLIGHT OF THE
DAY OR IF YOU HAVE MOVED TO A NEW LOCATION. THE COMPASS IS VERY SENSITIVE
TO ANY ELECTROMAGNETIC INTERFERENCE. REGULAR CALIBRATION IS REQUIRED
FOR OPTIMAL PERFORMANCE.
WARNING:
Do not calibrate indoors.
Do not calibrate near items that could cause interference, like large metal objects.
Do not carry any ferrous objects near the drone while calibrating the compass, car keys,
mobile phones etc.
Do not calibrate in areas of strong magnetic interference, underground cables, parking
lots etc.

CONDOR A22 User Manual
20 | P a g e
2023 All Rights Reserved
V1.2
Calibration Procedure:
Confirm the mode switch in P-Mode and ensure you are in an open area.
1. Pull down and hold the left joystick (A) and press the Auto-Return-Home button (B) 10
times or more until the remote screen displays “Compass Calibrate”, as shown below.
The two LED taillights on the UAV will flash a steady yellow in calibration mode.
2. Lift the drone horizontally with the battery facing you and rotate yourself
counterclockwise, rotate continuously for just over 360 degrees until the two flashing
taillights of the drone change from flashing yellow to a steady flashing green.
3. Change the drone to a vertical position with the battery pointing up. Rotate yourself just
over 360 degrees counterclockwise until the bottom taillights of the drone change from
flashing green to solid green.
4. After successful calibration the screen of the remote will display the battery time and
distance from the remote to the UAV. You are ready to fly. The height “H” and speed “S”
in meters per second are displayed at the bottom of the remote screen.
WARNING: IF THE STATUS INDICATORS DO NOT GO SOLID GREEN BUT FLASH
ALTERNATING RED AND YELLOW, MOVE TO A DIFFERENT LOCATION AS THE
CALIBRATION FAILED AND TRY AGAIN.
N
11
Table of contents
Other AEE Drone manuals
Popular Drone manuals by other brands
SWELLPRO
SWELLPRO Splashdrone Fisherman FD1 user manual
dji
dji Mini 3 user guide
Parrot Minidrones
Parrot Minidrones AIRBORNE CARGO quick start guide

Beijing TT Aviation Technology
Beijing TT Aviation Technology TIANNONG M6E-X2 User instructions
2FAST2FUN
2FAST2FUN Nano Spy Drone FPV manual
dji
dji MATRICE 30 Series Disclaimer and safety guidelines

