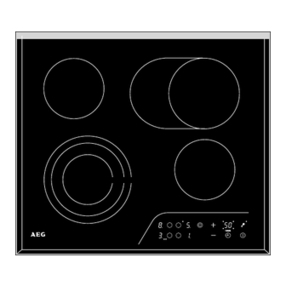
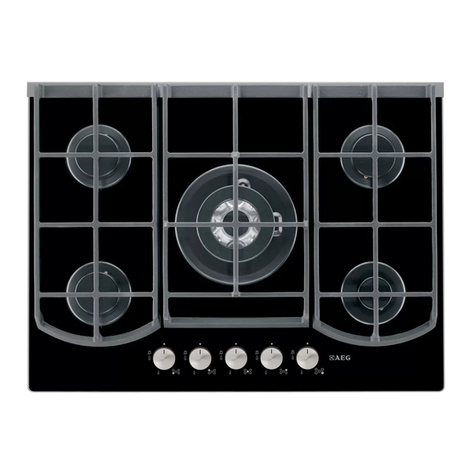
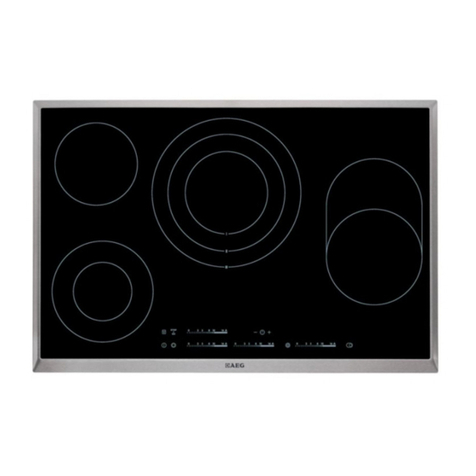
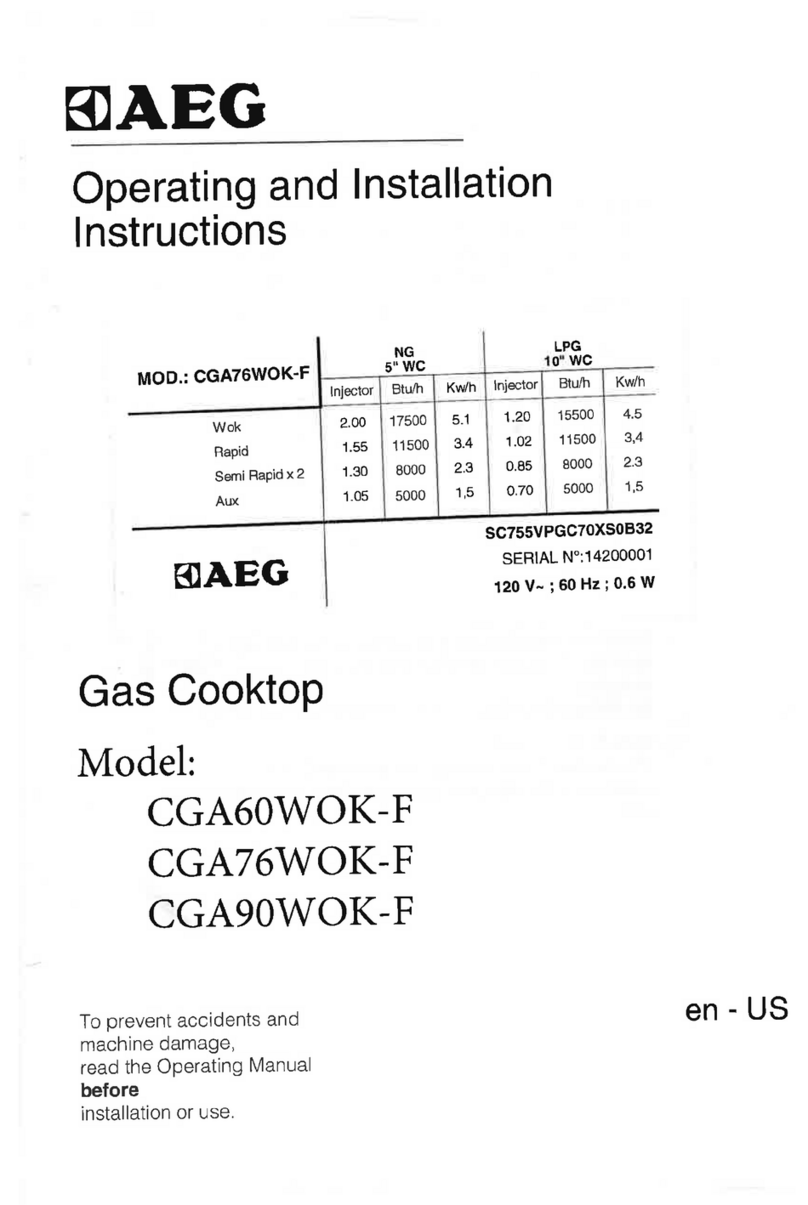
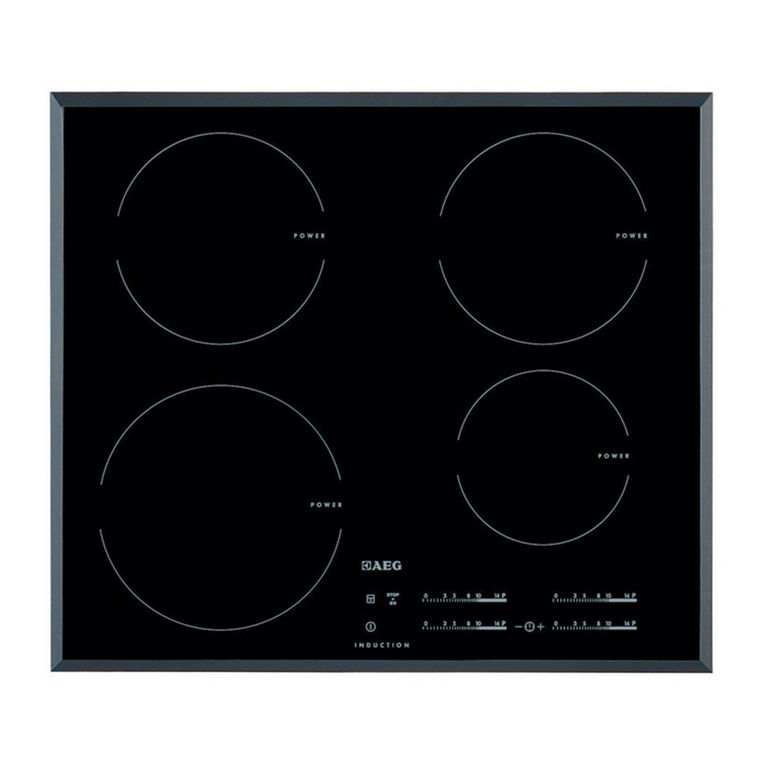
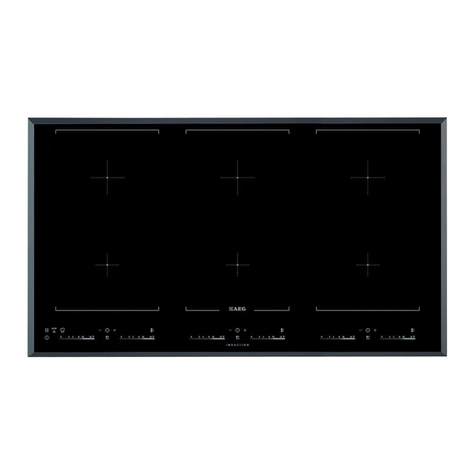
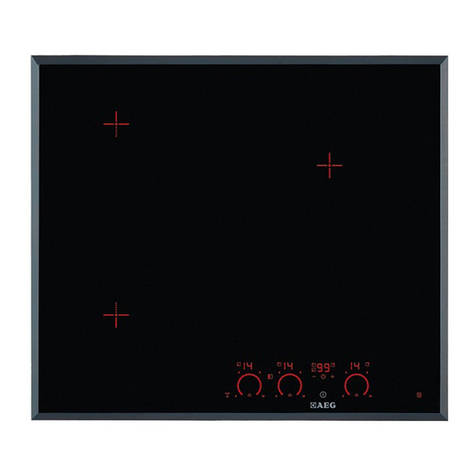
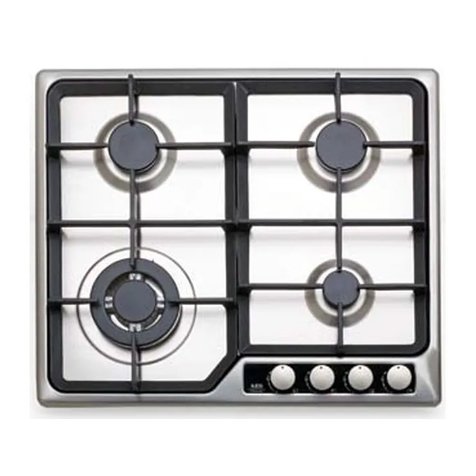
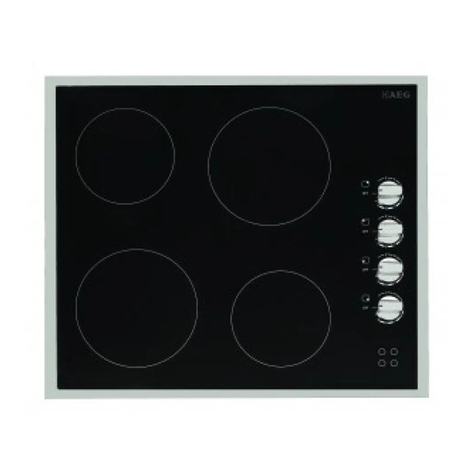
AEG 95300KA-MN Operating instructions

95300KA-mn
Glass
Ceramic
Cooking
Surface
Keramische
kookplaat
Table
de
cuisson
vitroceramique
Operating
Instructions/
Installation
Instructions
Gebruiksaanwijzing/
Installatieaanwijzingen
Mode
d'emploi/
Instructions
d'installation

STACKER
COMPRESSION


DETACHING
AND
ATTACHING
THE
FRONT
PANEL
1
2
You
can
detach
the
front
panel
from
the
unit
and
carry
it
with
you
when
you
leave
your
car
unattended.
When
you
carry
the
front
panel
out
of
your
car,
use
the
supplied
carrying
case.
1
Press
and
hold
MUTE
for
more
than
2
seconds
to
turn
the
unit
off.
2
Press
OPEN
to
open
the
front
panel
and
pull
it
out
as
illustrated
CD
-(3).
Notes
•
When
you
leave
the
front
panel
open,
do
not
put
anything
on
the
panel.
•
When
you
carry
the
front
panel
in
the
carrying
case,
do
not
drop
or
apply
mechanical
shock
to
the
panel,
and
never
let
the
panel
become
wet.
Attaching
the
front
panel
Notes
•
Do
not
press
OPEN
by
accident
when
you
push
the
front
panel
to
secure
it
in
above
procedure.
•
Do
not
touch
the
connector
on
the
reverse
side
of
the
front
panel,
as
doing
so
may
contaminate
the
connector
and
cause
a
poor
connection
resulting
in
a
malfunction.
Security
Lamp
When
the
front
panel
is
detached,
you
can
find
an
LIED
lamp
on
the
front
side
of
the
unit.
This
lamp
is
designed
to
deter
theft,
and
continues
to
flash
when
the
front
panel
is
detached.
This
unit
is
not
equipped
with
any
other
security
systems
such
as
a
security
alarm,
so
there
are
limitations
to
its
elfectiveness.
ENGLISH
4

ViZIO
VX32L
HDTV1OA
User
Manual
Table
of
Contents
www.VIZIO.c

^ADVENT
36
MONTH
LIMITED
WARRANTY
Appliesto
Bluetooth
Automotive/Cellular
Interface
Products.
AUDIOVOX
Electronics
Corp.
(the
Company)
warrants
to
the
original
retail
purchaser
of
this
product
that,
should
this
product
or
any
partthereof,
under
normal
use
and
conditions,
be
proven
defective
in
material
or
workmanship
within
36
months
from
the
date
of
original
purchase,
such
defect(s)
will
be
repaired
or
replaced
with
new
or
reconditioned
product
(at
the
Company's
option)
without
charge
for
parts.
Simply
call
toll
free
to
our
control
office
for
reference
to
the
authorized
Warranty
Station
in
your
area
and
to
obtain
an
Authorization
number.
No
repairs
or
replacement
will
be
made
without
a
valid
Authorization
number.
TRAVELER'S
WARRANTY
SERVICE
1
-800-645-4994
To
obtain
repair
or
replacement
within
the
terms
of
this
Warranty,
the
product
is
to
be
delivered
with
proof
of
warranty
coverage
(e.g.
dated
bill
of
sale),
authorization
number,
specification
of
defect(s),
transportation
prepaid,
to
an
approved
warranty
station.
This
warranty
is
not
transfer¬
able.
This
Warranty
does
not
cover
damage
to
vehicle
electrical
system.
This
Warranty
does
not
apply
to
any
product
or
part
thereof
which,
in
the
opinion
of
the
Company,
has
suffered
or
been
damaged
through
alteration,
improper
installation,
mishandling,
misuse,
neglect,
accident,
or
by
removal
or
defacement
of
the
factory
serial
number/bar
code
label(s).
This
Warranty
is
in
lieu
of
all
other
express
warranties
or
liabilities.
ANY
IMPLIED
WARRANTIES,
INCLUDING
ANY
IMPLIED
WARRANTY
OF
MERCHANTABILITY,
SHALL
BE
LIMITED
TO
THE
DURATION
OF
THIS
WRITTEN
WARRANTY.
ANY
ACTION
FOR
BREACH
OF
ANY
WARRANTYHEREUNDER
INCLUDING
ANYIMPLIED
WARRANTYOFMERCHANTABILITY
MUST
BE
BROUGHT
WITH
IN
A
PERIOD
OF
48
MONTHS
FROM
DATE
OF
ORIGINAL
PURCHASE.
IN
NO
CASE
SHALL
THE
COMPANY
BE
LIABLE
FOR
ANY
CONSEQUENTIAL
OR
INCIDENTAL
DAMAGES
FOR
BREACH
OFTHIS
OR
ANY
OTHER
WARRANTY.
No
person
or
representative
is
authorized
to
assume
forthe
Company
any
liability
other
than
expressed
herein
in
connection
with
the
sale
of
this
product.
The
Company
does
not
warrant
that
this
product
cannot
be
compromised
or
circumvented.
THE
EXTENT
OF
THE
COMPANY'S
LIABILITY
UNDERTH
IS
WARRANTY
IS
LIMITEDTOTHE
REPAIR
ORREPLACEMENTPROVIDEDABOVEAND,
IN
NOEVENT,SHALLTHECOMPANYS
LIABILITY
EXCEED
THE
PURCHASE
PRICE
PAID
BY
THE
PURCHASER
FOR
THE
PRODUCT.
Some
states
do
not
allow
limitations
on
how
long
an
implied
warranty
lasts
or
the
exclusion
or
limitation
of
incidental
or
consequential
damage
so
the
above
limitations
or
exclusions
may
not
apply
to
you.
This
Warranty
gives
you
specific
legal
rights
and
you
may
also
have
other
rights
which
vary
from
state
to
state.
128-8437
.
TRAVELER'S
WARRANTY
DEPARTMENT
•
AUDIOVOX
ELECTRONICS
CORPORATION
•
150
MARCUS
BLVD
HAUPPAUGE,
NEW
YORK
11788
CONNECTING
THE
POWER
CORD
•
Check
first
to
make
sure
that
the
power
cord
you
use
is
the
correct
type
required
foryour
area.
•
This
monitor
has
a
universal
power
supply
that
allows
operation
in
either
100/120V
AC
or
220/240
VAC
voltage
area.
No
user-adjustment
is
required.
•
Plug
one
end
of
the
power
cord
to
the
AC
Inlet,
plug
another
end
to
a
proper
AC
outlet.
•
For
unit
using
at
120
V
AC:
Use
a
UL
Listed
Cord
Set,
Type
SVT
wire
and
plug
rated
10
A/125
V.
•
For
unit
using
at
220/240
V
AC
(outside
of
U.S.):
Use
a
Cord
Set
consisting
of
FI05W-F
cord
and
plug
rated
10
A,
250
V.
The
cord
set
should
have
the
appropriate
safety
approvals
for
the
country
in
which
the
equipment
will
be
installed.
SAFETY
PRECAUTION
•
Avoid
placing
the
monitor,
or
any
other
heavy
object,
on
the
power
cord
to
avoid
damage
to
the
cable.
•
Do
not
expose
the
monitor
to
rain,
excessive
moisture,
or
dust.
•
Do
not
cover
the
ventilation
slots
or
openings
of
the
monitor.
Always
put
the
monitor
in
a
place
where
there
is
adequate
ventilation.
•
Avoid
placing
the
monitor
against
a
bright
background
or
where
sun¬
light
or
other
light
sources
may
reflect
on
the
face
of
the
monitor.
Place
the
monitor
just
below
eye
level.
•
Flandle
with
care
when
transporting
the
monitor.
•
Refrain
from
giving
shock
or
scratch
to
the
screen,
as
screen
is
fragile.
CLEANING
YOUR
MONITOR
Please
carefully
follow
the
below
guidelines
when
cleaning
the
monitor.
•
Always
unplug
the
monitor
before
cleaning.
•
Use
a
soft
cloth
to
wipe
the
screen
and
cabinet
front
and
sides.
EN-7

Language
Selection
9
Follow
the
steps
below
to
change
the
language
of
the
on-screen
displays
and
menus.
1
Pressthe
COMBI
button,
then
pressthe
MENU
button.
2
Pressthe
PLAY/A
button
or
the
STOP/T
button
to
select
PRIM.
SETUP.
Then,
pressthe
F.FWD/P-
button.
Pressthe
PLAY/A
button
or
the
STOP/T
button
to
choose
SELECT
LANGUAGE.
Then,
pressthe
F.FW
D/p-
button.
4
Pressthe
PLAY/A
button
or
the
STOP/T
button
to
select
ENGLISH
or
ESPANOL
(Spanish).
5
5
2-4
Helpful
Hint
•
II
you
accidentally
select
Spanish
and
need
English
on-screen
displays
and
mem
t)
Press
t
he
COMBI
button,
then
MENU
button.
2)
Press
t
STOP/v
button
to
select
PREPARA-
CION,
Hi
i
;n
press
the
FFIVD/P-
button.
3)
Press
1
he
PLAY/*.
button
or
the
STOP/v
button
to
select
SELEC-
CION
IDIOM
A,
then
press
the
F.FIVD/P-
button.
4)
Press
t
he
PLAY/*,
button
or
the
STOP/v
button
to
select
ENGLISH.
5)
Press
1
he
STATUS/EXIT
button.

Operating
Instructions
(cont'd)
10.
When
you
hear
the
timer
bell
ring,
the
set
preparation
time
has
elapsed.
Pull
the
tank
out
of
the
appliance
and
place
it
on
a
heat-resistant
surface
and
check
if
the
ingredients
are
ready.
If
the
ingredients
are
not
ready
yet,
simply
slide
the
tank
back
into
the
appliance
and
set
the
timer
to
a
few
extra
minutes.
11.
To
remove
ingredients,
remove
the
fryer
basket
from
the
unit
and
place
on
a
solid,
heat-resistant
surface,
such
as
a
counter
top.
Press
the
basket
eject
button
to
release
the
fryer
basket
from
the
tank.
Use
tongs
or
a
fork
to
remove
prepared
food,
or
turn
over
basket
to
empty
the
food
onto
plate
or
serving
utensil.
12.
Use
extreme
caution
while
handling
hot
food
in
fryer
basket
and
tank.
Excess
oil
will
drip
into
tank
when
preparing
greasy
foods.
Please
see
table
below
for
tips
on
how
to
be
prepare
different
foods.
Note:
This
table
is
only
a
guide
and
does
contain
exact
recipes.
COOKING
TIPS
1.
Smaller
ingredients
usually
require
a
slightly
shorter
preparation
time
than
larger
ingredients.
2.
For
best
results
of
smaller
foods
such
as
fries,
onion
rings
and
chicken
nuggets,
remove
the
fryer
basket
halfway
through
preparation
time
and
shake
to
mix
around
the
food
in
the
basket.
This
will
help
to
evenly
fry
the
food
being
prepared.
3.
Add
some
oil
to
fresh
potatoes
for
a
crispy
result.
Fry
your
ingredients
in
the
airfryer
within
a
few
minutes
after
you
added
the
oil.
Do
not
fill
basket
with
oil.
U.
Do
not
prepare
extremely
greasy
ingredients
such
as
sausages
in
the
airfryer.
5.
Snacks
that
can
be
prepared
in
an
oven
can
also
be
prepared
in
the
air
fryer.
6.
For
French
fries,
use
17
ounces
of
fries
at
a
time
for
best
frying
results.
7.
This
air
fryer
is
great
for
reheating
food.
To
reheat
your
food,
set
the
temperature
control
to
300°
Fahrenheit
for
up
to
10
minutes.

SUBTITLE
SETUP

4.
To
change
the
level,
press
button
1.
Each
time
the
button
is
pressed
the
level
changes.
(For
the
selection
of
the
new
level
see
the
chart).
If
the
current
level
is
5,
by
pressing
button
1
once,
level
6
is
If
the
current
level
is
10,
by
pressing
button
1
once,
level
1
is
5.
To
memorise
the
operation,
switch
off
the
dishwasher
by
pressing
dishwasher
will
automatically
return
to
setting
mode.
+

Appendix:
TCO
Test
Configurations
and
Supported
Servers
Test
Configuration
1
—HP
ProLiant
DL380
G5
Server
1
HP
ProLiant
DL380
G5
server
2
Quad-Core
Intel®
Xeon®
Processor
E5450
8
1GB
PC2-5300
DDR2
Fully
Buffered
Low-Power
DIMMs
4
Hot
Plug
SFF
SAS
10K
72GB
Hard
Drives
in
a
RAID
5
Configuration
2
Power
Supply
Units
ROM
Revision:
P56
9/1/08
iLO
Revision:
vl
.70
pass
1
1
Power:
208VAC
Circuit
Size:
8.6kW
(30
Amp,
3-phase)
Operating
Temperature:
22"C
±0.5"C
Power
calculated
using
HP
Power
Calculator
REV111601
Power
measured
using
Voltech
PM
1000
Power
Analyzer
Test
Configuration
2—HP
ProLiant
BL460c
G1
Server
16
HP
ProLiant
BL460c
G1
Servers
2
Intel®
Xeon®
Processor
L5450
4
4GB
PC2-5300
DDR2
Fully
Buffered
Low-Power
DIMMs
2
Hot
Plug
SFF
SAS
10K
72GB
Hard
Drives
in
a
RAID
1
Configuration
ROM
Revision:
115
iLO
1
HP
BladeSystem
c7000
Enclosure
10
Fans
(Rev
D,
48v)
6
Power
Supply
Units
2
HP
1Gb
Ethernet
Pass-Thru
Modules
2
Onboard
Administrator
Modules
Power:
208VAC
Circuit
Size:
8.6kW
(30
Amp,
3-phase)
Operating
Temperature:
22°C
±0.5“C
Power
calculated
using
HP
BladeSystem
Sizer
v3.4.1
Power
measured
using
Voltech
PM
1000
Power
Analyzer
13


Table
of
Contents
Unit
Overview
.
LED
Indicators
Maintenance
.
Remote
Testing
Repair
and
Return.
Connections
.
Powering
with
the
NT1
ACE
4
Power
Supply
.
Connecting
the
Terminal
Equipment
.
Typical
Configuration
.
Troubleshooting
.
Network
Interface
(U).
Customer
Interface
(S/
T)
.
Faceplate
Indicators.
Network
Compatibility.
Mechanical.
Environment.
Power
Supply
Specifications.
10
10
10
I
I
I
ACE
4
User
Manual

Switching
Off
the
Appliance
l£g=To
switch
off
the
appliance,
turn
the
temperature
regulator
to
position"0".
If
the
appliance
is
not
going
to
be
used
for
an
extended
period:
pg=1.
Remove
all
refrigerated
packages.
2.
Switch
off
the
appliance
by
turning
the
thermostat
knob
to
position"0“.
3.
Remove
the
mains
plug
or
switch
off
or
disconnect
from
the
electricity
supply.
4.
Clean
thoroughly
(see
section:
"Cleaning
and
Care").
5.
Leave
the
door
open
to
avoid
the
build
up
of
odours.
Interior
Accessories
Storage
Shelves
Vhrious
glass
storage
shelves
are
included
with
your
appliance.
The
height
of
the
storage
shelves
can
be
adjusted:
113^1.
To
do
this
pull
the
storage
shelf
for¬
ward
until
it
can
be
swivelled
upwards
or
downwards
and
removed.
2.
Please
do
the
same
in
reverse
to
insert
the
shelf
at
a
different
height.
16

SECOND
OVEN
COOKING
CHART
17

4.3
Configure
Encryption
Settings
This
section
describes
how
to
configure
encryption
settings
for
the
Wireless
PCI
Adapter.
Note:
The
encryption
settings
you
set
for
the
Adapter
must
match
the
same
settings
of
the
Access
Point/Wireless
Router;
otherwise,
the
encryption
will
not
work
properly.
Step
1
From
the
AP
List
tab,
select
the
Access
Point/Wireless
Router
you
want
to
connect
to
and
click
Connect.
M
tWsfBftaSrtflrr
]%
AP
List
M
HRHn
Mm
Lj
N
e
t
w
u
r
k
N
a
m
e
El
a
n
d
S
igin
a
1
,1
'
i'
r
"r
Encryption:
On
Surveyed
at:
00:C0:49:54:11:E4
(^Connec^Jj
f
Refresh
]
Step
2
Verify
the
Profile
Name
is
correct
and
click
Next.

Installation
Positioning
Install
this
appliance
at
a
location
where
the
ambient
temperature
corresponds
to
the
cli¬
mate
class
indicated
on
the
rating
plate
of
the
appliance:
Electrical
Connection
A
CAUTION!
Any
electrical
work
required
to
install
this
appliance
should
be
carried
out
by
a
qualified
electrician
or
competent
person.
A
WARNING!
This
appliance
must
be
earthed.
The
manufacturer
declines
any
liability
should
these
safety
measures
not
be
observed.
/j\
The
wires
in
the
mains
lead
are
coloured
in
accordance
with
the
following
code:
il
Green
and
Yellow:
Earth
H
Brown:
Live
Q
Blue:
Neutral
As
the
colours
of
the
wires
in
the
mains
lead
of
this
appliance
may
not
correspond
with
the
coloured
markings
identifying
the
terminals
in
your
plug,
proceed
as
follows:
1.
Connect
the
wire
coloured
green
and
yellow
to
the
terminal
marked
either
with
the
letter
"E"
or
by
the
earth
symbol
©
or
coloured
green
and
yellow.

COLOR
TELEVISION
90
Days
Free
Labor
One
Year
Free
Replacement
of
Parts
(Two
Years
Free
Replacement
on
Color
Picture
Tube)
This
product
must
be
carried
in
for
service.
WHO
ISCOVERED?
MAKE
SURE
YOU
KEEP...
You
must
have
proof
of
purchase
to
receive
warranty
service.
A
sales
receipt
or
other
document
showing
that
you
purchased
the
product
is
considered
proof
of
purchase.
WHAT
ISCOVERED?
W
arranty
coverage
begins
the
day
you
buy
your
product.
For
90
days
thereafter,
all
parts
will
be
repaired
or
replaced
free,
and
labor
is
free.
From
90
days
to
one
year
from
the
day
of
purchase,
all
parts
will
be
repaired
or
replaced
free,
but
you
pay
for
all
labor
charges.
From
one
to
two
years
from
the
day
of
purchase,
you
pay
for
the
replacement
or
repair
of
all
parts
except
the
picture
tube,
and
for
all
labor
charges.
After
two
years
from
the
day
ol
purchase,
you
pay
for
the
replacement
or
repair
of
all
parts,
and
for
all
labor
charges.
All
parts,
including
repaired
and
replaced
parts,
are
covered
only
tor
the
original
warranty
period.
W
hen
the
warranty
on
the
product
expires,
the
warranty
on
all
replaced
and
repaired
parts
also
expires.
WHAT
IS
EXCLUDED?
Your
warranty
does
not
cover:
•
labor
charges
for
installation
or
setup
of
the
product,
adjustment
of
customer
controls
on
the
product,
and
installation
or
repair
of
antenna
systems
outside
of
the
product.
•
product
repair
and/or
part
replacement
because
of
misuse,
acci¬
dent,
unauthorized
repair
or
other
cause
not
within
the
control
of
Philips
Consumer
Electronics
Company.
•
reception
problems
caused
by
signal
conditions
or
cable
or
antenna
systems
outside
the
unit.
•
a
product
that
requires
modification
or
adaptation
to
enable
it
to
operate
in
any
country
other
than
the
country
for
which
it
was
designed,
manufactured,
approved
and/or
authorized,
or
repair
of
products
damaged
by
these
modifications.
•
incidental
or
consequential
damages
resulting
from
the
product.
(Some
states
do
not
allow
the
exclusion
of
incidental
or
consequen¬
tial
damages,
so
the
above
exclusion
may
not
apply
to
you.
This
includes,
but
is
not
limited
to,
prerecorded
material,
whether
copy¬
righted
or
not
copyrighted,)
•
a
product
used
for
commercial
or
institutional
purposes.
W
HERE
IS
SERVICE
AVAILABLE?
W
arranty
service
is
available
in
all
countries
where
the
product
is
offi¬
cially
distributed
by
Philips
Consumer
Electronics
Company.
In
coun¬
tries
where
Philips
Consumer
Electronics
Company
does
not
distribute
the
product,
the
local
Philips
service
organization
will
attempt
to
pro¬
vide
service
(although
there
may
be
a
delay
if
the
appropriate
spare
parts
and
technical
manual(s)
are
not
readily
available).
Please
keep
your
sales
receipt
or
other
document
showing
proof
of
purchase.
Attach
it
to
thisowner's
manual
and
keep
both
nearby.
Also
keep
the
original
box
and
packing
material
in
case
you
need
to
return
your
product.
BEFORE
REQUESTING
SERVICE...
Please
check
your
owner’s
manual
before
requesting
service.
Adjustments
of
the
controls
discussed
there
may
save
you
a
service
TO
GET
WARRANTY
SERVICE
IN
U.S.A.,
PUERTO
RICO
OR
U.S.
VIRGIN
ISLANDS...
Contact
a
Philips
factory
service
center
(see
enclosed
list)
or
autho¬
rized
service
center
to
arrange
repair.
(In
U.S.A.,
Puerto
Rico
and
U.S.
Virgin
Islands,
all
implied
warranties,
including
implied
warranties
of
merchantability
and
fitness
for
a
partic¬
ular
purpose,
are
limited
in
duration
to
the
duration
of
this
express
warranty.
But,
because
some
states
do
not
allow
limitations
on
how
long
an
implied
warranty
may
last,
this
limitation
may
not
apply
to
you.)
TO
GET
WARRANTY
SERVICE
IN
CANADA...
Please
contact
Philips
at:
1-800-661-6162
(French
Speaking)
1-800-363-7278
(English
Speaking)
(In
Canada,
this
warranty
is
given
in
lieu
of
all
other
warranties.
No
other
warranties
are
expressed
or
implied,
including
any
implied
war¬
ranties
of
merchantability
or
fitness
for
a
particular
purpose.
Philips
is
not
liable
under
any
circumstances
for
any
direct,
indirect,
special,
inci¬
dental
or
consequential
damages,
howsoever
incurred,
even
if
notified
stthe
possibility
of
such
damages.)
REMEMBER...
Please
record
the
model
and
serial
numbers
found
on
the
product
below.
Also,
please
fill
out
and
mail
your
warranty
registration
card
promptly,
it
will
be
easier
for
us
to
notify
yep
If
necessary.
MODEL#
SERIAL#
_
This
warranty
gives
you
specific
legal
rights.
You
may
have
other
rights
which
vary
from
state/province
to
state/province.
Philips
Service
Company,
P.O.
Box
555,
Jefferson
City.
Tennessee
37760,
(423)
475-8869
Other manuals for 95300KA-MN
2
Table of contents
Other AEG Cooktop manuals

AEG
AEG HG755440SM User manual

AEG
AEG 95300KA-MN User manual

AEG
AEG 32213 User manual

AEG
AEG VITRAMIC 725K User manual

AEG
AEG HK673520FB User manual

AEG
AEG 231GR-M RU 949600674 User manual

AEG
AEG 65300KF-an Operating instructions

AEG
AEG 31213 G D User manual

AEG
AEG 24" HK654070XB User manual

AEG
AEG 610 DK User manual