62
Sa ety warnings
For the user
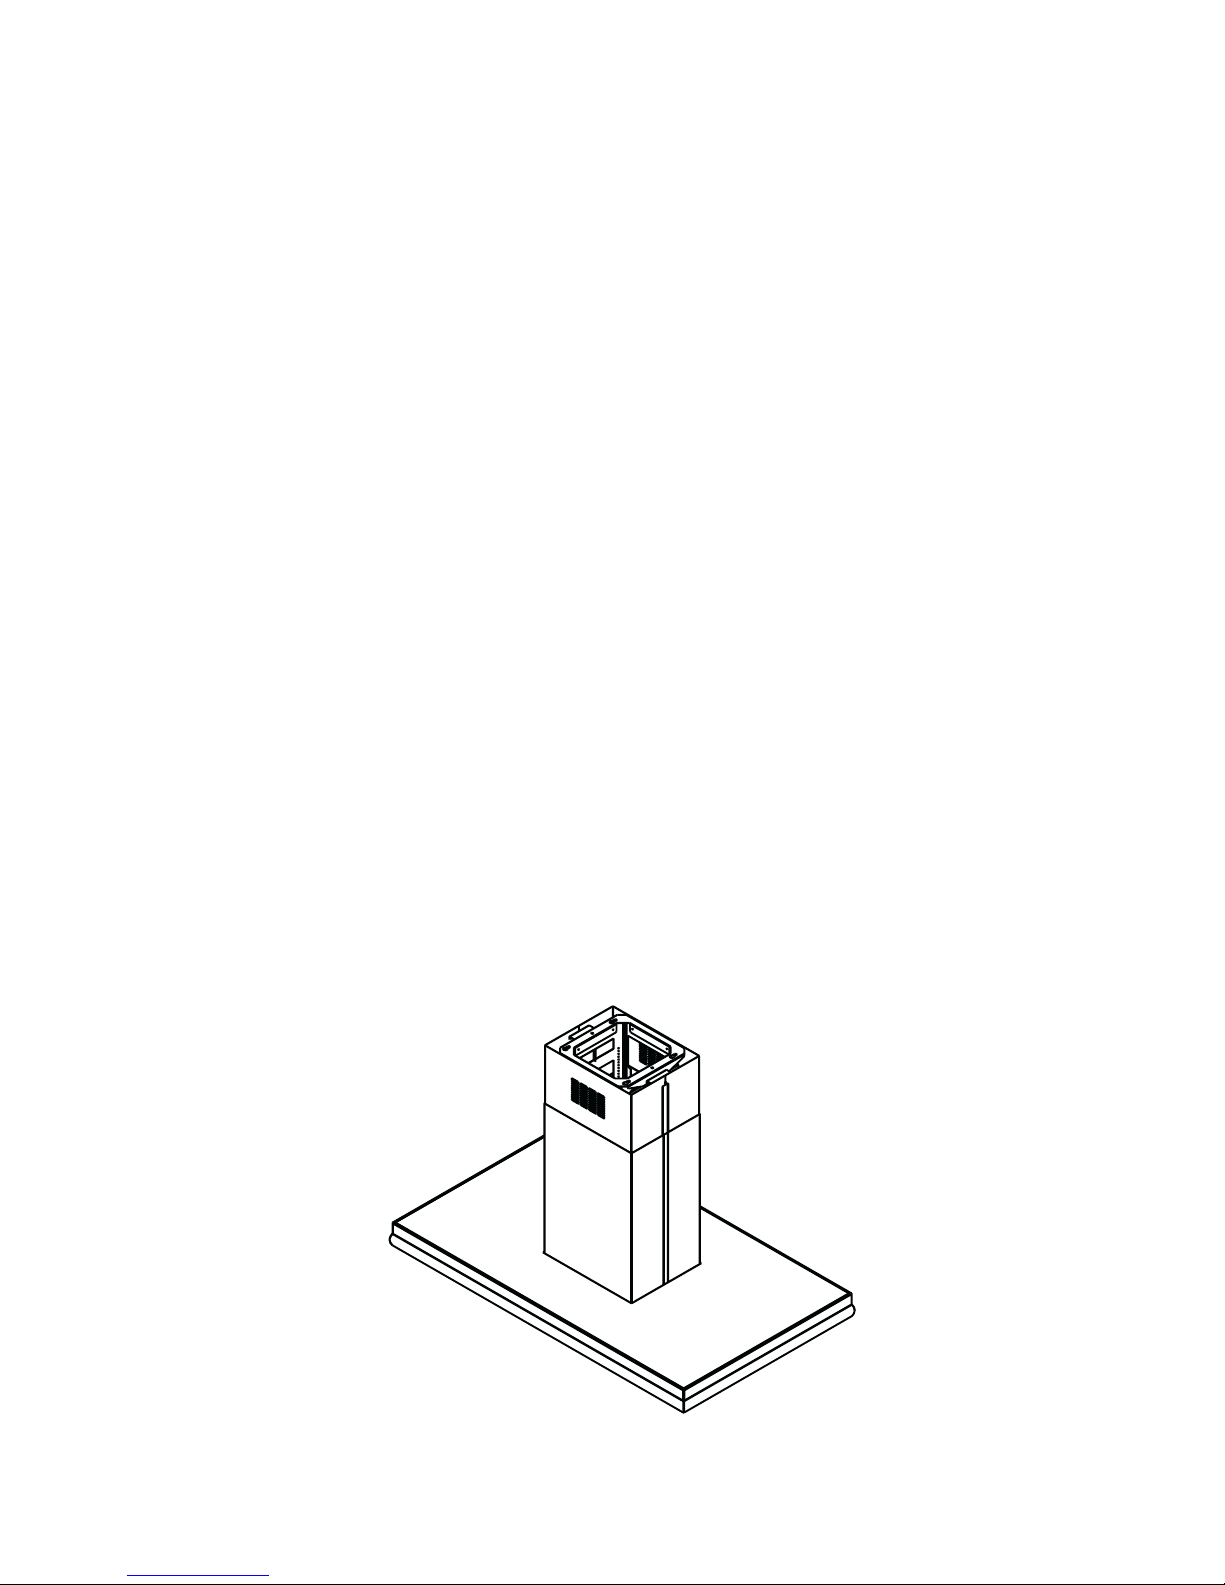
The cooker hood is designed to extract unpleasant odours from the
kitchen, it will not extract steam.
Always cover lighted elements, to prevent excess heat from
damaging the appliance. In the case of oil, gas and coal fired
cookers it is essential to avoid open flames.
Also, when frying, keep the deep frying pan on the cooker top/cooker
under careful control.
The hot oil in the frying pan might ignite due to overheating.
The risk of self-ignition increases when the oil being used is dirty.
It is extremely important to note that overheating can cause a fire.
Never carry out any flambé cooking under the hood.
Always disconnect the unit from the power supply before
carrying out any work on the hood, including replacing the
light bulb (take the cartridge fuse out of the fuse holder or switch off
the automatic circuit breaker).
It is very important to clean the hood and replace the filter at
the recommended intervals. Failure to do so could cause
grease deposits to build up, resulting in a fire hazard.
The appliance is not intended for use by young children or infirm
persons without supervision.
Older children must be supervised if using the appliance.
Young children should be supervised to ensure that they do not play
with the appliance.
WARNING - Ensure that the appliance is switched off before
replacing the lamp to avoid the possibility of electric shock.
This appliance is marked according to the European directive 2002/96/
EC on Waste Electrical and Electronic Equipment (WEEE).
By ensuring this product is disposed of correctly, you will help prevent
potential negative consequences for the environment and human health,
which could otherwise be caused by inappropriate waste handling of
this product.
The symbol on the product, or on the documents accompanying
the product, indicates that this appliance may not be treated as
household waste. Instead it shall be handed over to the applicable
collection point for the recycling of electrical and electronic equipment.
Disposal must be carried out in accordance with local environmental
regulations for waste disposal.
For more detailed information about treatment, recovery and recycling
of this product, please contact your local city office, your household
waste disposal service or the shop where you purchased the product.