5
Safety Information
Keep an eye on children when the
downdraught extractor is in use.
Never let children touch or play with
the control knobs.
Never leave the downdraught extrac-
tor unattended when deep-frying or
melting fat, paraffin wax or other
easily ignited substances. Do not
flambe in the immediate proximity
of a downdraught extractor that is
switched on. It can cause a fire. In
the event of fire, the downdraught
extractor must be switched off.
Put out the fire with a lid. Never
use water.
Check that the downdraught extrac-
tor is turned off when not in use.
This downdraught extractor is
designed for use in a normal domes-
tic household. If used in any other
way there could be a risk of an acci-
dent.
Children
Use
For hygiene and safety reasons the
downdraught extractor must be kept
clean. In a worst case scenario, a
clogged fat filter can ignite and burst
into flames.
Service and repair must be per-
formed by our service organisation
or an organisation approved by us.
Only spare parts supplied by our
service organisation may be used.
Make sure the packaging is disposed
of in such a manner that children
cannot access the used packaging.
Cleaning and Maintenance
Service
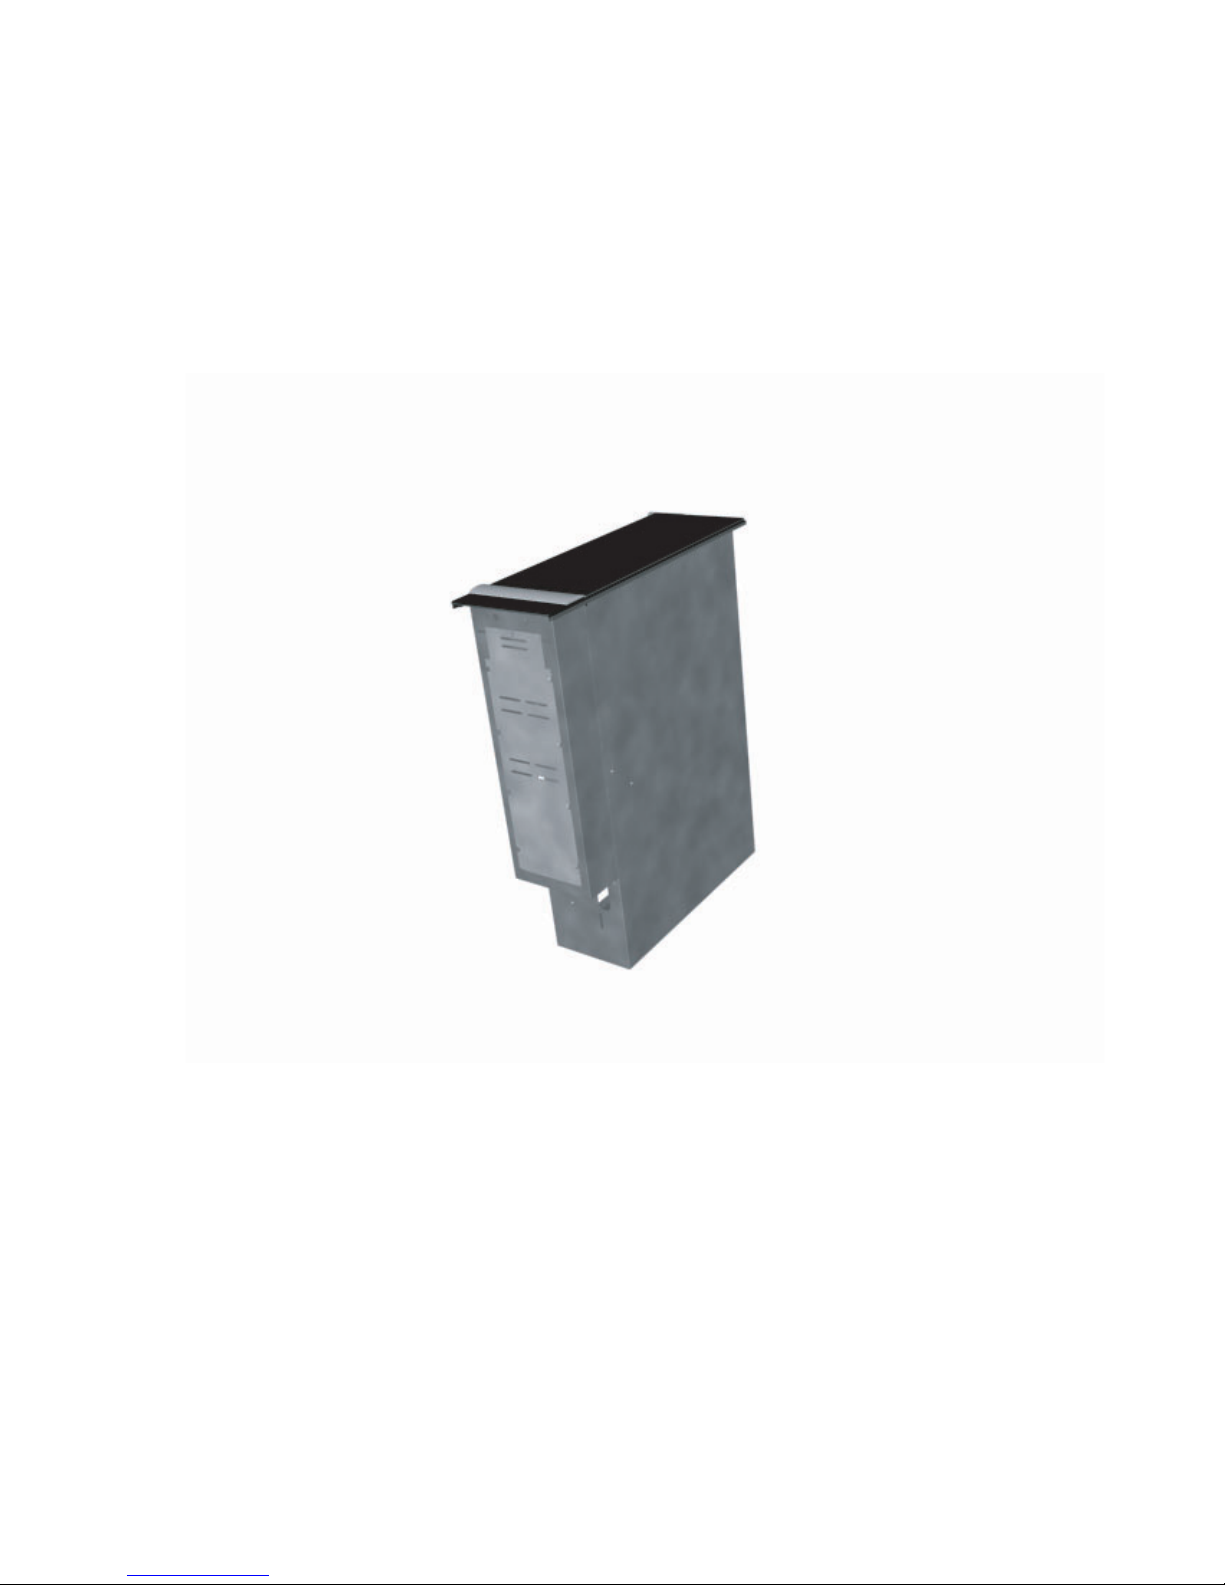
Unpacking