25
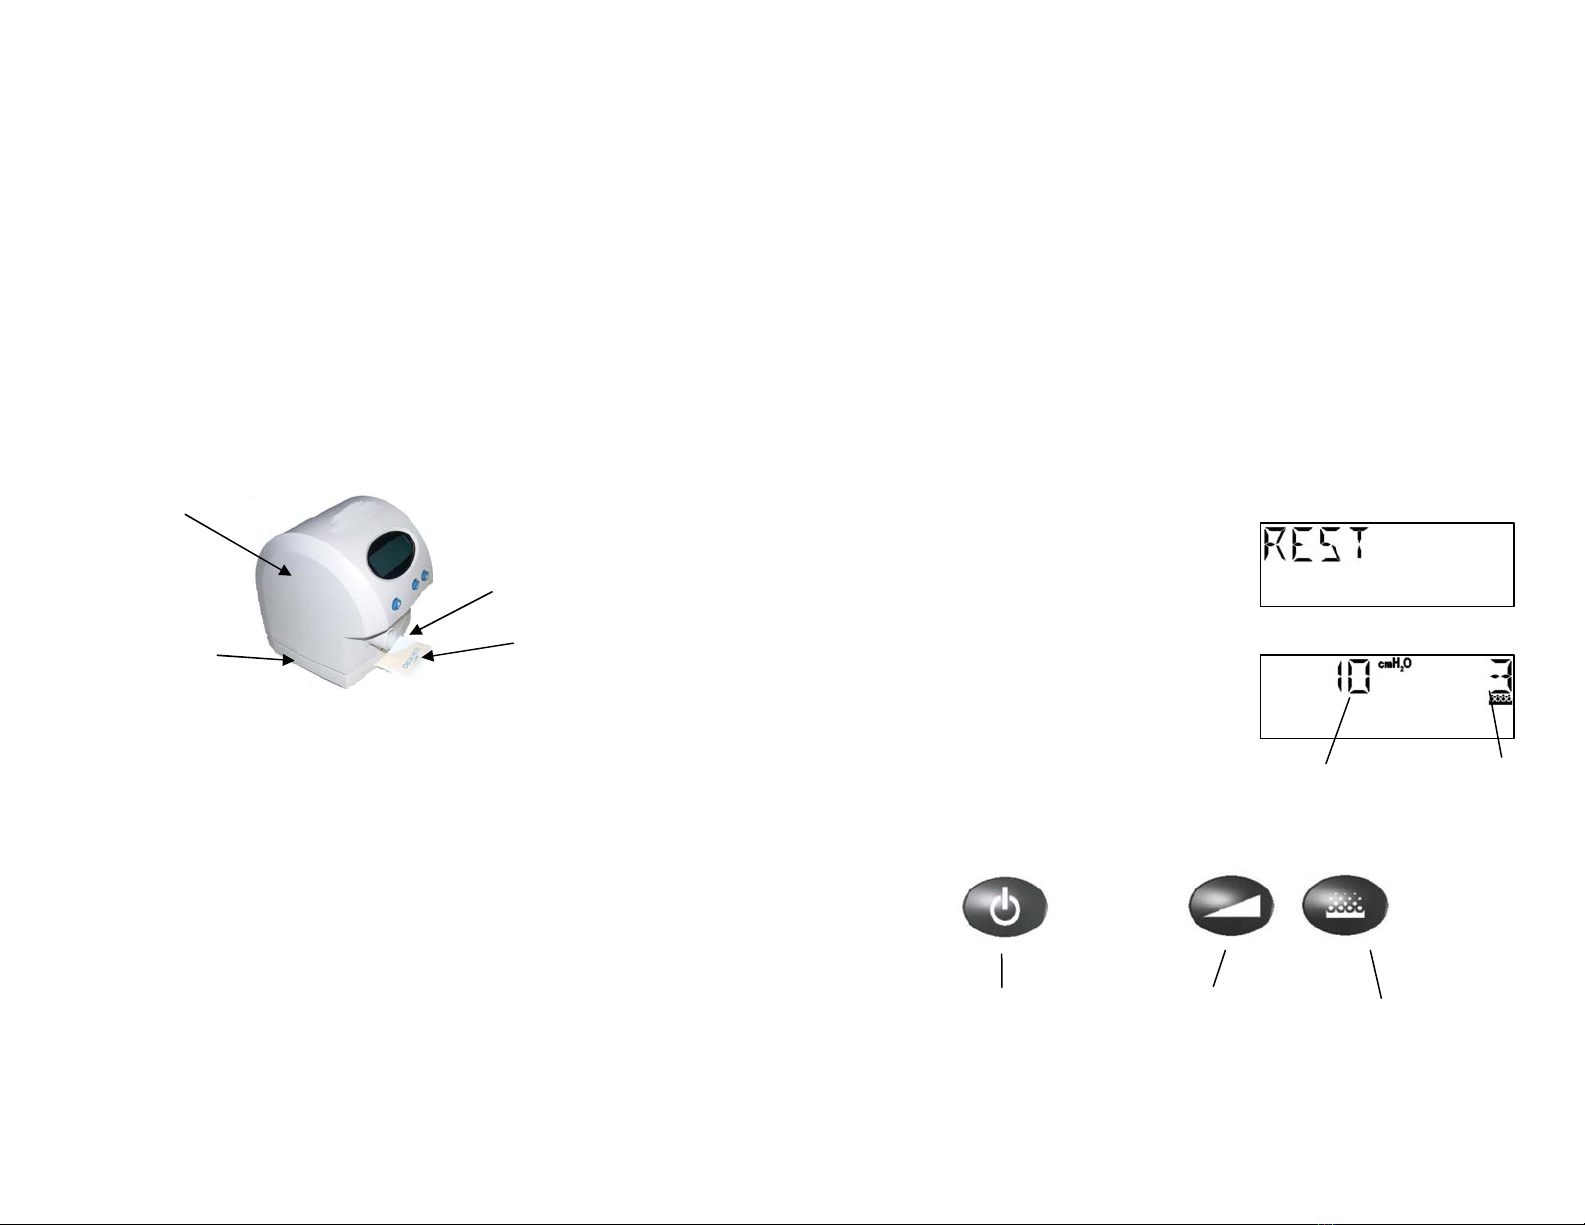
Turning on the Blower
1. Ensure that the CPAP device has po er, the blo er is off,
and the preheated humidifier is active.
2. Position the patient interface (mask), according to
the instructions accompanying the patient interface
selected by your care provider.
3. Press the on/off button.
Warning Turn on the blo er as quickly as possible
after positioning the patient interface.
Exhaled air could be re-breathed if the CPAP
blo er is off. Re-breathing exhaled air for
longer than several minutes can, in some
circumstances, lead to suffocation.
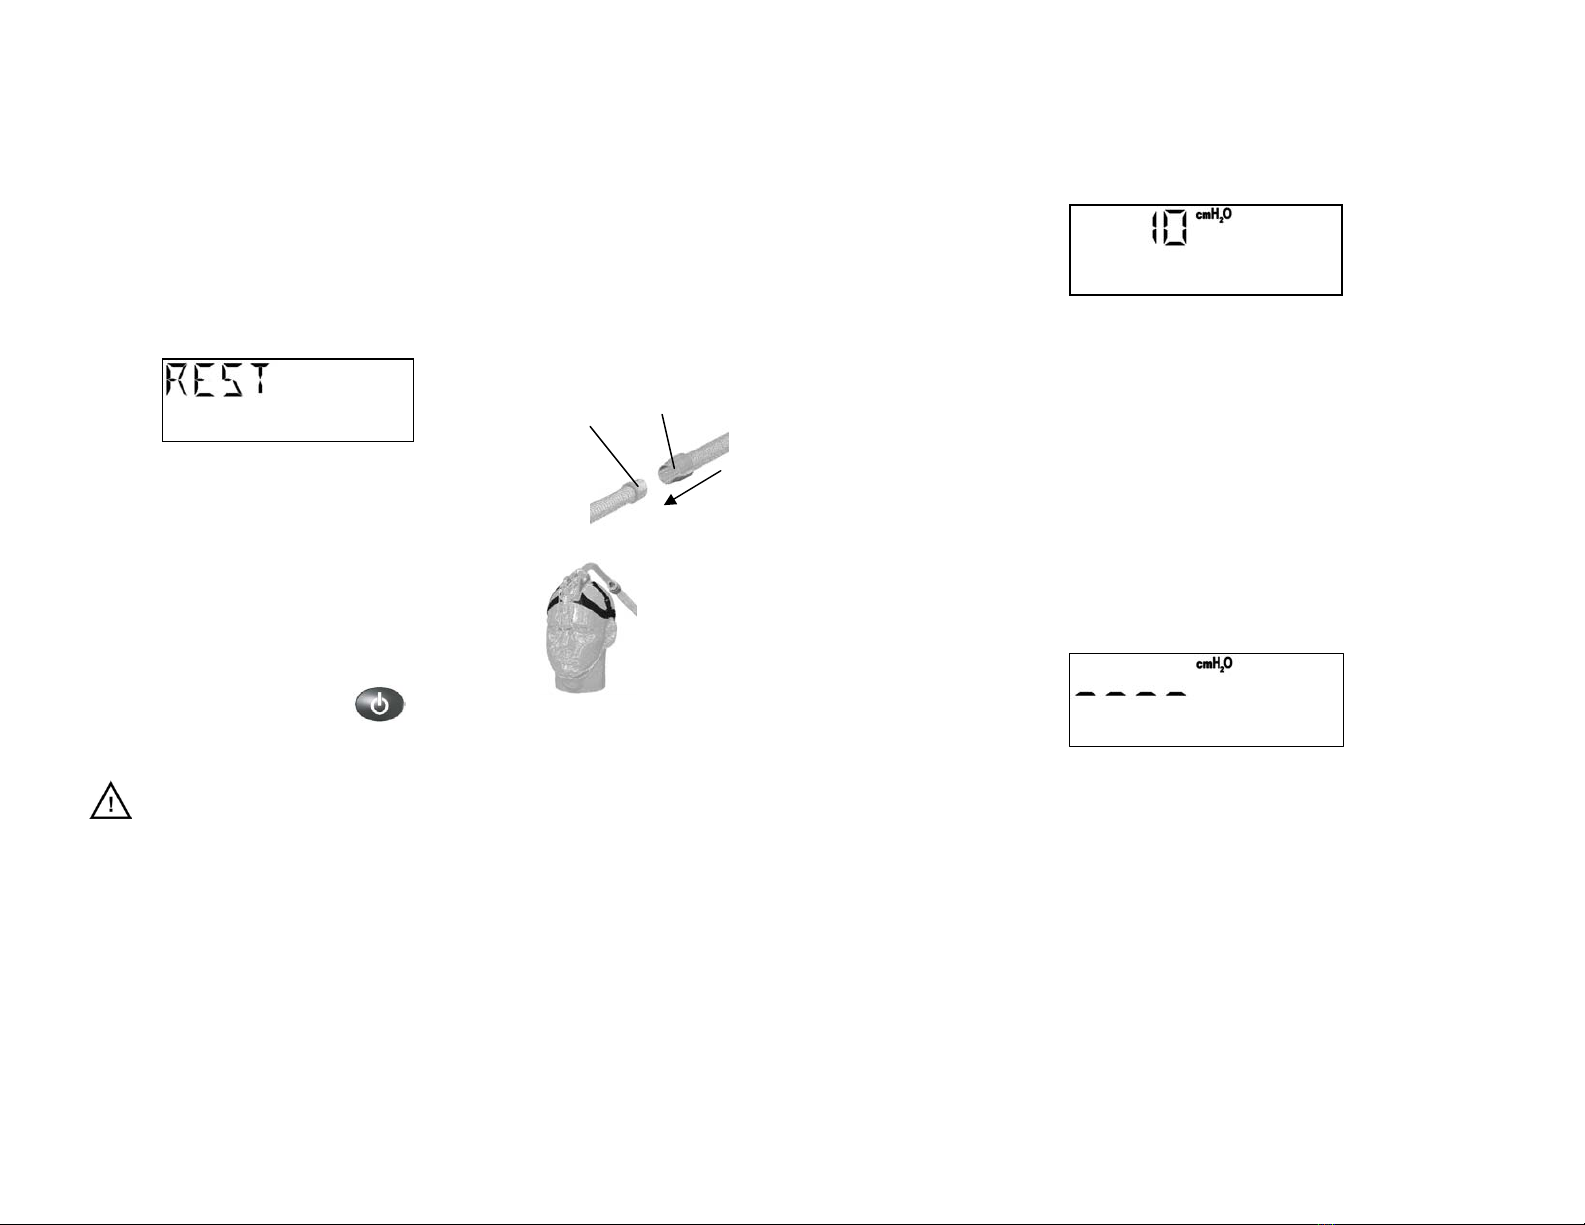
When the blo er is on, the display sho s the therapeutic
pressure setting. Check that the hose and patient interface have
a tight seal and that there is no excessive air leak.
Note: If you remove or do not securely position the patient
interface, the CPAP ill automatically reduce the
pressure in approximately 1-60 seconds (depending on
therapy pressure and interface type). This is called
Interface Interrupt (refer to Inter ace Interrupt Feature). It
26
occurs hen your patient interface (mask) is removed
from your face and the air leak is excessive. The display
ill indicate that the therapy pressure has been reduced
due to the Interface Interrupt function.
Secure the interface and the pressure ill increase to
the prescribed level hen you resume breathing (the
display ill indicate therapy pressure).
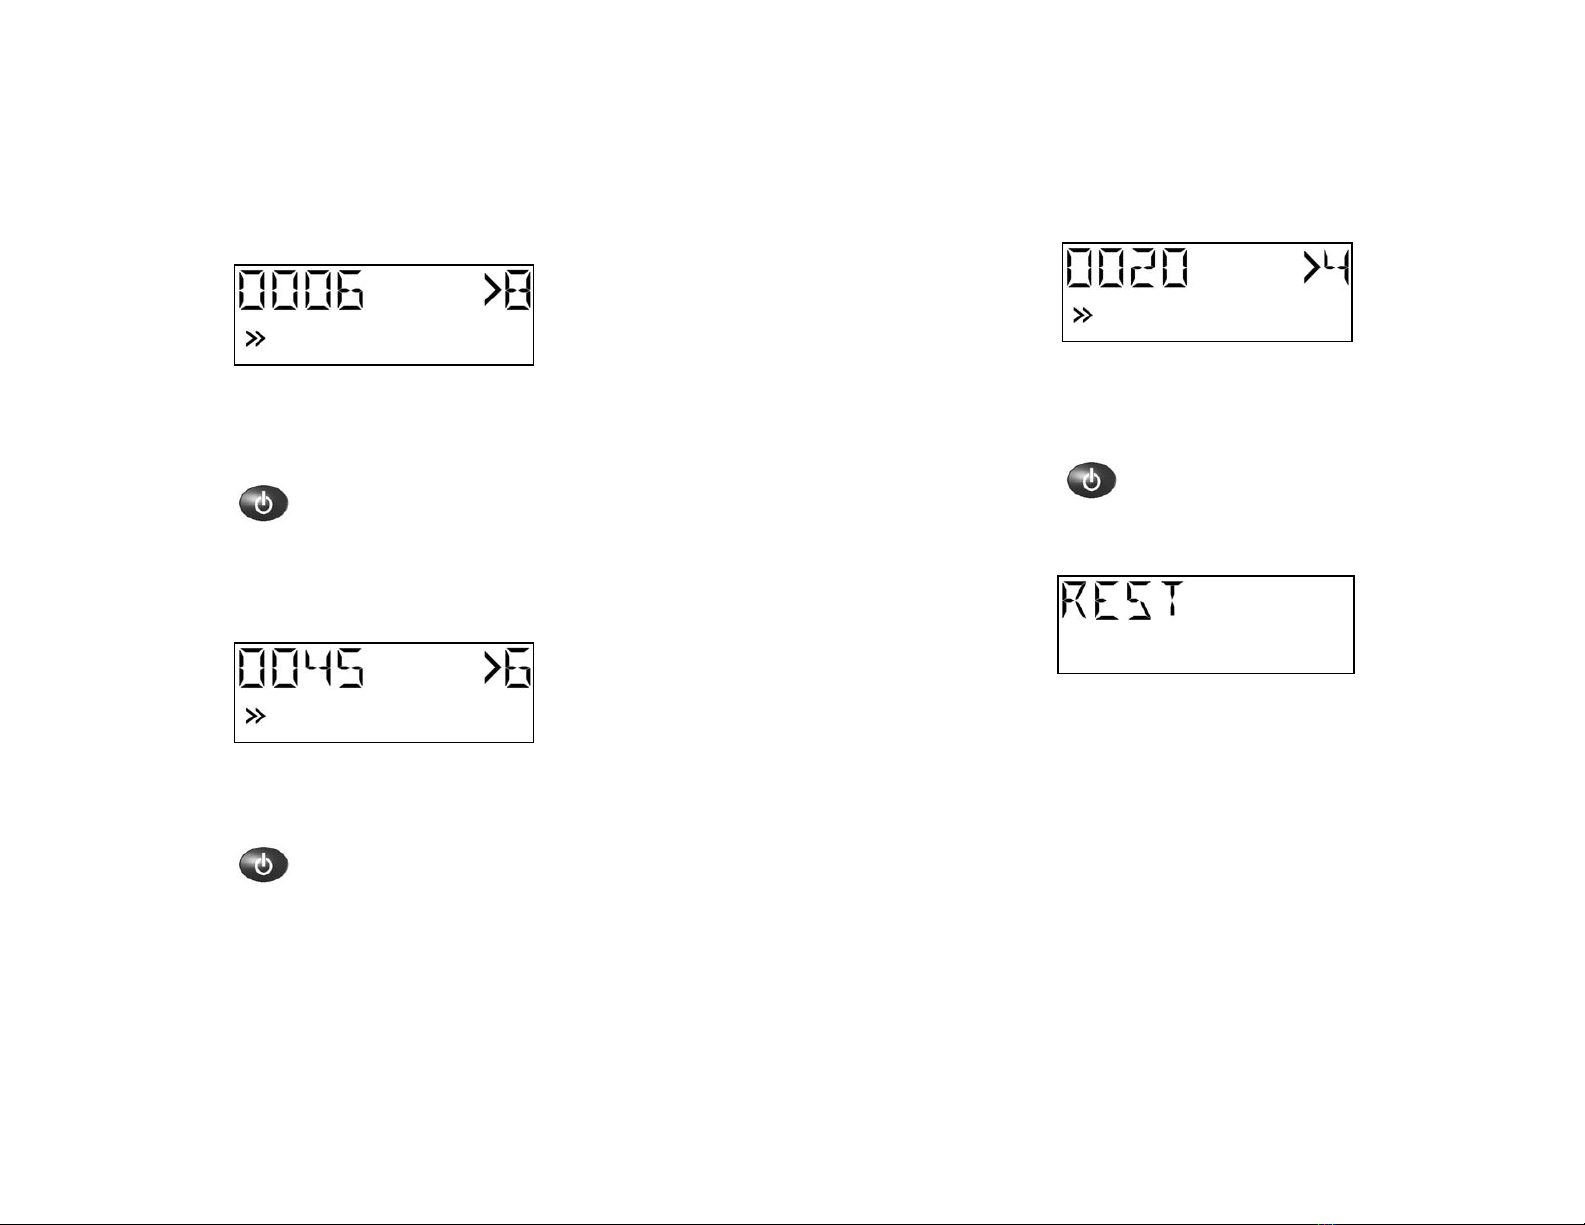
Note: If the device is left off the face for more than one
hour, it ill shut off the blo er and enter Standby
mode. To resume device therapy, you must press the
on/off button to initiate the CPAP blo er.
Note: The CPAP device recalls the humidity setting during
therapy. The next time you begin therapy or turn on
preheat, the CPAP ill use the same humidifier setting.
Interface Interrupt Feature (if enabled)
The Everest® 3 CPAP ill automatically reduce therapy
pressure hen it detects that the interface has been removed or
has an excessive interface leak ( ithin 1-60 seconds, depending
on therapy pressure setting and interface type). This feature is
intended to minimize disruption to the user or bed partner (e.g.
reduce noise hen taking a bathroom break). The Interface
Interrupt feature also detects hen the interface is returned to
position on the face and breathing is restored (shortly after the
interface is repositioned) and ill restore CPAP to previous
therapy pressure.
Note: If the Interface Interrupt occurs during normal therapy
(indicated by the display sho ing four dashes instead of