manuals.online logo
Brands
  1. Home
  2. •
  3. Brands
  4. •
  5. AG SPRAY
  6. •
  7. Paint Sprayer
  8. •
  9. AG SPRAY TR500PHS-S User manual

AG SPRAY TR500PHS-S User manual

Page 1
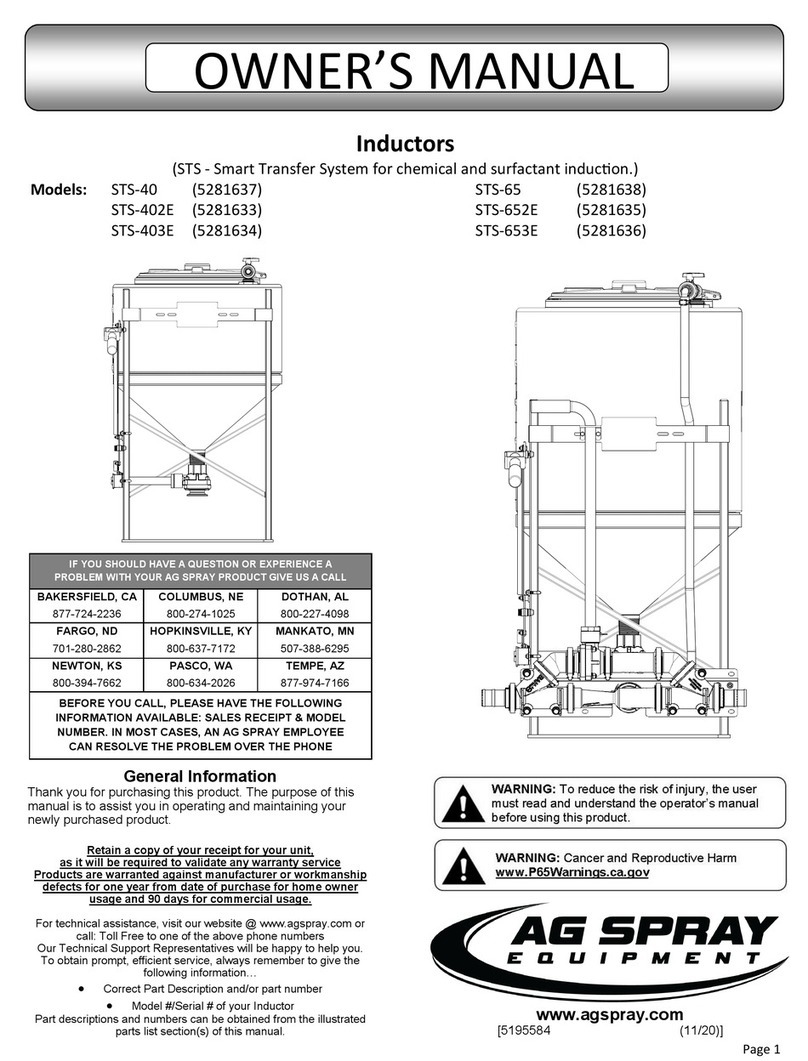
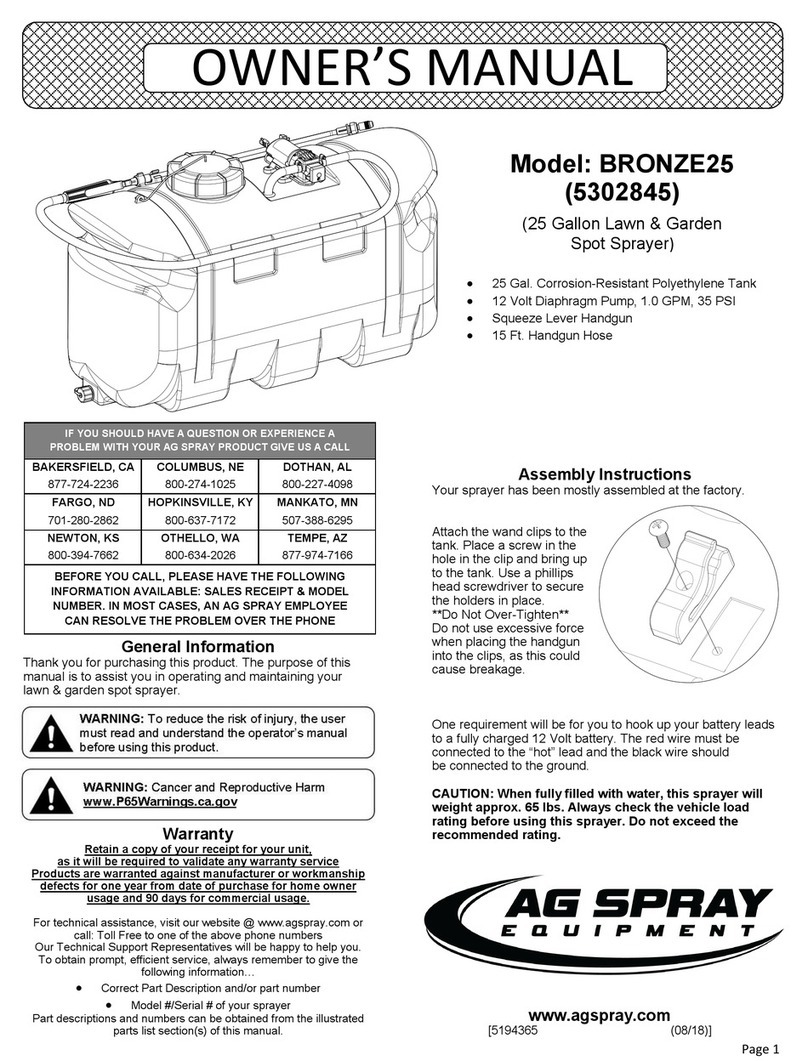
500 Gallon
Poultry House
Trailer Sprayer
Standard
TR500PHS-S
(5281784)
Deluxe
TR500PHS-D
(5281785)
General Information
Thank You and Congratulations on purchasing
your new trailer sprayer. The purpose of this
manual is to assist you in operating and maintain-
ing your poultry house sprayer.
Please read it carefully, as it furnishes infor-
mation which will help you achieve years of
trouble-free operation. All units can be custom
equipped to meet all your spraying needs.
Any Questions, Comments or Problems: Call your nearest AG SPRAY Location
and speak with one of our Friendly Technical Support Staff.
[5195585 (11/20)]
OWNER’S MANUAL
507-388-6295
800-394-7662
800-634-2026
877-974-7166
MANKATO, MN
NEWTON, KS
PASCO, WA
TEMPE, AZ
877-724-2236
800-274-1025
800-227-4098
701-280-2862
800-637-7172
BAKERSFIELD, CA
COLUMBUS, NE
DOTHAN, AL
FARGO, ND
HOPKINSVILLE, KY
VISIT US ONLINE @
WWW.AGSPRAY.COM
Page 2
Table of Contents
3Welcome
4-7Operation & Safety
8-9Operation Instructions
10 Pre-Start Instructions
11 Boom Operation Instructions
12-13 Operating Instructions
14-18 PHS Breakdown
19-22 Self Rewind Hose Reel
23 Handgun
24-32 Diaphragm Pump
33 Warranty
Page 3
AG SPRAY EQUIPMENT - Owner’s Manual
Welcome to Ag Spray’s line of sprayers and a special thanks for buying the TR500PHS. The TR500 PHS stands for
Poultry House Sprayer with a 500-gallon tank. The sprayer is built with quality, dependability and service after the sale.
This sprayer is designed to clean and disinfect even the dirtiest of poultry houses. The TR500PHS is built with a boom in
a vertical position on the right hand side, direction of travel, so that it will spray the walls from the floor to the ceiling. Al-
so, the TR500PHS is built with a boom jet nozzle that will clean the ceiling and is located on the very back and in the
center of the sprayer, so that it is easy to change the direction of the spray. Another great feature of the TR500PHS is
the OPTIONAL 800 psi handgun kit to clean and disinfect those hard to reach places where the booms may not be able
to reach very well. Further more, this sprayer is designed to do all this and maneuver in the poultry house with the great-
est of ease.
This booklet is made to inform you of the maintenance and operation needed to use this sprayer. This booklet’s intention
is to familiarize the owner with the machine before operation. So, please, take time to read over this booklet and take the
proper precautions before using the TR500PHS. Ag Spray Equipment would like to thank you again for choosing this
product and if you have any questions, feel free to contact one of the customer service centers.
Make your poultry house a clean one.
Page 4
------------------------------- Before Operation ----------------------------------
 Carefully study and understand the owner’s manual
 Read and follow chemical manufacturer’s labels, warnings and instructions! A material safety data sheet (MSDS) should be
provided by the chemical manufacturer
 To avoid injury from chemical hazards, wear the proper protective clothing. Each chemical manufacturer’s clothing requirements
are listed under the “Personal Protective Equipment (PPE)” section in the chemical instructions
 Never exceed your tractor’s load rating
 Do not wear loose-fitting clothing which may catch in moving parts
 Give the sprayer a visual inspection for any worn parts, loose bolts or other visible problems and make any needed repairs
 Make sure the area is clear of any people or obstructions before using the sprayer
 Before adding chemicals, have all operators practice operating the sprayer (clean water only) and it’s attachments until all
operators are completely capable of safe operation
-------------------------------- BEFORE SEASONAL USE ----------------------------
 CHECK and TEST sprayer with water before adding chemical. Temperature change can cause material fitting expansion/
contraction. Serious injury could result from chemical leaks
 REPLACE any worn or frayed hoses. Hose failure can result in serious damage
 INSPECT pressure gauge. Insure the needle rests at zero when all pressure is relieved in the spray system. Failure to have a
properly functioning pressure gauge can result in miss applications of chemical
----------------------------------- DURING OPERATION -------------------------------
 Always be aware of bystanders, particularly children! Always look before moving the sprayer or engaging the PTO
 Never leave running equipment unattended!
 Keep hands and body parts clear of all moving parts, especially the tractor PTO
 Be aware of dangerous terrain such as holes, slopes, drop-offs, banks, rocks and hidden hazards. Operate the tractor and
sprayer up and down slopes, not across
 When operating on inclines, it is especially important that your tractor is equipped with Roll Over Protection System (ROPS)
 No passengers are allowed on or in the tractor or sprayer at anytime
 Allow for sprayer boom length when making turns
 Remember that accidents can even happen to seasoned operators. Always take your time and follow all safety instructions
Important Operation & Safety Information
Page 5
--------------------------General Chemical Safety-----------------------------
 READ and FOLLOW all chemical label’s instructions and warnings
 AVOID inhaling, ingesting or coming into contact with any chemicals
 KNOW applicable licensing and regulatory requirements for the chemical you plan to use
 KNOW emergency procedures before handling chemicals
 WEAR protective clothing, eye protection and chemical resistant gloves when filling, using and cleaning the sprayer. Wear
additional protective gear, such as facemask or apron, as recommended on the chemical label
 EXERCISE EXTRA CAUTION around children or pets. Pesticides are especially toxic to them. Keep sprayer and spray
materials away from them at all times
 DO NOT MIX OR POUR chemicals in an enclosed, unvented area
 DO NOT USE flammable or corrosive chemicals in the sprayer
 FLUSH the sprayer with clean water after every use AND before switching chemicals
 STORE pesticides in a correctly labeled container and in a secure location
 MONITOR the health of operators frequently exposed to pesticides, as recommended by the chemical label or local/federal
regulations
------------------------------ Chemical Application Safety --------------------------
 INSPECT and PREPARE sprayer before each use as directed
 DO NOT TURN ON POWER to sprayer until ready to spray in order to avoid unintended spray release
 MAKE SURE NOZZLES ARE ORIENTED IN THE PROPER DIRECTION before starting the sprayer. As incorrectly positioned
nozzle may spray chemicals on you or others
 KEEP sprayer and spray materials away from children and pets. Pesticides can be especially toxic to children and animals
-------------------------------- Pump Safety Precautions ----------------------------
 Never pump flammable or explosive fluids such as gasoline, fuel oil, kerosene, etc.
 Never pump acids (i.e. acid fertilizer) with super rollers. For acid fertilizer, Hypro recommends the Silver Series castings with
Teflon rollers
 Never run the pump dry! Never pump faster than, or above, the maximum recommended speed and pressure
 Never pump liquids at temperatures higher than the recommended maximum temperature (140° F/60° C). Do not exceed this
temperature
 Before servicing your pump, disconnect the power, release all pressure and drain all liquids
Important Operation & Safety Information
Page 6
Important Operation & Safety Information
Read and understand this owner’s manual completely before using the sprayer.
Read each chemical label’s instructions before handling the chemical.
Improper use of the sprayer or handling of chemicals could result in serious injury or illness for
the operator or nearby persons/animals, or cause damage to the environment.
WARNING
LISTED BELOW is a summary of safety information of particular importance. See individual sections of this
owner’s manual for more details.
---------------------------- BEFORE YOU BEGIN -------------------------------
Please read and understand this manual and its instructions and warnings completely before operating the
sprayer.
 Be aware of all safety guidelines, warnings and cautions including those of the tractor manufacturer
 Read and understand the chemical manufacturer’s labels, warnings and instructions
 Know and fulfill all state pesticide applicator license requirements
 Familiarize yourself and other operators with the sprayer’s components and how all parts are operated
--------------------------------General Safety Guidelines----------------------------
Every year many unnecessary accidents occur do to improper equipment handling and a disregard for safety
precautions. You, the operator, can avoid accidents by observing the precautions in this section.
 The operator should be a responsible adult. Do not allow persons to operate this sprayer until they have displayed a
thorough understanding of sprayer safety precautions and operational use!
 All operators must also fulfill state pesticide applicator license requirements
 Never attempt to operate this sprayer when under the influence of alcohol or drugs.
 The best defense against accidents is a careful and responsible operator. If your sprayer is equipped with a PTO
drive shaft, it is very important to take the proper safety precautions
 Failure to keep body parts or clothing clear of the sprayer’s PTO drive shaft could result in serious injury or death.
Ag Spray assumes no liability for any possible injury
 Never step over or work near the PTO drive shaft during operation
 When transporting the sprayer on public roads, always follow state and local regulations regarding safety and
transportation requirements
Page 7
----------------------------- Following Operation --------------------------------
 Following operation, it is very important that you completely rinse the entire sprayer and all of it’s components of all chemical
residue
 Following operation, stop the tractor unit, set the brakes, disengage PTO shaft, shut off the engine and remove the ignition key
 Park the sprayer on a hard level surface
 Store the sprayer away from human and livestock activity
 Do not permit children to play on or around sprayer
Important Operation & Safety Information
Page 8
Operation Instructions
Check for OVERHEAD clearance - pay special attention if the center boom is up.
Before starting work, analyze the area to determine the best - and safest - operating procedure. Plan your travel
straight forward, whenever possible. Avoid sharp turns at high speeds.
WARNING! Never stand or allow anyone else to stand between the tractor and the sprayer, unless the engine is turned
off and parking brake is engaged and the transmission is in park (or neutral). For stationary PTO operation, such as set-
ting the pressure regulator, always place transmission in park (neutral), engage parking brake and block both tractor and
the sprayer tires.
Hooking & Unhooking
All towed loads, including the TR500PHS must be hooked to the drawbar.
WARNING! Never allow anyone to stand between the tractor and the TR500PHS, while the tractor is backing up.
To unhook, move to level ground, block the tires and set the jack before unhitching. Be sure to unlatch and disengage
PTO to complete unhitching. Make sure you use a proper safety hitch pin with safety clip retainer.
Chemical Operations
Always wear the proper clothing and equipment when handling chemicals. Follow chemical guidelines and instructions
for proper PPE.
When dry chemicals are to be used, they should be added when the tank is partially filled and the bypass agitation valve
is open. By the time the tank is filled, the chemicals should be thoroughly mixed.
It is important to keep dry chemicals mixed. Chemicals will settle out, forming a hard, crusty sediment in:
- The diaphragm pump - if this happens, the pump may lock up, causing pump damage, PTO shaft damage and grave
personal injury.
- The tank - Always thoroughly flush the system after chemical operations.
Page 9
Operating Procedures
Tractor Selection
Power
The Diaphragm Pump requires a 20 HP minimum. Your tractor should have 25-30 horsepower available on the PTO
shaft. It also needs to have the ability to stop the TR500PHS, when full of water. A small tractor is more maneuverable in
a poultry house. We recommend using a tractor with a 45-60 HP available on the PTO.
PTO
The diaphragm pump is designed to operate at a 540 RPM speed. Tractors come standard with a maximum PTO
speed of either 540 or 1000 RPM.
The shape of the PTO shaft usually indicates the PTO speed.
Small tractors (80 HP or less) generally come standard with 540 RPM PTO (1-3/8” shaft with six splines).
Large tractors (80 HP or more) generally come stock with 1000 RPM PTO (1-3/8” 21 splines or 1-3/4” 20 splines).
WARNING! Do not try to operate your TR500PHS with a 1000 RPM PTO!
PTO Components
Complete PTO Shaft Assembly
Part #68379
Page 10
Pre-Start Instructions
A. Fill the tank full if using water only, half full, if you are to add chemicals.
B. Check that the PTO shaft and attached pump shaft turns freely by hand (DO NOT attach PTO shaft or operate the
pump, if the pump does not turn freely by hand, because it may be locked up and may cause serious injury).
C. Attach PTO shaft, making sure the lock pin is locked on the PTO shaft.
D. Check that all shields are in place.
E. Check that there is oil showing in the sight glass of the pump. Add oil, if needed.
F. Clean and inspect strainer screen.
G. Check all hoses and fittings for tightness, wear and leakage.
H. Set the following valve lineup:
1) Pump suction valve OPEN.
2) Pressure control valve - pressure adjusting handle in the UP position.
3) Hose reel ball valve CLOSED.
4) Rear boom ball valve OPEN.
5) All individual nozzle isolation valves set to achieve desired pattern.
I. Check the oil, water and fuel on the tractor.
J. Check lug nus and check tire pressure (40 PSI cold inflation).
Page 11
Boom Operation Instructions
All nozzles have individual shutoff valves for controlling spray patterns.
Center vertical boom - cluster nozzle (20 GPM with a 20’ radius range) creates a fan spray pattern generally used to
clean the rafters, but in the inverted position and at reduced pressure (100 PSI) can be used to disinfect the floor.
Lateral spray boom - has spring loaded and self-centering breakaway feature. Five individual 50-20 spray nozzles (50
degree spray angle and a 2 GPM spray rate each) for a possible 10 GPM. All side boom nozzles can be adjusted
vertically and the valve bodies can rotate 270° for varied spray patterns.
Shutoff ball valves, handle position indicates whether the valve is open or closed (handle parallel with valve body, valve
is open - handle across valve body, valve is closed).
Page 12
Operation Instructions
1. Check the diaphragm pump oil level. The oil should be half way up the clear oil sight tube.
2. Make sure the suction hose is properly secured to the pump.
3. Check the charge pressure on the diaphragm pump pulsation damper before starting the pump. The pressure is
checked with a standard automotive air gauge. The pressure should be approximately 20% of the maximum operat-
ing pressure, with a minimum charge of 10 PSI.
4. The relief valve bypass port should be connected back to the liquid tank unrestricted. Do not hook the bypass line
back to the inlet port or suction hose.
5. Always allow pump to start under low pressure by putting the pressure release lever in the up position (bypass).
6. Start the pump and let it run for approximately one minute at low pressure.
Stop and check the oil level in the sight gauge. Oil should be halfway up the sight gauge. Add 30W non-detergent oil
if necessary. Oil should be clear, if milky, do not run the pump. See pump instructions for replacing pump dia-
phragms.
7. Return the pressure release lever to the pressure position and adjust the pump to the desired pressure by changing
the relief valve setting on the control unit, relief valve or unloader.
8. All operating instructions are recommendations only! The frequency, density of material and cleanliness
level of the poultry house will dictate how fast to travel and how many passes are required to reach the
desired cleanliness level.
I. Spraying Side Walls
1. Set the sprayer nozzle to clean the desired side wall area. Adjust nozzles 2-3 feet from sidewall.
2. Adjust operating pressure with the hand screw, located on the pressure relief valve between 500-700 PSI.
3. The first trip along the house wall is the “wet-down” pass. Travel approximately 3-4 MPH spraying the wall,
this will shake the loose material from the wall and allow time for the water to soak in.
4. Once you have went around the building, the second pass is the “cleaning” pass. On the cleaning pass,
travel approximately 2-3 MPH while spraying. Adjust your speed according to the material density and
cleaning level needed.
5. Spray nozzles may be pivoted forward or backward to obtain the best results.
Optional: Turn nozzles rearward 10-15 degrees on the first (wet-down) pass and forward 10-15 degrees
on the second (cleaning) pass. This will help in being able to clean on both the front and back sides of
truss legs, frame beams, etc.
Page 13
Operation Instructions
II. Washing the Ceiling
1. Turn the cluster nozzle up toward the ceiling. Adjust the nozzle to spray about 10-15 feet on the ceiling per
pass.
2. Set the pressure to about 500-700 PSI. Travel at a speed that will suit your situation. More than one pass
may be required under extreme conditions.
III. Disinfecting Floor
1. Adjust the cluster nozzle to spray the entire width of your house. The nozzle should be set 36” from the
floor.
2. Set pressure at about 60-80 PSI. At this pressure setting, you will be spraying approximately 10 gallons
per minute.
IV. Handgun Operation (optional)
1. Your sprayer may be equipped with a handgun kit. The handgun can be used in areas where the sprayer
may not easily maneuver, like house corners, trusses, bins, fans and brooders.
2. The wand is equipped with an adjustable handle that can change the spray pattern from a direct stream to
a cone pattern. Simply by pushing or pulling on the handgun extension handle, you can change the spray
pattern.
CAUTION: Never Operate Handgun above 400 PSI.
Damage to pump Diaphragm can occur!
Warning: Aer Each Use, thoroughly ush pump and control valve,
with water or proper solvent. Failure to do so could cause the control
valve or relief valve to malfuncon and result in possible injury to the
user and/or void the warranty.
Warning: Never make turns while PTO is engaged.
Doing so will damage pump, bearings and will void all warranty.
Page 14
Poultry House Sprayer - Standard Breakdown & Parts List
TR500PHS-S
(5281784)
81 29/32”
Page 15
Poultry House Sprayer - Standard Breakdown & Parts List
150 5/8”
Bottom View
Page 16
* * Available ONLY in Complete Assembly
Poultry House Sprayer - Standard Breakdown & Parts List
500E-M
Low Profile
500 Gallon
Trailer Kit
(5303200)
6-Bolt Hub Assembly
(5271840)
Page 17
Poultry House Sprayer Boom (5277314)
Poultry House Sprayer - Deluxe Breakdown (5281785)
Page 18
Trailer Options
Hose Reel Kits
Bolt on Step for 5” Frame
(5281692-BLK)
Bolt on Fender Kit
For 11L Tires
(5281693-BLK)
PHS 25’
Manual Hose Wrap Kit
(5281781)
Page 19
Hose Reel Kits
PHS 25’
Manual Hose Reel Kit
(5281782)
Attach to Pump
Outlet
PHS 50’
Self Retracting
Hose Reel Kit
(5281783)
Page 20
Series 7000 Spring Driven Hose Reel
SAFETY
Personal injury and/or equipment damage may result if proper
safety precautions are not observed.
Part Number: HRSPR1250
MFG. #: 7850 OMP
Important
Read this manual carefully before installing,
operating or servicing this equipment.
 Ensure that reel is properly installed before connecng
input and output hoses.
 Bleed uid/gas pressure from system before servicing
reel.
 Before connecng reel to supply line, ensure that pres-
sure does not exceed maximum working pressure
rang of reel.
 Remember, even low pressure is very dangerous and
can cause personal injury or death.
 Be aware of machinery and personnel in work area.
 If a leak occurs in the hose or reel, remove system
pressure immediately.
 A high tension spring assembly is contained within the
reel. Exercise extreme cauon.
 Pull hose from reel by grasping the hose itself, not the
control valve.
 Ensure that reel, hose and equipment being serviced
are properly grounded. Use an ohmmeter to check
ground connuity.
 If reel ceases to unwind or rewind, remove system
pressure immediately. Do not pull or jerk on hose!
 Treat and respect the hose reel as any other piece of
machinery, observing all common safety pracces.
Single Hose Models

This manual suits for next models

3

Other AG SPRAY Paint Sprayer manuals

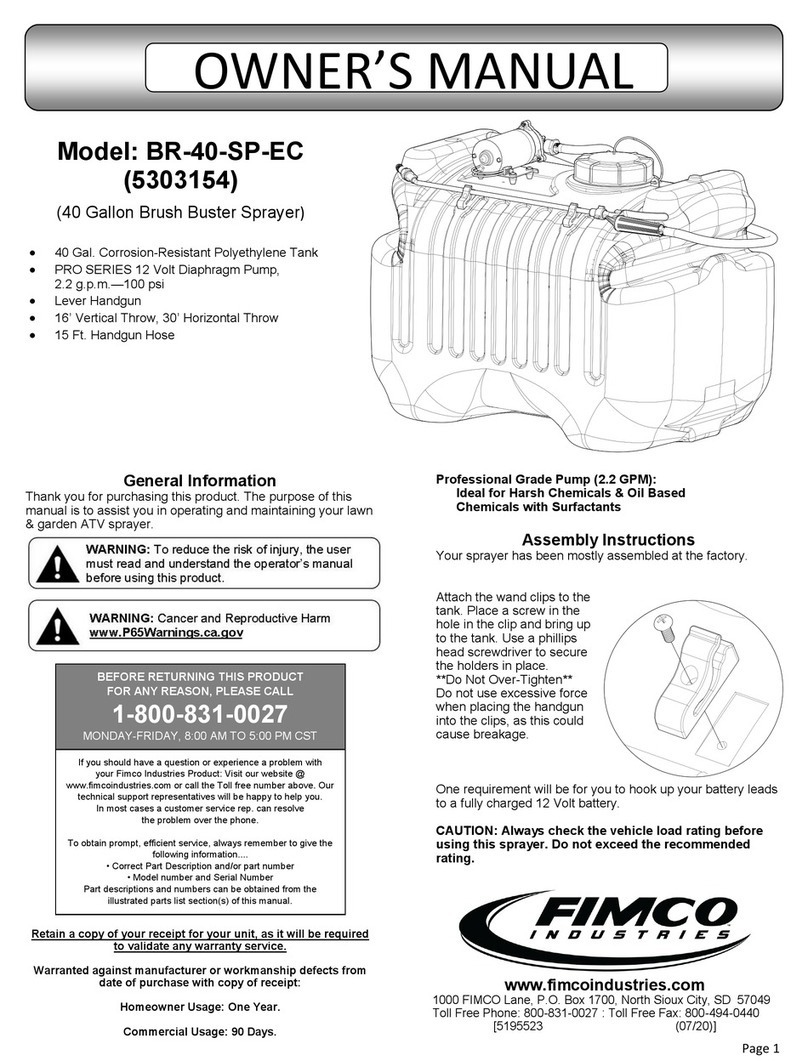
AG SPRAY BR-25-SP-EC User manual

AG SPRAY

AG SPRAY BR-25-SP-EC User manual

AG SPRAY FS-ATV-15 User manual

AG SPRAY

AG SPRAY FS-ATV-15 User manual

AG SPRAY AG25TH User manual

AG SPRAY

AG SPRAY AG25TH User manual

AG SPRAY BRONZE25 User manual

AG SPRAY

AG SPRAY BRONZE25 User manual

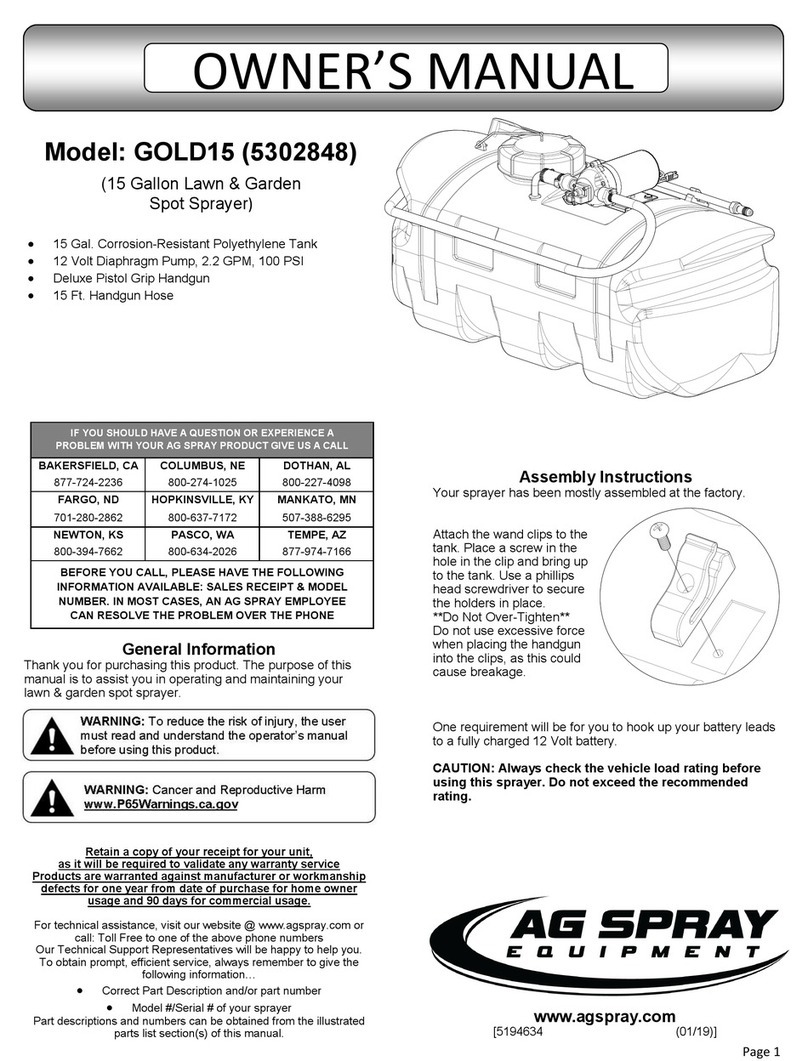
AG SPRAY GOLD15 User manual

AG SPRAY

AG SPRAY GOLD15 User manual

AG SPRAY Schaben 8650 Series Manual

AG SPRAY

AG SPRAY Schaben 8650 Series Manual

AG SPRAY BRONZE15 User manual

AG SPRAY

AG SPRAY BRONZE15 User manual

AG SPRAY FSP40 User manual

AG SPRAY

AG SPRAY FSP40 User manual

AG SPRAY FS-ATV-25 User manual

AG SPRAY

AG SPRAY FS-ATV-25 User manual

AG SPRAY FSBK-5 User manual

AG SPRAY

AG SPRAY FSBK-5 User manual

AG SPRAY FS-ATV-25BL User manual

AG SPRAY

AG SPRAY FS-ATV-25BL User manual

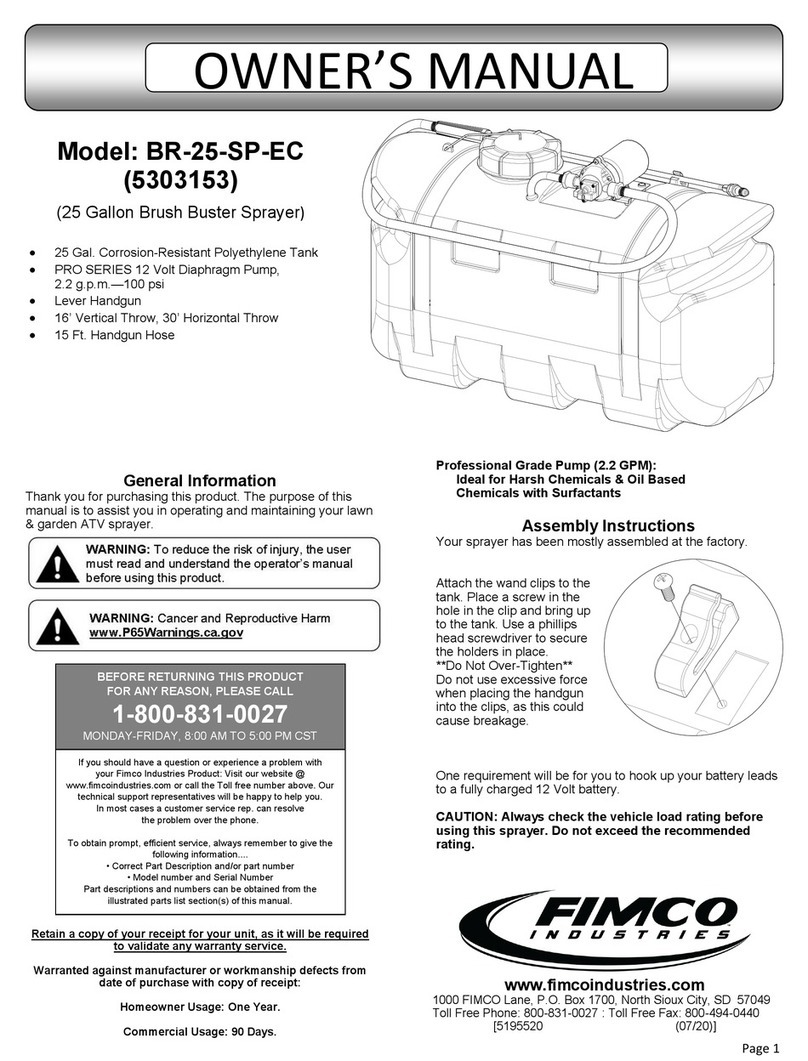
AG SPRAY BR-40-SP-EC User manual

AG SPRAY

AG SPRAY BR-40-SP-EC User manual

AG SPRAY FSSS-60-12V User manual

AG SPRAY

AG SPRAY FSSS-60-12V User manual
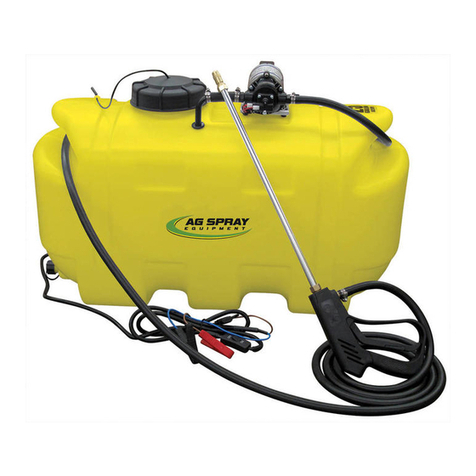
AG SPRAY BR-15-SP-EC User manual

AG SPRAY

AG SPRAY BR-15-SP-EC User manual

AG SPRAY STS-40 User manual

AG SPRAY

AG SPRAY STS-40 User manual

AG SPRAY MC2 Series User manual

AG SPRAY

AG SPRAY MC2 Series User manual

AG SPRAY MC1 Series User manual

AG SPRAY

AG SPRAY MC1 Series User manual

AG SPRAY FSUTL40-12V User manual

AG SPRAY

AG SPRAY FSUTL40-12V User manual
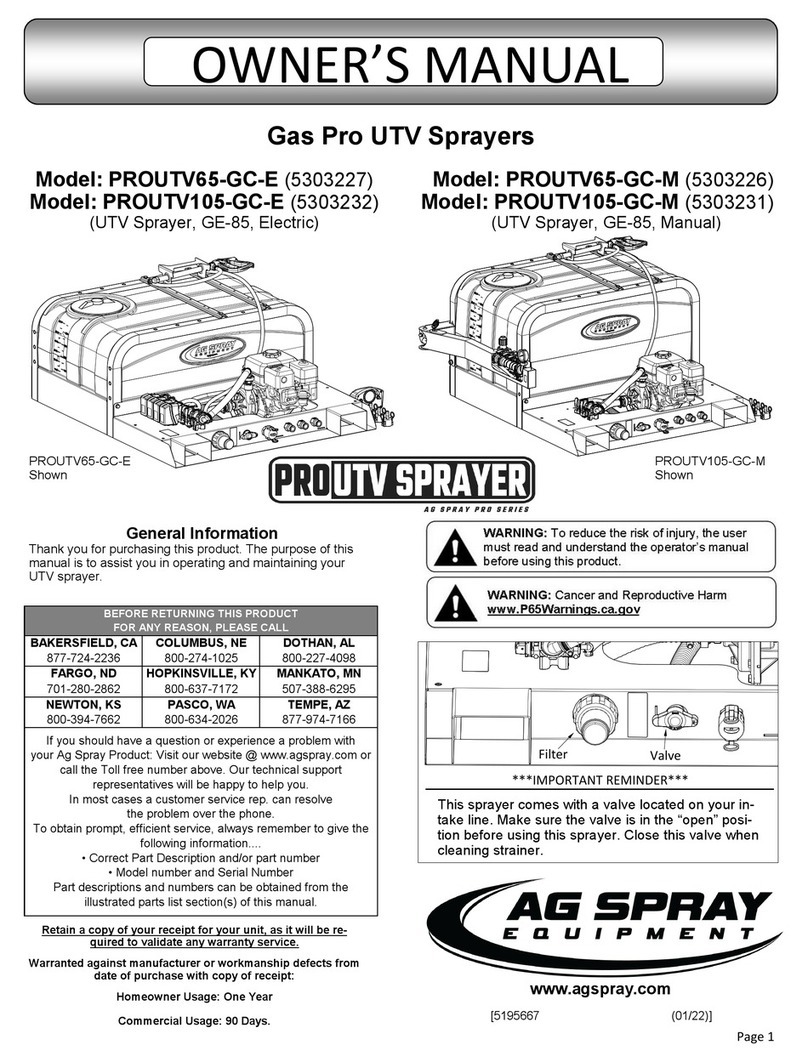
AG SPRAY PROUTV65-GC-E User manual

AG SPRAY

AG SPRAY PROUTV65-GC-E User manual

AG SPRAY SILVER25 User manual

AG SPRAY

AG SPRAY SILVER25 User manual

AG SPRAY PROUTV65-GD-E User manual

AG SPRAY

AG SPRAY PROUTV65-GD-E User manual

AG SPRAY FSBK-2 User manual

AG SPRAY

AG SPRAY FSBK-2 User manual

AG SPRAY FSP-15-Brush User manual

AG SPRAY

AG SPRAY FSP-15-Brush User manual
AG SPRAY SILVER15 User manual

AG SPRAY

AG SPRAY SILVER15 User manual

Popular Paint Sprayer manuals by other brands

Solo 211 Original instructions

Solo

Solo 211 Original instructions

XPOtool 63014 instruction manual

XPOtool

XPOtool 63014 instruction manual

BGS technic 8381 quick start guide

BGS technic

BGS technic 8381 quick start guide

Chapin 19049 quick start guide

Chapin

Chapin 19049 quick start guide

WAGNER WallPerfect Flexio 990 operating manual

WAGNER

WAGNER WallPerfect Flexio 990 operating manual

Hardi BPE18 instructions

Hardi

Hardi BPE18 instructions

Flowzone TYPHOON 2.5 Operation guide

Flowzone

Flowzone TYPHOON 2.5 Operation guide

Toro 41188 Operator's manual

Toro

Toro 41188 Operator's manual

EINHELL TC-SY 18/60 Li Original operating instructions

EINHELL

EINHELL TC-SY 18/60 Li Original operating instructions

Task Force Tips MASTER INSTRUCTIONS FOR SAFE OPERATION AND MAINTENANCE

Task Force Tips

Task Force Tips MASTER INSTRUCTIONS FOR SAFE OPERATION AND MAINTENANCE

Earlex 6900 Operating instructions manual

Earlex

Earlex 6900 Operating instructions manual

Paintmaxx Q1P-WT01-100 instruction manual

Paintmaxx

Paintmaxx Q1P-WT01-100 instruction manual

WAGNER Control Stainer 150 owner's manual

WAGNER

WAGNER Control Stainer 150 owner's manual

DeWalt DXSP190652 instruction manual

DeWalt

DeWalt DXSP190652 instruction manual

EVOLV SIDEKICK manual

EVOLV

EVOLV SIDEKICK manual

MRC WBT-200D Operation manual

MRC

MRC WBT-200D Operation manual

WAGNER AquaCoat 5010 GM 5020EAW operating manual

WAGNER

WAGNER AquaCoat 5010 GM 5020EAW operating manual

XPOtool 61344 user manual

XPOtool

XPOtool 61344 user manual

manuals.online logo
manuals.online logoBrands
  • About & Mission
  • Contact us
  • Privacy Policy
  • Terms and Conditions

Copyright 2025 Manuals.Online. All Rights Reserved.