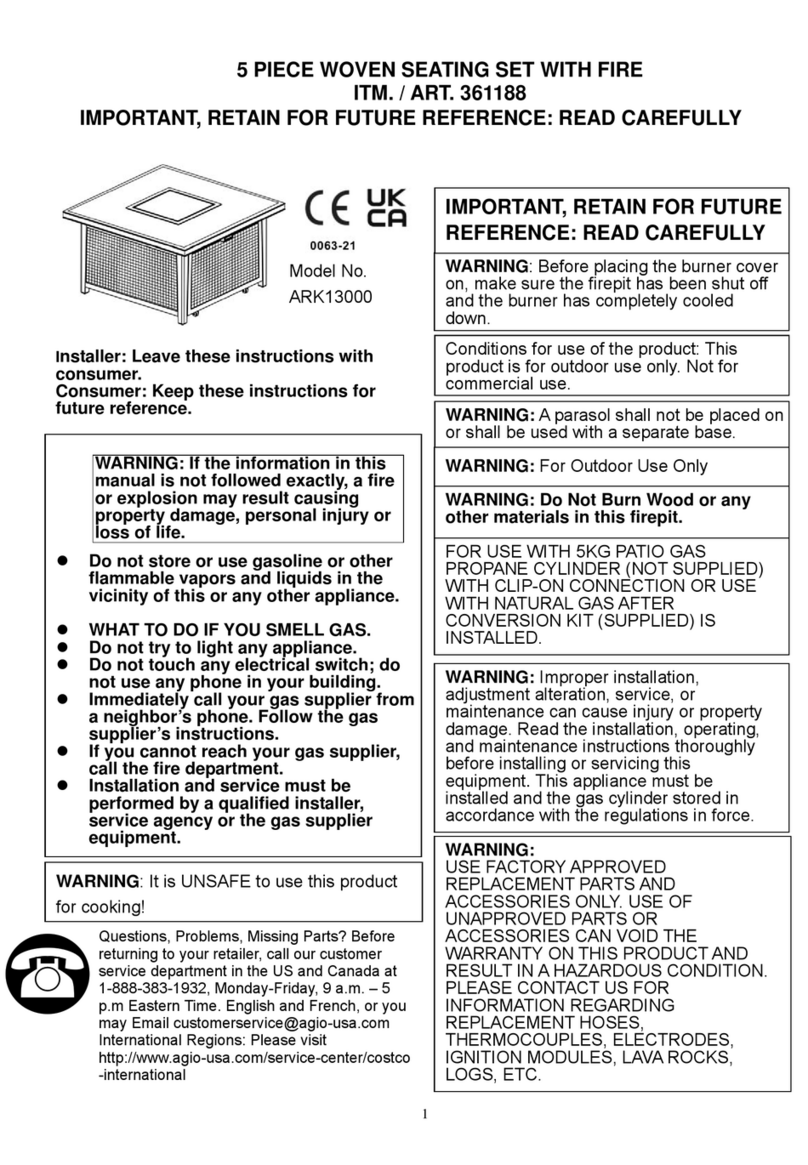
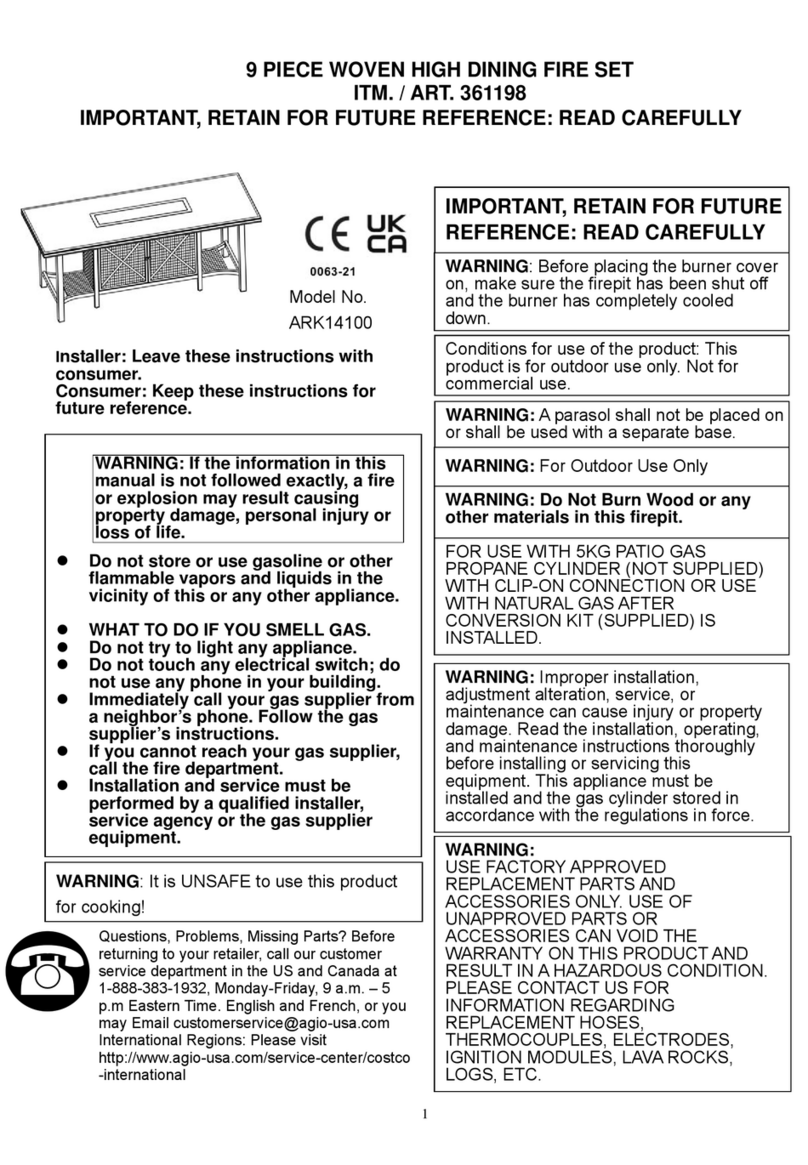
Agio Moore Haven D71 M20329 User manual

Use and Care Guide
'DWHRI3XUFKDVHBBBBBBBBB
0RRUH+DYHQSF6HDWLQJ6HW5XVW&RORU
3URGXFW&RGH'0
.61
83&&RGH

2
Table of Contents
Table of Contents....................... 2
Safety Information....................... 3
Set Up Your Furniture Properly..... 3
Examine Your Furniture............... 3
Warranty....................................... 3
What is Covered....................... 3
What is Not Covered................. 3
Care and Maintenance.................
Pre-Assembly.............................. 6
Planning Assembly...................... 6
Hardware Included...................... 6
Observe Weight Limits................. 6
Assembly Instructions
................................
Customer Service.........................
Thank you for your purchase
Thank you for your purchase!
We are pleased that you have chosen Sears for your outdoor furniture
purchase. Wehope that you enjoy the unmatched quality, comfort, and
style of your new patio set. Every piece is meticulously considered all the
way down to the smallest details, exclusively for you, by our world class
design team. We know you have a choice when it comes to your patio
furniture needs, so from our team to yours, thank you for letting us be a part
of your outdoors.
Package Contents....................... 7
Deep Seating 8
17
................................
Sofa 12
................................
Coffee Table 15

3
Safety Information
Warranty
SET UP YOUR FURNITURE PROPERLY
EXAMINE YOUR FURNITURE
Ensure that all parts are assembled properly and fully tightened as per the
instructions. When placing in the desired location, ensure that all legs are resting
on the same surface. You may adjust the footcaps as required to ensure that
the item stands in a rigid position.
WHAT IS COVERED
We warrant the frame to be free of manufacturing defects to the original purchaser
for one year and the tabletop for one year.
Examine occasionally to ensure that there are no loose parts. If loose parts are
found, they must be retightened fully before additional use.
WHAT IS NOT COVERED
It remains the customer's responsibility for freight and packaging charges to and
from our service center. This warranty does not cover commercial use, acts of
nature, fire, freezing, and abusive use. Discoloration or fading of the finish or
fabrics as a result of chemicals or spills is not covered. Glass tabletop breakage
and corrosion or rusting of hardware are not covered. In addition, purchased parts
are not covered under this warranty. Proof of purchase (dated register receipt) is
required for warranty claims. We reserve the right to make substitutions with
similar merchandise, if the model is no longer in production. Warranty is to the
original purchaser and is not transferable. As some states do not allow exclusions
or limitations on an implied warranty, the above exclusions and limitations may not
apply. This warranty gives you specific rights, and you may also have other rights,
which vary from state to state.
LIMITED WARRANTY
)UDPHV)UDPHFRQVWUXFWLRQLVZDUUDQWHGDJDLQVWGHIHFWVLQPDWHULDODQG
workmanship for one year from purchase date. Damage to frames or welds
resulting from improper assembly or exposure to water and/or sub-freezing
temperatures is not covered.
)LQLVKHV3DLQWILQLVKHVDUHZDUUDQWHGDJDLQVWSHHOLQJFUDFNLQJDQGEOLVWHULQJ
for one year from purchase date provided the unit has not been scratched or
abraded. Chips and scratches resulting from normal wear and tear are not
covered.
)DEULFV)DEULFDQGFXVKLRQVLIDSSOLFDEOHDUHZDUUDQWHGDJDLQVWVHSDUDWLRQDW
the seams for one year from purchase date. Fading and/or discoloration
resulting from exposure to the elements, oils, spills, fluids, chemicals, or any
other cause is not covered.

Warranty
6WUDSVDQGRUZLFNHU6WUDSVDQGRUZLFNHUZHDYHLIDSSOLFDEOHDUHZDUUDQWHG
against separation and tearing for one year from purchase date. Fading and/or
discoloration resulting from exposure to the elements, oils, spills, fluids,
chemicals, or any other cause is not covered.
8PEUHOODV8PEUHOODVLIDSSOLFDEOHDUHZDUUDQWHGDJDLQVWGHIHFWVLQPDWHULDO
and workmanship only for one year from purchase date. Umbrella bases
(if applicable) are not covered under any circumstance.
7DEOHWRSV1DWXUDOVWRQHWDEOHWRSVRQO\DUHZDUUDQWHGDJDLQVWGHIHFWVLQ
materials or workmanship only for one year from purchase date. All other table
tops (including without limitation glass and faux stone) are not covered under
any circumstances.
4
Warranty limitations: This warranty is subject to the limitations set forth above.
In addition, this warranty is made to the original purchaser only, and is effective
only when item(s) is purchased from one of our authorized dealers. This warranty
is not transferable. For warranty replacements based on warranty claims
submitted within the first year of purchase, we will pay shipping and handling
charges within the continental North America. After the first year, shipping and
handling charges are your responsibility. We will not be responsible for charges
associated with shipments outside the continental North America at any time or
for any reason.
Warranty exclusions: This warranty is subject to the exclusions as set forth
above. In addition, the following are excluded from coverage under this warranty:
any item used for commercial, contract or any other non-residential purpose;
clearance items, display models or items purchased "as is"; freight damage; items
subject to misuse, abuse, neglect or lack of proper care and maintenance
(including without limitation as provided in any "care and maintenance guide");
normal wear and tear; damage caused by acts of nature, acts of force majeure,
vandalism, fire or other casualty, or improper assembly; hardware against
corrosion or rusting; purchased or replacement parts; and all plastic parts. Also
excluded are loss of use or time; inconvenience; money; travel; packaging; or
incidental, special or consequential damages of any kind. Replacement of
defective items as provided herein shall constitute your sole and exclusive remedy
for items which are not as warranted. In no event shall our responsibility exceed
the purchase price of the items found to be other than as warranted. This warranty
is the exclusive statement of your rights with respect to the defects in the items
you have purchased and supersedes any other express warranty or statement,
written or oral, made in connection with the purchase and sale of such items.
When used herein, the term "item" when used in the singular, refers to the specific
item found to be defective, and not to the entire set of which the item is a part.
Some states do not allow exclusion or limitation of incidental or
consequential damages, so that limitation above may not apply to you. This
warranty gives you specific legal rights, and you may also have other rights
which vary from state to state.
LIMITED WARRANTY - Continued

5
Care and Maintenance
FRAMES
Cleaning - Use mild soap and warm water. Do not use abrasive materials,
cleansers or bleach products. Rinse with clean water and dry thoroughly.
Maintenance - Periodically clean and dry thoroughly. Be sure to drain any water
accumulated inside the frames. To thoroughly drain frames, remove foot caps and
tilt the frames, if necessary, to remove all water. This is critical. Water allowed to
accumulate inside the frames and then exposed to sub-freezing temperatures can
cause damage to the frame tubing. Such damage is not covered under warranty.
Always clean, drain and dry thoroughly before storing for the winter. For best
results, always store or cover your furniture when not in use. We recommend
commercially available outdoor furniture covers. Any small nicks or scratches
can be covered with a light application of touch-up paint.
** When cleaning or moving large or heavy items, always have two people work
together. Never drag furniture.
SPECIAL WARNINGS!!!
UMBRELLA USAGE WARNING!
Place the umbrella through the opening and into an umbrella stand weighing
20-50lbs or 9-22kgs. If your table is 72" or 182 cm or larger, we recommend a
weight of at least 50 lbs or 22 kgs or more. NEVER USE AN UMBRELLA WITH
A TABLE WITHOUT USING AN UMBRELLA BASE OR RING AS DESCRIBED
ABOVE. ALWAYS REMOVE YOUR UMBRELLA FROM THE TABLE WHEN
NOT IN USE. NEVER USE AN UMBRELLA DURING STORMS OR WINDY
CONDITIONS.
FABRIC
Cleaning - Wipe minor spills immediately. Clean with mild soap, warm clean water
and soft cloth. Do not abrasive materias, cleansers or bleach products. Although
fabric has been treated to resist stains, occasional use of commercially available
fabric cleaners may be necessary. Follow manufacturer's instructions.
Maintenance - The best way to maintain the beauty of cushions and slings is to
store them in a dry area and outt of the elements when not in use or cover with
commercially available outdoor furniture covers.

6
Pre-Assembly
NOTED:Hardware not shown
to actual size.
PLANNING ASSEMBLY
To prevent damage, place all parts on a soft surface during assembly.
Remove all protective materials before beginning assembly. It takes about
45 minutes for two people to complete all the assembly.
HARDWARE INCLUDED
CAUTION:If you overload your
furniture, injuries can occur.
OBSERVE WEIGHT LIMITS
The recommended weight limits for the following products are listed below:
Deep Seating:300lbs
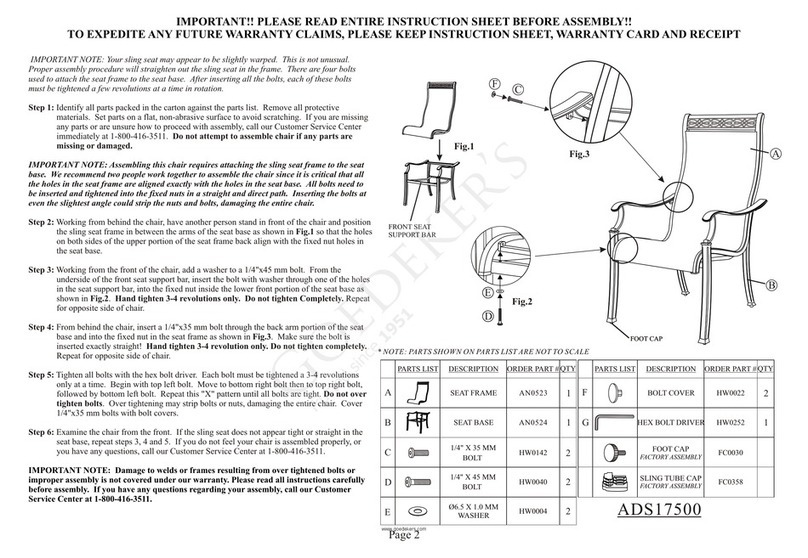
_E
Part Description Order Part# QTY.
E
F
G
H
I
44
4
HW0004
Ø6.5 X 1.0 MM
WASHER
1/4" X 18 MM BOLT
HW0806
16
14
1/4" X 28 MM BOLT
HW0808
Sofa :300lbs/seat
J
Part Description Order Part# QTY.
K
L
M
N
O
HEX BOLT DRIVER 4
HW0006
FOOT CAP
FACTORY ASSEMBLY FC0030
4
_F _G _H _I _J
_K _L _M _N _O
8
1/4" X 35 MM BOLT
HW0046
6
1/4" X 40 MM BOLT
HW0812
12
1/4" X 45 MM BOLT
HW0805
BOLT COVER
HW010514
-1
BOLT COVER
-2 HW0442
TOUCH-UP PAINTG00031

7
Pre-Assembly(continued)
Package Contents
1. EVERY BOLT NEEDS TO BE USED WITH A WASHER.
2. DO NOT FULLY TIGHTEN BOLTS UNTIL INDICATED IN STEP 3.
AB
A
Safety Information
1
DESCRIPTION
PART QUANTITY
CD
B1
C1
C1
D1
D1
SEAT FRAMEBACK FRAMERIGHT RAM
LEFT RAM

1
8
Assembly Instructions
Attach back frame to the left leg
Attach the back frame screw to the hole in the left arm.
Use the hex bolt driver(N) to tighten all bolts.
ADH
J
I
J
OHOLE
SCREW
Add two bolts(H & I) and washer(J) to the left leg.

9
Assembly Instructions
Attach the seat frame
2
B
LFJ
L
F
J
I
J
For the seat frame(B), add a washer(J) to bolt(F) and insert a bolt through the hole
Repeat procedure for two remaining the holes in left leg.
Use the hex bolt driver(N) to tighten all bolts.
in the back frame.
Add a bolt(I) and washer(J) to the left leg.

10
Assembly Instructions
Attaching the left leg
3
Follow step 1 and step 2 to complete the assembly.
Use the hex bolt driver(N) to tighten all bolts.
CJ
I
J
F
L
JJ
HI
Cover all bolts with covers.

11
Pre-Assembly(continued)
Package Contents
1. EVERY BOLT NEEDS TO BE USED WITH A WASHER.
2. DO NOT FULLY TIGHTEN BOLTS UNTIL INDICATED IN STEP 2.
AB
A
Safety Information
1
DESCRIPTION
PART QUANTITY
CD
B1
C1
C1
D1
D1
RIGHT LEGLEFT LEGSEAT FRAMEBACK FRAME

1
12
Assembly Instructions
Attaching back frame to the right leg
Attached the back frame screw into the right leg hole.
Repeat procedure for remaining the left leg.
Add two bolts(H & I) and washer(J) to the right leg.
DAACO
J
J
H
IHUse the hex bolt driver(N) to tighten all bolts.
HOLE
SCREW
HOLE
SCREW
J
J
I

13
Assembly Instructions
Attaching the seat frame
2
For the seat frame(B), add a washer(J) to bolt(F) and insert a bolt through the hole
Repeat this procedure for both armrests.
Use the hex bolt driver(N) to tighten all bolts.
in the seat frame.
Add a bolt(I) and washer(J) to the both side armrest leg.
B
J
F
L
JFL
J
J
I
I
Cover all bolts with covers.

14
Pre-Assembly(continued)
Package Contents
1. EVERY BOLT NEEDS TO BE USED WITH A WASHER.
2. DO NOT FULLY TIGHTEN BOLTS UNTIL INDICATED IN STEP 2.
AB
A
Safety Information
1
DESCRIPTION
PART QUANTITY
C
B1
C1
C1
TABLE TOP
LEG CONNECTOR BRACKET
TABLE LEG

1
15
Assembly Instructions
Attaching leg connector bracket to the leg
Attach two table leg (C) to the leg connector bracket (B) by using bolt (G) and washer(J).
Use the hex bolt driver(N) to tighten all bolts.CBO
JG
Repeat procedure for the other three side.

16
Assembly Instructions
Attaching the table top
2
Attach a table leg to the table top (A) by using bolt(E) and washer(J).
Repeat procedure for the other three legs,
Use the hex bolt driver(N) to tighten all bolts.
A
J
E
M
Cover all bolts with covers.

Customer Service
CUSTOMER SERVICE DEPT: 1337 TAYLOR FARM ROAD,
SUITE 100, VIRGINIA BEACH, VA 23453-3142
FAX: (757) 368-0576
CUSTOMER SERVICE NOT LINE:1-800-416-3511
SERVICE HOUSE: MONDAY-FRIDAY 9:00AM-5:00PM (EASTERN TIME)
E-MAIL: [email protected]
17

Please refer to part numbers when reordering
For questions or comments about product:
Email: www.agio-usa.com or Call toll-free: 1-800-416-3511
Table of contents
Other Agio Outdoor Furnishing manuals
Popular Outdoor Furnishing manuals by other brands

PatioTree
PatioTree Palmeira instructions

Outdoor GreatRoom Company
Outdoor GreatRoom Company Sonoma 12-R instructions

Hanover
Hanover HVLNA15 Assembly instructions

Sunjoy
Sunjoy L-PG155PST Assembly instruction

PHI VILLA
PHI VILLA SINGLE SOFA CONVERSATION SET Assembly instructions and user's manual

IKEA
IKEA SAMSO quick start guide