agratronix MT-PRO User manual

Operators Manual
MT-PRO
Grain Moisture Tester
ENGLISH
DOCU-M0112 07-11

Introduction
i
THANK YOU for purchasing an AgraTronix product.
READ THIS MANUAL carefully to learn how to operate and service your
equipment correctly. Failure to do so could result in personal injury or
equipment damage.
THIS MANUAL SHOULD BE CONSIDERED a permanent part of this
equipment and should remain with the unit when you sell it.
RECORD SERIAL NUMBERS in the warranty section located on page
20-1. Accurately record all the numbers. Your dealer needs these numbers
when you need service or parts. If this manual is kept with the equipment,
also file the serial numbers in a secure place away from the unit.
WARRANTY is provided through AgraTronix for customers who operate
and maintain their equipment as described in this manual. The warranty
is explained in the warranty section located on page 20-1.
This warranty provides you the assurance that AgraTronix will back
its products where defects appear within the warranty period. In some
circumstances, AgraTronix provides field improvements, often without
charge to the customer, even if the product is out of warranty. Should the
equipment be abused or modified to change specifications, the warranty
will become void and field improvements may be denied.
If you do not understand any part of this manual and need assistance,
contact AgraTronix Customer Service at 1-800-821-9542.
All information, illustrations and specifications in this manual are based
on the latest information available at the time of publication. The right is
reserved to make changes at any time without notice.

Contents
ii
Page
Operation
Operating Conditions ........................................................................05-1
Operational Messages .....................................................................05-1
Moisture Limit Guidelines .................................................................05-2
Operating Procedure - Preheating ...................................................05-3
Operating Procedure – Normal Operation ........................................05-4
Average Test Results ........................................................................05-5
Select a New Grain Scale or Function .............................................05-6
Select a Different Language .............................................................05-6
Calibration Modes ............................................................................05-7
Select a Different Calibration Mode ..................................................05-8
Calibration Consideration / Limits .....................................................05-8
Adjust Calibration – Simple Option ...................................................05-10
Adjust Calibration – Advanced Option ..............................................05-11
Clear Calibration – Simple Option ....................................................05-12
Clear Calibration – Advanced Option ...............................................05-12
Display Temperature in the Cell ........................................................05-13
Turn on Backlight and Turn off Tester ...............................................05-13
Troubleshooting .............................................................................10-1
Service
Check Battery Power Levels and Replace Batteries ........................15-1
Clean the Tester ...............................................................................15-1
Warranty
Warranty ...........................................................................................20-1
Record Serial Numbers ....................................................................20-1
Manufacturer’ Contact Information
Manufacturer’s Contact Information .................................................25-1
Accessories ......................................................................................25-1
All information, illustrations and specifications in this manual are based
on the latest information available at the time of publication. The right is
reserved to make changes at any time without notice.

Operation
05-1
OPERATING CONDITIONS
Test cell and grain MUST be free of any condensation or surface
moisture. Moisture on grain or in test cell will cause high readings.
Very hot or cool grain will pick up moisture when it warms or cools. The
pressure cap of the tester can squeeze moisture from high moisture
grains, such as corn, into the bottom of the test cell.
Because grains are irregularly shaped and may not always pack the
same way in the test cell, minor variations in readings may occur. To
enhance accuracy, always take three (3) successive readings of the total
sample being tested and average the results. Empty and refill the tester
with new grain from the sample between each test.
The tester is most accurate when grain and tester are between 60˚F
(16˚C) and 90˚F (32˚C). The unit will, however, operate at temperatures
between 33˚F (1˚C) and 120˚F (49˚C). For best results, grain
temperature should not be below 40˚F (4˚C) or above 110˚F (43˚C). If the
grain temperature is 20˚F (11˚C) more or less than the temperature of
the unit, preheat the tester per instructions on page 05-3. Condensation
on the grain or test cell is best avoided by having the tester and grain at
about the sample temperature.
The environment to which a grain sample is exposed can appreciably
change its moisture content. Exposed to the open air, grain can gain or
lose 1% to 2% indicated moisture in only a few minutes. If a sample is to
be held for even a short time before being tested, it should be placed into
a tightly closed, air-tight container, such as a re-closable bag or jar.
OPERATIONAL MESSAGES
Symbol Definition
SYSTEM BATTERY LOW System battery needs replacing
MOISTURE BELOW LIMIT Moisture is below limit
MOISTURE ABOVE LIMIT Moisture is above limit
ERROR (---) Electronic Failure
NOTE: Contact Manufacturer if an ERROR message occurs.

Operation
05-2
MOISTURE LIMIT GUIDELINES - DISPLAY READING
SEE INSERT

OPERATING PROCEDURE – PREHEATING
IMPORTANT: If the temperature of the grain sample is 20˚F (11˚C)
more or less than the temperature of the unit, preheat the tester and
test as follows:
PREHEATING PROCEDURE
1. Remove cap (A) and inspect test cell (B) to be sure that it is clean
and empty.
2. Press ON-OFF button (C) to turn on tester. The display (D) will show
ALWAYS AVERAGE 3 TESTS for approximately 7 seconds, then will
show ALFALFA (initial operation) or the name of the last grain tested.
3. When the grain to be tested has been selected using the SELECT
arrows (E), fill the test cell (B) even to the top of the cell with sample
to be tested.
4. Replace cap loosely. DO NOT TIGHTEN.
5. After 30 seconds, empty test cell and immediately refill with
fresh grain.
6. Replace cap (A) and tighten until pressure-indicator screw (F) is
flush with the top of cap (A). (Use “finger-flush” test as illustrated)
7. Immediately press TEST button (G). The words TESTING will be
displayed for about 10 seconds, while the tester compensates
for temperature. The moisture % and temperature will then be
displayed for about 10 seconds.
A - Cap
B - Test Cell
C - ON-OFF Button
D - Display
E - Select Arrows
F - Pressure-Indicator Screw
G - Test Button
Operation
05-3

Operation
05-4
OPERATING PROCEDURE – NORMAL OPERATION
1. Remove cap (A) and inspect test cell (B) to be sure that it is clean
and empty.
2. Press ON-OFF button (C) to turn on tester. The display (D) will show
ALWAYS AVERAGE 3 TESTS for approximately 7 seconds, then will
show ALFALFA (initial operation) or the name of the last grain tested.
3. When the grain to be tested has been selected using the SELECT
arrows (E), fill the test cell (B) even to the top of the cell with sample
to be tested.
4. (For Initial Test Only) Before tightening pressure cap, turn on tester
and allow tester to warm up for 30 seconds before attempting first test.
5. Replace cap (A) and tighten until pressure-indicator screw (F) is
flush with the top of cap (A). (Use Finger-flush test as illustrated.)
6. Immediately press TEST button (G). The words TESTING will be
displayed for about 10 seconds, while the tester compensates for
temperature. The moisture % and temperature will then be displayed
for about 10 seconds.
7. The tester will then return to displaying the name of the last grain
tested. Empty the test cell and refill with a fresh sample and test again.
NOTE: Take at least three readings of new grain from the sample
collected and average the results.
A - Cap
B - Test Cell
C - ON-OFF Button
D - Display
E - Select Arrows
F - Pressure-Indicator Screw
G - Test Button

Operation
05-5
AVERAGE TEST RESULTS
1. When testing grain, the test result
is displayed for about ten seconds.
During the period that the test
moisture % and temperature is
displayed, press the MEMORY
button (A). The tester will
acknowledge that it has entered the
reading into memory, by displaying
the current average and then the
number of stored readings. Up to
20 readings can be stored into
memory. If the maximum number
of readings has been reached,
the tester will not allow any more
readings to be stored.
NOTE: Averaging is stored for
one grain only. When a test for a
new grain is performed, existing
averaging data for the previous
grain is erased when the new
grain’s averaging data is taken.
Averaging data is retained even
if batteries are removed.
2. Press the AVG button (B)
to display the average of all
results entered for the grain
being tested.
3. To clear the averaging, press
the AVG button. The current
average will be displayed. Then
press the CLEAR button (C)
and the tester will then display
0.0% (0). This indicates that the
averaging has been cleared.

Operation
05-6
SELECT A NEW GRAIN SCALE OR FUNCTION
1. At start up, the tester will display,
ALWAYS AVERAGE 3 TESTS for
approximately 7 seconds, then will
display the name of the last grain
tested, such as CORN.
2. To select a new grain scale, press
either the up or down arrow on
the SELECT button (A) to index
forward or backward through the
grain (function) menu. The grains
are listed in alphabetical order
followed by other tester functions.
NOTE: To use other functions
included with the tester, push
SELECT button (A) up or down to
get desired function. Push TEST
button (B) to perform that function.
SELECT A DIFFERENT LANGUAGE
1. At start up, the tester will always display the name of the last grain
tested in the current language selected. (English is the default
language from the factory.)
2. To select a new language, press either the up or down arrow on the
SELECT button (A) to index forward or backward through the grain
(function) menu until the word LANGUAGE is displayed.
3. When LANGUAGE is displayed, press TEST button (B). The
current language selected will be displayed. Press either the up
or down arrow on the SELECT button (A) to index forward or
backward through the grain language menu until your choice of
language is displayed. The seven (7) languages (as displayed)
are: ENGLISH, SPANISH, GERMAN, FRENCH, ITALIAN,
SWEDISH and PORTUGUESE.
4. Press TEST button (B) again to return to the main grain menu, which
will now be displayed in the new language.

Operation
05-7
CALIBRATION MODES
This tester includes two different Calibration Modes. Please read
the description below to determine which calibration mode you
wish to use.
1. Simple Calibration Mode: In Simple Calibration Mode if you apply
an offset to a given grain the tester will simply apply that offset to the
displayed moisture regardless of the moisture content or range. This
means there is just a single offset that will be applied to the grain.
The calibration offset can also be adjusted at any time without having
to take a valid test. This is the default mode for the tester. Example:
You have tested two grain samples, one at 10%, and the other at
20%. You have retested the 20% grain and apply a 2% offset. If you
now retest the two samples the new results are as follows:
Original Moisture display with user offset applied
20% 22%
10% 12%
2. Advanced Calibration Mode: In Advanced Calibration Mode
you must first take a valid test before you can adjust the offset for
the tested grain. Once a test is taken and the offset is made, the
adjustment will only be applied to the moisture range of the grain just
tested. So if you are making large adjustments at higher moisture
levels, the offset that you apply will not affect the lower moisture of
the same grain. This means that multiple tests can be taken for a
grain at different moisture ranges and different offset can be applied
to each of the ranges. Example: You have tested two grain samples,
one at 10%, and the other at 20%. You have retested the 20% grain
and apply a 2% offset. If you now retest the two samples the new
results are as follows:
Original Moisture display with user offset applied
20% 22%
10% 10%
NOTE: Regardless of the mode selected (Simple or Advanced) each
grain can still be individually adjusted.

05-8
SELECT A DIFFERENT CALIBRATION MODE
1. Calibration mode ’SIMPLE’ is the default
mode from the factory.
2. To select a new calibration mode, press either
the up or down arrow on the SELECT button
(A) to index forward or backward through
the grain (function) menu until the phrase
CALIBRATION MODE is displayed.
3. When CALIBRATION MODE is displayed,
press TEST button (B). The current
calibration mode selected will be displayed.
Press either the up or down arrow on the
SELECT button (A) to index forward or
backward through the calibration mode menu until your choice of
calibration mode is displayed. The only 2 mode options are SIMPLE
and ADVANCED.
4. Press TEST button (B) WAIT will be displayed, and then you will be
returned to the Calibration Mode menu.
5. If you do not want to change calibration mode simply press the
CLEAR button and you will be returned to the Calibration Mode menu.
NOTE: CHANGING CALIBRATION MODES WILL ERASE ALL
USER CALIBRATION SETTINGS.
CALIBRATION
CONSIDERATION / LIMITS
Typically the moisture tester will be
consistent with most elevator testers
over a broad range of moisture levels.
However, there are some things to
consider when thinking about your
moisture tester calibration.
NOTE: Graph 1 provided is for
illustration purposes only and does
not reflect actual test data.
Operation
MOISTURE RANGE
MOISTURE TESTER
ELEVATOR TESTER
GRAPH 1:
Moisture Tester - Elevator Tester
Comparison

05-9
Operation
CALIBRATION CONSIDERATION / LIMITS (CON’T)
1. Tester Differences: Your moisture tester unit may not match a given
elevator tester. None of the testers exactly match the actual weighted
moisture of any given grain. There is no national standard for elevator
testers. The difference between moisture testers and various USDA
approved elevator testers is not a constant value. A correction at one
moisture level may not be valid for a different moisture level. Graph
1 illustrates how the moisture tester might compare to an elevator
tester over a broad range of moisture levels. The moisture tester
and most elevator testers (shown in graph by solid line) will closely
match those of the moisture tester (shown by dashed line) for that
range, as illustrated. However, as we get away from mid-range into
the high and low moisture levels, differences between elevator tester
and moisture tester not only become greater, but may switch from a
moisture tester reading higher than elevator tester to a reading lower
than the elevator tester. For example, in Graph 1, the area between
B and C represents the mid-range moisture. Moisture tester readings
match elevator tester readings in this area with an accuracy of plus
or minus 0.5 percent. The area between A and B represents the low
moisture range. Moisture tester readings differ more from elevator
tester readings, and are LOWER than elevator tester readings. The
area between C and D represents the high moisture range. Moisture
tester readings again differ more from elevator tester readings than
they did at mid-range moisture, but now the readings are HIGHER
than elevator tester readings.
2. Calibration Requirements: Graph 1 illustrates that moisture tester
readings closely match elevator tester readings for mid-range
moisture levels. (Graph is for illustration purposes only and does
not reflect actual test data.) Calibration changes required for grain
in this moisture range will be small, if any. However, if grain is very
dry (Low Moisture Range) or very wet (High Moisture Range), it
may be necessary to calibrate your moisture tester unit against the
elevator tester using a sample of your grain in both testers. Record
the calibration correction required. It will be valid for all testing in that
moisture range for that grain.

05-10
Operation
ADJUST CALIBRATION – SIMPLE OPTION
IMPORTANT: Always obtain three (3) test results from the grain elevator
for the sample being compared. Average these three (3) results.
Compare this average with the average of three (3) tests by the moisture
tester before making any adjustments.
1. Each grain scale can be individually
adjusted up to 5.0% by increments
of 0.1% to more closely match the
results of an elevator tester.
2. First select the grain to be adjusted.
3. Press CAL Button (A), tester will now
display the current offset applied to
the grain.
4. Press the Up Arrow (B) to raise the
adjustment amount or press the Down
Arrow (C) to lower. The tester will add
or subtract up to 5.0% by increments
of 0.1% to the calibration offset.
5. After the adjustment amount has been
selected, press the CAL Button (A) to
return to grain tester mode.
NOTE: Adjustment can NOT be made to factory calibration to
produce moisture readings in a tester that shows “BELOW LIMIT” or
“ABOVE LIMIT” readings.
IMPORTANT: When using the SIMPLE
calibration offset option, the tester will
apply calibration offset to selected grain
regardless of moisture range.

05-11
Operation
ADJUST CALIBRATION – ADVANCED OPTION
IMPORTANT: Always obtain three (3) test results from the grain elevator
for the sample being compared. Average these three (3) results. Compare
this average with the average of three (3) tests by the moisture tester.
1. Each grain scale can be individually
adjusted up to 5.0% by increments
of 0.1% to more closely match the
results of an elevator tester.
2. First select the grain to be adjusted.
3. Test the grain selected, using the
sample you wish to adjust to. Once
valid moisture appears, press the CAL
button (A).
NOTE: Calibration of given grain
cannot be performed unless a valid
moisture test has been performed.
4. Once CAL button (A) is pressed,
tester will now display the obtained
moisture reading and the current
offset applied to that moisture range.
5. Press the UP arrow (B) to raise the adjustment amount or press the
DOWN arrow (C) to lower. The tester will add or subtract up to 5.0%
by increments of 0.1% to the current moisture range.
6. After the adjustment amount has
been selected, press the CAL button
(A) to return to grain tester mode.
NOTE: Adjustment can NOT be
made to factory calibration to
produce moisture readings in a
tester that shows “BELOW LIMIT” or
“ABOVE LIMIT” readings.
IMPORTANT: This tester incorporates
Multi-Point Calibration for each grain.
Therefore, once a valid test is taken and
an adjustment is made, the adjustment
will only affect the moisture range of the
sample tested.

05-12
Operation
CLEAR CALIBRATION – SIMPLE OPTION
1. Select grain to clear.
2. Press CAL button (A), tester will then
display last calibration that was made.
3. Press CLEAR button (B).
4. Tester will then display 0.0% for
both lines if the calibration has
been cleared.
NOTE: If you press the CAL button
and tester displays 0.0% on both
lines, then no calibration has been
made for this grain.
CLEAR CALIBRATION –
ADVANCED OPTION
1. Select grain to clear.
2. Press CAL Button (A), tester will
then display last calibration that
was made.
3. Press CLEAR Button (B).
4. Tester will then display 0.0%
for both lines if the calibration
has been cleared.
NOTE: If you hit the CAL
Button and tester displays
0.0% on both lines, then no
calibration has been made
for this grain.

05-13
Operation
DISPLAY TEMPERATURE IN THE CELL
1. To display the temperature in the cell, press either the up or down
arrow on the SELECT button (A) to index forward or backward through
the grain (function) menu until the word TEMPERATURE is displayed.
2. When TEMPERATURE is displayed, press TEST button (B). The
current temperature in cell will
be displayed in both F˚ and C˚.
Temperature will be displayed for a
few seconds then will return to the
main grain menu.
NOTE: If the tester and grain are
different temperatures, the mass of
the metal tester will quickly warm
or cool the grain. Therefore, the
temperature reading is the cell
temperature, not necessarily the
temperature of the grain before being
put in the cell.
TURN ON BACKLIGHT AND
TURN OFF TESTER
1. Press LIGHT button (A).
2. Press again to turn off backlight.
NOTE: The backlighting feature
is designed to improve display
visibility in low light conditions.
In bright light conditions, the
backlighting cannot be seen.
3. To turn off tester, press ON-
OFF button (B). Tester will
automatically turn itself off 2
minutes after the last button has
been pushed.

10-1
SYMPTOM A: Unit does not power up or loses
power occasionally (or backlighting does
not operate.)
SOLUTION 1: Press ON-OFF button for shorter
time. Do NOT hold button down.
SOLUTION 2: Check batteries for 0% or higher.
Replace as necessary.
SOLUTION 3: Battery contacts may be making
poor contact. Remove batteries and pull metal
contacts up from bottom of compartment and
above height of plastic knob using needle-nose
pliers. See illustration below.
SYMPTOM B: Unit is inaccurate.
SOLUTION 1: Temperature of the grain and unit
may be more than 20˚F (11˚C) different. Follow
preheat procedure (See page 05-3).
SOLUTION 2: If grain is at an extreme tempera-
ture, let grain settle to reach room temperature.
Retest grain.
SOLUTION 3: Grain and/or test cell may have
developed surface moisture from rapid change
in temperature of the grain sample. Allow grain
and tester to stabilize near room temperature. Inspect for visible moisture
on grain and inside test cell. Dry the test cell with a soft cloth or a blow
dryer if necessary. Retest grain. (See page 05-4).
SOLUTION 4: If the tester displays SYSTEM BATTERY LOW, the test
results may be inaccurate. Replace battery.
SOLUTION 5: Unit may need to be re-calibrated by factory. Return tester
to your AgraTronix dealer for repair or replacement or call AgraTronix
customer service at 1-800-821-9542.
SYMPTOM C: Unit reads MOISTURE BELOW LIMIT or MOISTURE
ABOVE LIMIT.
SOLUTION 1: Grain may be too wet or dry to test. Check moisture limit
guidelines on page 05-2 of Operating Instructions. NOTE: Limits shown
on page 05-2 are only guidelines.
SYMPTOM D: Unit reads ERROR (---).
SOLUTION 1: Electronic failure. Return tester to your AgraTronix
dealer for repair or replacement or call AgraTronix customer service
at 1-800-821-9542.
Troubleshooting

15-1
CHECK BATTERY POWER LEVELS
AND REPLACE BATTERIES
1. The tester is supplied with two
9 volt alkaline batteries. The left
battery (A) powers the backlight
circuit. The right battery (B)
powers the system.
2. The tester will flash a BATTERY
LOW message if system battery
needs replacing when unit is
turned on. It will not say this for the
backlight battery. In the event that
the backlight battery is low, the
backlight will not work.
3. At any time, select BATTERY from
main menu (C) and press TEST
(D) to display the percentage
available for both batteries.
4. The tester system functions will
operate if no backlight battery is
installed or if it is low.
5. SYSTEM BATTERY LOW
message will be presented when
unit is turned ON and the battery
is 10% or less usable.
NOTE: If the backlight battery
is fresh and the system battery
needs replacing, the backlight
battery can be used to operate the
system by moving it to the system
battery location.
CLEAN THE TESTER
1. Remove cap and wipe out inside of the tester with a dry paper towel.
NOTE: Grain may become lodged in threads of cap and should be
removed with a small blade.
Service

20-1
WARRANTY
This product is guaranteed to be free from defects in materials and
workmanship for two (2) years from date of retail purchase in USA
or Canada and one (1) year overseas. This warranty does not cover
the battery or damage resulting from misuse, neglect, accident or
improper installation or maintenance. This warranty does not apply to
any product which has been repaired or altered outside an authorized
factory repair facility.
The foregoing warranty is exclusive and in lieu of all other warranties
of merchantability, fitness for purpose and any other type, whether
expressed or implied. AgraTronix neither assumes nor authorizes anyone
to assume for it any other obligation or liability in connection with its
product and will not be liable for consequential damages.
RECORD SERIAL NUMBER
NOTE: The tester serial number is located on the bottom of the unit.
Write your model number, serial number and date of purchase in the
space provided below. AgraTronix needs this information when ordering
parts and when filing warranty claims.
Date of Purchase ___________________________________________
Serial No. _________________________________________________
Model No. _________________________________________________
(To be filled in by purchaser)
Warranty

Manufacturer’s Contact Information
25-1
MANUFACTURER’S CONTACT INFORMATION
Toll-Free 1-800-821-9542
1-330-562-2222
FAX 1-330-562-7403
www.AgraTronix.com
10375 State Route 43
Streetsboro, OH 44241
USA
ACCESSORIES
Carrying Case - Part No. 06053
The MT-PRO’s carrying case is
constructed of padded vinyl to protect
the tester. A zipper bottom and Velcro®
sealing flap permit operation with
tester in carrying case.
Velcro is a registered trademark of
VELCRO Industries.
Table of contents
Languages:
Other agratronix Test Equipment manuals
agratronix
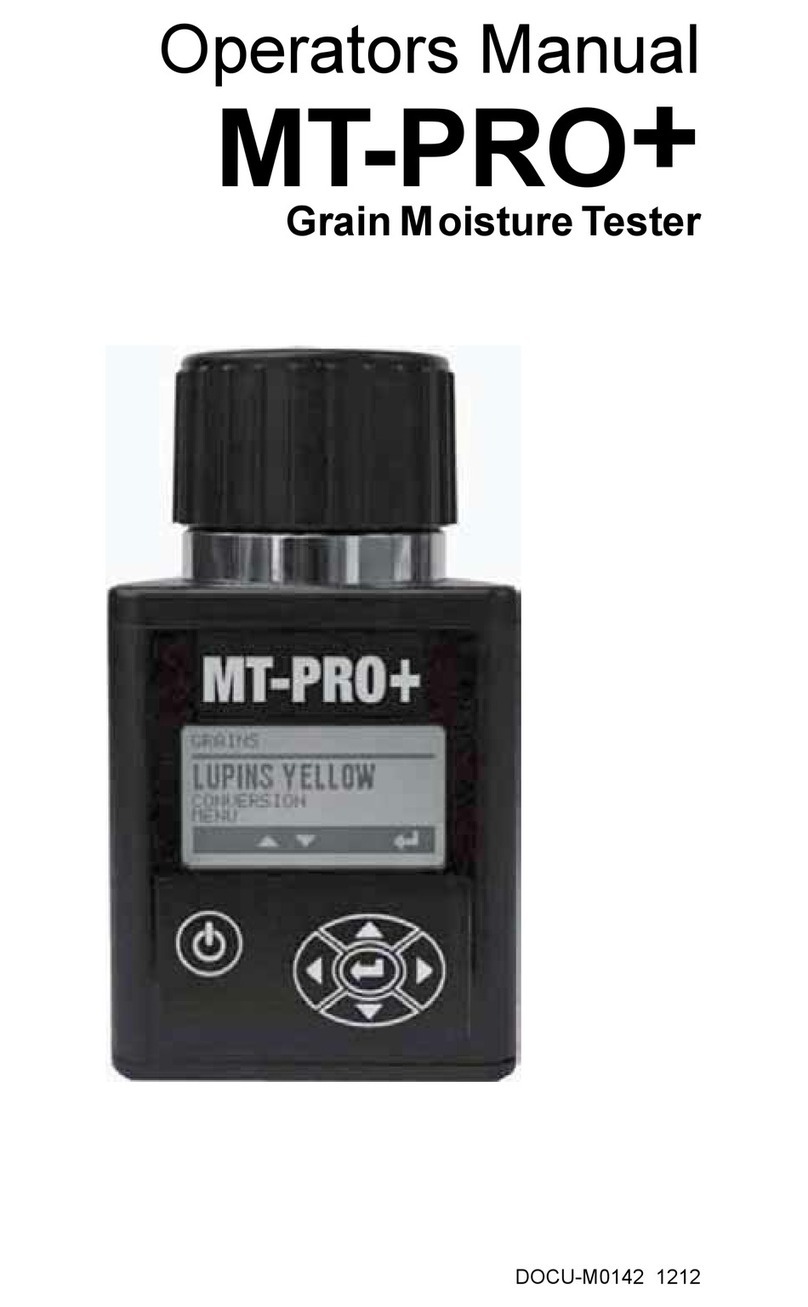
agratronix MT-PRO+ User manual

agratronix
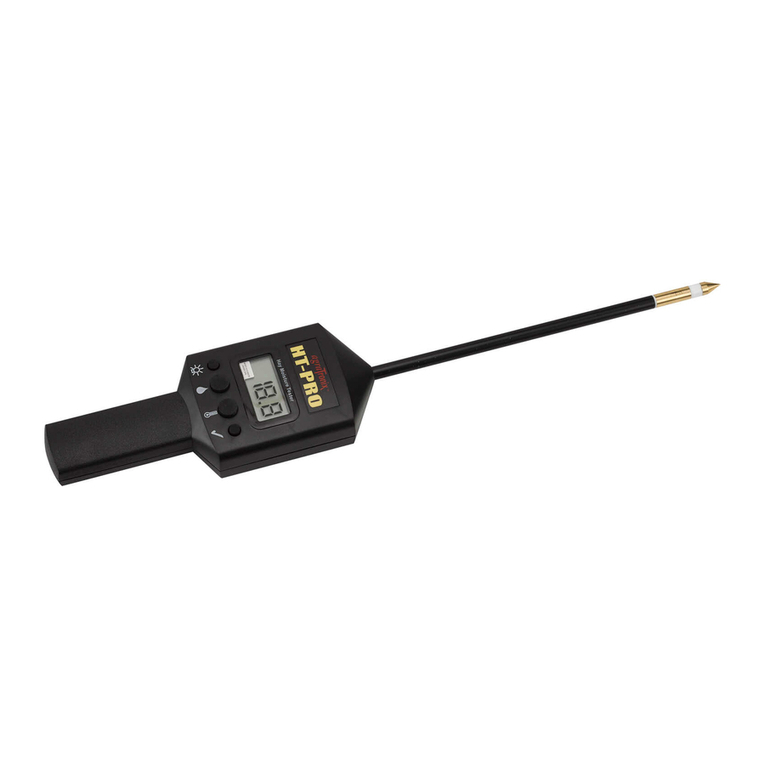
agratronix HT-PRO User manual

agratronix
agratronix HST-1 User manual

agratronix
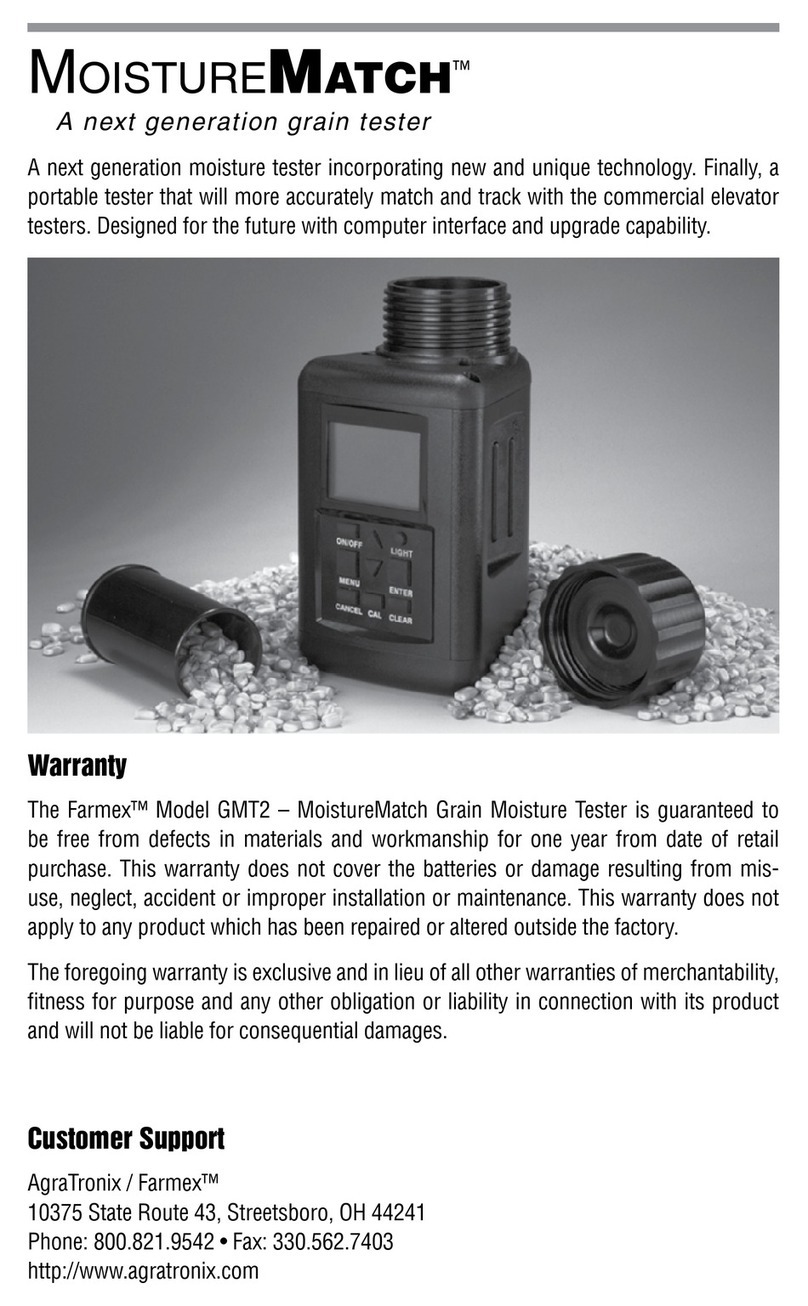
agratronix Farmex GMT2 User manual

agratronix
agratronix WCT-2 User manual
agratronix
agratronix BHT-2 User manual
agratronix
agratronix FARMEX DHT-1 User manual
agratronix
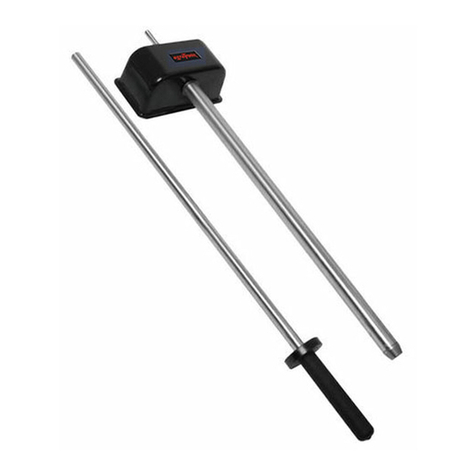
agratronix Hay Core Sampler User manual
Popular Test Equipment manuals by other brands

Agilent Technologies
Agilent Technologies 16197A Operation and service manual

Vanguard Instruments
Vanguard Instruments VBT-75 user manual

Sealey
Sealey VSE210 quick start guide

Berner
Berner Profi LCD Plus II operating instructions

Apera Instruments
Apera Instruments Premium Series user manual

Megger
Megger DDA-1 instruction manual