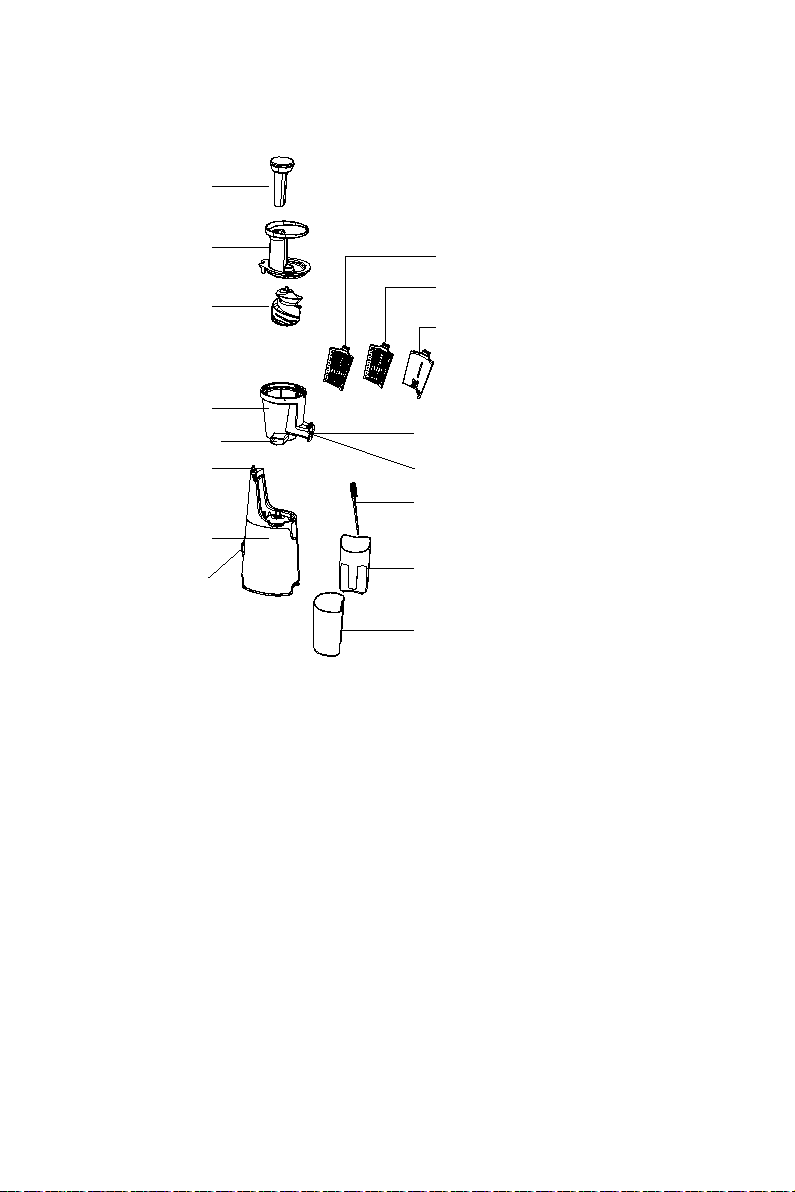
Aicok JE6008-GS User manual

JUICER
INSTRUCTION MANUAL
JE6008-GS

JUICER
INSTRUCTION MANUAL
Model: JE6008-GS
Read this booklet thoroughly before using and save it for future
reference

IMPORTANT SAFEGUARDS
When using the electrical appliance, the below basic safety
precautions should be followed:
1. Read all instructions.
2. Before using check that the voltage power corresponds to the
one shown on the appliance nameplate.
3. Do not operate any appliance with a damage cord or plug or after
the appliance malfunction or has been damaged in any manner.
Return the appliance to the nearest authorized service facility for
examination, repair or adjustment.
4. The use of attachment, including sieve, top lid, food pusher, jar
not recommended or sold by manufacture may cause fire,
electric shock or injury.
5. Do not place on or near a hot gas or electric burner or in a
heated oven.
6. Do not let cord hang over edge of table or counter.
7. Never run the appliance under no food condition.
8. Do not use the appliance if the rotating sieve is damaged.
9. Do not put your fingers or other objects into the juicer opening
while it is in operation. If food becomes lodged in opening, use
food pusher or another piece of fruit or vegetable to push it down.
When this method is not possible, turn the motor off and
disassemble juicer to remove the remaining food.
10. Do not push the food with hand, spoon, chopstick and clip etc.
other than food pusher into the jar lid when the appliance is
connected to power source.
11. Always make sure juicer cover is clamped securely in place
before motor is turned on. Do not unfasten clamps while juicer is
in operation.
12. Sharp Blade-Always use food pusher.
13. Avoid contacting moving parts.
14. For the juicer, make sure the switch is on “O” position after each
use of your juicer. Make sure the motor stops completely before

disassembling.
15. Do not immerse the Motor Unit into water or other liquids.
16. All detachable parts must be dry completely after cleaning, and
then assemble them into appliance for next using.
17. Close supervision is necessary when any appliance is used by or
near children.
18. Warn of potential injury from misuse.
19. If the supply cord is damaged, it must be replaced by the
manufacturer, its service agent or similarly qualified persons in
order to avoid a hazard.
20. Switch off the appliance and disconnect from supply before
changing accessories or approaching parts that move in use.
21. Always disconnect the juicer from the supply if it is left
unattended and before assembling, disassembling or cleaning.
22. This appliance shall not be used by children. Keep the appliance
and its cord out of reach of children.
23. Appliances can be used by persons with reduced physical,
sensory or mental capabilities or lack of experience and
knowledge if they have been given supervision or instruction
concerning use of the appliance in a safe way and if they
understand the hazards involved.
24. Children shall not play with the appliance.
25. Do not use outdoors.
26. Save these instructions.
HOUSEHOLD USE ONLY

KNOW YOUR JUICER
Small cleaning brush
Food pusher
Grinding head Jam strainer (with large mesh)
Juice container
Juice outlet
Jar
Residue container
Residue outlet Juice outlet cover
Power switch
Jar lid
Fastener
Motor unit
Juice strainer (with small mesh)
Frozen dish strainer
FUNCTION DESCRIPTION
The low speed juicing juicer is a unique system where fresh juice
comes from squeezing rather than grinding. The slow juicer squeezes
instead of grinding which allows the juice to maintain its pure color,
natural taste, nutrients and vitamins. The juice will flow in your juice
cup from the juice spout, and the pulp will be ejected from pulp
ejection spout and be collected by pulp container. When using the
juicer, the pulp container and juice container must be assembled in
position. The details will be described in the following.
FOR THE INITIAL USE
1. Unpack the appliance and place all parts on a horizontal surface.
2. Immerse all the detachable parts and accessories in warm soapy

water and rinse them and dry. But never immerse motor unit in water
for cleaning to prevent the risk of electric shock.
3. The correct assembly way will be described for details in below
sections.
Before assembling, be sure the power cord is unplugged from
the power outlet and the power switch is on the “O” position.
NOTES BEFORE USE
1)Prepare all the required materials according to the
characteristics of them
- Materials with hard fibre
The materials with hard fibre shall be cut into slices 3~5cm in length
and 1.5~2cm in thickness.
- Leaf vegetables and materials with long & hard fibre (such as celery,
wildcelery herb and collard etc.)
Cut the stems of the materials into slices 3~5cm in length and then
roll up the leaves of the materials well.
- The fruit with hard core shall be pitted. The cores of peach, plum,
mango, apricot and jujube shall not put into the jar lid to avoid any
malfunction.
- The materials with thick or hard peel shall be peeled before being
put into the juicer for processing.
- The frozen materials can just be used after being defrosted. Never
use ice.
- Never process the materials with high vegetable oil or animal oil
with this juicer to avoid the degradation and damage of the grinding
head
2) For frozen dish strainer, the following notes must be followed
when operate:
-The frozen dish strainer can only be used for making frozen dish
with deeply-frozen banana or banana & blueberry. Before process,
defrost the frozen materials into a condition that a fork can insert into

Buffer plate Buffer plate
the center of them.
-Feed materials little by little every approximately 5 seconds.
-Do not process the materials having not be defrosted.
-Do not push the materials into the jarlid with excessive force.
-The frozen dish strainer can not be replaced by juice strainer or jam
strainer when operate.
3) Never put sugarcane, coconut, kudzu or cereal (e.g. bean, rice)
without being soaked with water into this juicer for processing.
4) Do not put overmuch materials in the juicer each time, therefore,
the materials with less moisture and hard fibre shall be put into the jar
lid after being cut into slices.
5) Do not put overmuch materials in the juicer each time, therefore,
the materials with less moisture and hard fibre shall be put into the jar
lid after being cut into slices.
6)Assemble the buffer plate well in position
The buffer plate shall be assembledwell in the residue outlet after
finish cleaning each time.
ASSEMBLE YOUR SLOW JUICER
1. Put the jar downwards and make sure that the residue outlet shall
be placed well in position. The jar shall be assembled well in position
properly otherwise the appliance will not operate. Besides, before
operating, please checkthe buffer plate and make sure that it must
be assembled well in the residue outlet (See Fig.2).
Fig.1 Fig.2

2. Then select the strainer based on your demand and then put it
into the jar. There are three strainers including juice strainer, jam
strainer and frozen dish strainer for your selection. After it, put the
grinding head into the jar and ensure the grinding head is covered
well into the axis of the motor unit (see Fig.3).
NOTE: The three strainers including juice strainer, jam strainer and
frozen dish strainer can not be exchanged with each other when
operate. Juice strainer is used for extracting juice, jam strainer is
used for making ketchup only while frozen dish strainer is used for
making frozen dish. Select the appropriate strainer based on your
demand.
Fig.3
3. Assemble the jar lid on the jar correctly. Firstly, put the jar lid
downwards and then make the symbol “ ” on the jar lid align with
the symbol “ ” on the jar and then rotate the jar lid clockwise until
the symbol “ ” on the jar lid aligns with the symbol “ ” on the jar
(See Fig.4). After it, press the fastener inwards to lock the jar lid well
in position. The jar lid shall be assembled well in position properly
otherwise the appliance will not operate. Finally, put the food pusher
into the jar lid.

Fig.4
4. Place your juice container below the juice
outlet and residue container below the residue
outlet (see Fig.5). Until now, the Juicer is ready
for operating.
Note: When need to remove the whole
appliance, please grasp the motor unit instead of
the jar lid to remove it to avoid accident.
USING YOUR JUICER
1. Before attaching the power cord into the outlet, make sure the
power switch is in the “O” position, the power switch has three
settings: “I” indicates “ON”, press the power switch to “I” position to
activate the motor and start making juice; “O” indicates “OFF”
position, press the power switch to “O” position to turn off the
machine; “R” means reverse rotation, which is only used when
something is stuck and you need to unclog.
2. Make sure the juice container and the residue container are placed
in position.
3. Cut fruits and vegetables into smaller pieces. For example, the
carrots shall be cut into thin slices with size of 15mm×15mm
before being put into the machine.
NOTE:
A) Please remove any hard seeds before juicing.
B) It is forbidden to process coconuts, sugarcane or similar hard
foodstuffs, since this may damage the motor.
Fig.5

C
)
It is not recommended to process hard fruit or vegetable rich
in fiber and starch.
D) The peel and pits should be removed from oranges, lemons,
grapefruits and melons.
4. Drop the prepared fruits or vegetables into the jar lid at an even
speed and then let the fruits or vegetables drop into the grinding head
automatically. Do not load food too fast and do not load too much
food at a time.
Note: Use the food pusher to remove the blockage if the jar lid is
blocked by the materials.
5. Connect the appliance to the power source, and then press the
power switch to the“ON”position, the appliance starts to work. After a
few minutes, the juice flow out.
Caution: Do not turn the power switch from "I" to "R" or from
"R" to "I" directly at any time during operation. If required, firstly
press the power switch to “O” position and make the appliance
stop running completely and then turn the power switch from "I"
to "R" or from "R" to "I" .
Caution: Do not operate the unit before feeding food to avoid
damaging the grinding assembly (include grinding head and
strainer).
Caution:Do not put your fingers or other foreign objects into the
feeding opening while it is in
operation.
6. During operation, if the machine
is stuck and not operable, please
firstly press the power switch to “O” position and then press the reset
switch which is equipped at the bottom of appliance (see Fig.6). After
it, press and hold the power switch to the “R” position for few seconds
then try operating again. When reverse function cannot work, turn off
the machine and reassemble following the instructions given. After
Fig.6
Reset switch

reassembly please try turning on the machine.
7. When the juice container is full (the max capacity is 400ml) or the
food has been finished extracting, turn the power switch to the “O”
position and empty the juice container and residue container before
continuing extracting.
Note: The max operation time per time shall be less than 15
minutes. Minimum 30 minutes rest time must be maintained
between continuous two cycles.
Note: Do not insert too much food to extract per time. During
operation, once the juice container is full, you must stop the
appliance and empty the residue container before next cycle.
Note: During operation, if the interlock switch between the jar lid
and the motor unit is disconnected, the motor will stop to
prevent from danger.
Note: When extract juice, the residue must be removed as soon
as possible so that the jar, grinding head and jar lid can be
detached easily.
8. After finish, enjoy your juice in time for best taste. Any unused juice
should be stored in the refrigerator.
CLEANING AND MAINTENANCE
1. Unplug the appliance and wait it completely cool down before
cleaning.
2. In order to detach & clean more easily, plug in and run the juicer
without load for about 30 seconds after removing the residue. If the
jar lid cannot be detached easily, please follow and repeat the
following operation for two or three times: Reverse—OFF—ON, at the
same time, hold and rotate the jar lid to detach it. After finish
extracting juice, pour some water into the jar lid to clean it so that it
will be easier to be detached.
Caution: Do not turn the power switch from "I" to "R" or from
"R" to "I" directly at any time during operation. If required, firstly
press the power switch to “O” position and make the appliance
stop running completely and then turn the power switch from "I"

to "R" or from "R" to "I" .
3. Remove the food pusher, then push the fastener outwards to
release the jar lid, after it, turn the jar lid anti-clockwise to remove it.
4. Detach the strainer and grinding head from the jar. If it is difficult to
detach the grinding head, put the jar on the working table and hold
the grinding head with a hand, then push the axis of grinding head
(see Fig.7) at the jar bottom with
another hand to push the grinding head
out of the jar.
5. Empty the residue container, and
then clean the jar lid, grinding head,
strainer, jar and residue container under running water. When
cleaning the strainer, only need to brush the concave surface of the
strainer under running water with the small cleaning brush for several
times, and then the whole strainer can be cleaned well.
Caution: Strainer is sharp, so handle carefully during cleaning
Caution: Do not use metal sponge to clean, it will damage the
machine.
6. If you need to clean the residue outlet thoroughly, you shall firstly
pull the buffer plate out of the residue outlet and then clean it
completely with the small cleaning brush.
7. Wipe the outside of motor unit with damp cloth. Never immerse the
motor unit in water.
8. Dry all parts and assemble all parts well and then store the
appliance in a dry place. The juice container can be stored in the
residue container.
Fig.7
Axis of grinding head

RECIPES
ENVIRONMENT FRIENDLY DISPOSAL
You can help protect the environment!
Please remember to respect the local regulations:
hand in the non-working electrical equipment to
an appropriate waste disposal center.


Shenzhen Impression E-commerce Co.,Ltd
Facebook Page: https//www.facebook.com/aicoks/
Website: www.aicok.cc
Add: Booth No.3H012, Trading Plaza, No.5, Huanan city,
Pinghu Street, Longgang District, Shenzhen,China
Made In China
Table of contents
Other Aicok Juicer manuals