3
MN-715
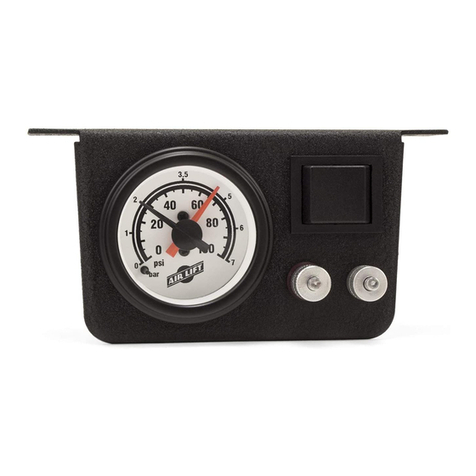
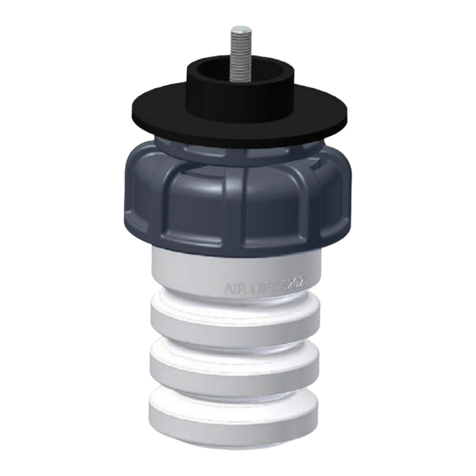
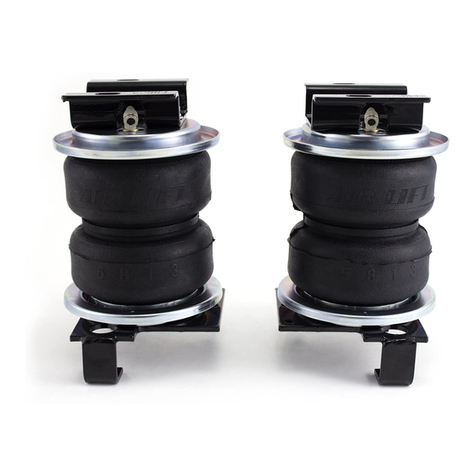
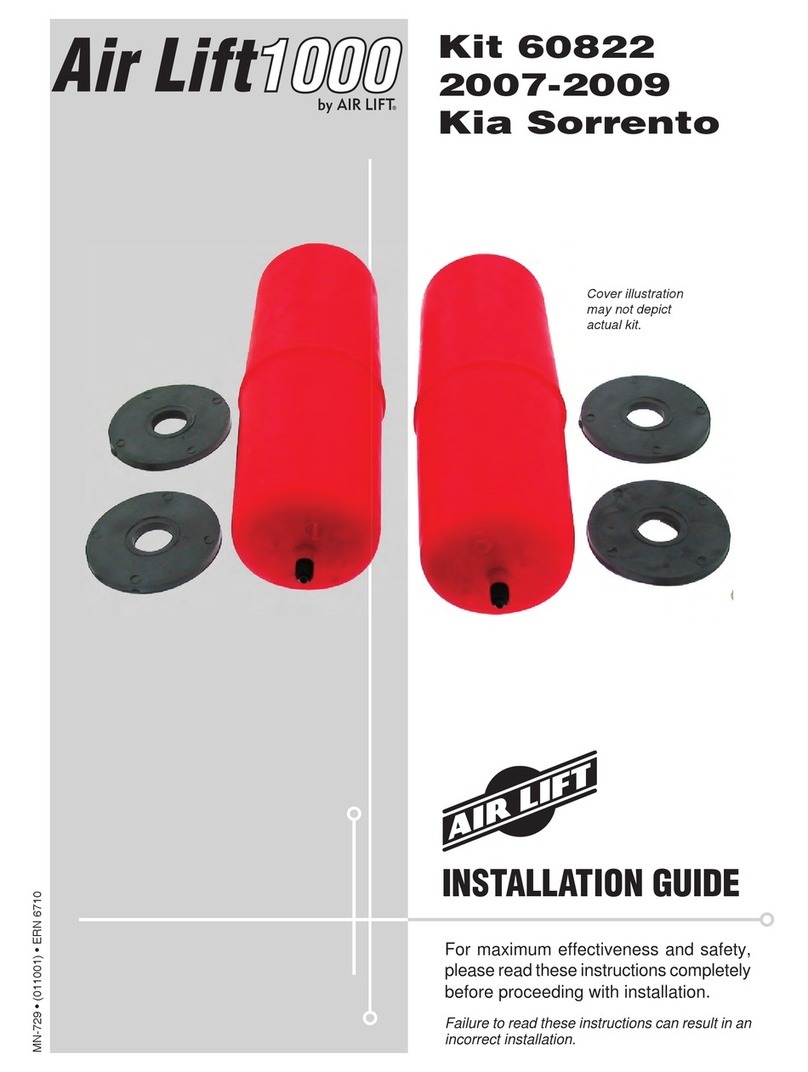
Air Lift 1000
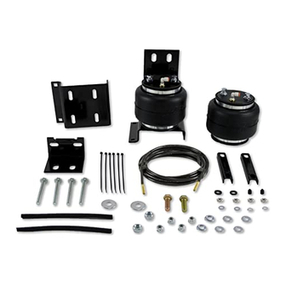
Item Part # Description.....................................Qty
A 46135 Air spring.................................................... 2
B 20937 Hose 15’ (4.6m).......................................... 1
C 10466 Zip tie ......................................................... 6
D 21230 Valve cap ................................................... 2
E 21233 5/16” Hex nut ............................................. 4
F 21234 Rubber washer........................................... 2
G 18411 Star washer................................................ 2
H 18501 M8 Flat washer .......................................... 2
I 21236 Tee ............................................................. 1
J 21455 Valve .......................................................... 2
HARDWARE LIST TOOLS LIST
Description...................................................... Qty
Hoist ............................................................................... 1
Floor jack........................................................................ 1
Safety stands.................................................................. 2
Safety glasses ................................................................ 1
Standard sockets/ratchet and wrenches ........................ 1
Drill, drill bits ................................................................... 1
Pliers............................................................................... 1
Air compressor or compressed air source...................... 1
Spray bottle with dish soap/water solution ..................... 1
Installing the Air Lift 1000 System
g. 1
Safety stand
Axle
PREPARING THE VEHICLE
1. Jack up the rear of the vehicle or raise on a hoist. Support the frame with safety stands (g.
1). Disconnect the sway bar at the spindle and remove the lower shock mounting hardware
(g. 2). Lower the axle or raise the body of the vehicle until the suspension is fully extended.
OBSERVE TENSION ON BRAKE LINE/ABS LINE. DO NOT STRAIN.
Almost all of these applications have a hole in the upper spring seat, if you have a “plastic
plug” covering the hole in the upper spring seat, proceed with step 2. If you have an “open
hole” in the spring seat that you can see, move on to step 3 for further instructions.
g. 2
Disconnect Sway Bar
Disconnect Shock
If the upper spring seat has a “plastic plug”
in it covering the hole at the top, proceed
with step 2 to install this kit.
If you have an
open hole at the
top, move on to
step 3.
CAUTION
STOP! Missing or damaged parts? Call Air Lift customer
service at (800) 248-0892 for a replacement part.
Missing or damaged parts? Call Air Lift customer
service at (800) 248-0892 for a replacement part.

