manuals.online logo
Brands
  1. Home
  2. •
  3. Brands
  4. •
  5. Air Oasis
  6. •
  7. Air Cleaner
  8. •
  9. Air Oasis Bi-Polar 2400 User manual

Air Oasis Bi-Polar 2400 User manual

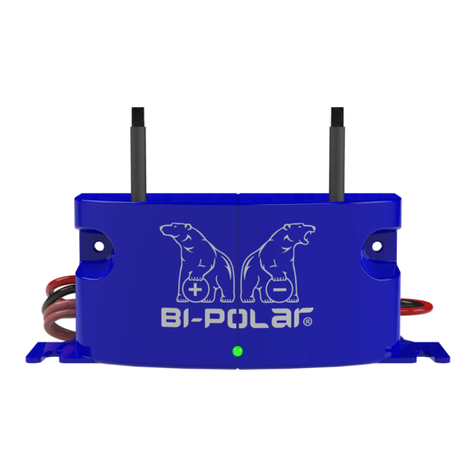
For use with models: BP2400-24, BP2400-110-220,
EPA Establishment number: 92866-TX-1
For safety and to ensure proper use carefully read the
contents of this manual before operating or installing the unit.
R2020.06.05
Thank You for Choosing The Bi-Polar® 2400
Congratulations, you own the MOST Versatile HVAC Air Purier available! Before
operating the Bi-Polar ®2400 please read this manual in its entirety. Doing so will
give you important information to keep you safe from harm and ensure you get the
most benets from your air purier. For additional information please contact us:
Mail: Air Oasis, LLC
Attn: Customer Service
3401 Airway Blvd.
Amarillo, TX 79118
web: www.airoasis.com
e-mail: [email protected]
phone: 1-800-936-1764
Important Safety Instructions . . . . . . . . . . . . . . . . . . . . . . . . . . . . . . . . . . . . . . . . . . . . . . 1
Maintenance & Installation . . . . . . . . . . . . . . . . . . . . . . . . . . . . . . . . . . . . . . . . . . . . . . . . . 2
Mounting & Installation Instructions. . . . . . . . . . . . . . . . . . . . . . . . . . . . . . . . . . . . 3 - 8
Limited Warranty. . . . . . . . . . . . . . . . . . . . . . . . . . . . . . . . . . . . . . . . . . . . . . . . . . . . . . . . . 9
Troubleshooting Guide & Product Specs..........................................backcover
Table of Contents
2400
Important Safety Instructions
When operating any electrical appliance, basic precautions should always be fol-
lowed for safety.
RISK OF FIRE, ELECTRIC SHOCK, OR INJURY
• Carefully read the entire contents of this manual.
• Do not use outdoors.
• Do not use the unit in areas of extreme heat or in the presence of ammable
gas.
• Do not attempt to service or repair the unit yourself. Any attempt to repair the
unit yourself could cause serious injury and will void the warranty.
• Do not handle the wires or appliance with wet hands.
• Do not use damaged or uninsulated wires. If appliance is not working properly
call a customer service representative at 1-800-936-1764.
WARNING: RISK OF ELECTRICAL SHOCK. CAN CAUSE INJURY OR DEATH.
DISCONNECT UNIT FROM POWER SUPPLY BEFORE SERVICING.
Store and transport -4˚ F ~ 180˚ F, humidity 10% ~ 90% (Non Condensing).
Do not operate unit in ambient temperatures above 150˚ F.
KEEP OUT OF REACH OF CHILDREN
12400
2
Maintenance & Installation
The Bi-Polar ® 2400 can be installed using included screws, zip ties, or neodymium
Magnets as shown below.
The Bi-Polar ® 2400 was engineered to have low maintenance. The brush heads on
your unit should be cleaned periodically for optimal effectiveness.
If not connecting to a BAS system, then you may
cap off the brown BMS wires.
3
Optimal Mounting Locations
Ceiling Mount
Installation
Ptac
Installation
Furnace
Installation
2400
4
Preparing to Install Your New Bi-Polar®2400 unit
The Bi-Polar ®was designed to be simple and effective. Remove the unit & mounting
hardware (two self tapping screws) from the box. We recommend keeping the box
and all packaging material for shipping the unit, should it ever need to be returned
for repairs. Locate the ideal location within the air stream. We recommend after a
prelter but before the cooling coil. Alternately, it can be mounted in the supply air.
Caution
Installation and servicing of air-conditioning equipment can be hazardous
due to system pressure and electrical components. Only trained and quali-
ed service personnel should install, repair, or service air-conditioning equipment.
Air Oasis and its afliates are not responsible for any damage to the Bi-Polar®
unit, or injury to yourself or others, if you elect to install the device without utilizing
qualied technicians.
Use the suggestions on page 3 to determine the optimal mounting location(s).
To complete the installation process you will need the following tools:
• 1/4 inch hex head screw driver
Should be installed with brushes a minimum of 2 to 3 inches away from any
metal objects or high voltage wires. Install the Bi-Polar ®where the air can
easily ow through the brushes. (Please see image below)
Installation Instructions
Wiring Instructions
1. The Bi-Polar 2400 contains an in-line fuse; other external or in-line fuses are not
required. Check with your local electric codes and follow all guidelines.
2. Review the model number found on the Bi-Polar 2400 product and wire it only to
the voltage range shown below. Disconnect power to the air handler the Bi-Polar
2400 will be mounted to during installation.
3. If connecting to a 24VAC power source with a grounded transformer leg, connect
the grounded leg to the black wire.
4. Unit can be powered 24/7 or it may be interlocked to cycle with blower.
5. Green light will illuminate when powered and operating correctly.
Black wire: Neutral or Ground
Red wire: Positive Input
2 Models:
BP2400-24 Usage 24 VAC / 400mA
BP2400-110-220 Usage 110-277 VAC / 80mA / 40mA
5
Contacts are closed when on.
Contacts are open for fault or if the
power is off. Rating: 250VAC/1A
Black = AC Neutral
or ground
Red = AC+
Connecting Bi-Polar to a BMS System
If not connecting to a BAS system, then you may
cap off the brown BMS wires.
6
Furnace Installation
Step 1 - Conrm power is disconnected from AHU and remove face panel, expos-
ing fan compartment.
Step 2 - Locate power distribution block where main power is or will be connected
to unit.
Step 3 - Using the included self-tapping screws, attach the Bi-Polar 2400 as shown
in the illustration below.
Step 4 - Wire the Bi-Polar 2400 to the power distribution block. The wires are not
polarity sensitive and may be shortened as required. Make sure to use the proper
Bi-Polar model based on the primary voltage.
Step 5 - Enjoy the many benets of the Bi-Polar 2400!
Multiple Mounting Options (Please see examples below)
Installation Instructions
If not connecting to a
BAS system, then you
may cap off the brown
BMS wires.
7
Ptac Installation
Step 1 - Disconnect power to air conditioner, remove service access panels and
locate fan compartment. Using either the included self-tapping screws, zip ties, or
clear adhesive strips, mount the Bi-Polar 2400 within the airstream as illustrated
below.
Step 2 - Wire the Bi-Polar’s black and red wires to the proper voltage terminals
on the power distribution block as illustrated on page 3. The wires are not polarity
sensitive and may be shortened as required. Make sure to use the proper Bi-Polar
model based on the primary voltage.
Step 3 - Enjoy the many benets of the Bi-Polar 2400!
Installation Instructions
If not connecting to a BAS system, then you may
cap off the brown BMS wires.
8
Ceiling Mount
Step 1 - Conrm power is disconnected from the air conditioner and remove face
panel, exposing fan compartment.
Step 2 - Locate power distribution block where main power is or will be connected
to unit.
Step 3 - Lift up a portion of the protective wire screen and zip tie the Bi-Polar to the
fan side of the screen.
Step 4 - Wire Bi-Polar to the power distribution block as illustrated on page 3. The
wires are not polarity sensitive and may be shortened as required. Make sure to
use the proper Bi-Polar model based on the primary voltage.
Step 5 - Enjoy the many benets of the Bi-Polar 2400!
Installation Instructions
9
We proudly manufacture the highest quality products and test each one individually
before it leaves our facility. We are pleased to offer the following warranties:
The following products have a 5 year warranty: AO5000PRO, BP2400, BPICE.
If you purchased a product from Air Oasis or an authorized Air Oasis reseller,
process warranty and repair requests using the RMA Form at www.airoasis.com/
rma.
The Air Oasis warranty has the following requirements:
• Purchases made and received within the USA.
• Non-transferable.
• Product Registration or proof of purchase may be required.
• Excludes lters and parts intended for regular replacement.
• Normal recommended usage, has not been subjected to physical abuse,
chemical exposure, water damage, damage caused by acts of God, the use of
voltages other than indicated on the label displayed on this product or service
of this product by anyone other than Air Oasis or an Air Oasis authorized dealer.
• Filter and AHPCO®Cell replacements have occurred as recommended.
• Warrantied products may be replaced with new or refurbished units of the
same or similar model.
Air Oasis’ liability for damages to you for any costs whatsoever arising out of this
statement of warranty shall be limited to the amount paid for this product at the
time of original purchase, and Air Oasis shall not be liable for any direct, indirect,
consequential or incidental damages arising out of the use or inability to use this
product.
NOTE: An RMA# is required for any warranty service work. All returned
packages that do not have an RMA# will be refused.
Troubleshooting Guide
Bi-Polar 2400 Specications
Problem/Question Solution/Answer
What if my Bi-Polar 2400
won’t turn on? The indicator
light is not illuminated.
Check to make sure the Bi-Polar is properly installed with
the black and red wires securely connected to the power
source.
How do I know my Bi-Polar
2400 is working?
First check to see that the green indicator light is illuminat-
ed. A voltage detector can be placed between the brushes.
If a voltage is detected then the unit is working properly.
How do I clean debris off the
brush heads?
Using any non abrasive object, lightly brush the heads
to remove debris.
If the above does not repair the symptom please contact an Air Oasis Customer Service
Representative:
Phone: 1-800-936-1764
E-mail: [email protected] Web: www.airoasis.com
Mail: Air Oasis
Customer Service
3401 Airway Blvd.
Amarillo, TX 79118
Operational BP2400-24 Coverage
BP2400-110 Coverage
BP2400-220 Coverage
Ozone
Warranty
Up to 2400 CFM
Up to 2400 CFM
Up to 2400 CFM
0 ppm
Five (5) year limited warranty
Replacements The Bi-Polar 2400 requires no replacement parts.
Electrical BP2400-24 Usage
BP2400-110-220 Usage
24 VAC / 400mA
110-277 VAC / 80mA / 40mA
Mechanical BP2400-24 Dimensions
Weight of Unit
Shipping Weight
BP2400-110-220 Dimensions
Weight of Unit
Shipping Weight
5” W x 2” H x 1.5” D
0.25 lbs
2 lbs
5” W x 2” H x 1.5” D
0.25 lbs
2 lbs
Copyright© 2019 Air Oasis LLC.

This manual suits for next models

2

Other Air Oasis Air Cleaner manuals

Air Oasis AOAP094 User manual

Air Oasis

Air Oasis AOAP094 User manual

Air Oasis 1000G3 User manual

Air Oasis

Air Oasis 1000G3 User manual

Air Oasis 1000G3 User manual

Air Oasis

Air Oasis 1000G3 User manual

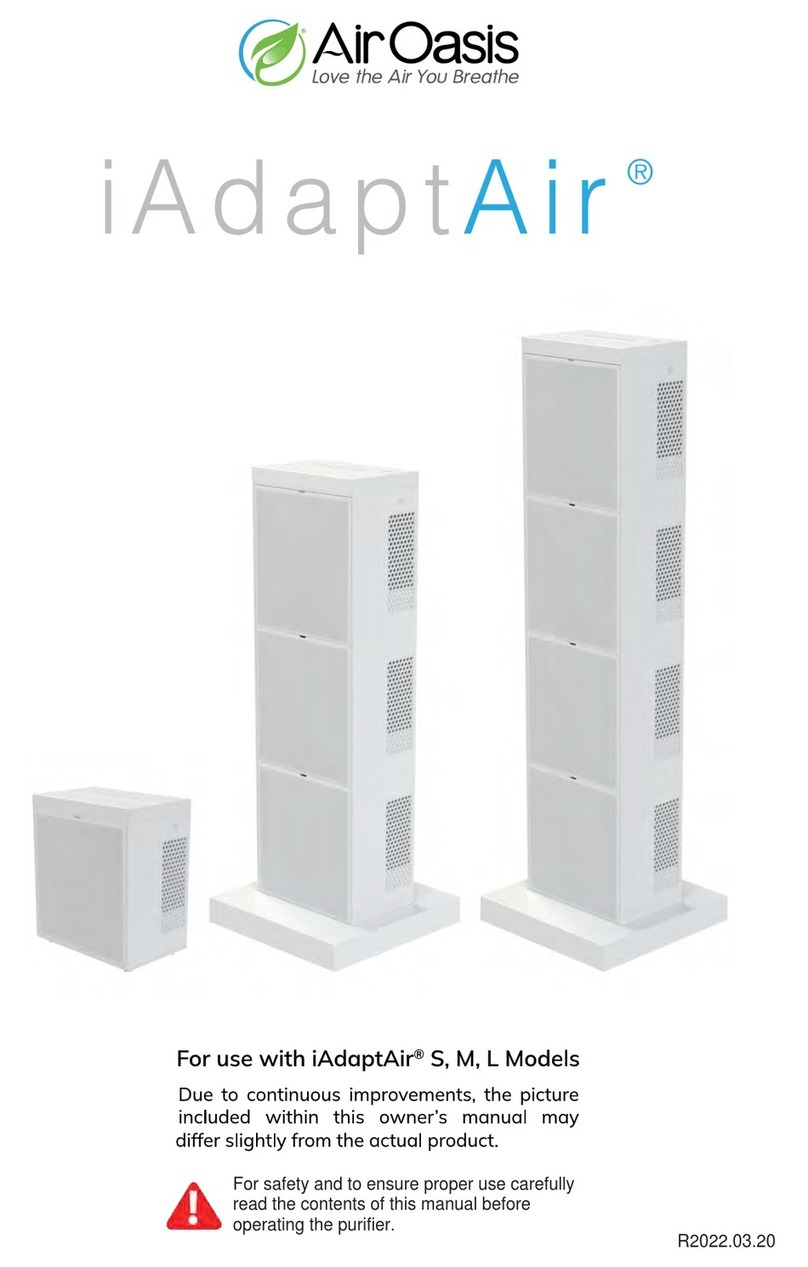
Air Oasis iAdaptAir User manual

Air Oasis

Air Oasis iAdaptAir User manual

Air Oasis iAdaptAir S User manual

Air Oasis

Air Oasis iAdaptAir S User manual

Air Oasis Bi-Polar 2400-24 User manual

Air Oasis

Air Oasis Bi-Polar 2400-24 User manual

Air Oasis iAdaptAir User manual

Air Oasis

Air Oasis iAdaptAir User manual

Air Oasis AO5000PRO User manual

Air Oasis

Air Oasis AO5000PRO User manual

Air Oasis Dual Induct (120v) User manual

Air Oasis

Air Oasis Dual Induct (120v) User manual

Air Oasis Induct 9 Owner’s User manual
Air Oasis

Air Oasis Induct 9 Owner’s User manual

Air Oasis NANO INDUCT Sanifier User manual

Air Oasis

Air Oasis NANO INDUCT Sanifier User manual

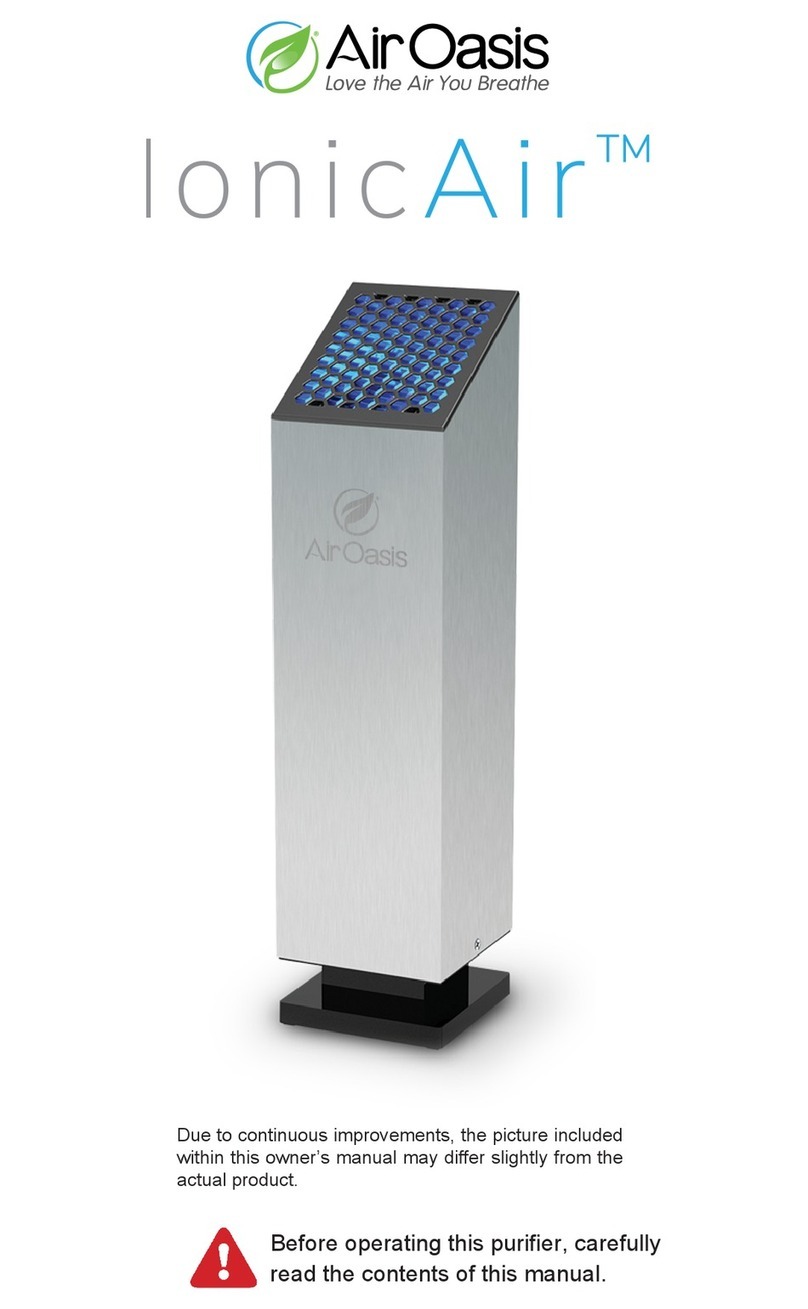
Air Oasis Ionic Air User manual

Air Oasis

Air Oasis Ionic Air User manual

Air Oasis iAdapt Air S User manual

Air Oasis

Air Oasis iAdapt Air S User manual

Air Oasis BP2400-110 User manual

Air Oasis

Air Oasis BP2400-110 User manual

Air Oasis Air Purifier Induct 9 User manual

Air Oasis

Air Oasis Air Purifier Induct 9 User manual

Air Oasis Air Angel AA250 User manual

Air Oasis

Air Oasis Air Angel AA250 User manual

Air Oasis Mobile Sanifier User manual

Air Oasis

Air Oasis Mobile Sanifier User manual

Air Oasis Air Purifier 5000 User manual
Air Oasis

Air Oasis Air Purifier 5000 User manual

Air Oasis iAdaptAir S User manual

Air Oasis

Air Oasis iAdaptAir S User manual

Air Oasis AO5000PRO User manual

Air Oasis

Air Oasis AO5000PRO User manual

Popular Air Cleaner manuals by other brands

Guardian AC4625 Series Use & care instructions

Guardian

Guardian AC4625 Series Use & care instructions

Levoit LV-H132 manual

Levoit

Levoit LV-H132 manual

BioZone BASIC SS 10G user manual

BioZone

BioZone BASIC SS 10G user manual

Honeywell HPA830 user manual

Honeywell

Honeywell HPA830 user manual

CDP CDP050 instruction manual

CDP

CDP CDP050 instruction manual

Lightair IonFlow 50 Style manual

Lightair

Lightair IonFlow 50 Style manual

CFM CX1000 Installation & maintenance instructions

CFM

CFM CX1000 Installation & maintenance instructions

Sharp FU-W28J Operation manual

Sharp

Sharp FU-W28J Operation manual

Lifa Air LAC100 user manual

Lifa Air

Lifa Air LAC100 user manual

NuTone GSHH3K Specification sheet

NuTone

NuTone GSHH3K Specification sheet

Drop Urban instructions

Drop

Drop Urban instructions

Huawei FusionCol8000-E24 user manual

Huawei

Huawei FusionCol8000-E24 user manual

Hunter Permalife 30748 owner's manual

Hunter

Hunter Permalife 30748 owner's manual

Dyson PURE COOL ME user guide

Dyson

Dyson PURE COOL ME user guide

Air Quality Engineering MistBuster Infinity manual

Air Quality Engineering

Air Quality Engineering MistBuster Infinity manual

brondell Pro quick start guide

brondell

brondell Pro quick start guide

HoMedics TotalClean PetPlus quick start guide

HoMedics

HoMedics TotalClean PetPlus quick start guide

Sharp Plasmacluster FP-R45CX Operation manual

Sharp

Sharp Plasmacluster FP-R45CX Operation manual

manuals.online logo
manuals.online logoBrands
  • About & Mission
  • Contact us
  • Privacy Policy
  • Terms and Conditions

Copyright 2025 Manuals.Online. All Rights Reserved.