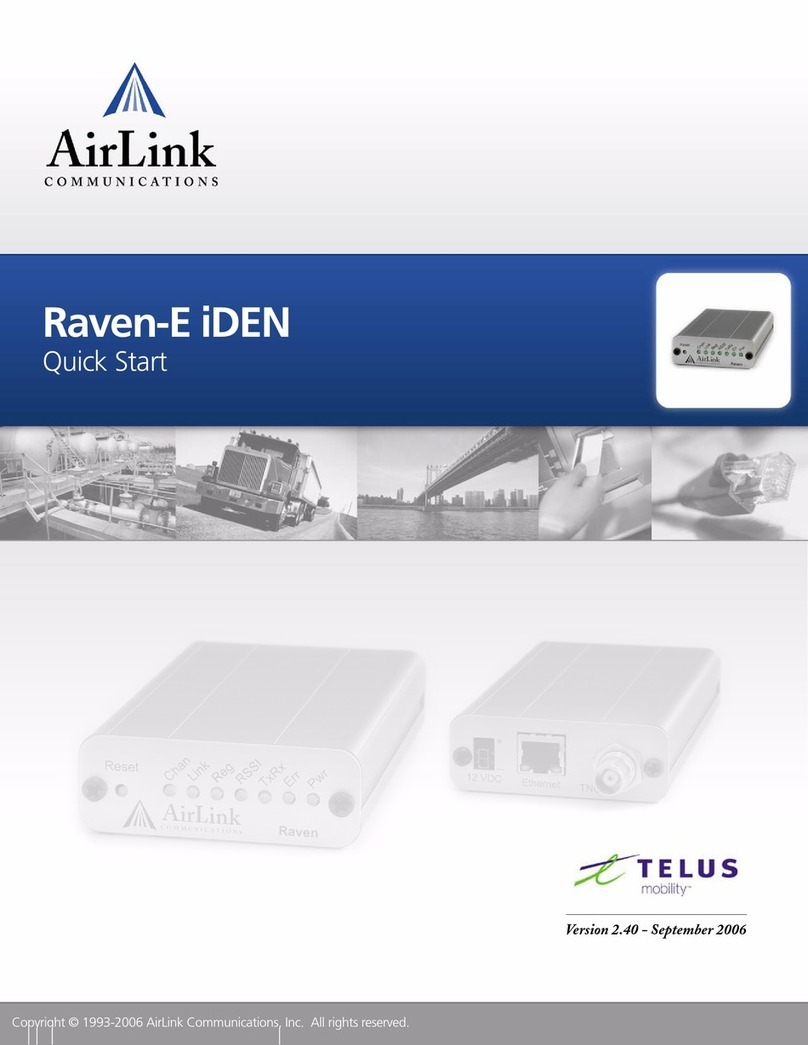
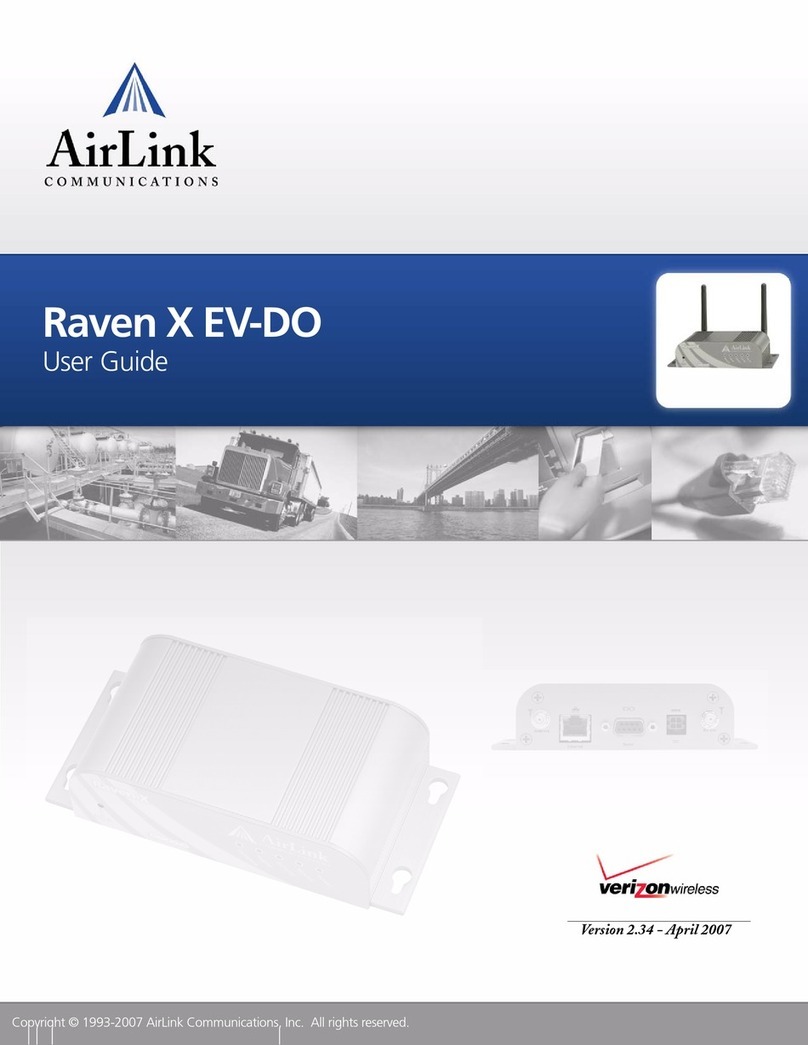
AirLink Communications Raven User manual

Cingular EDGE/GPRS Raven
Quick Start Guide
Setup Wizard and Activation Instructions
AirLink Communications, Inc.
September 9, 2005
version 2.01

Information in this document is subject to change without notice
©Copyright AirLink Communications, Inc., 1993-2005. All rights reserved.
WARNING
The antenna(s) used for this transmitter must be installed to provide a separation distance of at least
20 cm from all persons and must not be co-located or operating in conjunction with any other antenna
or transmitter.
Important Notice
Because of the nature of wireless communications, transmission and reception of data can never be guaranteed.
Data may be delayed, corrupted (i.e., have errors) or be totally lost. Although significant delays or losses of data
are rare when wireless devices such as the AirLink Communications modem are used in a normal manner with a
well-constructed network, the AirLink modem should not be used in situations where failure to transmit or
receive data could result in damage of any kind to the user or any other party, including but not limited to
personal injury, death, or loss of property. AirLink Communications, Inc., accepts no responsibility for damages
of any kind resulting from delays or errors in data transmitted or received using the AirLink Communications
modem, or for failure of the AirLink Communications modem to transmit or receive such data.
Safety and Hazards
Do not operate the AirLink Communications modem in areas where blasting is in progress, where explosive
atmospheres may be present, near medical equipment, near life support equipment, or any equipment which may
be susceptible to any form of radio interference. In such areas, the AirLink Communications modem MUST BE
POWERED OFF. The AirLink Communications modem can transmit signals that could interfere with this
equipment. Do not operate the AirLink Communications modem in any aircraft, whether the aircraft is on the
ground or in flight. In aircraft, the AirLink Communications modem MUST BE POWERED OFF. When
operating, the AirLink Communications modem can transmit signals that could interfere with various on board
systems. The driver or operator of any vehicle should not operate the AirLink Communications modem while in
control of a vehicle. Doing so will detract from the driver or operator's control and operation of that vehicle. In
some states and provinces, operating such communications devices while in control of a vehicle is an offence.
Limitation of Liability
The information in this manual is subject to change without notice and does not represent a commitment on the
part of AirLink Communications, Inc. AIRLINK COMMUNICATIONS, INC. SPECIFICALLY DISCLAIMS
LIABILITY FOR ANY AND ALL DIRECT, INDIRECT, SPECIAL, GENERAL, INCIDENTAL,
CONSEQUENTIAL, PUNITIVE OR EXEMPLARY DAMAGES INCLUDING, BUT NOT LIMITED TO, LOSS
OF PROFITS OR REVENUE OR ANTICIPATED PROFITS OR REVENUE ARISING OUT OF THE USE OR
INABILITY TO USE ANY AIRLINK COMMUNICATIONS, INC. PRODUCT, EVEN IF AIRLINK
COMMUNICATIONS, INC. HAS BEEN ADVISED OF THE POSSIBILITY OF SUCH DAMAGES OR THEY
ARE FORESEEABLE OR FOR CLAIMS BY ANY THIRD PARTY.

9/9/05 page 3 AirLink Communications, Inc
Cingular EDGE/GPRS Raven Quick Start
The Quick Start Guide details using the Setup Wizard only for the initial setup and any configuration
necessary to register your AirLink modem online with Cingular. For additional modem configuration
options, please refer to the Cingular EDGE/GPRS Raven User Guide.
Starting Setup Wizard
Install the Setup Wizard from the CD that came with your modem or you can download the latest
version from the AirLink website: http://www.airlink.com. The installation file for the Cingular
Setup Wizard is in the Support section under Modem Utilities.
1. Connect the modem to your computer using a serial cable.
2 Connect the power adapter and antenna to your modem.
3. Run the Setup Wizard from the Windows Start menu.
Start>All Programs>AirLink Communications>Setup Wizard>Setup Wizard
Note: The Setup Wizard requires Microsoft Windows 98 (with .Net), Microsoft Windows
2000, Microsoft Windows XP, or later.
Update Firmware: Check the AirLink servers for the latest
modem firmware.
Setup APN: Choose the Access Point you will be using with
your modem.
Test Modem Setup: Verify the modem is properly configured
and connecting on ‘s network.
Setup a DUN Connection: Creates a Dial-Up Networking
entry for local connection. This part of the setup is only
needed if you will be using the modem to connect directly from
a computer to the Internet or other network.
Select Connected to a Serial Port and
select the port from the drop down menu.
Check Auto Detect Port Settings.
The Setup Wizard will establish a connection
to your modem and detect the model. The
window should show the details for your
modem. If the incorrect modem is displayed,
press the Reset Button on your modem.

Cingular Raven Quick Start Guide v.2.01
AirLink Communications, Inc page 4 9/9/05
Update Firmware
AirLink frequently releases updates to the firmware for
your modem. These updates can include new features
as well as bug fixes. To make sure your modem is at
optimal performance, it is recommended to Check for
Updates and Update Now.
Note: While checking for updates, the Setup Wizard
needs to use the Internet connection on your computer
to connect to the AirLink server. Your modem is not
connected to the wireless network for this process.
Setup APN
The modem needs to be configured to communicate to a
specific Access Point.
•Internet and Proxy do not have additional
settings.
•ISP and WAP require additional settings. Consult with
Cingular about these settings.
Test Modem Setup
Using the Cingular cellular network, your modem’s
connection to the Internet is tested.
Green checks in all five boxes indicate the tests were
successful and your modem is functioning properly.
At this point your modem is configured and activated to
work on the Cingular network.

Cingular Raven Quick Start Guide v.2.01
9/9/05 page 5 AirLink Communications, Inc
Working Modem
In this example of the modem's lights, you can see how a modem will look when it is registered on the
network and working.
The RSSI light shows the strength of the signal
and may be solid (strong) or flashing (weaker).
The Tx (transmit) and Rx (receive) lights will
flash as data is transferred to and from the modem
on the network.
Troubleshooting
If Test Modem Settings shows the status of your modem is “No Service”, “No Carrier”, “Network
Negotiation Failed”, or “Network Authentication Failed” or the Reg light on the modem is not lit,
double-check your device activation information and return to the Access Point Name steps to
reconfigure your modem.
Setup a DUN Connection
Dial-up Networking (DUN) allows a computer or other device to use an AirLink modem to connect to
the Internet or private network just like an analog modem using a standard phone line. The Setup
Wizard will install a driver for the modem and set up the connection between your computer and the
modem. You will need to have administrator access on the computer for this section of the
installation.
If you already have other modems installed on your
computer, they will be listed on the AirLink Modem
Installation screen. If you have other modems installed
on your computer using the same serial port, they may
conflict. As long as you do not intend to use them, you
can Remove other modems using this menu.
Select Install to begin adding the driver for the AirLink
modem to your computer.The COM port and speed
should match your modem (the default settings will be
pre-entered). Select Next to begin the modem driver
installation. You will see a confirmation box from
Microsoft Windows to specify you wish to install this driver on your computer. Select Continue
Anyway to install the driver.
When the driver is installed, you will return to the AirLink Modem Installation screen. The
AirLink modem should now be listed (in addition to any other modem installed).

Cingular Raven Quick Start Guide v.2.01
AirLink Communications, Inc page 6 9/9/05
Select Next to begin installing the DUN connection.
If you already have a DUN connection installed for a
different modem, it will be listed on the Dial-up
Networking Connection screen.
Select Add to create a new connection for the AirLink
modem.
From the drop down menu, select the AirLink modem.
The defaults for the phone number, user name and
password will already be entered. Select Next to begin
the install.
At the completion of the DUN installation, you will
return to the Dial-up Networking Connection screen. The AirLink modem should now be listed as
a connection.
Your modem is now ready to be used as a DUN device for any applications on your computer needing
a network connection. If you have DUN installed for more than one modem, you will need to specify
in applications using DUN which modem you wish to use. Unless it is the only DUN, your AirLink
modem may not be the one your computer sees as a default.
Hardware Installation
Your AirLink modem should be mounted in a
position that allows easy access for the cables so
they are not bent or constricted. The LEDs on the
front panel should be visible for ease of operational
verification. In addition, you should ensure that
there is adequate airflow around the modem. The
exterior of the case should also be grounded.
You can mount the modem with an optional
mounting kit designed to “lock” the modem into
place. A zip tie can be used with the bracket for
installations where the modem needs to be secured
against sudden and abrupt movement (such as in
an automobile). If you are using a zip tie with the
bracket, run it through the side notches to secure
the modem.
Shown is the Raven with a dipole antenna.

Cingular Raven Quick Start Guide v.2.01
9/9/05 page 7 AirLink Communications, Inc
Your modem can be used with either DC (available in most automobiles) or 110 AC (standard US
wall power) with the appropriate power adapter.
Your modem will work with most standard cellular antennas with a TNC connector and rated to work
with EDGE/GPRS technology. Connect the antenna or RF cable directly to the back of the modem.
Connect the modem via serial cable to the computer or other device.
For More Information
Refer to the Cingular EDGE/GPRS Raven User Guide for additional information not covered in
this Quick Start Guide on how the modem works, additional configuration options, and other modem
tools and utilities to enhance your modem’s productivity.
You can find the User Guide on the AirLink Communications, Inc., website (http://
www.airlink.com) as well as the Setup Wizard, Quick Start Guide, and modem utilities.
through Friday 6 AM to 5 PM Pacific Standard Time.
Other manuals for Raven
1
Table of contents
Other AirLink Communications Modem manuals

AirLink Communications
AirLink Communications Raven GPRS User manual

AirLink Communications
AirLink Communications RAVEN X EV-DO X EV-DO User manual

AirLink Communications
AirLink Communications Raven II User manual

AirLink Communications
AirLink Communications Raven C3210 User manual

AirLink Communications
AirLink Communications Redwing GPRS User manual

AirLink Communications
AirLink Communications 5200 Installation and operating instructions

AirLink Communications
AirLink Communications Version 2.40 User manual

AirLink Communications
AirLink Communications Raven User manual

AirLink Communications
AirLink Communications RAVEN-E EV-DO Quick start guide