hear again.
High speed search continues as long as the buttons or are pressed.
Normal playback resumes when the two buttons are released.
NOTE: During high speed music search the playback volume is automatically
reduced.
To begin playback of a disc on a specific track, wait until the player reads the disc
and display the total track number, then press the Skip Up/Search Forward
or the Skip Down/Search Backward button repeatedly until the desired track
number is on the display. Press the Play/Pause button to begin playback on that
track.
OPERATING INSTRUCTIONS
Repeat Playback
This function allows you to repeat either a single track or the entire disc continuously.
To repeat a single track, press the Repeat button once, the "REPEAT 1" indicator will
appear in the display, select the track you wish to repeat, then press Play/Pause
button to start playback. The selected track will be repeated continuously until you
cancel the repeat function or press the Stop button.
To repeat the entire disc, press the Repeat button until the "REPEAT ALL" indicator
will appear in the display, then press the Play/Pause button to begin playback if
necessary. The entire disc will be repeated continuously.
In Mp3 playing, press Repeat button three times,the "REPEAT ALBUM " indicator
will appear in the display, then press the Play/Pause button to begin playback if
necessary. The selected ALBUM will be repeated continuously.
To cancel Repeat Playback press the Repeat button until the REPEAT indicator
no longer appears in the display. Repeat can also be canceled by pressing the
Stop button.
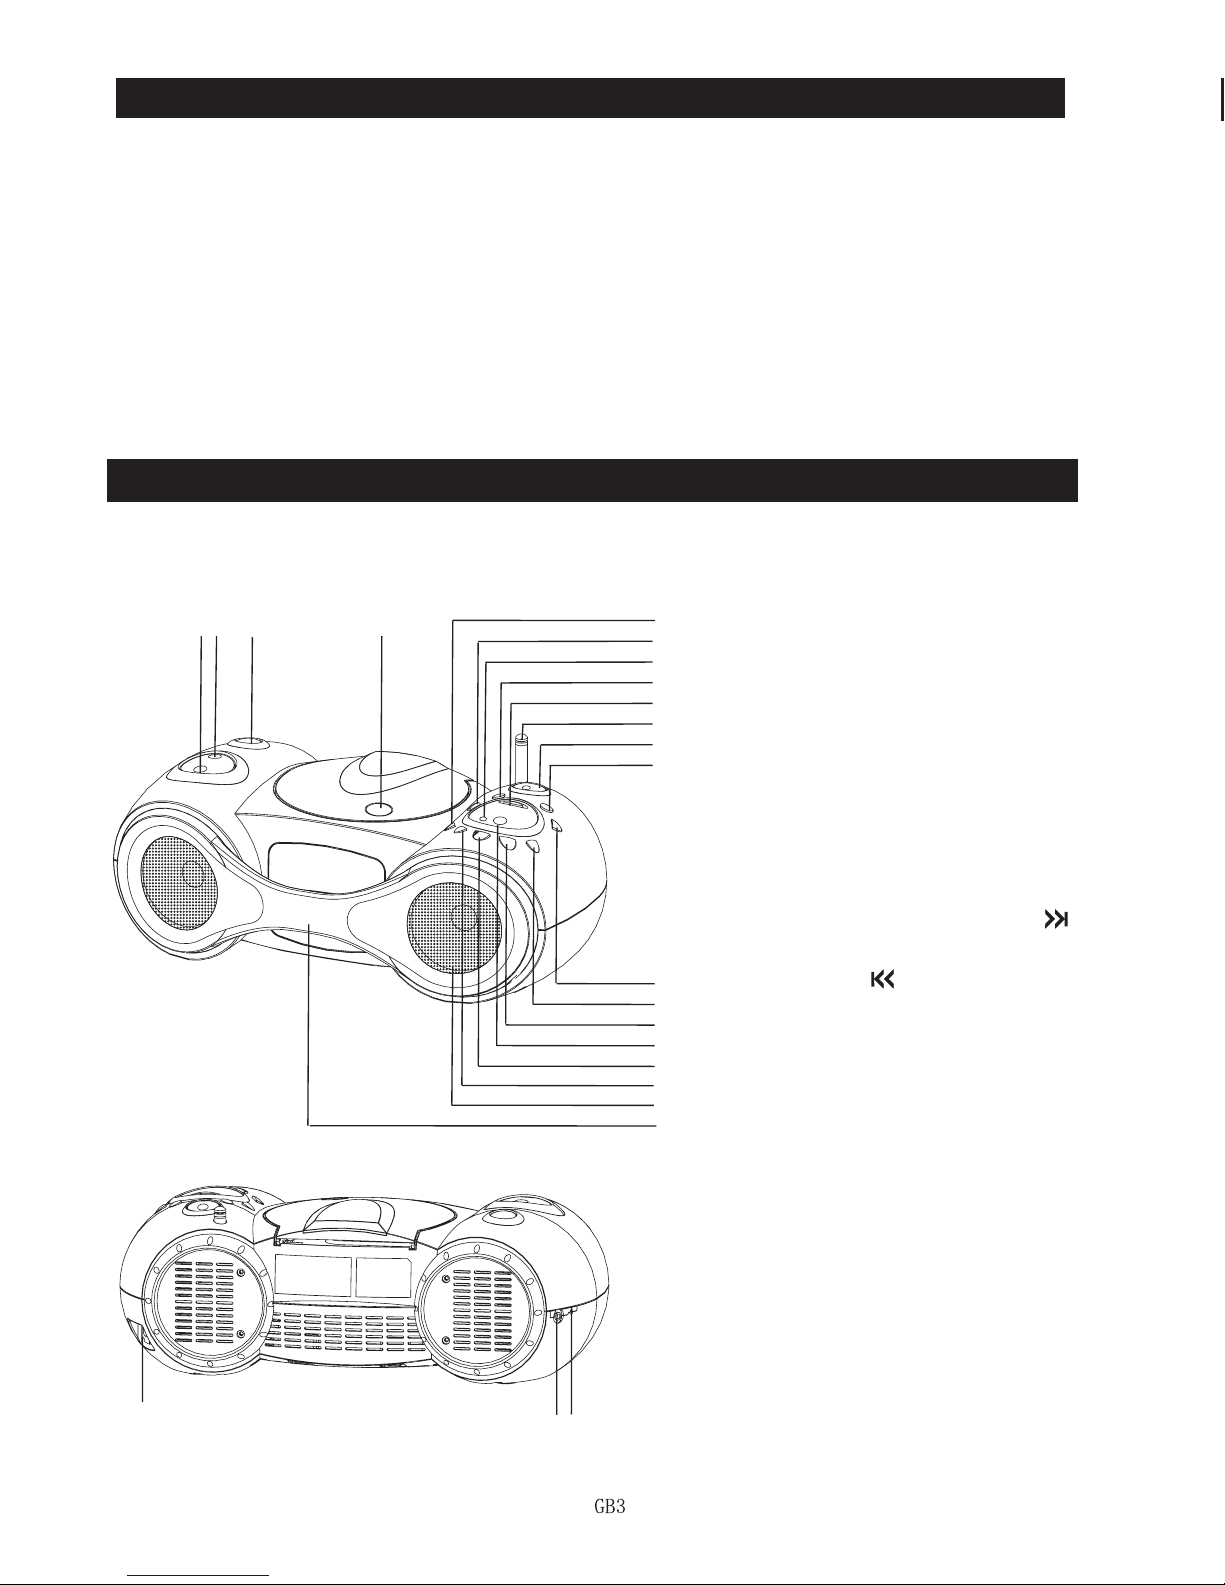
Skip/Search Buttons
In CD or MP3 playing, press the Skip Up/Search Forward button once during
playback to skip to the beginning of the next track. Continue to press this button
to skip forward to higher numbered tracks until you reach the desired track. Press
the Skip Down/Search Backward button once during playback to skip to the beg-
inning of the current track. Press twice to skip back to the beginning of the previous
track. Continue to press this button to skip backward to lower numbered tracks until
you reach the desired track.
In CD playing, hold the Skip Up/Search Forward or the Skip Down/Search Back-
ward buttons during playback to rapidly search forward or backward through
the disc to locate a specific passage within a track that you wish to bypass or to
In MP3 playing, press the PRE-UP or PRE-DN button to change the album NO.
Intro Play
Random Play
EQ Control
In play mode press INTRO button on the remote control to start intro play mode,
then INTRO is displayed. The unit will play each track for 10 seconds. Press INTRO
button twice, then NORMAL play.
Press RANDOM button to start random play. Press RANDOM button twice, then
NORMAL play.
Press GEQ button to select EQ mode in the order:
PASS CLASSIC ROCK POP JAZZ
Programmed Playback
The CD player in this unit has a 64 tracks programmable memory which allows
you to program up to 64 tracks on any disc for playback in any desired order. To
program tracks for playback the player must be in the Stop mode. If the disc is
playing, press the Stop button to stop playback and then proceed as follows:
In CD mode:
1. Press PROGRAM button, shift to PROGRAM MODE.
2. Press Skip Up or Skip Down button to select Track NO.
3. Press PROGRAM button to save the track NO.
4. Repeat step 2 to 3 to program more tracks.
In Mp3 mode:
1. Press PROGRAM button, shift to PROGRAM MODE. The ALBUM NO. is
flashing.
2. Press Skip Up or Skip Down button to select album NO.
3. Press PROGRAM button again, track NO. is flashing.
4. Press Skip Up or Skip Down button to select Track NO.
5. Press PROGRAM button to save the track NO.
6. Repeat step 2 to 5 to program more tracks.
To check the programmed tracks, press the program button.
To cancel this program, press Program button then press Stop button or open the
CD door or power off the unit .
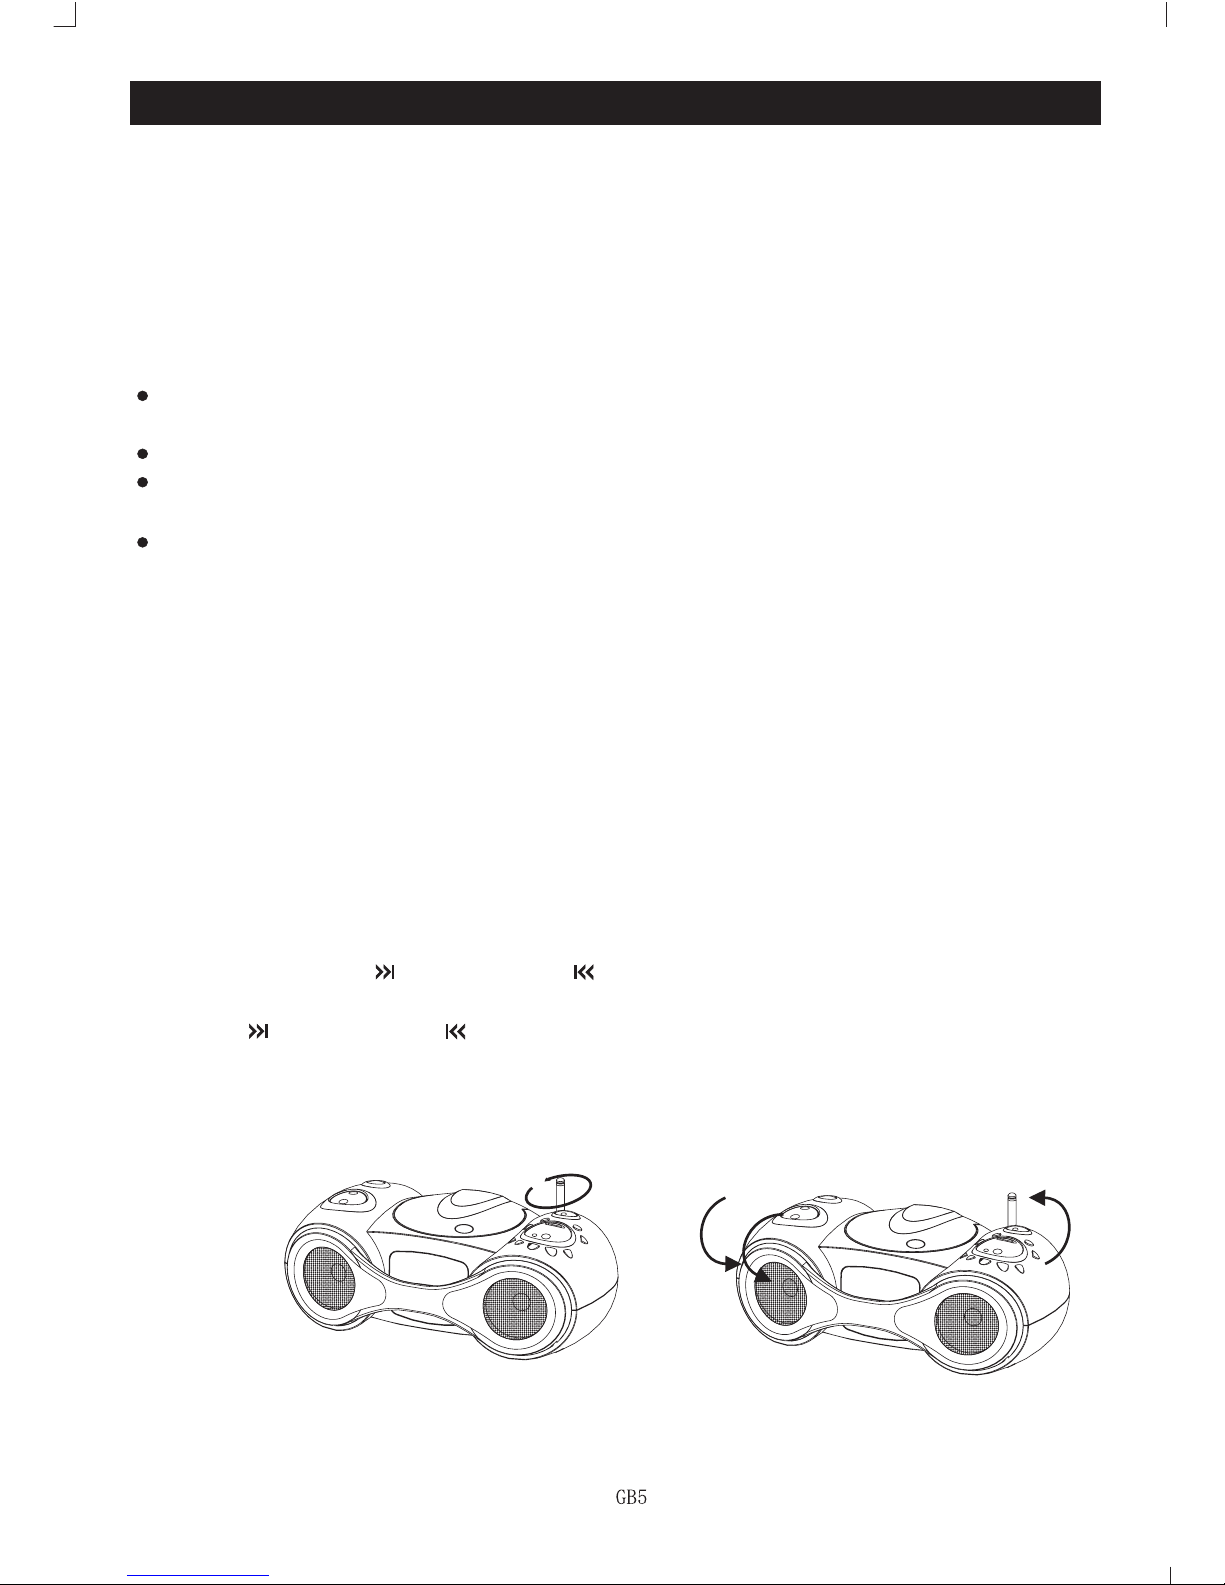
Clock setting
Timer setting
The unit will work or power off automatically at set time. In power off mode press
Timer button 1sec, it enters timer setting mode. Press Skip Down button to
adjust Hour and Skip Up to adjust Minute. Press Timer button to save the time.
Sleep mode
To Turn off the unit automatically after a specified time duration.Press Sleep button,
the time changes as:90,60,45,30,15,OFF
When the unit is at power off mode, press PROGRAM button for one second to
enter clocking setting mode. Press Skip Down button to adjust Hour and Skip
Up to adjust Minute.
Press PROGRAM button to save the time.