Smart Water Valve Z-Wave User Manual July 16, 2019
Building 36 Technologies
Confidential and Proprietary 2
1Z-Wave Add and Remove Process
1.1 Adding the Water Valve to a Z-Wave network
1) Put Z-Wave controller into Add mode. See Z-Wave controller documentation for further information.
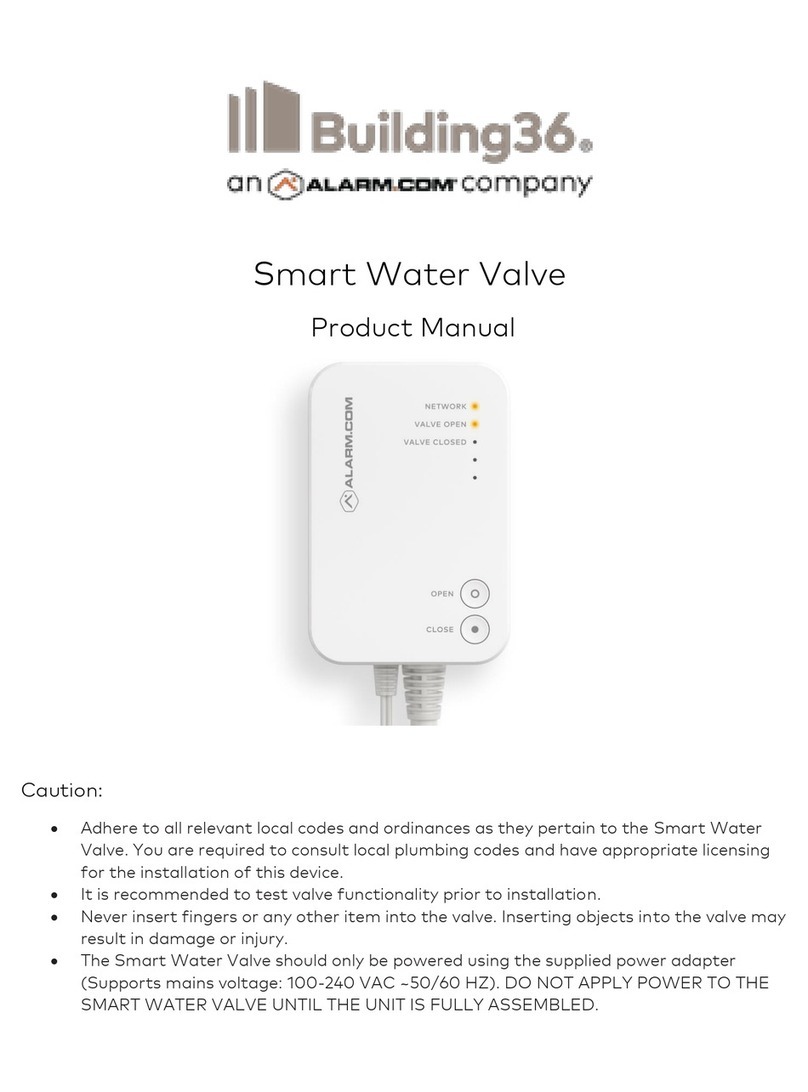
2) Press the NETWORKING button on the side of the control unit. The Z-Wave LED will begin to blink.
3) The valve has been successfully added to the network when the Z-Wave LED becomes solid.
1.2 Removing the Water Valve from a Z-Wave network
1) Put Z-Wave controller into Remove mode. See Z-Wave controller documentation for further
documentation.
2) Press the NETWORKING button on the side of the control unit. The Z-Wave LED will begin to blink.
3) The valve has been successfully removed from the network when the Z-Wave LED is no longer flashing or
illuminated.
Note: At any time during the add or remove process, a single press of the pairing button will cancel the function
being performed
1.3 Reset Water Valve to default state
NOTE: Device reset will reset EEPROM, configuration parameters, Z-Wave chip and forcibly clear the Smart Water
Valve’s Z-Wave Node Identification. Please use this procedure only when the network primary controller is missing
or otherwise inoperable.
1) Press and hold the NETWORKING button on the side of the control unit 5 seconds. The LEDs will blink
rapidly for 5 seconds.
2) If there are nodes in the “Lifeline” association group, the LEDs will blink slower until all nodes are notified
using a Device Reset Locally Report.
3) Once the device has been reset, the LEDs will return to their normal state.
2Compatibility with Other Manufactures’ Z-Wave Devices
This product can be included and operated in any Z-Wave network with other Z-Wave certified devices from other
manufacturers and/or other applications. All non-battery-operated nodes within the network will act as repeaters
regardless of vendor to increase reliability of the network.
3Node Information
The Smart Water Valve supports non-secure, S2 Unauthenticated, and S2 Authenticated enrollment. The Smart
Water Valve learns in as an Always On Slave (AOS).
A Security Enabled Z-Wave controller must be used in order to fully utilize the product.
The Z-Wave DSK code is embedded in the QR code on the back of the Smart Water Valve, to the right of the Z-
Wave Plus logo. The 5-digit DSK pin is located beneath the QR Code. The QR code and entire DSK is printed on the
Smart Water Valve box.

