Alasta P4 Installation and operation manual
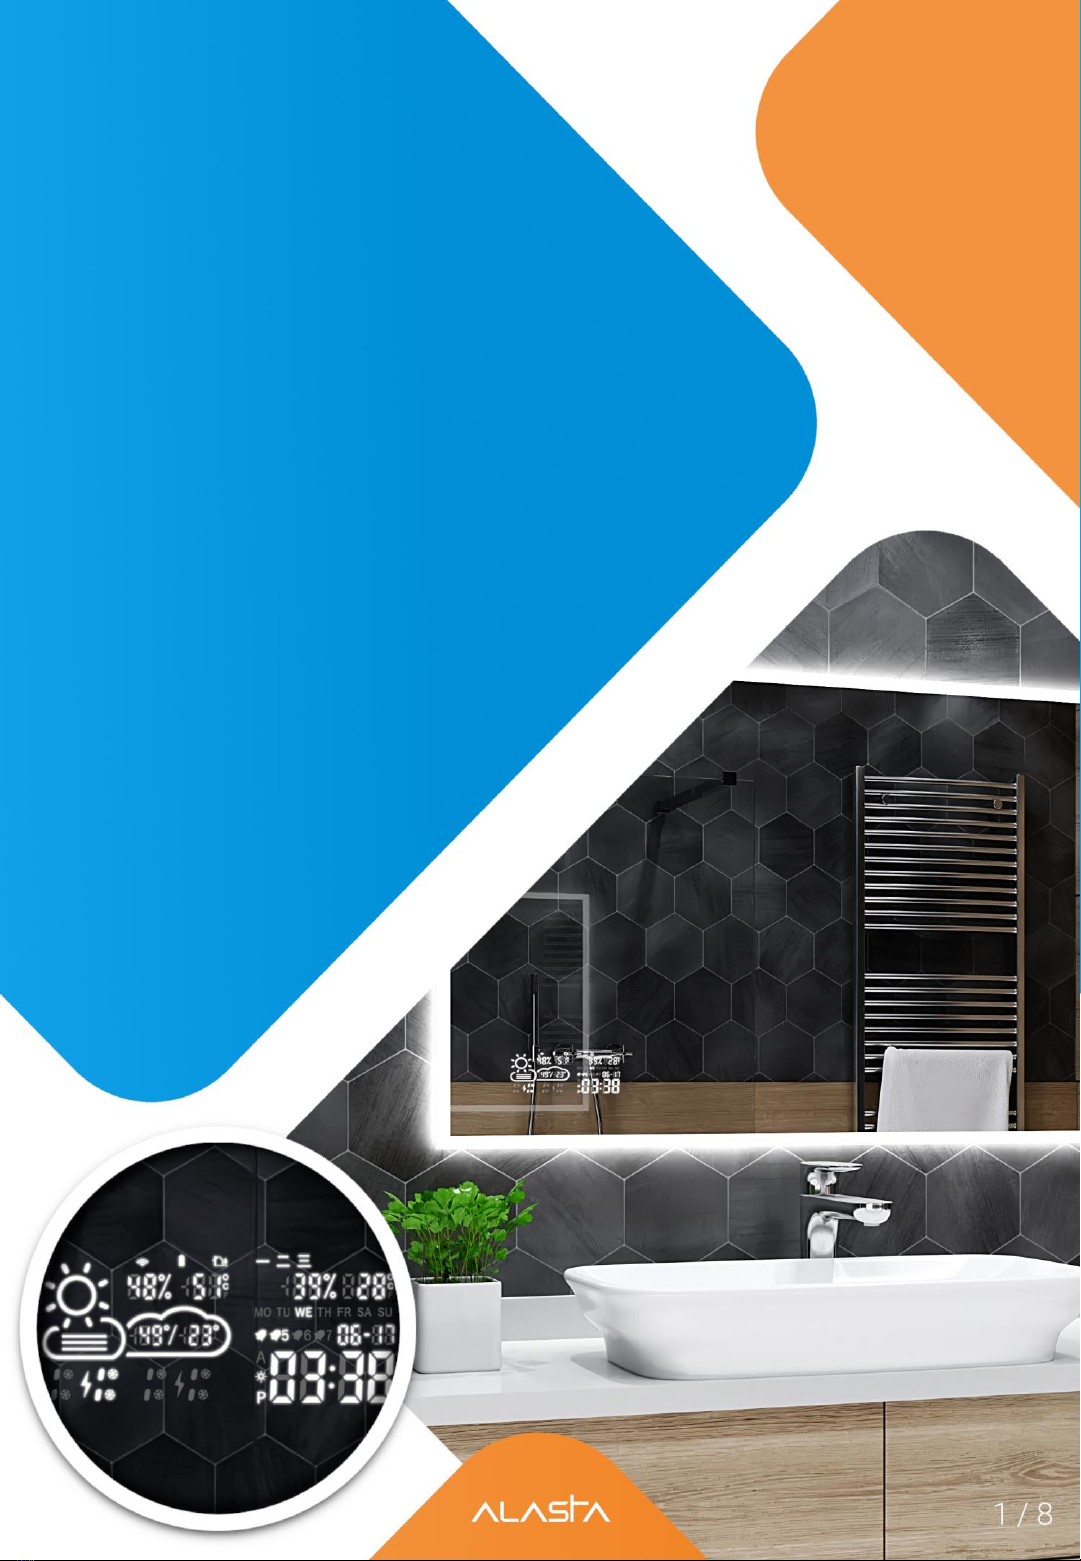
P4 WiFi Weather
Station User’s manuals
Thank you for purchasing our mirror.
We make all our products with the greatest
attention to details. We are one of the leading
brands that produce mirrors in Europe, so
you can be sure you get the highest
quality product. Use your mirror
according to its absolute purpose
by following the descriptions,
conditions and provided
information in this
manual.
Weather Display
Operating Instructions
1. Make sure that your router, phone and the mirror are as close as possible
during the process of WiFi connecting; Make sure that the WiFi signal is
strong after mounting the mirror. Make sure that the smartphone and the
mirror are connected to the 2.4Ghz WiFi network invariably during the
following configuration process. The station does not suport 5Ghz WiFi
network. If you do not know which network do you have, contact your
network provider for help or try this short guide (click me).
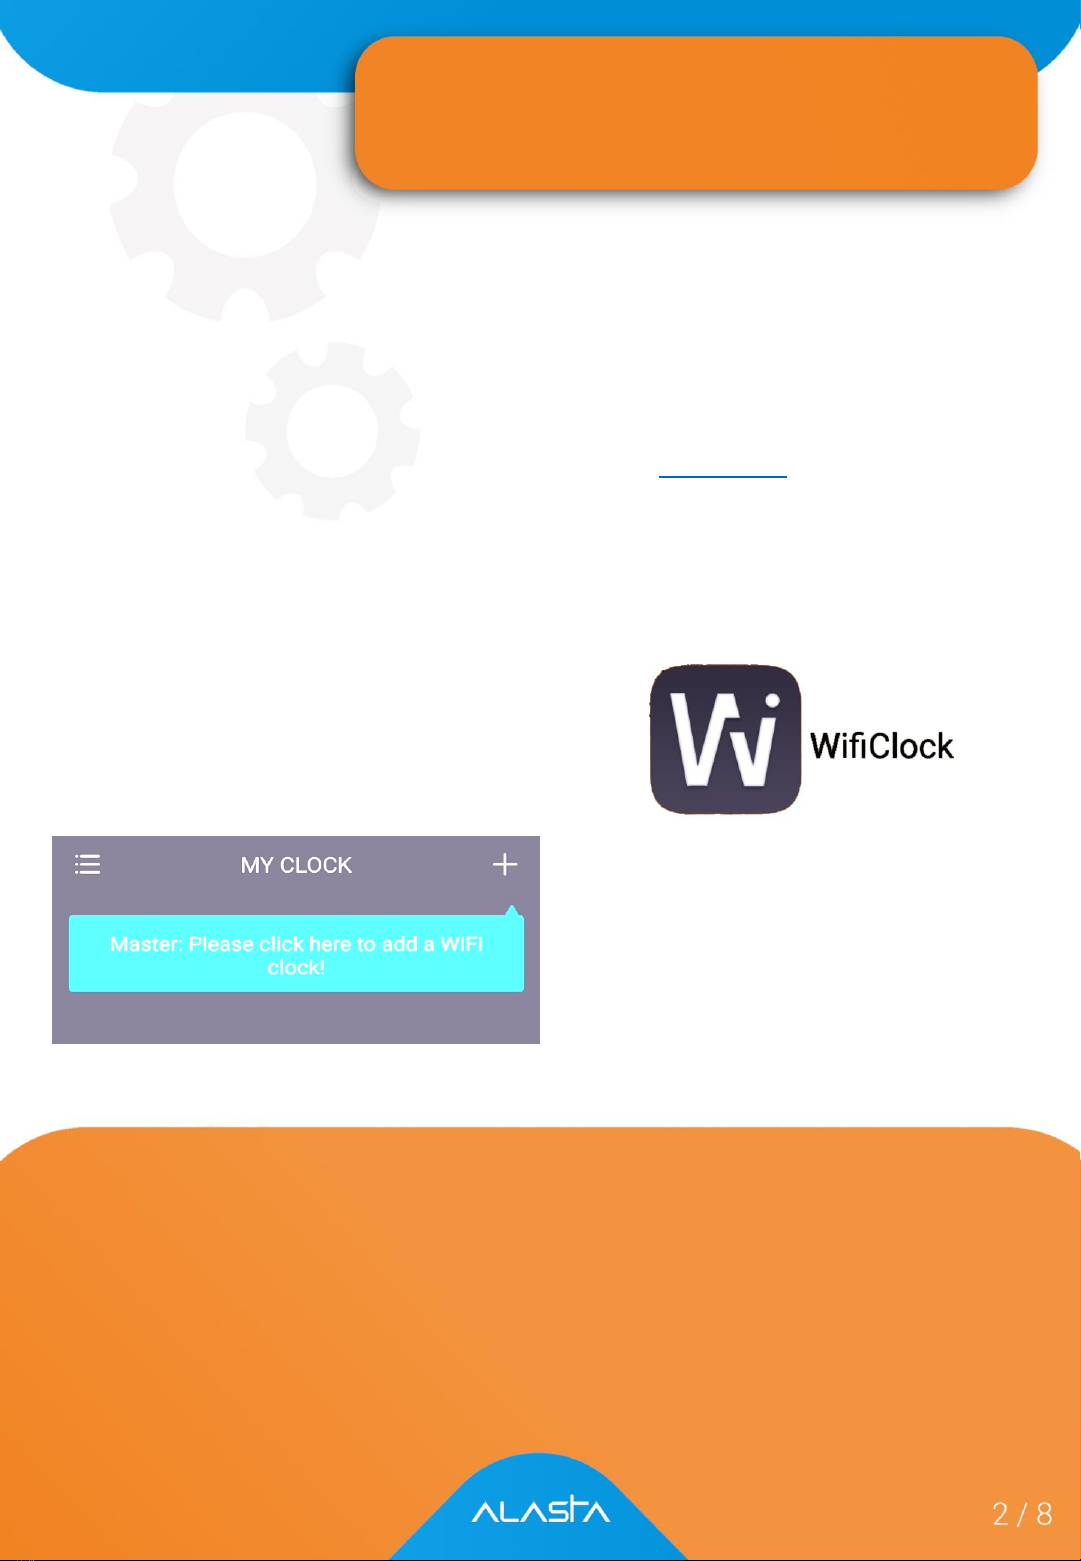
2. In your AppStore (iOS) or GooglePlay (Android) search for the app
„WifiClock”.The app is free. Install it. After the app has been successfully
installed, find the WifiClock App icon on the mobile phone desktop and click
it.
5. a) If the mirror display is showing SCAN, then go into EZ MODE in
Wificlock App, select the WiFi hotspot and enter the wireless password (The
device only supports for 2.4Ghz network), click Next, then Confirm that the
‘SCAN’ and ‘WiFi icon’are flashing. The mirror screen will display SCAN-
JOIN- PAIR in turn during the configuration process, waiting for about 120
seconds to finish.
Note: Plug and unplug the power
supply for six times to switch to
different mode.
a) SCAN
b) SCANAP
3. After opening the app, the
following interface is displayed,
click to add a WIFI clock;

b) If the mirror display is showing SCANAP, then select AP MODE at top right
corner in Wificlock App, select the WIFI hotspot and enter the wireless
password (The device only supports for 2.4Ghz network). Click Next, then
Confirm that the SCAN is flashing and WIFI is displayed. Then Click To
connect to find a hotspot named “WifiClock-xxxx”and enter password
(12345678) to connect. Then click Back to wait for WIFI connecting, waiting
for about 120 seconds to finish. The mirror screen will display SCANAP-
JOINAP- PAIRAP in turn during the configuration process.
Twoja stacja posiada zegar z czasem atomowym uzyskanym
za pomocą technologii bezprzewodowej. Podobnie jak
w przypadku innych urządzeń bezprzewodowych, możliwość
odbioru sygnału może być uwarunkowana poniższymi
okolicznościami:
Settings
Basic settings
You can set the 24 hours/12 hours display mode; day and month
mode (DD/MM or MM/DD); temperature unit °Cor °F; display
brightness adjustment.
Alarm settings
You can set several groups of alarms through the mobile phone. The
buzzer alarm inside the mirror will ring when the timer goes off. You
must use your phone to turn the alarm off.
Weather settings
After the ‚weather scroll screen’option is turned on, the screen will
scroll the weather of the day and tomorrow (d2). The location setting
is used to select the area where the station should measure the
weather. The default is automatically set to the local area where the
network IP belongs. If the automatic positioning is not working, you
need to manually set the area. Server selection means that if you find
that the displayed weather is quite different from the actual weather,
you can switch to another server to get a more accurate weather
display; today's weather selection refers to whether the screen display
is real-time weather or the total forecast of the day.
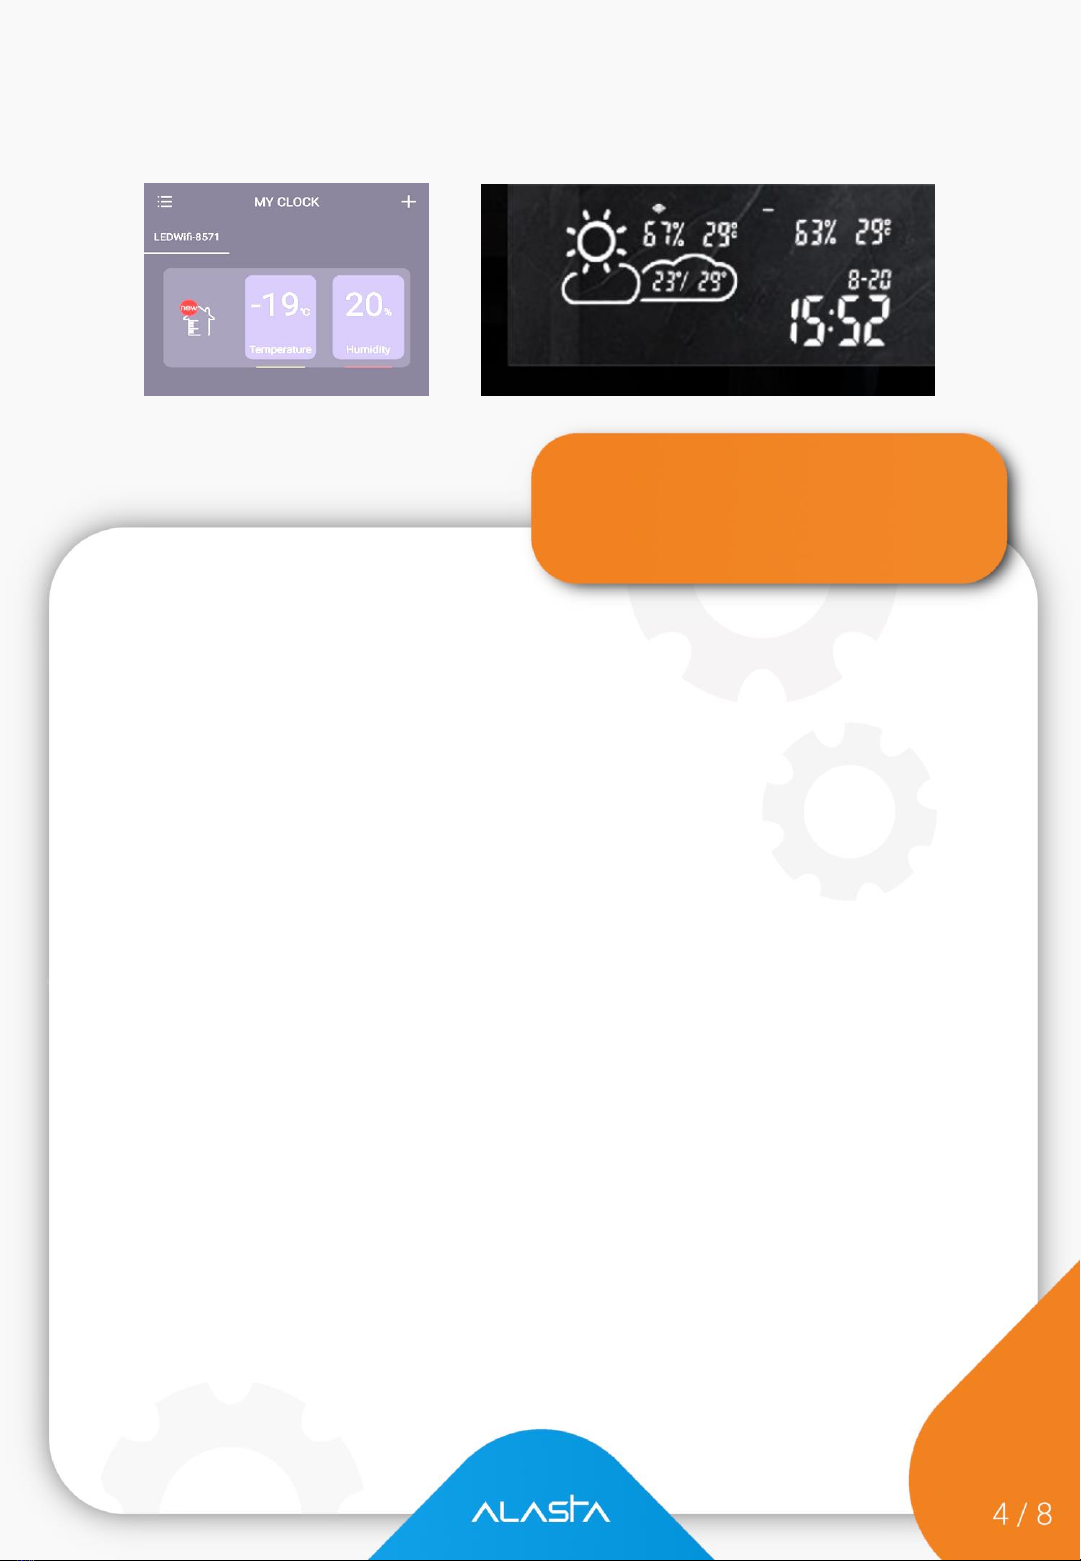
4. After a successful pairing, the following interfaces are displayed in App
and Mirror Display Screen, respectively. (A mobile phone can add several
WiFi clock terminals.)

Note: The weather information source of this
application is from internet, and it may not be updated
in time.
Sleep mode
Refers to setting the digital light screen display timing, the screen system will
automatically reduce the brightness during sleep, to achieve the purpose that
energy saving or not affect your sleep;
Delete device
You can delete the station from your app (for example to set it via another
smartphone). Remember that after you delete it, you must repeat all steps
described since page 2 of this manual.
If WiFi hotspot change or password change, you need to restart the device to
reconnect. The specific operation is to cut off the total power supply four
times. Each power-on needs to hear the “Patter” inside the mirror before the
next power-off. After four power-ons, your station should turn on itself. The
SCAN status is displayed and set up by the mobile phone.
The device displays 11 different icons, including sunny, overcast, cloudy, light
rain, heavy rain, thunderstorm, shower, light snow, heavy snow, sleet and haze
/ fog. The icons is shown in the following table

Sunny Shower Cloudy to clear
Foggy Cloudy Sleet
Light rain Heavy rain Thunderstorm
Light snow Heavy snow

Maintenance &
Troubleshooting
MAINTENANCE
The appliance must be switched off and unplugged before taking
regular cleaning. Otherwise, it may cause electric shock..
The appliance needed only external cleaning and care regularly.
Please use some medicinal alcohol clean the surface with damped soft
cloth. Never clean it under running water. Do not use thinner, toluene,
benzene, acidic/alcoholic cleaning agents, or any chemical clothes on
the appliance.
TROUBLESHOOTING
The device has been checked for proper functioning several times
during production. If malfunction occur nonetheless, check the device
according to the following list.
Problem
Reason
Solution
Indoor
temperaturę /
humidity
are displayed
inaccurately
The sensor
maybe covered
Make sure that the senor is
place dat a right position,
should not be covered or
touched by other materials
The
device is unstable to
connect
WiFi
WiFi
signal is poor or
network
failures
Restart the router and device
The real
-time weather is
displayed
inaccurately
Weather data is not updated
Connect another server in
your App
Displays
code Err
The device failed to connect
to configured network, and
the previous data already
expired
Restart your router, make
sure that the WiFi signal
strength is as good as
enough
Displays
code 05
The configured router is
connected to to omany
devices
Replace another router or
reduce connected devices
Displays
code 201
The configured network is
unreachable or WiFi hotspot
is replaced
Make
sure the device, WiFi
router and the smartphone
are
close to each other

Please follow the steps below to diagnose WiFi connection issues:
1) Fail to add device?
- Reset Smart mirror. Plug and unplug device. Repeat 4 times.
2) Check your router
-The device only supports 2.4Ghz WiFi Network
3) Dual Band Router
- Give the 5Ghz band and 2.4Ghz band a different SSID. Connect your
smartphone to 2.4Ghz network all the time during setting.
4) Fail again?
-Get a second phone that supports establishing your own WiFi
hotspot and allows selection of bands. Turn off your home WiFi,
setup a hotspot with your phone, disable the 5Ghz band (or just
enable the 2.4Ghz band) and give it the same name and password as
your home network. Do your connection, then turn the home WiFi
back on.
Important Notes
A. In the process of connecting, routers, phones and devices should be as
close as possible.
B. The device only supports 2.4Ghz wifi network, your smartphone should
connect to 2.4Ghz network during setting. Sometimes the 5Ghz network
will affect the connection due to frequency interference. So the best way is
to separate the SSID during setting.
Other manuals for P4
1
Table of contents
Other Alasta Weather Station manuals

Popular Weather Station manuals by other brands


Hyundai
Hyundai WSC SENZOR 2032 user manual

La Crosse Technology
La Crosse Technology Wireless Weather Station instruction manual

LEXIBOOK
LEXIBOOK MeteoClock Evolution Compact SM180 instruction manual

Gira
Gira 1010 00 installation instructions

Meteotime
Meteotime WM5300 manual

ADE
ADE WS 1815 operating instructions