manuals.online logo
Brands
  1. Home
  2. •
  3. Brands
  4. •
  5. Alcatel
  6. •
  7. Cell Phone
  8. •
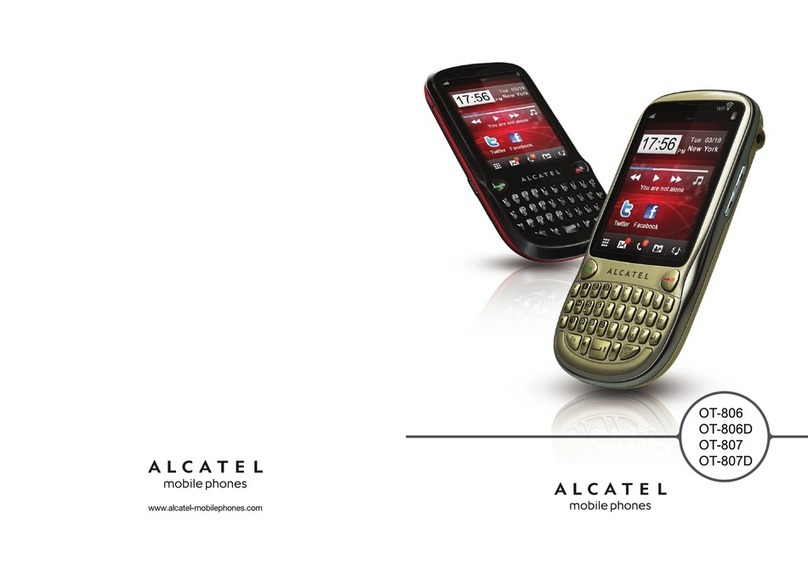
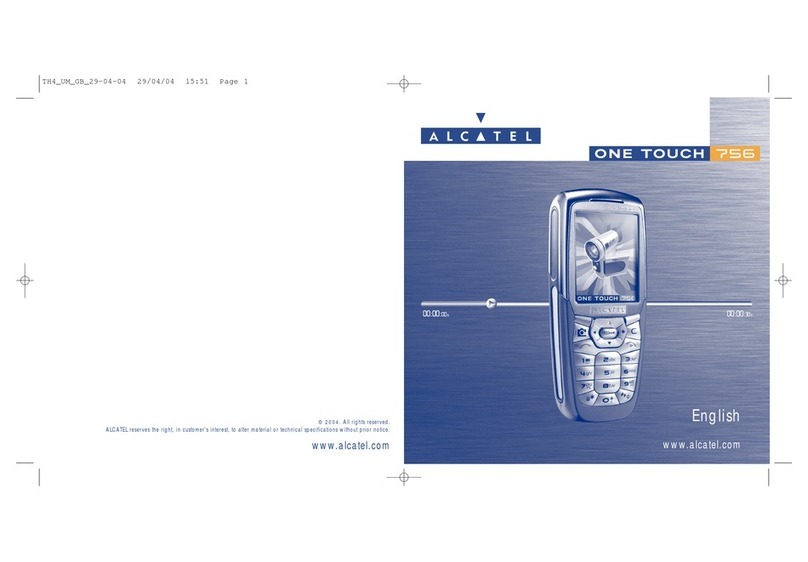
  9. Alcatel One Touch 902 Technical manual

Alcatel One Touch 902 Technical manual

This manual suits for next models

2

Other Alcatel Cell Phone manuals

Alcatel Pixi4 User manual

Alcatel

Alcatel Pixi4 User manual

Alcatel AVALON V User manual

Alcatel

Alcatel AVALON V User manual

Alcatel 5046S User manual

Alcatel

Alcatel 5046S User manual

Alcatel ONE TOUCH COM User manual

Alcatel

Alcatel ONE TOUCH COM User manual

Alcatel MTS Mtalky F100 User manual

Alcatel

Alcatel MTS Mtalky F100 User manual

Alcatel One Touch CHROME User manual

Alcatel

Alcatel One Touch CHROME User manual

Alcatel One Touch 531 User manual

Alcatel

Alcatel One Touch 531 User manual

Alcatel 1060D User manual

Alcatel

Alcatel 1060D User manual

Alcatel ONETOUCH RETRO Specification sheet
Alcatel

Alcatel ONETOUCH RETRO Specification sheet

Alcatel IDOL 4 CRICKET User manual

Alcatel

Alcatel IDOL 4 CRICKET User manual

Alcatel one touch 906Y User manual

Alcatel

Alcatel one touch 906Y User manual

Alcatel 1035X User manual

Alcatel

Alcatel 1035X User manual

Alcatel ONETOUCH POP C5 5037E User manual

Alcatel

Alcatel ONETOUCH POP C5 5037E User manual

Alcatel One Touch 595 Tribe User manual

Alcatel

Alcatel One Touch 595 Tribe User manual

Alcatel Onetouch 5054S User manual

Alcatel

Alcatel Onetouch 5054S User manual

Alcatel One Touch Premiere User manual

Alcatel

Alcatel One Touch Premiere User manual

Alcatel OT-E101 User manual

Alcatel

Alcatel OT-E101 User manual

Alcatel OT-808 User manual

Alcatel

Alcatel OT-808 User manual

Alcatel ONE TOUCH OT-E206C User manual

Alcatel

Alcatel ONE TOUCH OT-E206C User manual

Alcatel A392T User manual

Alcatel

Alcatel A392T User manual

Alcatel onetouch A572BG User manual

Alcatel

Alcatel onetouch A572BG User manual

Alcatel 5017W User manual

Alcatel

Alcatel 5017W User manual

Alcatel GO FLIP User manual

Alcatel

Alcatel GO FLIP User manual

Alcatel dawn User manual

Alcatel

Alcatel dawn User manual

Popular Cell Phone manuals by other brands

Nokia 6700 classic user guide

Nokia

Nokia 6700 classic user guide

LG L34C user guide

LG

LG L34C user guide

Ericsson T60d manual

Ericsson

Ericsson T60d manual

Zte Score M user manual

Zte

Zte Score M user manual

Sony Xperia Z1 Compact Startup guide

Sony

Sony Xperia Z1 Compact Startup guide

AT AT-Q5 user manual

AT

AT AT-Q5 user manual

Vingtor ACM-M-A-V2 Installation/configuration

Vingtor

Vingtor ACM-M-A-V2 Installation/configuration

Olitech EasyFlip 2 Quick setup guide

Olitech

Olitech EasyFlip 2 Quick setup guide

Zte Atrium Z793C user manual

Zte

Zte Atrium Z793C user manual

Zte BLADE A520 quick start guide

Zte

Zte BLADE A520 quick start guide

switel M222 user manual

switel

switel M222 user manual

LG LG-P503 user guide

LG

LG LG-P503 user guide

LG F2410 user guide

LG

LG F2410 user guide

Argom E500 manual

Argom

Argom E500 manual

Hisense U30 user manual

Hisense

Hisense U30 user manual

Argom Tech E401 user manual

Argom Tech

Argom Tech E401 user manual

Nokia 3595 - Cell Phone - GSM Manual Del Usuario

Nokia

Nokia 3595 - Cell Phone - GSM Manual Del Usuario

Nokia iSkoot 6600 user guide

Nokia

Nokia iSkoot 6600 user guide

manuals.online logo
manuals.online logoBrands
  • About & Mission
  • Contact us
  • Privacy Policy
  • Terms and Conditions

Copyright 2025 Manuals.Online. All Rights Reserved.

ByNCKTeam
L2 Repair Document
Rev.
one touch 902 Level 2 Repair Document
Page
1.1
1/28
All rights reserved. Transfer, copy, use and communication of this file is prohibited without authorization.
L2 Repair Document
Almond/one touch 902/902(A/S)
Note: this manual is non-contractual and TCT can modify it without prior notice on the
characteristics of described equipments.
ByNCKTeam
L2 Repair Document
Rev.
one touch 902 Level 2 Repair Document
Page
1.1
2/28
All rights reserved. Transfer, copy, use and communication of this file is prohibited without authorization.
1.1
2012-4-27
Upgrade the software download
Tingting He
1.0
2012-2-21
Draft creation
Ting ting He
Rev.
Date
Modification description
Prepared By
Checked By
Approved By
ByNCKTeam
L2 Repair Document
Rev.
one touch 902 Level 2 Repair Document
Page
1.1
4/28
All rights reserved. Transfer, copy, use and communication of this file is prohibited without authorization.
1 Level2 repair process
Reassembly
Record in BIG
End
OK
Retest
OK
OK
Start
Visual Inspection
Warranty Check
Pretest & Failure confirm
SW Upgrade
Disassembly
L2 Repair
Retest
Function test
PCBA Replace
NG
NG
NG
Restore User Information
Back up user data
ByNCKTeam
L2 Repair Document
Rev.
one touch 902 Level 2 Repair Document
Page
1.1
5/28
All rights reserved. Transfer, copy, use and communication of this file is prohibited without authorization.
2 Warranty Check and Visual Inspection
2.1 Warranty confirmation of L1
1) IMEI sticker check:
a) The IMEI number MUST be the same with the one on the IMEI sticker. If not, it‟s out of warranty
policy
b) IMEI label should not be
Removed
Scratched
Unreadable
Un-approved or un-provided by Alcatel.
2) Humidity sticker: Liquid detection on humidity sticker.
2.2 Visual mechanical check
1) Corrosion
Corrosion on the USB connector, SIM connector, and other metal surfaces。
2) Hole (diameter > 1mm)
ByNCKTeam
L2 Repair Document
Rev.
one touch 902 Level 2 Repair Document
Page
1.1
6/28
All rights reserved. Transfer, copy, use and communication of this file is prohibited without authorization.
Holes on any surface, including the front casing, furnished frame, battery cover, touch Lens,
keypad…
3) Bump
Bumps (diameter > 1mm) on any surface, including front casing, decorate frame, battery
cover, touch Lens, keypad, etc.
4) Scratch
Scratches (length > 3mm) on any surface, including the front casing, decorate frame, battery
cover, touch Lens, keypad, etc.
5) Distortion
Bend, twisted or crushed on the h/s, cover/casing or connectors, etc.
6) Broken
Touch broken, casing/cover broken, etc.
7) Dropped
Keypad tear off, touch lens, connectors dropped, etc.
8) Gap
External physical damage relating to abnormal use, like front case and frame opened
9) Others
Damage caused by disassembly ,wrong part assembly, loss of components
Use in abnormal environment like high temperature causing plastic melts
2.3 Pretest
1) Check that the SIM card is set correctly.
2) Insert the battery.
3) Power on the cell phone.
4) If the cell phone can not power on, visually check the condition of the battery connector.
Replace it if necessary.
5) If the cell phone asks to input NCK code, this means it is SIM locked and can only be worked
with dedicated SIM card. Use the correct SIM card.
6) Enter the phone code if necessary.
7) After the phone power on, test step by step with the auto test code:
ByNCKTeam
L2 Repair Document
Rev.
one touch 902 Level 2 Repair Document
Page
1.1
7/28
All rights reserved. Transfer, copy, use and communication of this file is prohibited without authorization.
Press *#2886# in dial screen and select “Start” to begin the testing. Then you will see the
interface displaying the version. Press pass to continue
If one of the testing failed, it will retest from the first one.
TRACABILITY Test
Ⅰ. PT1&PT2&BT&MMI&FT are "1"
Ⅱ. Press “Pass” to continue.
LCD MIRE/BLACK/GREYCHART/WHITE Test
Ⅰ. You will see the LCD color changes if it functions well
Ⅱ. Press “Pass” to continue.
Battery temp Test
Ⅰ. Battery temperature will be displayed on the screen
Ⅱ. Press “Pass” to continue
KEYPAD Test.
Ⅰ. Press the key displayed on the screen. The key on the screen will disappear when you
press it if it functions well
Ⅱ. Press “Pass” to continue.
LCD BackLight Test.
Ⅰ. the screen backlight will flashing.
Ⅱ. Press “Pass” to continue.
Keypad BackLight Test.
Ⅰ. the keypad backlight will flashing.
Ⅱ. Press “Pass” to continue.
Flash LED Light Test.
Ⅰ. the light near the camera will flashing.
Ⅱ. Press “Pass” to continue.
VIBRATOR Test
Ⅰ. You can feel the phone‟s vibrating if it functions well.
Ⅱ. Press “Pass” to continue.
CAMERA Test
Ⅰ. Scene will be shown on the screen.
ByNCKTeam
L2 Repair Document
Rev.
one touch 902 Level 2 Repair Document
Page
1.1
8/28
All rights reserved. Transfer, copy, use and communication of this file is prohibited without authorization.
Ⅱ. Press “Pass” to continue.
Mic & Receiver Test.
Ⅰ. You will hear the sound from the receiver.
Ⅱ. Press “Pass” to continue.
Audio Test.
Ⅰ. You will hear the melody if it functions well.
Ⅱ. Press “Pass” to continue.
SIM Test
Ⅰ. Insert the SIM card and the phone will detect it if it functions well
Ⅱ. Press “Pass” to continue
MMC/SD card Test
Ⅰ. Insert the Memory card and the phone will detect it if it functions well
Ⅱ. Press “Pass” to continue
Charge Test
Ⅰ. Insert the charge and the phone will detect it if it functions well
Ⅱ. Press “Pass” to continue
USB Test
Ⅰ. Insert the charge and the phone will detect it if it functions well
Ⅱ. Press "Pass" to continue
Headset Test
Ⅰ. Insert the headset and make the voice, you will hear the sound from the headset
Ⅱ. Press "Pass" to continue
FM Test
Ⅰ. FM will auto search a Freq
Ⅱ. Press "Pass" to continue
BT Test
Ⅰ. The phone will running the BT and show the BT address on screen
Ⅱ. Press "Pass" to continue
ByNCKTeam
L2 Repair Document
Rev.
one touch 902 Level 2 Repair Document
Page
1.1
12/28
All rights reserved. Transfer, copy, use and communication of this file is prohibited without authorization.
4.3 Disassembly process
The steps of disassembly one touch 902 are as below.
This module should only be disassembled from bottom to top.
Step 1: Remove the battery cover and battery.
Step2: Take off the 7 screws from the furnished frame by screw driver.
Step 3: Separate the furnished frame from furnished front casing.
Screwdriver
(TORX6)
Soldering iron
Camera Jig
ByNCKTeam
L2 Repair Document
Rev.
one touch 902 Level 2 Repair Document
Page
1.1
13/28
All rights reserved. Transfer, copy, use and communication of this file is prohibited without authorization.
Step 4:Remove main antenna、speaker、T --card gate and side keys from furnished frame.
Step 5:Remove furnished keypad FPC & LCD Module FPC connector, and extract the camera by camera jig.
ByNCKTeam