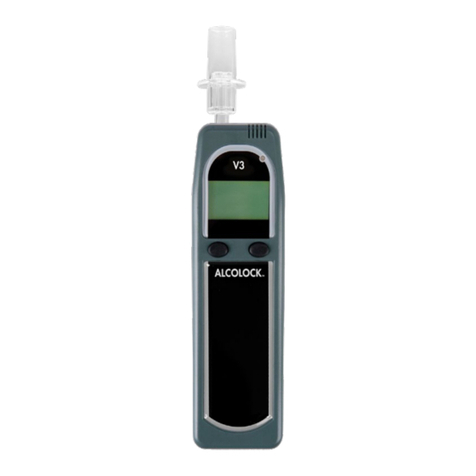
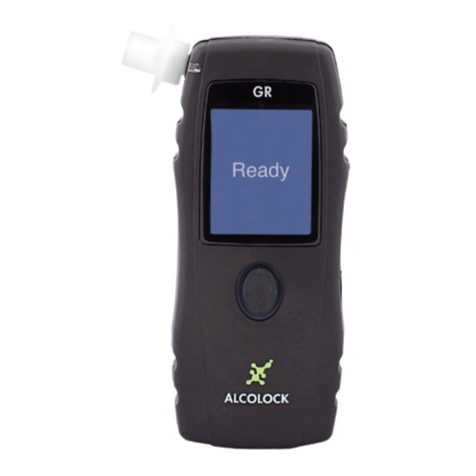
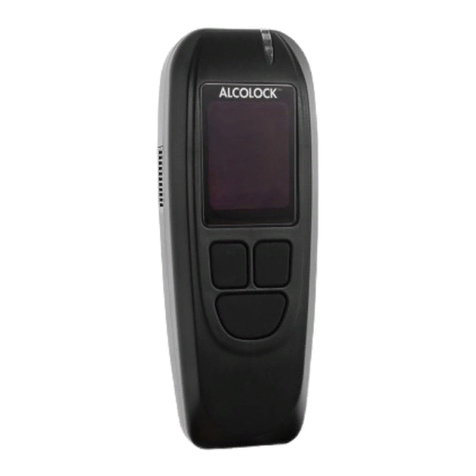
Alcolock IGNITION INTERLOCK WR3 User manual

Instruction manual
ALCOLOCK WR3
IGNITION INTERLOCK
TM

Alcohol Countermeasure Systems Corp
60 International Boulevard
Toronto, Ontario M9W 6J2 CANADA
T +1 416 619 3500
F +1 416 619 3501
acs-corp.com
Guardian Interlock
140 Rue Daoust - Local 101
St Eustache, Québec J7R 6S6 CANADA
T +1 888 252 6638
F +1 450-491 7703
ACS, ALCOHOL COUNTERMEASURE SYSTEMS, ALCOLOCK and the “Molly” are trademarks of Alcohol
Countermeasure Systems (International) Inc. and are used under license. Alcohol Countermeasure Systems is
the trading style of Alcohol Countermeasure Systems (International) Inc.
© 2014 Alcohol Countermeasure Systems Corp.
The information disclosed in this document is the valuable property of Alcohol Countermeasure Systems and
all copyright and other proprietary rights to this document are reserved. No reproduction of this document is
permitted without the prior written consent of Alcohol Countermeasure Systems.

TABLE OF CONTENTS
Basic operations............................................................................................................1
Starting.....................................................................................................................1
Retesting ..................................................................................................................2
Restarting the vehicle...............................................................................................3
Disconnecting the handset.......................................................................................4
Advanced operations....................................................................................................5
Sleep ........................................................................................................................5
Automatic wake-up...................................................................................................6
Additional features........................................................................................................7
Clock adjustment......................................................................................................7
Volume control..........................................................................................................7
Language selection ..................................................................................................8
Maintenance...................................................................................................................9
Service date .............................................................................................................9
Emergency override .................................................................................................9
Servicing your vehicle (TPM) .................................................................................11
Reset code .............................................................................................................12
NOTE: Before reading this manual, the user should be aware of the difference between
the Press command and the Press and Hold command. The Press command is a press and
release of the button, whereas the Press and Hold command, is a prolonged pressing of the
button.

ALCOLOCK WR31
BASIC OPERATIONS
STARTING
1. If the display screen is blank, press the right button to wake up
the unit.
NOTE: The ignition key must be in the OFF position before
proceeding further.
The screen will display Wait and the status light will be ashing
amber.
2. Wait for the Handset to display Ready for test and the status
light to change to ashing green. The wait time will vary with
the ambient temperature.
3. Insert a mouthpiece into the Handset.
NOTE: You should not eat or drink anything for at least 10-15
minutes before taking a test.
4. Blow into the mouthpiece with moderate force for 3 seconds,
then make a “Hum” sound while continuing to blow for the
remainder of the test. The WR3 will generate a continuous
tone to indicate adequate air ow. Do not stop blowing until you
hear a beep from the Handset. The Handset will display Wait,
followed by the test result.
If you blew incorrectly, the test will be aborted and the Handset
will display Hum louder, Blow softer Blow longer, Blow
longer and harder or Blow then hum. Wait for the Handset to
display Ready for test before trying again.
Wait...
Ready for test

INSTRUCTION MANUAL 2
5. If Start Motor is displayed and the status light is solid green,
you passed the breath test.
You may now start the vehicle.
6. Once the WR3 detects the motor running, a Drive Safely
message will be displayed. The vehicle may be driven as
normal.
RETESTING
1. Wait for the Handset to display RETEST. The status light will
be ashing green.
Retests will be required at random times whenever the motor is
running.
2. WARNING! Never take a retest while driving. Always bring
the vehicle to a safe stop off the roadway before attempting a
retest. You will have up to six (6) minutes to do this.
3. Blow into the mouthpiece with moderate force for 3 seconds,
then make a “Hum” sound while continuing to blow for the
remainder of the test. Do not stop blowing until you hear a beep
from the Handset. The Handset will display Wait… followed by
the test result. If you blew incorrectly, the test will be aborted
and the Handset will display Hum louder, Blow softer, Blow
longer, Blow longer and harder, or Blow then hum. Wait for
the Handset to display RETEST before trying again.
Start motor
Drive Safely
RETEST

ALCOLOCK WR33
4. Observe the message displayed on the Handset.
4A. If Drive Safely is displayed and the status light is solid
green, you passed the breath test.
You may continue to drive the vehicle.
4B. If Pullover, Turn Off motor is displayed and the status
light is ashing red, the IGNITION INTERLOCK WR3 has
detected alcohol.
You must safely park the vehicle and turn OFF the motor,
then press and hold the right button. The IGNITION
INTERLOCK WR3 will then enter a lockout state for ve
(5) minutes.
Lockout XXmin will be displayed on the Handset, and
the status light will be solid red. You cannot restart the
vehicle, and must wait until the lockout period expires
before attempting another test. A countdown timer shows
the lockout time remaining.
NOTE: Do not attempt another breath test until you are
sure your alcohol level is below the fail limit. A second or
subsequent failed test will result in a 15 minute lockout
period.
RESTARTING THE VEHICLE
If the motor is turned OFF for a short time (up to three (3) minutes), you can restart it
without taking another breath test. This is a safety feature which allows you to quickly
restart the motor if it stalls.
1. Observe the message displayed on the Handset.
1A. If Restart available is displayed, you can start the vehicle
without a breath test.
To cancel the Restart feature, press and hold the right
button.
1B. If Ready for Test is displayed, you need to pass a breath
test to start the vehicle.
Restart
Available
Ready
for Test

INSTRUCTION MANUAL 4
DISCONNECTING THE HANDSET
If you wish to disconnect the Handset for any reason, follow these instructions.
1. To disconnect the Handset pull the sleeve - without turning.
WARNING! Do not pull on the Handset cord.
The connectors can only be disengaged by
pulling on the sleeve.
WARNING! The Handset should never be removed while the motor is running. The
following steps must be taken if the Handset is removed while the motor is running.
1. The Interface Module will beep twice every 15 seconds to
remind the driver that the Handset is disconnected while the
motor is running.
The main cable will also ash green.
2. To connect the Handset, line up the green arrow of the sleeve
to the main cable green line. You should hear a click!
Once the Handset has been reconnected, it
will display Wait…, followed by the appropriate
message based on the current vehicle state. The
message could read Drive Safely or RETEST.

ALCOLOCK WR35
ADVANCED OPERATIONS
SLEEP
The IGNITION INTERLOCK WR3 can be placed into sleep mode after the motor has
been turned OFF. In sleep mode, the WR3 will operate at minimum power to conserve
energy in your vehicle battery.
The WR3 will automatically go into sleep mode when the sleep timer expires. You can
chose from 4 sleep times as described below.
The WR3 can also be put into sleep mode manually by pressing and holding the left
and right buttons at the same time.
1. Press and hold the left button to access the user menu.
Use the left button to scroll to Sleep.
Press the right button to select this option.
2. The Sleep submenu contains 4 pre-programmed sleep times:
30, 60, 90 and 120 minutes.
Use the right button to browse through them.
3. Press and hold the right button to exit the Sleep submenu.
Select Exit to exit the user menu.
Sleep
➙
Sleep
30 min
➙
Exit

INSTRUCTION MANUAL 6
AUTOMATIC WAKE-UP
The IGNITION INTERLOCK WR3 can be programmed to wake-up 3 times a day. This
feature ensures that the Handset is warmed to operating temperature before you enter
the vehicle. Programming instructions are provided below.
NOTE: The wake-up feature will be temporarily disabled if the WR3 is not used for 3
consecutive days.
1. Press and hold the left button to access the user menu.
Use the left button to scroll to Wake-Up.
Press the right button to select this option.
2. Select a time slot by placing the cursor underneath an on/off
setting. If necessary, change the setting to on.
Set the wake-up time for that time slot.
NOTE: The left button moves the cursor, the right button changes
the value.
3. Press and hold the right button to exit the Wake-Up submenu.
Select Exit to exit the user menu.
Wake-up
1. on 07:00
2. off --:--
3. on 16:00
Wake-up
➙
Exit

ALCOLOCK WR37
ADDITIONAL FEATURES
CLOCK ADJUSTMENT
The clock of the IGNITION INTERLOCK WR3 can be changed by the user in half hour
increments. This allows for time changes to/from Daylight Saving Time. It also allows
the Handset clock to be set to the local time, when traveling through different time
zones. Adjusting to the correct local time will ensure that the WR3 wakes up at the
correct selected times.
1. Press and hold the left button to access the user menu.
Use the left button to scroll to Time.
Press the right button to select this option.
2. Use the buttons to adjust the clock.
New clock adjustments will affect the programmed wake-up
times.
NOTE: You can only adjust the clock in 0.5 hour increments; up to
a maximum ± 3 hours.
3. Press and hold the right button to exit the Time submenu.
Select Exit to return to exit the user menu.
VOLUME CONTROL
The IGNITION INTERLOCK WR3 has a volume control feature which can be set by the
user.
NOTE: Volume settings apply to the Handset only. These settings do not apply to the
Interface Module.
1. Press and hold the left button to access the user menu.
Use the left button to scroll to Volume.
Press the right button to select this option.
Time
12:30 +0.5
Time
➙
Exit
Volume

INSTRUCTION MANUAL 8
2. Use the buttons to adjust the volume of the Handset.
NOTE: Left button decreases the volume. Right button increases
the volume.
3. Press and hold the right button to exit the Volume submenu.
Select Exit to return to exit the user menu.
LANGUAGE SELECTION
The IGNITION INTERLOCK WR3 can display messages in French or English. Access
the user menu to change the display language.
1. Press and hold the left button to access the user menu.
Use the left button to scroll to Language.
Press the right button to select this option.
2. Use the right button to select or change desired language.
3. Press and hold the right button to exit the Language submenu.
Select Exit to exit user menu.
15
Volume
➙
Exit
Language
➙
English
➙
Exit

ALCOLOCK WR39
MAINTENANCE
SERVICE DATE
As with other breath alcohol testers, the IGNITION INTERLOCK WR3 Handset must be
serviced at regular intervals.
A service reminder will be displayed on the Handset starting 7 days before the Service
date. The next Service date, as well as the time of your service appointment, can be
viewed in the user menu as follows:
1. Press and hold the left button to access the user menu.
Use the left button to scroll to Service Date.
Press the right button to select this option.
2. Press the left button until the Service Date is displayed.
3. After you are nished reviewing the date, press and hold the
right button to exit the Service Date submenu.
Select Exit to exit user menu.
EMERGENCY OVERRIDE
In situations where the vehicle needs to be started in an emergency, the emergency
override function allows the user to start the vehicle without a breath test. If the vehicle
is shut off in the emergency override mode, the vehicle may be restarted for up to 60
minutes without a test.
1. Press and hold the left button to access the user menu.
Use the left button to scroll to Override.
Press the right button to select this option.
Service Date
➙
2014.12.31
22.00.30
Service Date
➙
Exit
Override

INSTRUCTION MANUAL 10
2. Wait… will be displayed and a timer will start a 20 second
countdown. During the countdown you may exit Override
and return to the user menu by pressing and holding the right
button.
To continue with Override wait until the countdown is over.
NOTE: Selecting Override will trigger an audible and visual alarm.
The alarm will remain active unless the user exits Override or turns
off the motor.
3. Once the initial countdown is over, Enter Override? will be
displayed and you will then have an additional 20 seconds to
conrm your intention to activate Override.
Press and hold the left button to activate Override. Press and
hold the right button to exit Override and return to the user
menu.
NOTE: If the user does not press either the left or right button
before the additional 20 second period expires, the WR3 will
automatically exit Override and return to the user menu.
4. Once Override is activated, the motor may be started without a
breath test. Start Motor is displayed on the screen. An audible
and visual alarm will be active whenever the motor is running.
5. While in Override, the vehicle may be driven without a breath
test. Once the motor is turned off, the vehicle may be restarted
for up to 60 minutes without a breath test. After that, the
WR3 will automatically exit Override and a breath test will be
required to start the vehicle.
6. Once the motor has been started following activation of
Override, the WR3 will display Hold Right Button to Cancel
Restart whenever the motor is shut off. This message will
be displayed for up to 60 minutes, during which time you can
restart the vehicle without a breath test or press the right button
to exit Override. After 60 minutes, the WR3 will automatically
exit Override. A breath test will then be required to restart the
vehicle.
NOTE: After exiting Override, this feature cannot be activated
again until the WR3 has been reset by the interlock service
provider.
Wait...
20 seconds
20 seconds
Enter Override?
Yes No
Start motor
Override
➙
Hold Right
Button to
Cancel Restart

ALCOLOCK WR311
SERVICING YOUR VEHICLE (TPM)
If you need to have repair or maintenance work done on your vehicle, a mechanic
may be able, subject to authorization, to obtain a TPM (Third Party Maintenance) code
from the interlock service provider. This code changes daily. Entering the TPM code
will allow the vehicle to be started without a breath test. Use of TPM code will trigger
an Immediate Recall and applicable fees. For more details, please call your interlock
service provider.
1. Press and hold the left button to access the user menu.
Use the left button to scroll to TPM Code.
Press the right button to select this option.
2. Using the right button to select the number and the left button
to move the cursor, input the TPM code and select OK?.
3. After entering the TPM code, the vehicle may be started
without a breath test.
TPM Code
_ _ _ _ OK?
Start Motor

INSTRUCTION MANUAL 12
RESET CODE
In the instance where the vehicle is in a Permanent Lockout condition because the
Lockout Date has passed, a Reset Code may be entered. This code changes daily. The
Reset Code will set back the lockout date and return your vehicle to normal operation.
NOTE: Special authorization must be obtained to use this code. Consult your WR3
compliance manual to learn more about the settings of the Reset function.
1. Press and hold the left button to access the user menu.
Use the left button to scroll to Reset Code.
Press the right button to select this option.
2. Using the right button to select the number and the left button
to move the cursor, input the primary Reset Code and select
OK?
3. After you have entered the Reset Code, enter the 4-digit Sub
Code and select OK?
The Lockout Date has now been reset.
Reset Code
_ _ _ _ OK?
_ _ _ _ OK?

IRM-ENG-60-000113-C
© 2014
Table of contents
Other Alcolock Test Equipment manuals