Alesis DM Pro Kit Operating and maintenance manual
Other Alesis Drum manuals

Alesis
Alesis DM10 MKII Pro Technical manual

Alesis
Alesis DM5 Technical document

Alesis
Alesis Performance Pad Pro User manual

Alesis
Alesis Trigger iO User guide

Alesis
Alesis DM7X User manual

Alesis
Alesis DM6 SESSION KIT User manual

Alesis
Alesis COMPACTKIT 7 User manual

Alesis
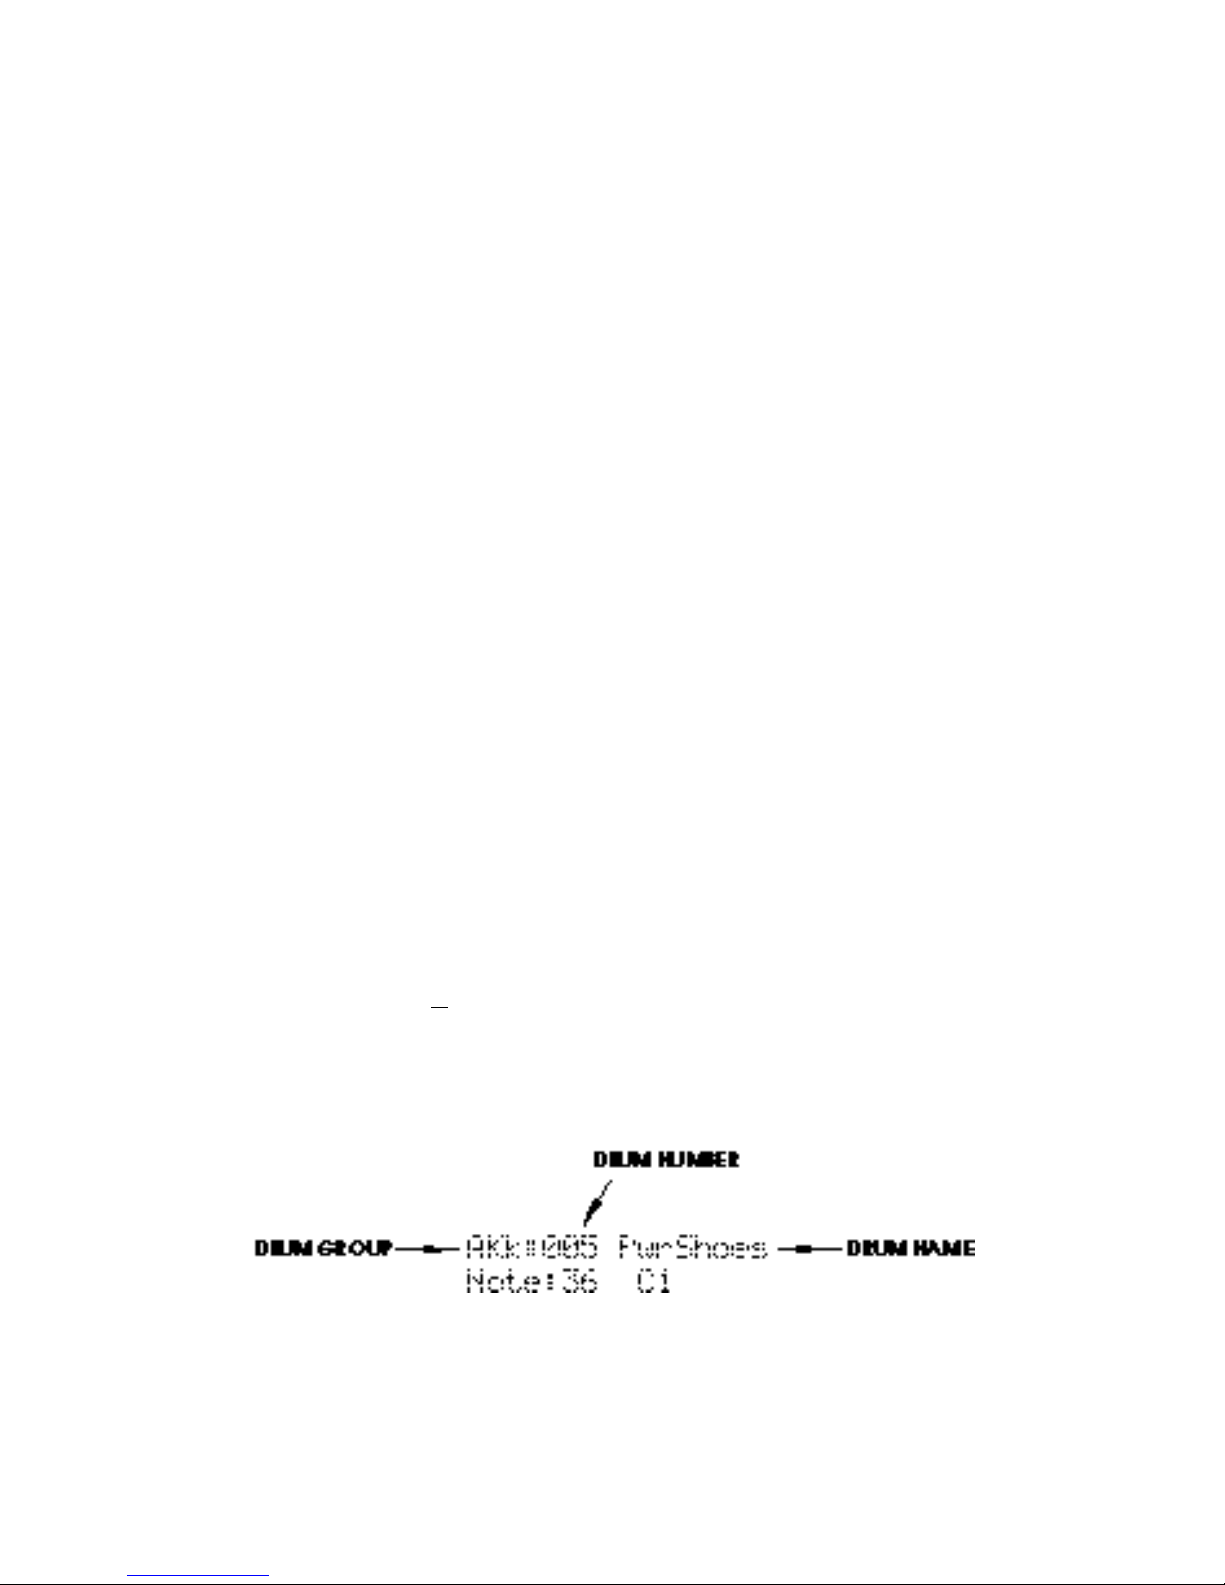
Alesis DM Pro Kit User manual

Alesis
Alesis SR-18 Instruction manual

Alesis
Alesis Surge Mesh Kit User manual

Alesis
Alesis SR-16 User manual

Alesis
Alesis Nitro User manual

Alesis
Alesis Performance Technical document

Alesis
Alesis DM5 User manual

Alesis
Alesis STRIKE PRO KIT User manual

Alesis
Alesis DM Pro Kit User manual

Alesis
Alesis SR-16 Manual

Alesis
Alesis DM5Pro Kit User manual

Alesis
Alesis DM10 PRO KIT User manual

Alesis
Alesis DM5 User manual