Alfalaval ESE02126-EN5 User manual

2109-0039
ESE02126-EN5 2017-03
Original manual
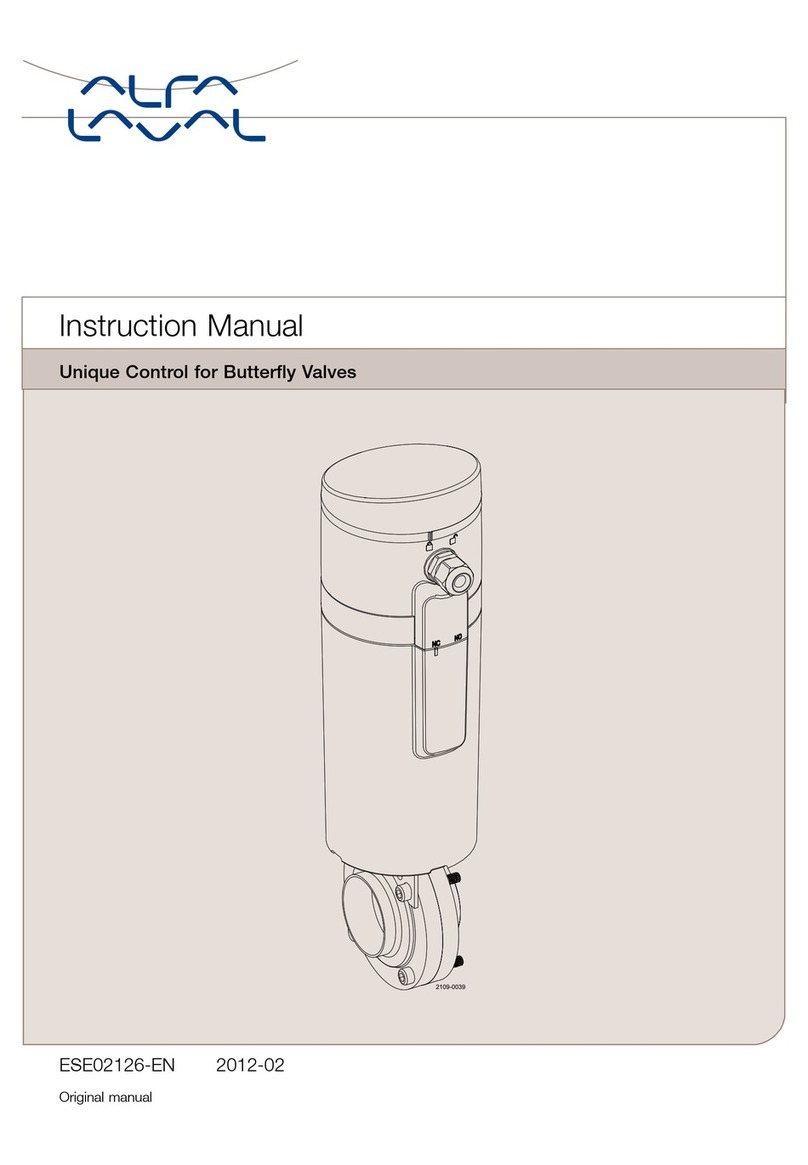
Instruction Manual
Unique Control for Butterfly Valves


Table of contents
The information herein is correct at the time of issue but may be subject to change without prior notice
1. EC Declaration of Conformity ....................................................................... 4
2. Safety .................................................................................................... 5
2.1. Important information ............................................................................. 5
2.2. Warning signs ..................................................................................... 5
2.3. Safety precautions ................................................................................ 5
2.4. Loss of air supply ................................................................................. 6
3. General information ................................................................................... 7
3.1. General information ............................................................................... 7
4. Installation .............................................................................................. 8
4.1. Overview of installation instructions ............................................................. 8
4.2. Product dimensions .............................................................................. 9
4.3. Mounting bracket kit on the actuator - step 1 ................................................. 10
4.4. Mounting actuator on the valve head - step 2 ................................................. 11
4.5. Connecting the air supply- step 3 ............................................................... 12
4.6. Connecting the communication cable- step 4 ................................................. 13
4.7. Calibration- step 5 ................................................................................ 16
4.8. Changing NC/NO functionality .................................................................. 17
4.9. Recycling information ............................................................................. 19
5. Troubleshooting ....................................................................................... 20
5.1. Actuator position marking misaligned .......................................................... 20
6. Technical data ......................................................................................... 22
6.1. Technical data ..................................................................................... 22
7. Parts list ............................................................................................... 24
7.1. Parts list ............................................................................................ 24
3
1 EC Declaration of Conformity
Revision of Declaration of Conformity: 2013-12-03
The Designated Company
Alfa Laval Kolding A/S
Company Name
Albuen 31, DK-6000 Kolding, Denmark
Address
+4579322200
Phone No.
hereby declare that
Actuator with integrated control for butterfly valve
Designation
Unique Control
Type
is in conformity with the following directive with amendments:
- Machinery Directive 2006/42/EC
- Regulation (EC) No 1935/2004
- Low Voltage Directive (LVD) 2014/35/EU
- EMC Directive 2014/30/EU
- RoHS2 Directive 2011/65/EU
The person authorised to compile the technical file is the signer of this document
Global Product Quality Manager
Pumps, Valves, Fittings and Tank Equipment Lars Kruse Andersen
Title Name
Kolding 2017-03-01
Place Date Signature
4

2 Safety
Unsafe practices and other important information are emphasised in this manual.
Warnings are emphasised by means of special signs. All warnings in the manual are summarised on this page.
Pay special attention to the instructions below in order to avoid serious personal injury or damage to the top unit.
2.1 Important information
AlwaysreadthemanualbeforeusingtheUniqueControl!
WARNING
Indicates that special procedures must be followed to avoid serious personal injury.
CAUTION
Indicates that special procedures must be followed to avoid damage to the Unique Control.
NOTE
Indicates important information to simplify or clarify procedures.
2.2 Warning signs
General warning:
Danger of electrical voltage:
Caustic agents:
2.3 Safety precautions
Installation
Always read the technical data thoroughly (See chapter 6 Technical data). !
Always release compressed air after use.
Never touch the coupling between the valve body and the actuator if compressed air is supplied to the actuator.
Always use a power supply that complies with IEC/EN60950-1 or IEC/EN61010-1 standard and limited-energy circuit
requirements.
Operation
Always read the technical data thoroughly (See chapter 6 Technical data). !
Never touch the valve or the pipelines when processing hot liquids or when sterilising.
Never touch the coupling between the valve body and the actuator if compressed air is supplied to the actuator.
Always handle lye and acid with great care.
Transportation
Always make sure that compressed air is released.
Always make sure that all connections are disconnected before attempting to remove the valve from the installation.
Always drain liquid out of valves before transportation.
Always used predesignated lifting points if defined.
Always ensure adequate fixing of the valve during transportation - if specially designed packaging material is available it
must be used.
5

2Safety
2.4 Loss of air supply
The Unique Control reacts differently to a loss of air supply compared to a regular spring-return actuator. e.g. the LKLA.
TheUniqueControldoesnothaveabuilt-inspringtoreturntheactuator to the de-energised position in cases of air supply
failure. Instead, the Unique Control features a built-in check valve that ensures that the actuator remains in the current
position if the air supply fails.
In the case of electrical power failure, the Unique Control responds in the same way as regular actuators installed with con-
trol heads from the ThinkTop series.
Please refer to the table below for an overview of the actuator responses in different error scenarios.
Unique Control Spring-return actuator (LKLA) Actuator type
Error Scenario De-energised Energised De-energised Energised Actuator status
Air pressure lost No change No change No change Actuator changes to
De-energised position
Electrical power lost No change Actuator changes to
De-energised position No change Actuator changes to
De-energised position
Actuator response
6

3 General information
3.1 General information
Concept
Unique Control for butterfly valves is an actuator with integrated automation for LKB butterfly valves. Unique Control is a
hygienic, reliable solution with a focus on simplicity.
The Unique Control complements our existing range of actuators and control units and it provides the opportunity to upgrade an
existing installation.
Unique Control is compatible with all major PLC systems. It is for use in food, dairy and brewery installations and in
biopharmaceutical applications.
Working principle
The Unique Control uses an air spring allowing operation at a significantly lower air pressure compared to a conventional
mechanical spring. The integrated intelligent automation will self-configure and calibrate with a single press of a button. The
actuator is designed for easy onsite configuration as either normally open (NO) or normally closed (NC). The maintenance-free
but serviceable actuator design is tested to perform over one million strokes
The Unique Control has a 360 deg. indication light for visual status.
It also provides the opportunity to monitor the status of the operating air pressure, identifying air leakage or failing air pressure.
7

4 Installation
4.1 Overview of installation instructions
Step 1
Mount bracket kit on actuator.
2109-0008
Step 2
Mount actuator on valve head.
2109-0009
Step 3
Connect air supply.
2109-0010
Step 4
Connect communication cable.
2109-0011
Step 5
Calibrate.
2109-0012
8

4 Installation
4.2 Product dimensions
L
ØB
ØA
d
C
2109-0004
Size 25-63.5 mm
DN25-50
76.1 mm
DN65-80
101.6 mm
DN100
øA 90 90 90
øB 97 97 97
C111 111 111
L 263 263 263
d 8 10 12
Weight (kg) 1.6 1.6 1.6
9

4 Installation
4.3 Mounting bracket kit on the actuator - step 1
Step 1
Mount the coupler (A) in the slot on the bottom side of the actuator.
A
Step 2
Be aware that the actuator position marking on the bottom of the
actuator is aligned as shown on drawing (B).
In cases where the actuator position marking is not aligned,
please refer to the troubleshooting section for an instruction on
how to re-align it.
2109-0015
B
B
2109-0016
B
Step 3
Mount the bracket using the 3 enclosed screws (D).
The tighteningtorqueis10Nm.
NOTE!
The enclosed screws are applied with a thread-locking adhesive.
In the case of dismantling and later reassembly, the screws must
be secured with a thread-locking adhesive.
2109-0017
D
D
D
10

4 Installation
4.4 Mounting actuator on the valve head - step 2
This instruction applies for both NC and NO actuators.
Step 1
Mount the arrow for mechanical open/closed indication of the
valve (E).
The valve must be closed when the actuator is mounted.
NOTE!
NO/NC functionality of the actuator is changed in the control
head.
2109-0018
E
Step 2
Mount the actuator on the valve head using the enclosed bolts (F).
2109-0019
F
F
11

4 Installation
4.5 Connecting the air supply- step 3
Step 1
Connecttheairsupplyhosetotheø6mmairfitting(I).
2109-0020
I
Step 2
NOTE!
Fora¼”airsupplyhose.
Connect the air supply hose via the ø6 / ¼” angle adaptor.
(Article number: ø6 / ¼” angle adaptor: 9611-99-5679)
2109-0021
12

4 Installation
4.6 Connecting the communication cable- step 4
Step 1
Remove the prism/top cover by turning the prism/top cover
counter-clockwise.
When the mark on the prism (J) is aligned with the open padlock
symbol (K), the prism/top cover can be lifted off.
2109-0028
K
J
Step 2
Install the cable in the cable gland (M).
NOTE!
Cable connection:
Main cable gland: PG9 (ø4-ø8 mm)
Max. wire diameter: 1.0 mm2(AWG 18).
If the cable gland comes loose from the control head during
installation, it must be secured with a tightening torque of 4 Nm.
2109-0023
M
13

4 Installation
Digital version – PNP
Supply voltage
Supply voltage 24 VDC ± 10%
Max. power consumption of the sensor unit
Solenoid valve not active 50mA
Solenoid valve active 65mA
Output signals from the sensor unit to the connected digital interface (PLC)
Nominal voltage Same as connected to the Unique Control
Load current 50 mA typical, 100 mA max
Voltage drop Typical 3V @ 50 mA
Electrical connection for digital version (PNP)
Solenoid Solenoid common (black) Internal connections (1, 2)
Supply 24VDC Supply 0 VDC Power supply (3, 4)
De-energised valve Energised valve PLC input signals (5, 6, 7)
Pressure alarm Solenoid valve PLC output signal (8)
2109-0042
1
34
2
5
78
6
14

4 Installation
AS-Interface version
The power supply to the complete unit is taken from the AS-Interface loop. The unit is reverse polarity protected.
Supply voltage
Supply voltage 29.5 - 31.6 VDC
AS-Interface profile code
AS-I v2.11 (31 nodes) 7.F. F.F
AS-I v3.0 (62 nodes) 7.A.7.7
Max. power consumption of sensor unit
Solenoid valve not active 50mA
Solenoid valve active 65mA
AS-Interface bits assignment
DI0 ...................................De-energised valve (feedback #1)
DI1 ...................................Energised valve (feedback #2)
DI2 ...................................NC
DI3 ...................................Pressure alarm (feedback #4)
DO0 ..................................NC
DO1 ..................................Solenoid valve (output #2)
DO2 ..................................NC
DO3 ..................................NC
Electrical connection for AS-i versions
Solenoid Solenoid common (black) Internal connections (1, 2)
AS-i [ + ] AS-i [ - ] AS-i power supply (3, 4)
2109-0041
1
34
2
15

4 Installation
4.7 Calibration- step 5
Step 1
Prerequisite
The Unique Control must be fully installed:
- Mechanically
- Pneumatically
- Electrically
The unit will flash green, when ready to calibrate the first time.
Calibrate
Pushthebluebutton(N)onthesensorunituntilyouseeayellow
flash.
TheUniqueCon
trol will automatically calibrate.
The unit is ready to use when the green light comes back on.
2109-0027
N
Step 2
Put the prism/top cover back on by pushing it down when the
mark on the prism (J) and the open padlock (K) are aligned.
Then turn it clockwise towards the closed padlock (L) to secure
the top.
2109-0040
K
J
L
Operating LED feedback
Actuator status LED feedback
De-energised Green
Energised Yellow
Pressure alarm (De-energised) Red/green flashing
Pressure alarm (Energised) Red/yellow flashing
16

4 Installation
4.8 Changing NC/NO functionality
The following instruction shows how to change the Unique Control
from “Normally Closed” to “Normally Open” functionality.
Step 1
Disconnect the air supply.
2109-0029
Step 2
Remove the prism/top cover by turning the prism/top cover
counter-clockwise.
When the mark on the prism (J) is aligned with the open padlock
symbol (K) the prism/top cover can be lifted off.
2109-0028
K
J
Step 3
Loosen the 4 screws (D) inside the control head.
2109-0031
D
D
17

4 Installation
Step 4
Lift off the control head and be aware that the 4 O-rings (E) remain
in the grooves.
2109-0032
E
E
Step 5
Turn the control head 180 degrees and check that the marking (F)
is aligned with the NO symbol.
2109-0033
F
Step 6
Re-attach the control head to the actuator by tightening the 4
screws (G) with a tightening torque of 2Nm.
2109-0034
G
G
Step 7
Reconnect the air supply and re-power the Unique Control to
complete the change.
See Step 3 and Step 5 in chapter 4 Installation for details.
Step 3 Step 5
2109-0010
2109-0012
18

4 Installation
4.9 Recycling information
• Unpacking
- Packing material consists of wood, plastics, cardboard boxes and in some cases metal straps
- Wood and cardboard boxes can be re-used, recycled or used for energy recovery
- Plastics should be recycled or burnt at a licensed waste incineration plant
- Metal straps should be sent for material recycling
• Maintenance
- During maintenance, oil and wearing parts in the machine are replaced
- All metal parts should be sent for material recycling
- Worn out or defective electronic parts should be sent to a licensed handler for material recycling
- Oil and all non-metal wearing parts must be taken care of in accordance with local regulations
• Scrapping
- At end of life, the equipment must be recycled according to the relevant, local regulations. Besides the equipment itself, any
hazardous residues from the process liquid must be taken into consideration and dealt with in a proper manner. When in
doubt, or in the absence of local regulations, please contact your local Alfa Laval sales company
19

5 Troubleshooting
5.1 Actuator position marking misaligned
The following instruction will re-align the actuator position marking on the bottom of the actuator in order to continue the
general installation.
The instruction depends on the actuator configuration.
NC actuator
Step 1
The actuator configuration can be verified on the marking on the
outside of the control head (A).
2109-0035
A
Step 2
1. Connect air supply to the actuator.
2. Disconnect air supply to the actuator
Beware of the movement of the coupler.
2109-0024
Step 3
Verification
Check that the actuator position marking is aligned.
2109-0016
20
Table of contents
Other Alfalaval Controllers manuals

Alfalaval
Alfalaval LKLA NC User manual

Alfalaval
Alfalaval ThinkTop Basic User manual

Alfalaval
Alfalaval ThinkTop Basic User manual

Alfalaval
Alfalaval Unique Valve User manual

Alfalaval
Alfalaval ThinkTop Basic Digital 10 User manual

Alfalaval
Alfalaval ESE02126-EN User manual

Alfalaval
Alfalaval ThinkTop v.3.0 User manual

Alfalaval
Alfalaval ThinkTop Basic User manual