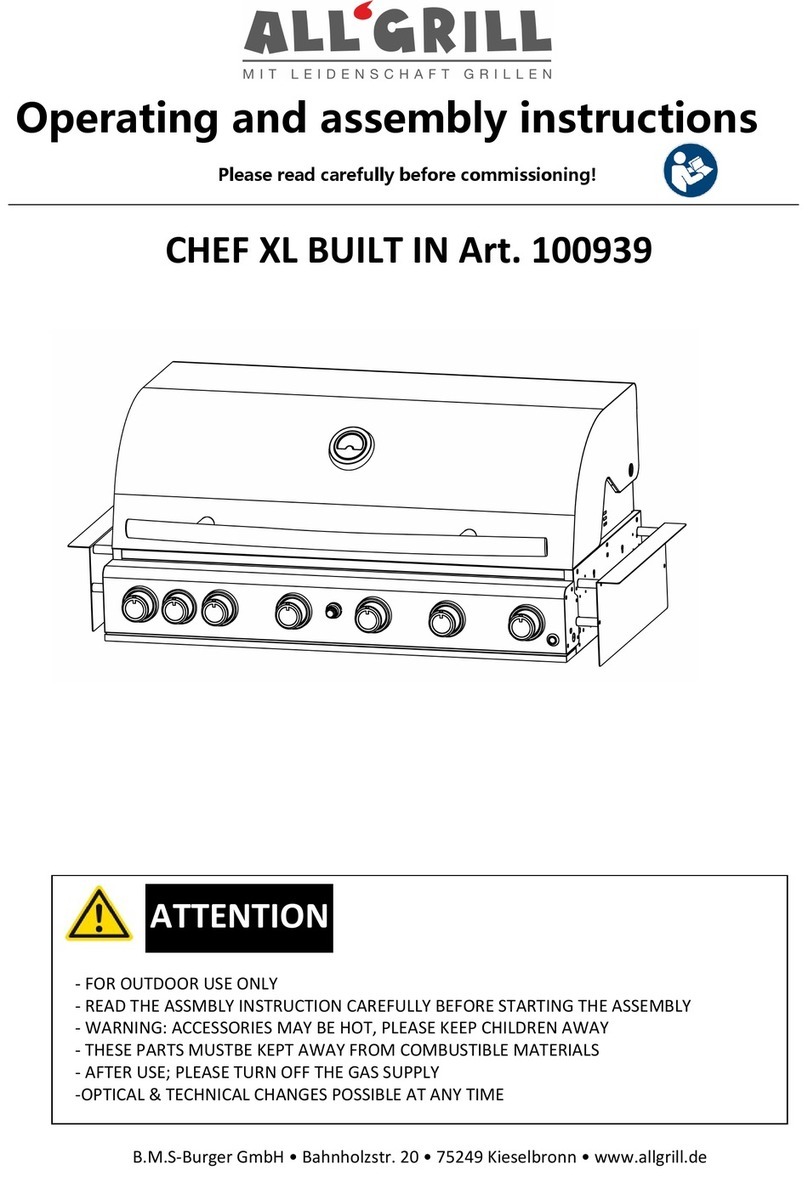
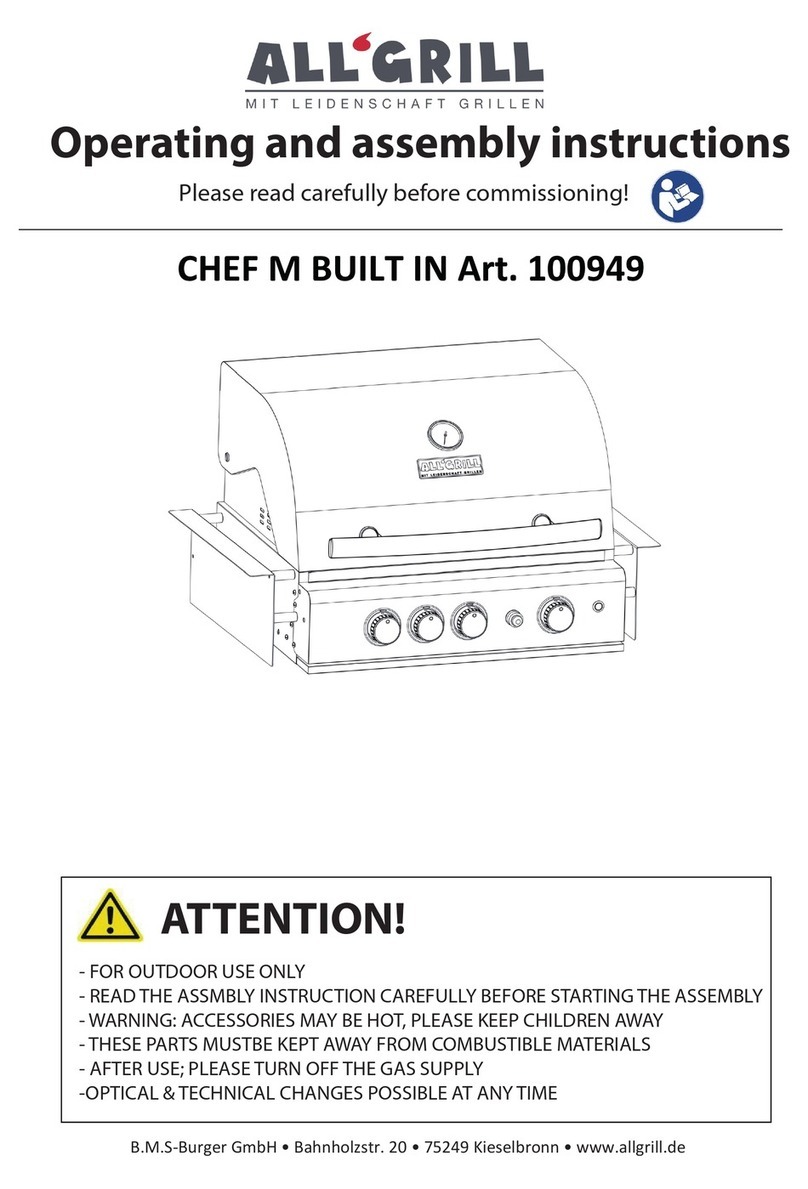
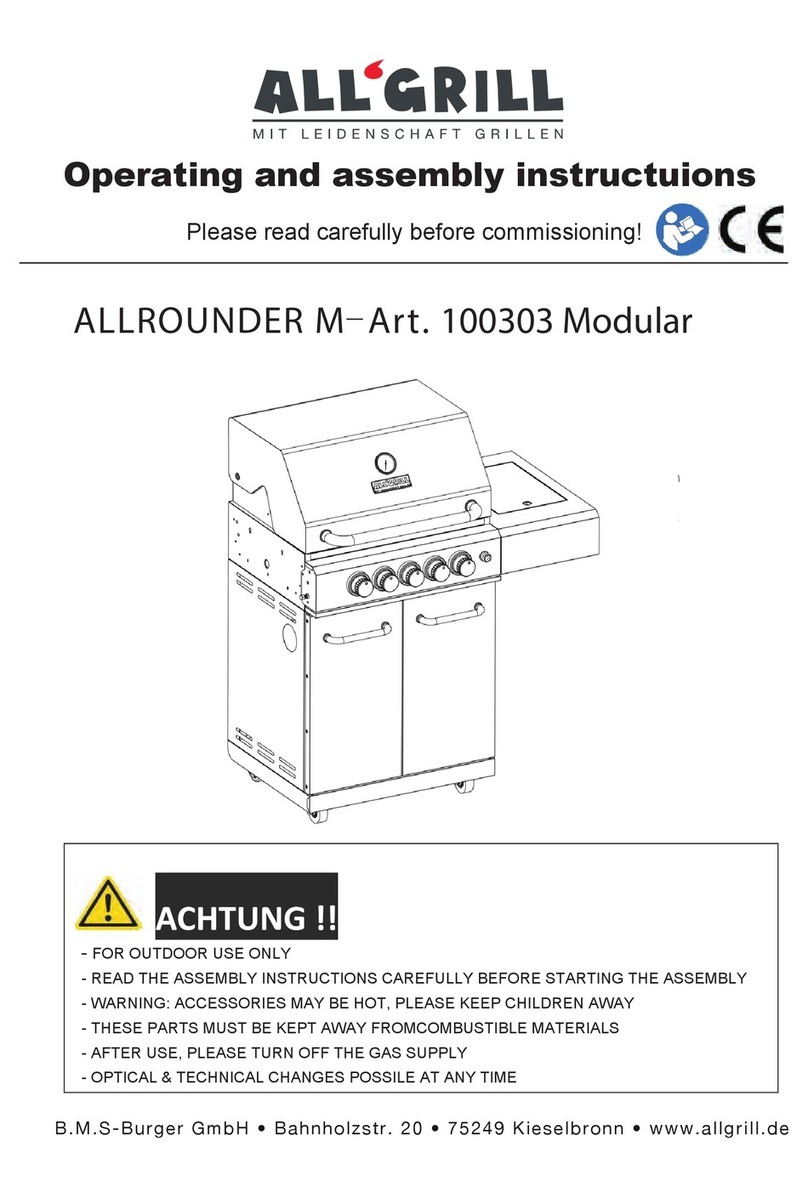
AllGrill CHEF L User manual

CHEF L-Art. 500904/500704 Modular
B.M.S-Burger GmbH • Bahnholzstr. 20 • 75249 Kieselbronn • www.allgrill.de
Operating and assembly instructuions
Please read carefully before commissioning!
- FOR OUTDOOR USE ONLY.
- READ THE ASSEMBLY INSTRUCTIONS CAREFULLY BEFORE STARTING THE ASSEMBLY.
- WARNING: ACCESSORIES MAY BE HOT; PLEASE KEEP CHILDREN AWAY.
- THESE PARTS MUST BE KEPT AWAY FROM COMBUSTIBLE MATERIALS.
- AFTER USE, PLEASE TURN OFF THE GAS SUPPLY.
- OPTICAL & TECHNICAL CHANGES POSSIBLE AT ANY TIME.
ATTENTION

WH YOU SHOULD DO:
WH YOU SHOULDN'T DO:
Gas type

;3 . j
R

t10 M @

Main burner: 3.5 kW x 4
Side burner: 3.2 kW x 1
Steakzone® (optional): 3.5 kW x 1
Infrared burner: 3.5 kW x 1
Main combustion gland: 0.82 mm
Side burner nozzle: 0.79 mm
Infrared side bruner nozzle: 0.82 mm
Infrared burner nozzle: 0.82 mm
Device
Devices category
Gas type
Burner capacity
Total burner capacity
(consumpion)
Gas pressure
o.
and their mixture
Gas barbecue for outdoor use
20,7 kW / 1504 g/h
24,2 kw / 1760 g/h (optional)
INFO: e.g. 0.93mm indicates the diameter of
the nozzle in "mm".
22

4
O
S
OOTI
0
3
T
V
T
<95%9:H$7H57;H0+();H G7H(!:H&07?
G5+75H5<;H!5$H89%::<9%
9%(<0!;79H57;H&<00@H#755%#;%$
G
/
":;9<#;+75H7&H(!:H&07?
G<95%9H57;H%5(!(%$H!;H;)%
>!0>%
G:H;)%H(9+00H47<5;%$H#799%#;0@
G
C
)%#.H?)%;)%9H;)%H(!:H"7;;0%H+:H%48;@
G ;+();%5H;)%H<5+75H5<;H?+;)7<;H;770:H!:
&!9H!:H+;H?+00H(7H
G
C
0%!5H;)%H"<95%9H;<"%
G 9%%5(!(%H;)%H"<95%9H!5$H>!0>%
G
C
)%#.H;)%H:;%8:H+5H;)%H!::%4"0@
+5:;9<#;+75:
v!:H"7;;0%H
%
48;@
v
/
>%9&07?H>!0>%H)!:
;9+((%9%$
<$$%5H$978H+5H(!:H
&07?H79H"<95%9H&0!4%H
<95%9H&0!4%:H(7H7&&H G H;975(H79H(<:;@H?+5$
G 7?H&+00+5(H0%>%0H7&H;)%H(!:
"7;;0%
G
/
>%9&07?H>!0>%H)!:H"%%5
;9+((%9%$
87;H&0!4%H&794!;+75H
G
#
)%#.H+&H;)%H(!:H"7;;0%H+:H%48;@
G<95H7&&H;)%H#75;970H.57"H?!+;HH:%#75$:
!5$H0+();H;)%H"!9"%#<%H&H;)%H&0!4%:H!9%
:;+00H?%!.H;<95H7&&H;)%H.57":H!5$H#07:%H;)%
(!:H"7;;0%H>!0>%H+:#755%#;H;)%H9%(<0!;79
%#755%#;H;)%H9%(<0!;79H!5$H#!99@H7<;H!
0%!.H;%:;H<95H75H;)%H(!:H:<880@H?!+;H
:%#75$:H!5$H;)%5H0+();H;)%H"!9"%#<%
G ;<95H;)%H(9+00H&975;H+5;7H;)%H?+5$H;7
+5#9%!:%H;)%H&0!4%H)%+();
G 9%80!#%H;)%H(!:H"7;;0%
G :%%H<$$%5H$978H+5H(!:H&07?H79H"<95%9
&0!4%
GH
#
0%!5H;)%H(9+00
G H%47>%H%
X
#%::H&!;H+&H87::+"0%
G H%0%#;H!H07?%9H(9+00+5(H;%48%9!;<9%
9%!:%H&+9%H
07?"!#.H
&+9%H+5H;)%H"<95%9H
;<"%
G 9%!:%H0%&;H"%)+5$H"@
!##<4<0!;+75:H7&H&77$H+5H;)%
!9%!H7&H;)%H"<95%9H:@:;%4
G<95%9H!5$HH79H"<95%9H;<"%:
!9%H#07((%$
G<95H;)%H#75;970H$+!0H;7H
/
H#07:%
;)%H(!:H"7;;0%H%!>%H;)%H0+$H+5H87:+;+75
!5$H0%;H;)%H&+9%H"<95H7<;H&;%9H;)%H(9+00
)!:H#770%$H$7?5H#0%!5H!00H8!9;:
G<95H;)%H.57":H;7H
/
H#0%!5H;)%
"<95%9H;<"%:
v9%!:%H!##<4<0!;+75H+5H;)%
(9+00
v+()H&!;H#75;%5;H+5H;)%H&77$
v+()H(9+00+5(H;%48%9!;<9%:

1. warming rack, x1
2. grill grate, 350x460mm, x2
3. lid, x1
4. lid handle, x1
5. thermometer, x1
6. flame tamer, x4
7. infrared burner rear cover, x1
8. infrared burner, x1
9. air collector infrared burner x1
10. bbq-light rearcover, x2
11. bbq-light, x2
12. ignition cable infrared burner, x1
13. side burner lid, x1
14. cover for folded down side shelf x2
15. left windbreak firebox, x1
16. right windbreak firebox, x1
17. right windbreak firebox x1
18. firebox x1
19. right side shelf (sideburner), x1
20. ignition cable side burner, x1
21. side burner, x1
22. side burner grate, x1
23. light switch, x1
24. ignition box, x1
25. control panel, x1
26. main gas pipe, x1
27. control knob bezel with LED, x6
28. control knob, x6
29. main burner ignition cable B, x1
30. main burner ignition cable A, x1
31. main burner ignition cable A, x1
32. main burner ignition cable B, x1
33. burner tube, x4
34. grease drib tray, x1
35. left side wall grill cart, x1
36. back wall grill cart x1
37. front door strut, x1
38. right side wall grill cart, x1
39. baser plate grill cart, x1
40. support triangle (top left), x1
41. support triangle (below), x2
42. support triangle (top right), x1
43. gas cylinder holder, x1
44. castors with brake, x2
45. castors without brake, x2
46. transformer, x1
47. spacer side panels, 15 x2
48. door middle strut x1
49. door hinge, soft-close, x4
50. door left, x1
51. door right, x1

10mm
Socket wrench
needed tools:
1. Phillips screwdriver
2. Gloves (if necessary
3. Phillips screwdriver longer than 400 mm (if required)
4. Socket wrench 10 mmm
Assembly instructions
2. Holder for gas cylinder (No. 43)2. Holder for gas cylinder (No. 43)
1. Castor assembly (No. 39 + 44 + 45)

3. Grill cart side wall assembly (No. 35 + 38)
4. Grill cart back wall assembly (No. 36)

TIP: Do not mount the support triangles at the
top and bottom right for drawer assembly now!
5. Front door strut assembly (No. 37)
6. Assembly of suppoert triangles to grill cart (No. 40 + 41 + 42)

8. Mounting door center brace (No. 48)
7. Mounting the transformer on the rear wall of the grill cart (No. 46)

9. Fixing the firebox and the grill cart with screws
10. Mounting and adjustment of door hinges (No. 49 + 50 + 51)
Setting gap dimension with closed
door (right and left)
Door gab adjustment (between door
and side wall, align approximately)

11. Side panel on the right (side burner, No. 19)
12. Mount side burner (gas supply) (No. 21) and conect ignition cable to ignition box (No. 24)
ACHTUNG!
Never remove the dummy plug
(gas supply to the left side panel)
in the basic model.
Side burner
only plug on
Screw the gas supply
Make a 100% tight
connection between
the grill and the side
burner!
Tighten the screws
after mounting

1
1
2
Sideburner grate (Nr. 22)
WARNING! Never turn on the side
burner with the lid closed
13. Flame tamer (No. 6)


G
p
y
A
y
f
p
p
p
f
0
W
A
R
N
I
NG!
v
p
y

C
v
w
C
6
I
y
y
v
y
No. 19

Optional accessories for your ALL‘GRILL CHEF Modular
1. Infrared side burner Steakzone® left (Art. No. 600) 2. Side panel left shelf (Art. No. 200)
(see step 10 assembly instruction)
3. AIR SYSTEM (Art. No. 750) &
XL
4. Schubladen-System (Art. No. 944 o. 744 Black)
Scan the QR code for the assembly of the main gas supply
line. Perform leak test with soapy water with open gas cylinder!

Mounting drawer system optional Modular (Art. No.: 944 / 744 Black)
Disassemble the support brackets on the right side as well
as the door hinges and check the correct assembly of the
door middle strut.
1.
Mounting guide rails
Screw the guide rails to the support strut and the substructure
Insert drawers

Mounting infrared side burner Steakzone® (Art. No. 600) optional Modular
1. Remove the blind plug from the gas connection
2. Mount the left side shelf
3. Connect the gas hose and the ignition cable
4. Insert the grease drip tray from behind
Mounting AIR SYSTEM (Art. No. 750) optional Modular
1. mount the AIR SYSTEM fan on the back of the grill
2. Fit the cover over the fan
3. connect the AIR SYSTEM regulator and mount
it on the inside of the side wall
Make a 100% tight
connection between
the grill and the side
burner!
Montage AIR SYSTEM (Art. Nr. 750) optional Modular
2.
3.
This manual suits for next models
2
Table of contents
Other AllGrill Grill manuals
Popular Grill manuals by other brands

Taurus
Taurus GRILL&CO LEGEND manual

Broil King
Broil King BARON 440 Series Assembly instructions
Cuisinart
Cuisinart GR3E instructions

Williams-Sonoma
Williams-Sonoma SBD-411BY Assembly & user manual

KBS Gastrotechnik
KBS Gastrotechnik NGW74ED Instructions for installation, operation and maintenance
Weber
Weber Master-Touch Assembly guide

DeLonghi
DeLonghi BQ 55 Instructions for use
Zojirushi
Zojirushi EB-CC15 operating instructions

Monogram
Monogram ZGG420NBPSS manual

Cuisinart
Cuisinart CGG200 - 12000 BTU Compact Portable Gas... operating instructions

Bg
Bg STEEL Manual for installation, use and maintenance

Bestron
Bestron DYX608 User instructions
