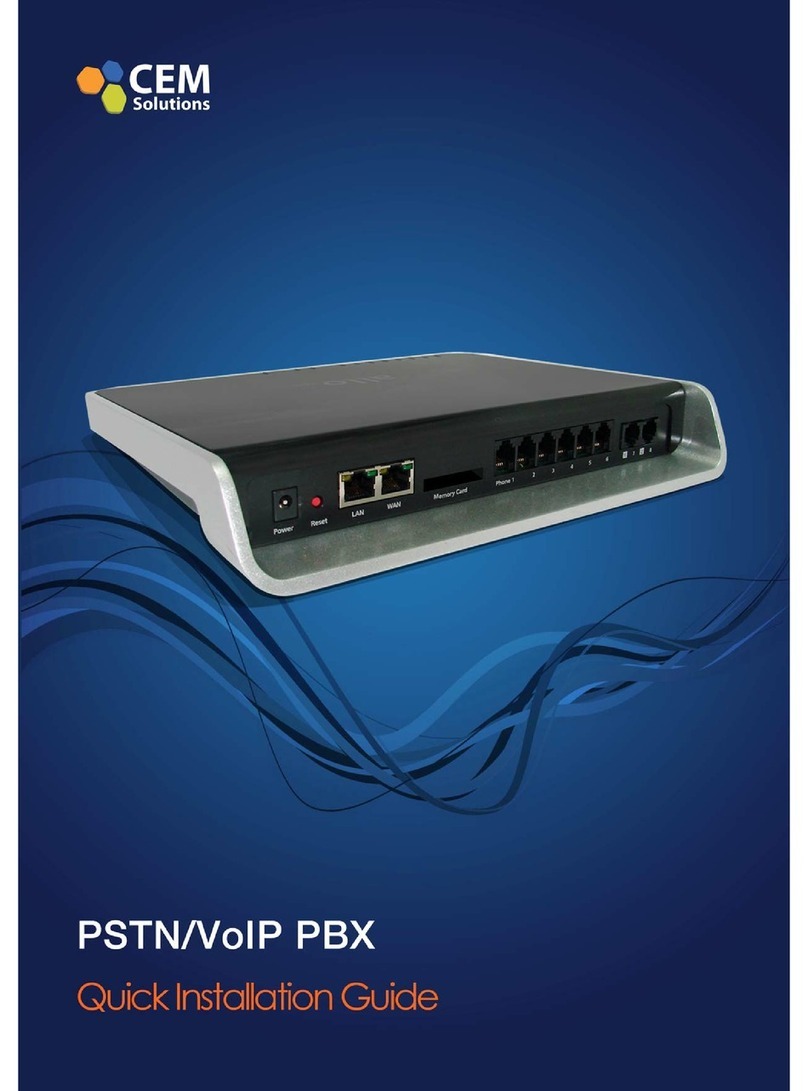
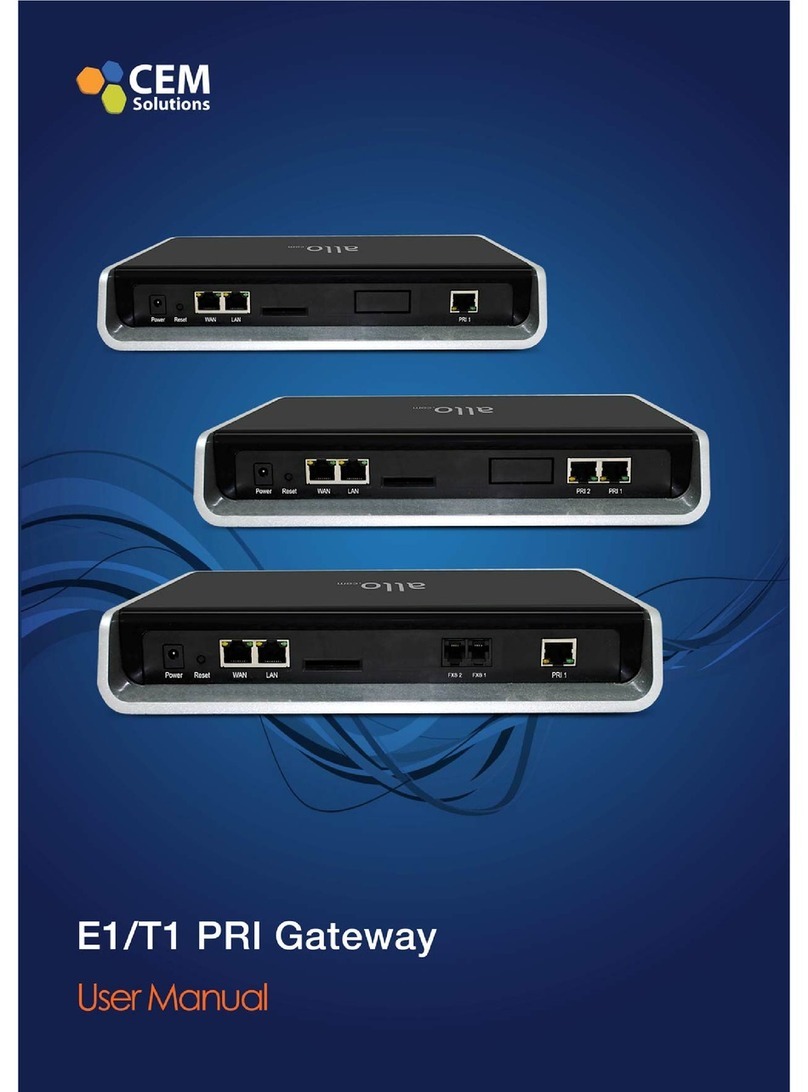
Allo.com PRIGW100 User manual


ALLO PRI Gateway
User Manual V2.0 2
User Manual
PRI GATEWAY
Version 2.0

ALLO PRI Gateway
User Manual V2.0 3
Contents
1. Product introduction................................................................................................................................. 5
1.1. Overview ............................................................................................................................................ 5
1.2. Equipment Structure.......................................................................................................................... 6
1.2.1. Rear View .................................................................................................................................... 6
1.2.2. Front View................................................................................................................................... 7
1.3. Function and Feature ......................................................................................................................... 8
1.3.1. Protocol Standard Supported ..................................................................................................... 8
1.3.2. System Function.......................................................................................................................... 8
1.3.3. General Hardware Specification ................................................................................................. 8
2. Getting started with PRI Gateway........................................................................................................... 10
2.1. Hardware Installation ...................................................................................................................... 10
2.2. Accessing the WEB GUI .................................................................................................................... 11
3. Setting Up Features................................................................................................................................. 12
3.1 System Dash Board ...........................................................................................................................12
3.3 SIP Trunks.......................................................................................................................................... 12
3.3.1 Add a SIP Trunk .......................................................................................................................... 12
3.3.2 Add SIP Trunk Group.................................................................................................................. 13
3.3.3 Manage SIP Trunk Group ........................................................................................................... 14
3.4 ISDN PRI Trunks................................................................................................................................. 14
3.5 Calling Groups ................................................................................................................................... 15
3.6 Call Routing Rules.............................................................................................................................. 16
3.7 Time of Day Routing:......................................................................................................................... 17
3.7.1 Add a New Time Based Routing Rule:........................................................................................ 17
3.7.2 Add a New Time Route Group: .................................................................................................. 18
3.7.3 Manage Time Route Groups: ..................................................................................................... 18
3.8 Network Settings:.............................................................................................................................. 19
3.9 Network Services: ............................................................................................................................. 20

ALLO PRI Gateway
User Manual V2.0 4
3.10 Date/Time Configuration: ............................................................................................................... 21
4. Advanced Settings................................................................................................................................... 22
4.1 ISDN PRI Settings:.............................................................................................................................. 22
5. Tools........................................................................................................................................................ 24
5.1 System Diagnostics ........................................................................................................................... 24
5.2 Backup/Recovery .............................................................................................................................. 25
5.3 Upgrade Firmware: ........................................................................................................................... 25
5.4 Admin Account Options: ................................................................................................................... 26
6. Status ...................................................................................................................................................... 27
6.1 Call Reports: ...................................................................................................................................... 27
6.2 SIP Station Status: ............................................................................................................................. 27
6.3 SIP Trunk Status: ............................................................................................................................... 28
6.4 ISDN PRI Status: ................................................................................................................................ 28
6.5Current Calls:...................................................................................................................................... 29
6.6 Network Status .................................................................................................................................30
6.7 System Load ...................................................................................................................................... 30
6.8 System Events Log............................................................................................................................. 31
7. Save All ................................................................................................................................................... 31
8. Appendix A ..............................................................................................................................................32
9. Appendix B: Glossary and Acronyms ...................................................................................................... 33

ALLO PRI Gateway
User Manual V2.0 5
1. Product introduction
1.1. Overview
PRIGW100/200 is a PRI gateway aimed to target at small and medium offices and
operators, and used to help enterprise to realize the evolution from the traditional PBX to voice
IP. On the one hand, it supports PRI protocol and adopts standard T1/E1 trunk interface to
realize docking with traditional PBX. On the other hand, adopt standard SIP protocol docking
with various soft switches to ensure PSTN seamless access to IP voice network, and achieving
VoIP. PRIGW100 supports intelligent multiple trunk routing technology, makes the operator
easy to manage trunk routing by price optimum rule, and the automatic switch-over between
multiple trunk routing makes the network have high reliability.
PRIGW100/200 has good call processing ability, and provides one or two T1/E1
interface. It is able to handle a variety voice decoding. It supports the rich GUI configuration, the
user can easily set and maintenance the system. Mainly includes the following kinds of models:
PRIGW100-1E1 – 1 Span
PRIGW200-2E1 – 2 Spans
A typical network diagram shows the function of PRIGW100 as below.

ALLO PRI Gateway
User Manual V2.0 6
1.2. Equipment Structure
1.2.1. Rear View
Interface Description
Power Connect the power adapter, 12VDC, 3.5A
PRI 1 & PRI 2 E1/T1 ports with line link LED indicators (Blue: Line normal)
WAN Standard 10/100BASE-TX Ethernet Interface for WAN
Management
Console (LAN) Standard 10/100BASE-TX Ethernet Interface for LAN. Default Web GUI
Login IP address is 192.168.113.2
Reset Reset button for factory default.

ALLO PRI Gateway
User Manual V2.0 7
1.2.2. Front View
PRI Gateway Front Panel LED Indicators:

ALLO PRI Gateway
User Manual V2.0 8
1.3. Function and Feature
1.3.1. Protocol Standard Supported
•Standard SIP V2 protocol
•E1/T1 PRI protocol
•NAT Traversing (STUN)
•Hypertext Transfer Protocol (HTTP)
•Domain Name System (DNS) & Dynamic host configuration protocol (DHCP)
•ITU-T G.711A-Law/U-Law, G.729AB, G.722
1.3.2. System Function
•Echo Cancellation: Up to 128msec echo tail length
•DTMF mode: RFC 2833, SIP INFO and INBAND
•Digit manipulation
•Integrated SIP registrar
•Early Media Support
•STUN support
•Call Detail Records (CDR)
•HTTP configuration
•Firmware upgrade by Web
1.3.3. General Hardware Specification
•Power supply: 12VDC, 3.5A
•Temperature: 0~40 deg(operational),-20~70 deg(storage)
•Humidity: 10%~90%, no condensation
•Max power consumption: 25W
•Dimension (mm): 250mm (W) x 220mm (L) x 43mm(H)
•Net Weight: 1.4 kg

ALLO PRI Gateway
User Manual V2.0 9
WARRANTY
If the PRI Gateway was purchased from a Distributor/reseller, please contact the company
where the device was purchased for replacement, repair or refund. If the device was purchased
directly from Allo.com, contact our Technical Support Team for a RMA (Return Materials
Authorization) number before the product is returned. Allo.com reserves the right to remedy
warranty policy without prior notification.
Warning: Use the power adapter provided with the ALLO PRI Gateway. Do not use a
different power adapter as this may damage the device. This type of damage is not covered
under warranty.

ALLO PRI Gateway
User Manual V2.0 10
2. Getting started with PRI Gateway
2.1. Hardware Installation
Step 1: Plug one end of the RJ45 Ethernet cable into your Router & other end into the WAN port
of the PRI Gateway.
Note: Use Straight-through Ethernet cable to connect between the unit & Router/Switch
Step 2: Plug one end of the RJ45 cable into the PRI 1 port of the PRI Gateway & other end to
the E1/T1 service provider socket.
Step 3: Insert the Power Adaptor output connector into the “Power” port of the PRI Gateway &
Plug in the Power Adapter to any available AC power outlet.
Step 4: The PRI Gateway will power up, and automatically connect itself to your network via
DHCP (which you can later configure in the SETTINGS > Network Settings section)
Note: Wait until the unit is completely booted up and make sure that LED2 is green

ALLO PRI Gateway
User Manual V2.0 11
PRI Gateway Front Panel LED Indicators:
2.2. Accessing the WEB GUI
PRI Gateway WEB GUI can be accessed either through WAN or Management Console.
Steps to Access the GUI during the initial setup through Management Interface (LAN):
Step 1: Make the setup as described in Hardware setup section, Lets access the WebGUI
through Management Interface (LAN)
Step 2: Change the Network setting of the PC in manual mode (i.e. Static IP mode). Assign the
IP address to the PC in the range of 192.168.113.xxx (E.g:192.168.113.10), net mask as
255.255.255.0 and gateway & DNS as 192.168.113.1.
Step 3: Launch the web browser and enter the URL http://192.168.113.2 (Default LAN IP
address) to open the login page of PRI Gateway’s Graphical Interface.
Step 4: Login using the default username & password (Default: Username: admin; Password:
admin). Successful login takes you to the Dashboard page. Observe the WAN IP address on
the dashboard, this will be used to access the GUI from the WAN interface.
Note: Recommended web browser to access GUI is Mozilla Firefox.
Step 5: If your network is not enabled with DHCP server, configure the WAN port IP address
manually in the SETTINGS > Network Settings section as per your requirement.

ALLO PRI Gateway
User Manual V2.0 12
3. Setting Up Features
3.1 System Dash Board
3.3 SIP Trunks
3.3.1 Add a SIP Trunk
Navigation: SETUP > SIP Trunk > Add a SIP Trunk: This is where you setup your SIP Trunks
1) Click Add SIP Trunk
2) Create a SIP user account for below registration methods.
3) Registration Mode:
•None: IP peer trunking
•From Gateway: Gateway is registering to PBX or VoIP service provider
•To Gateway: Endpoint registering to G/W
4) Enter the PBX or VoIP service provider IP address for registration mode “ From
Gateway or None”
5) Click authentication, if it is required
6) Click registration and add registrar address
7) Create and Save All.

ALLO PRI Gateway
User Manual V2.0 13
Important Note:
Make sure to click the SAVE ALL button in the top navigation bar, after adding / editing /
deleting any Extension. The SAVE ALL tab turns Orange if some changes are made and not
saved.
3.3.2 Add SIP Trunk Group
You can enable/disable Features like NAT and set the DTMF method.You can also configure
various Codec’s and can also prioritize the active Codecs using the up and down arrows.

ALLO PRI Gateway
User Manual V2.0 14
3.3.3 Manage SIP Trunk Group
Administrator can edit or delete the Extension group in this configuration page.
Click on “Save “button if you have edited the Extension groups, followed by “Save all” button
to update the configuration changes.
3.4 ISDN PRI Trunks
This will allow you to make calls using your PRI line.
1. Connect your ISDN PRI line to the 1st/ 2nd port of the PRI Gateway
2. Click on the SETUP >> ISDN PRI Trunks link in the GUI, then select Create PRI
Trunks
3. Enter Name your Trunk (Office Line 1 for example), Outbound Caller ID

ALLO PRI Gateway
User Manual V2.0 15
Click on “CREATE”, followed by “Save All” button to update the configuration changes
3.5 Calling Groups
Navigation: SETUP > Calling Groups: This is where you setup your Trunk Calling groups
You can create the Calling groups by selecting available trunks with two types : PRI trunk
groups and SIP trunk groups.

ALLO PRI Gateway
User Manual V2.0 16
3.6 Call Routing Rules
Depending on the number you dial, the PRI gateway will select the configured PRI/SIP
Trunk.
1. Click Add Call Routing Rule
2. Add incoming or outgoing rules for PRI and SIP
3. Select proper “Incoming type” and proper trunk name “Incoming from”
4. Dial Pattern:
X matches any digit from 0-9
Z matches any digit from 1-9
N matches any digit from 2-9
[1237-9] matches any digit or letter in the brackets
(in this example, 1, 2, 3, 7, 8, 9)
[a-z] matches any lower case letter
[A-Z] matches any UPPER case letter
. Wildcard, matches one or more characters
! Wildcard matches zero or more characters immediately.
5. Trim Digits: Allows the user to specify the number of digits that will be stripped from the
dialed number. For Ex: If you configure the pattern as 9X. And you want to strip 9 then you
should mention Trim Digits field as 1
6. Prepend Digits: Allows the user to specify the digits which are prepended before
placing the call via trunk. Ex: If dialed number is 8789763010 and if you want to prepend 44
as a country code then mention in prepend digits field as 44
7. Outbound Call Route: Select proper SIP trunk or PRI trunk or Time route Group, where
the destinations calls are going. And Move particular trunks form “Available Trunk” table to
“Trunk Sequence” table”

ALLO PRI Gateway
User Manual V2.0 17
3.7 Time of Day Routing:
3.7.1 Add a New Time Based Routing Rule:
By clicking on the SETUP > Time of Day Routing > Add a New Time Based Routing Rule
link on the left-hand side PRI Gateway menu, we reach this section:
Rule Name: Provide the rule name. It should be unique compared to IVR and Voice file name.
Description: Provide the proper description for the Time based routing rule.
Route To: Configuring the incoming route is setting the destination. The destination for any
inbound call to the respective trunks..
Duration: This field let you enter the time range to play the IVR during the days it is
Set to play.
Day Selection: This field lets users configure the auto-attendant voice menu to be played on
Specific days of the week.
Click on the “Create” followed by “Save all” button to update in configuration.
Important Note:
Make sure that the current date and time are configured correctly under SETUP> Date/Time
Configuration

ALLO PRI Gateway
User Manual V2.0 18
3.7.2 Add a New Time Route Group:
By clicking on the SETUP > Time of Day Routing > Add a New Time Route Group on the left-
hand side PRI Gateway menu, we reach this section:
Time route Group: Specify the Time route group name
Description: Provide the proper description for the same
Add Time route rule: type the name of the “Time of the Day Routing” rule and click “ADD”
button
Click on the “Create” followed by “Save all” button to update in configuration.
3.7.3 Manage Time Route Groups:
Administrator can edit or delete the Manage Time Route group in this configuration page.Click
on “Save “button, followed by “Save All” button to update the configuration changes.

ALLO PRI Gateway
User Manual V2.0 19
3.8 Network Settings:
The Networking Setting sub menu allows users to configure the LAN-side IP address and DHCP
Server settings, as well as the WAN-side settings like IP address of the WAN port.
By clicking on the SETUP > Network Settings link on the top navigation of the PRI Gateway
menu, we reach this section:
WAN Configuration: Are the Internet settings of your PRI Gateway.
1. DHCP: when enabled and a DHCP server is available, the PRI Gateway will auto
configure itself. If DHCP is not available, select “Static”, and fill in the Network Configuration
2. IP Address: the IP address corresponding to your WAN configuration*
3. Net mask: the Net mask corresponding to your WAN configuration*
4. Gateway: the IP address corresponding to your Gateway*
5. DNS 1: the IP address corresponding to a DNS server*
6. DNS 2: the IP address corresponding to a DNS server*
Important Note:
DHCP mode isn't recommended WAN side. Or trouble may arise when SIP trunk( From
Gateway) need to change registration server address caused by revised IP.
LAN Configuration:
Use this setting in the event that you want to use the PRI Gateway as your network router.
1. IP Address: It is a Base IP Address of a LAN Port, which functions as a gateway for its
LAN. Default value is 192.168.113.1 ( You can log in Web GUI through:192.168.113.2)
Important Note:
WAN port IP and LAN port IP Address shouldn't be in the same network segment.

ALLO PRI Gateway
User Manual V2.0 20
NAT Configuration:
NAT: NAT option is checked, when the PRI Gateway is behind the Router/Firewall
Stun Server IP: If the PRI Gateway is behind a non-symmetric NAT router, it may be necessary
to use STUN to allow PRI Gateway to reliably communicate via IP through the router. Enter a
STUN server IP address or domain name in the STUN Server field. For a list of public STUN
servers, please Refer to: http://www.voip-info.org/wiki/view/STUN
External IP: Enter the NAT Traversal IP address i.e. Public IP Address of your internet , to
communicate with Public Network when PRI Gateway is behind the NAT. This IP address will
substitute in all outgoing SIP messages instead of Local IP address.
Click on “APPLY “button, followed by “SAVE ALL” button to update the configuration changes.
3.9 Network Services:
By clicking on the SETUP > Network Services link on the top navigation of the PRI Gateway
menu, we reach this section:
SIP Port: The local listening UDP port for SIP messages. By default 5060
RTP Port Range: PRI Gateway will start listening for media transfer on ports 16001 to 17000.
Make sure you configure this dynamic range of ports on your NAT Router. When the PRI
Gateway is behind a NAT and the NAT is configured to do port forwarding with above
mentioned port range for UDP ports.
This manual suits for next models
1
Table of contents
Other Allo.com Gateway manuals
Popular Gateway manuals by other brands

AXIOMTEK
AXIOMTEK UST200-83H-FL user manual

SMC Sierra Monitor
SMC Sierra Monitor FieldServer QuickServer FS-QS-2 0 Series manual

Option Audio
Option Audio CG0102 user guide

Thales
Thales Cinterion DGL61-W Hardware interface description

ABB
ABB Pluto Series Integration manual

AT&T
AT&T NVG589 Self-installation guide